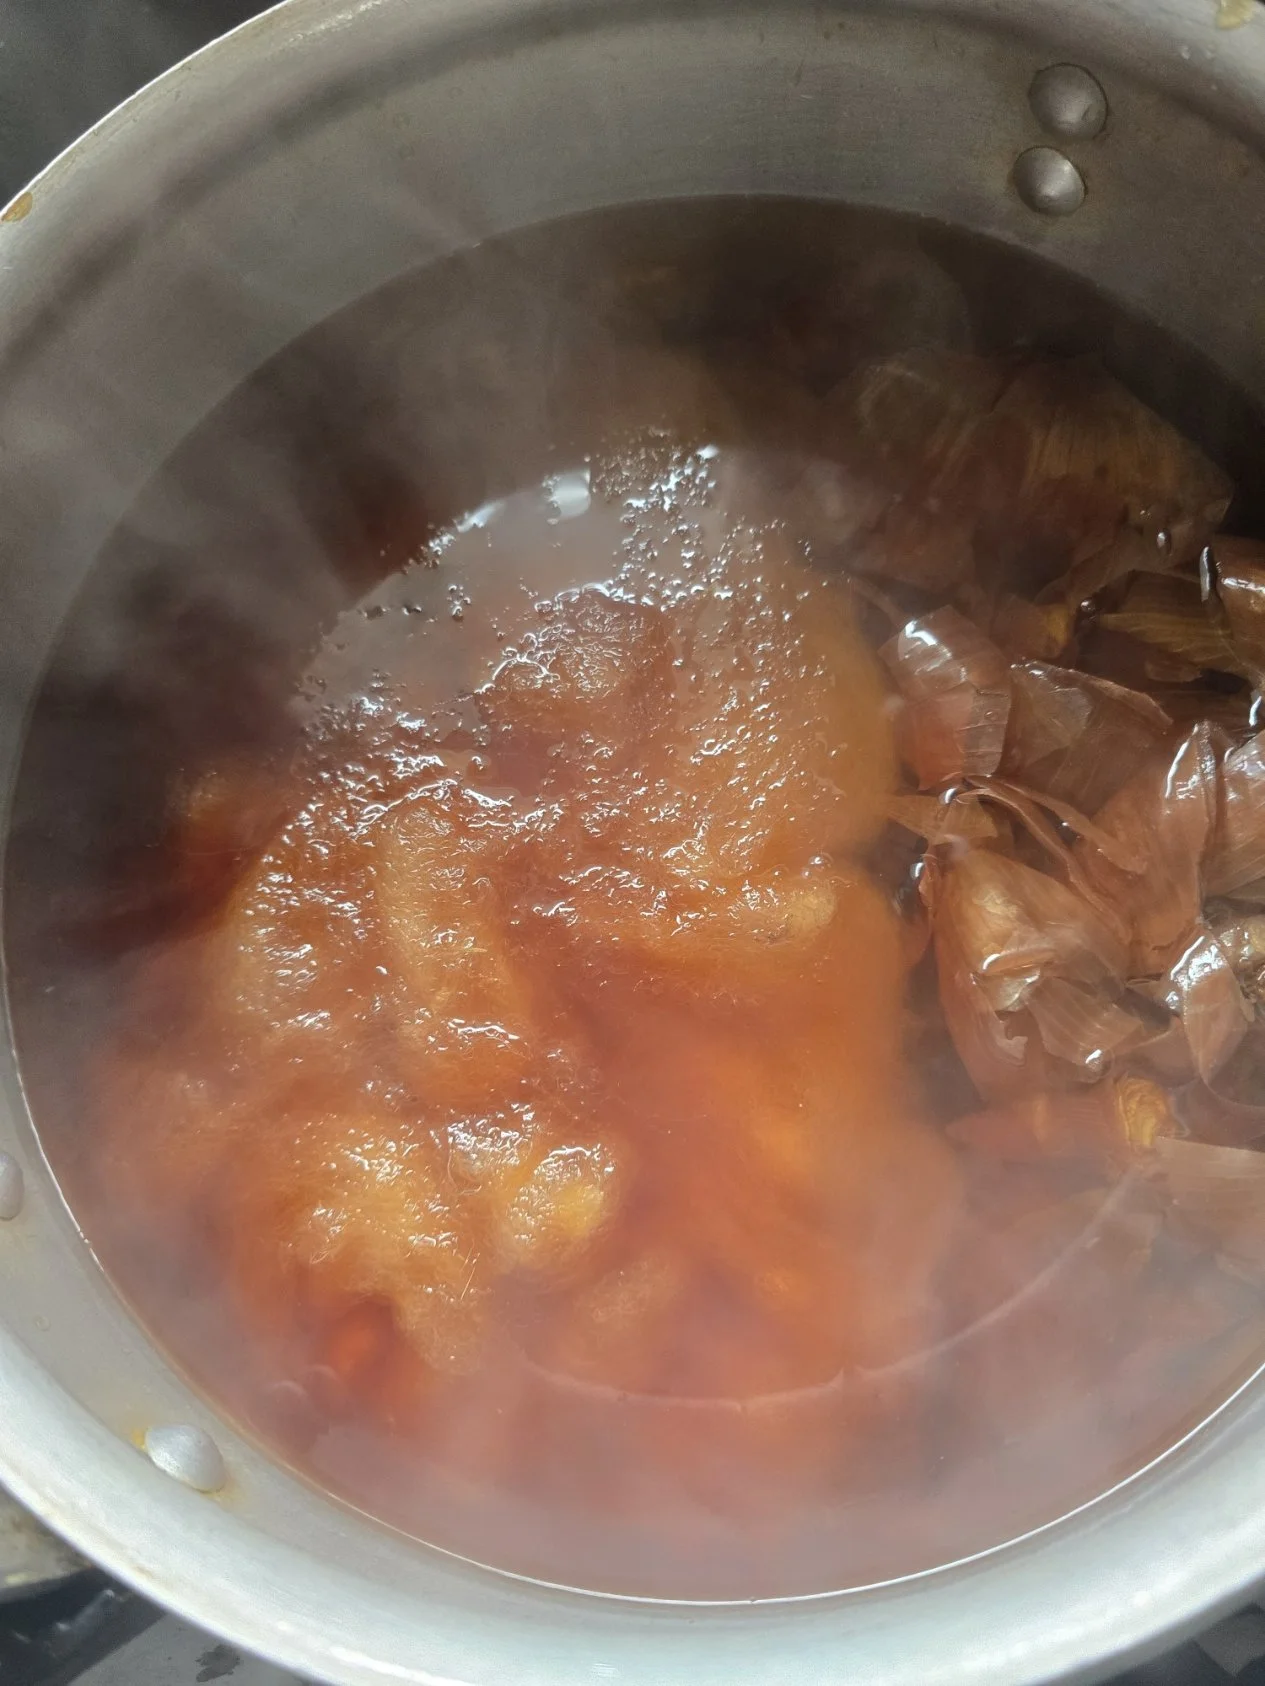
Dying Wool with Onion Skins
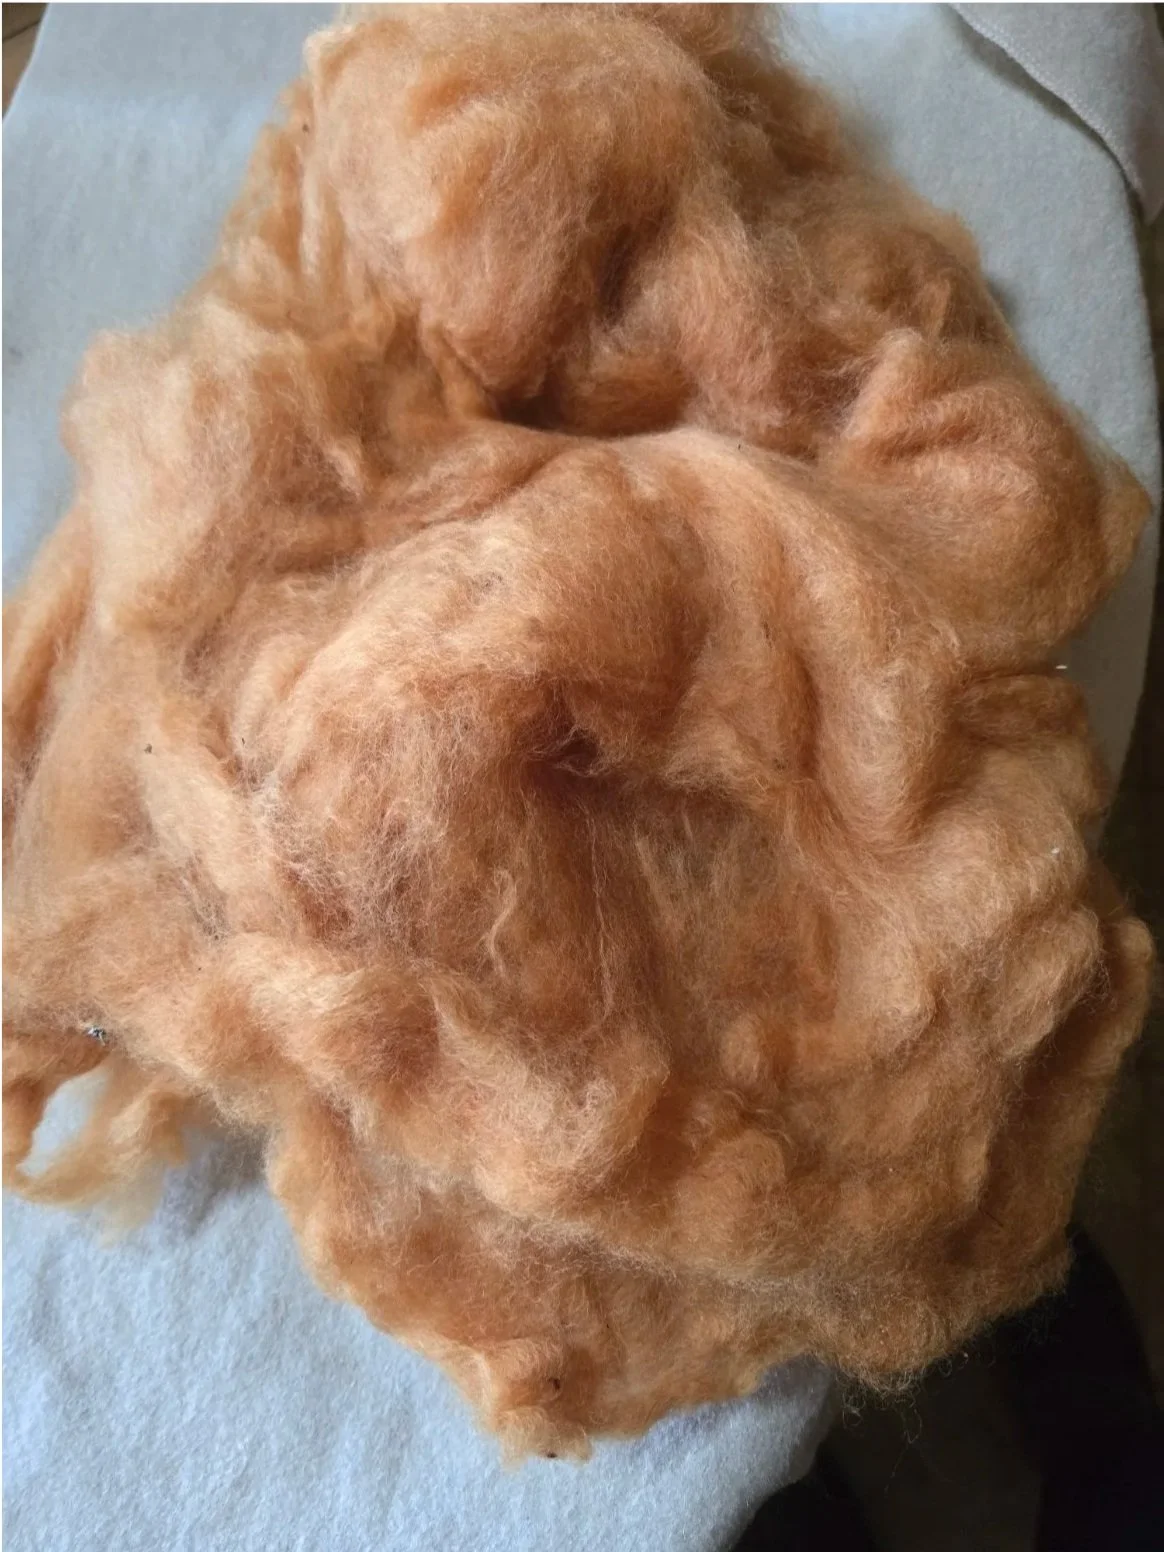
Onion skins is a common and old favourite when dying fleece or fabric. I always save up the skins till I have a good amount and this week I decided I needed to reduce the number I had on hand so here I am boiling up the skins with some fleece wool. This dye is substantive so doesn’t need a mordant to get the dye to take.
I wanted to also try reducing the dye to form ink, so I kept sampling the dye after I removed the fleece till I got a really intense colour. I think the skins could probably have been used to create paper, but I was out of time for further experiments this week.
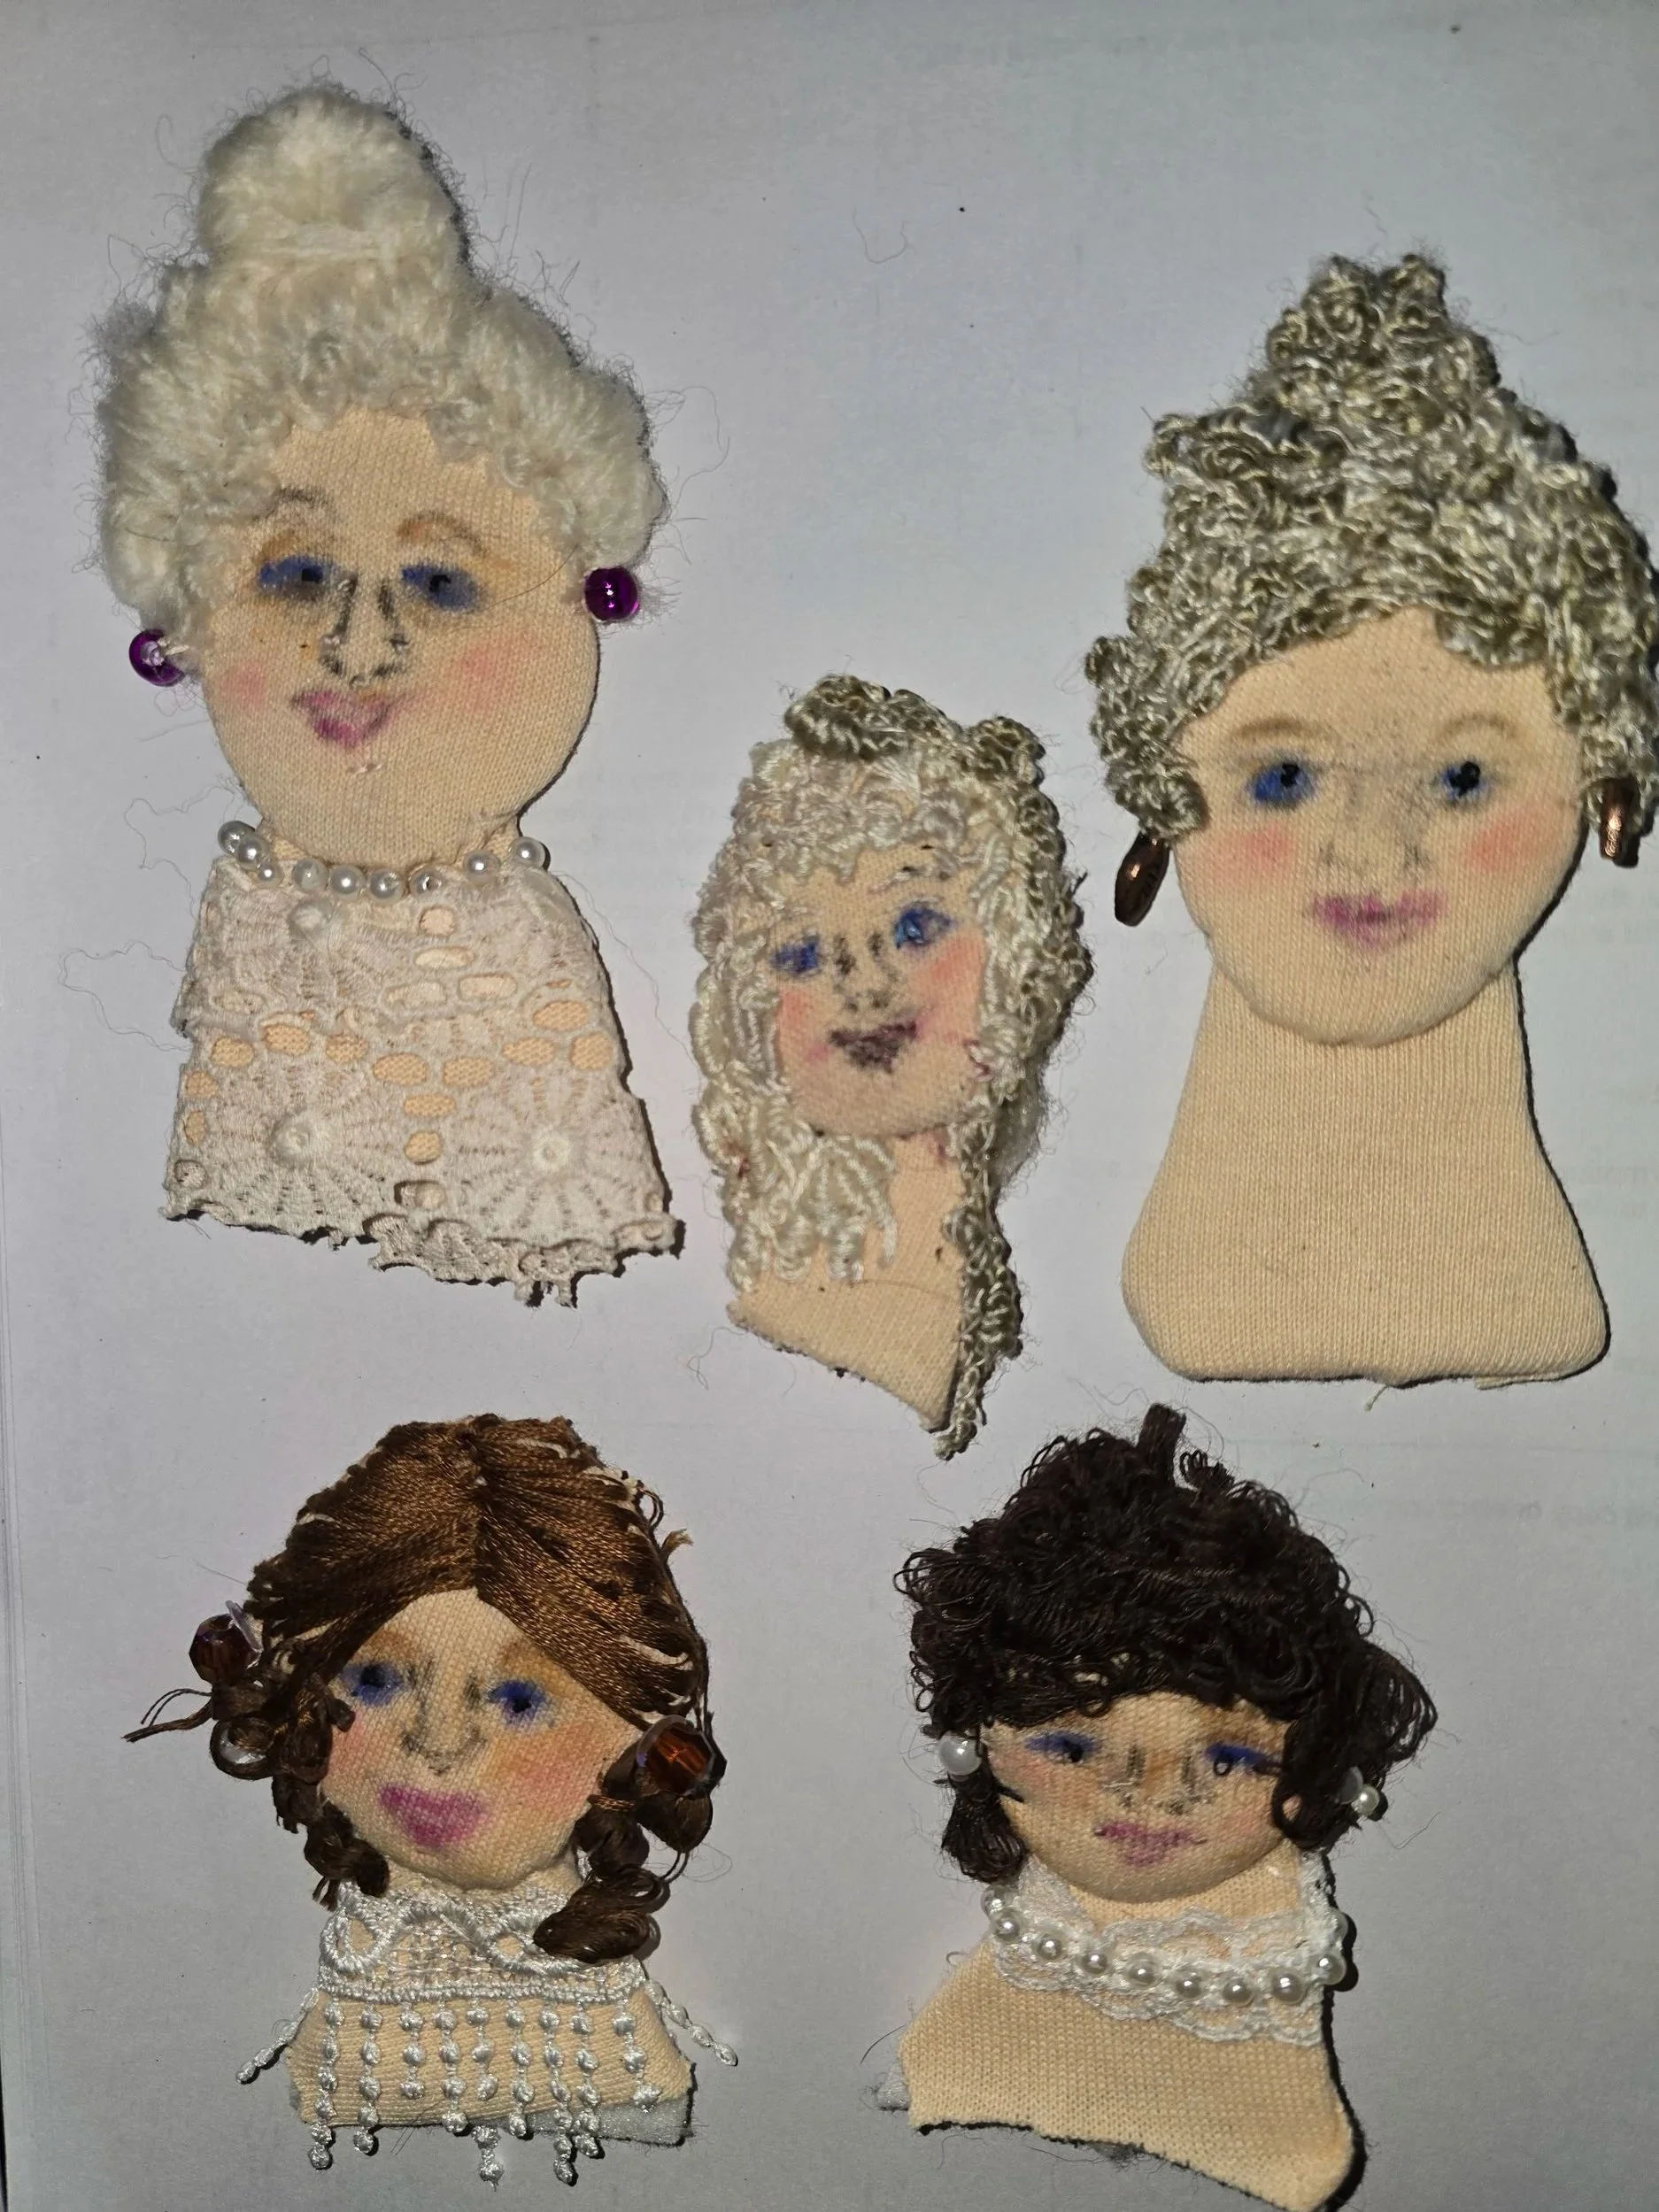
Embroidered Faces
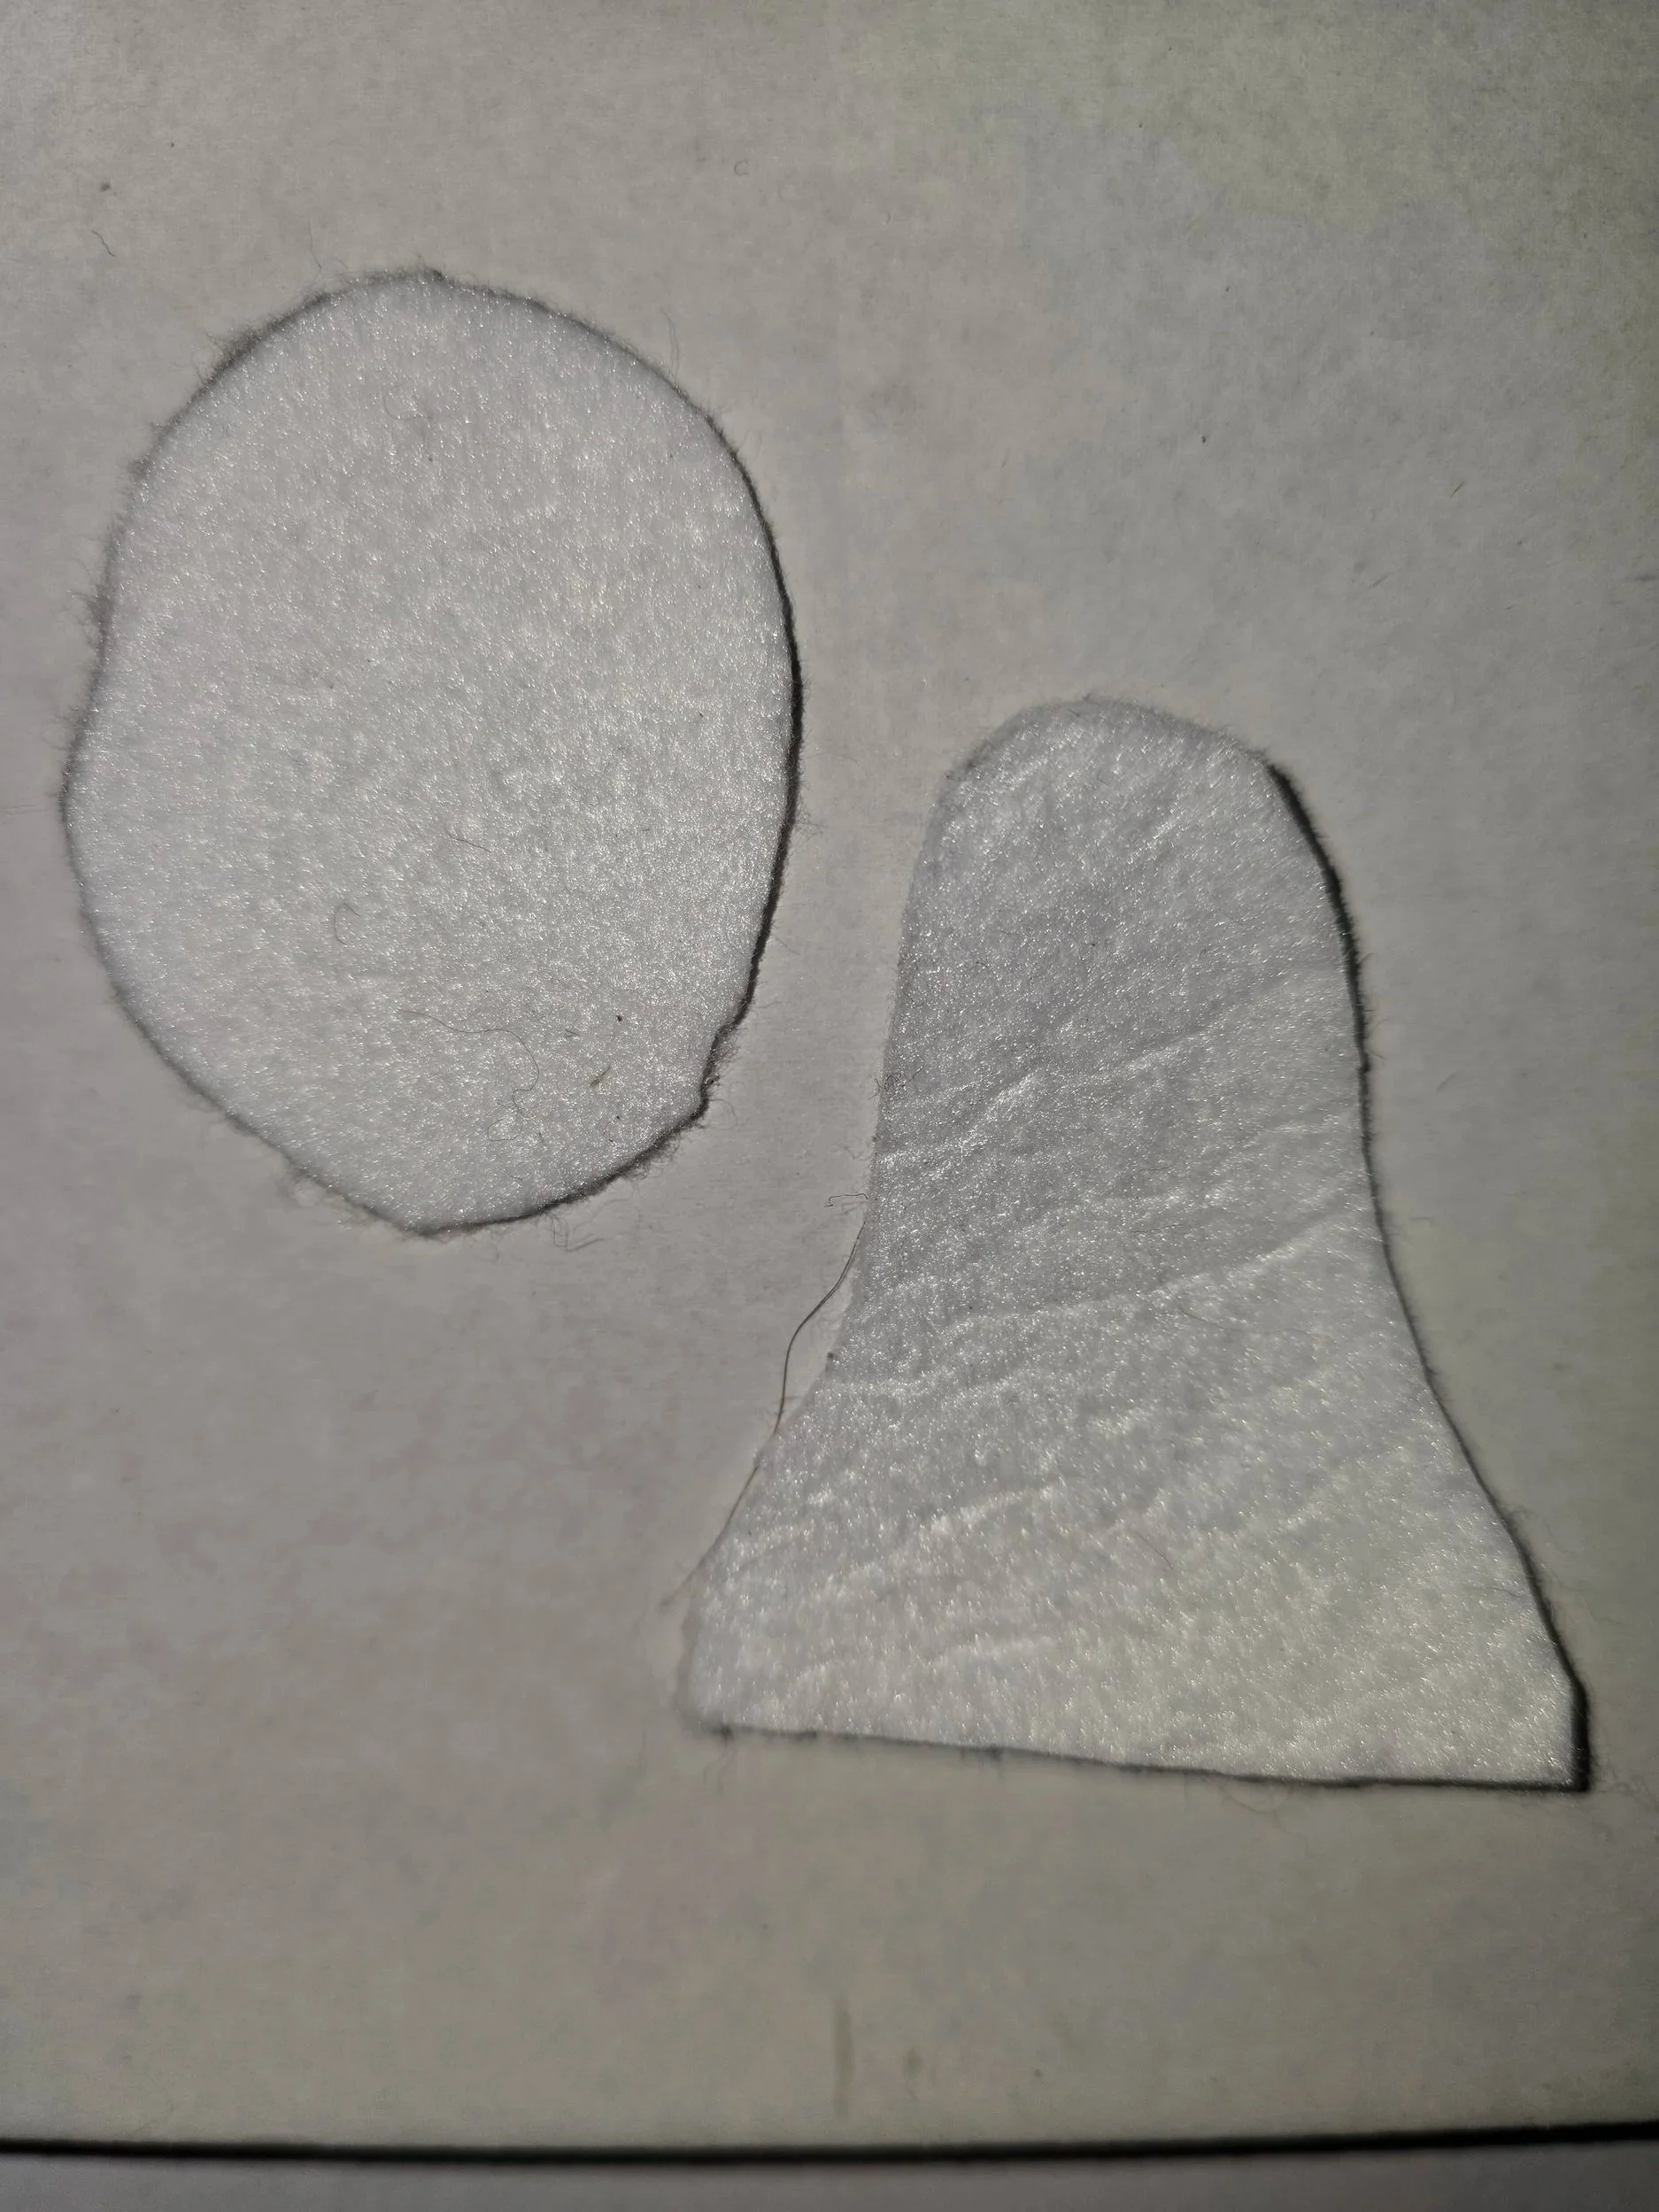
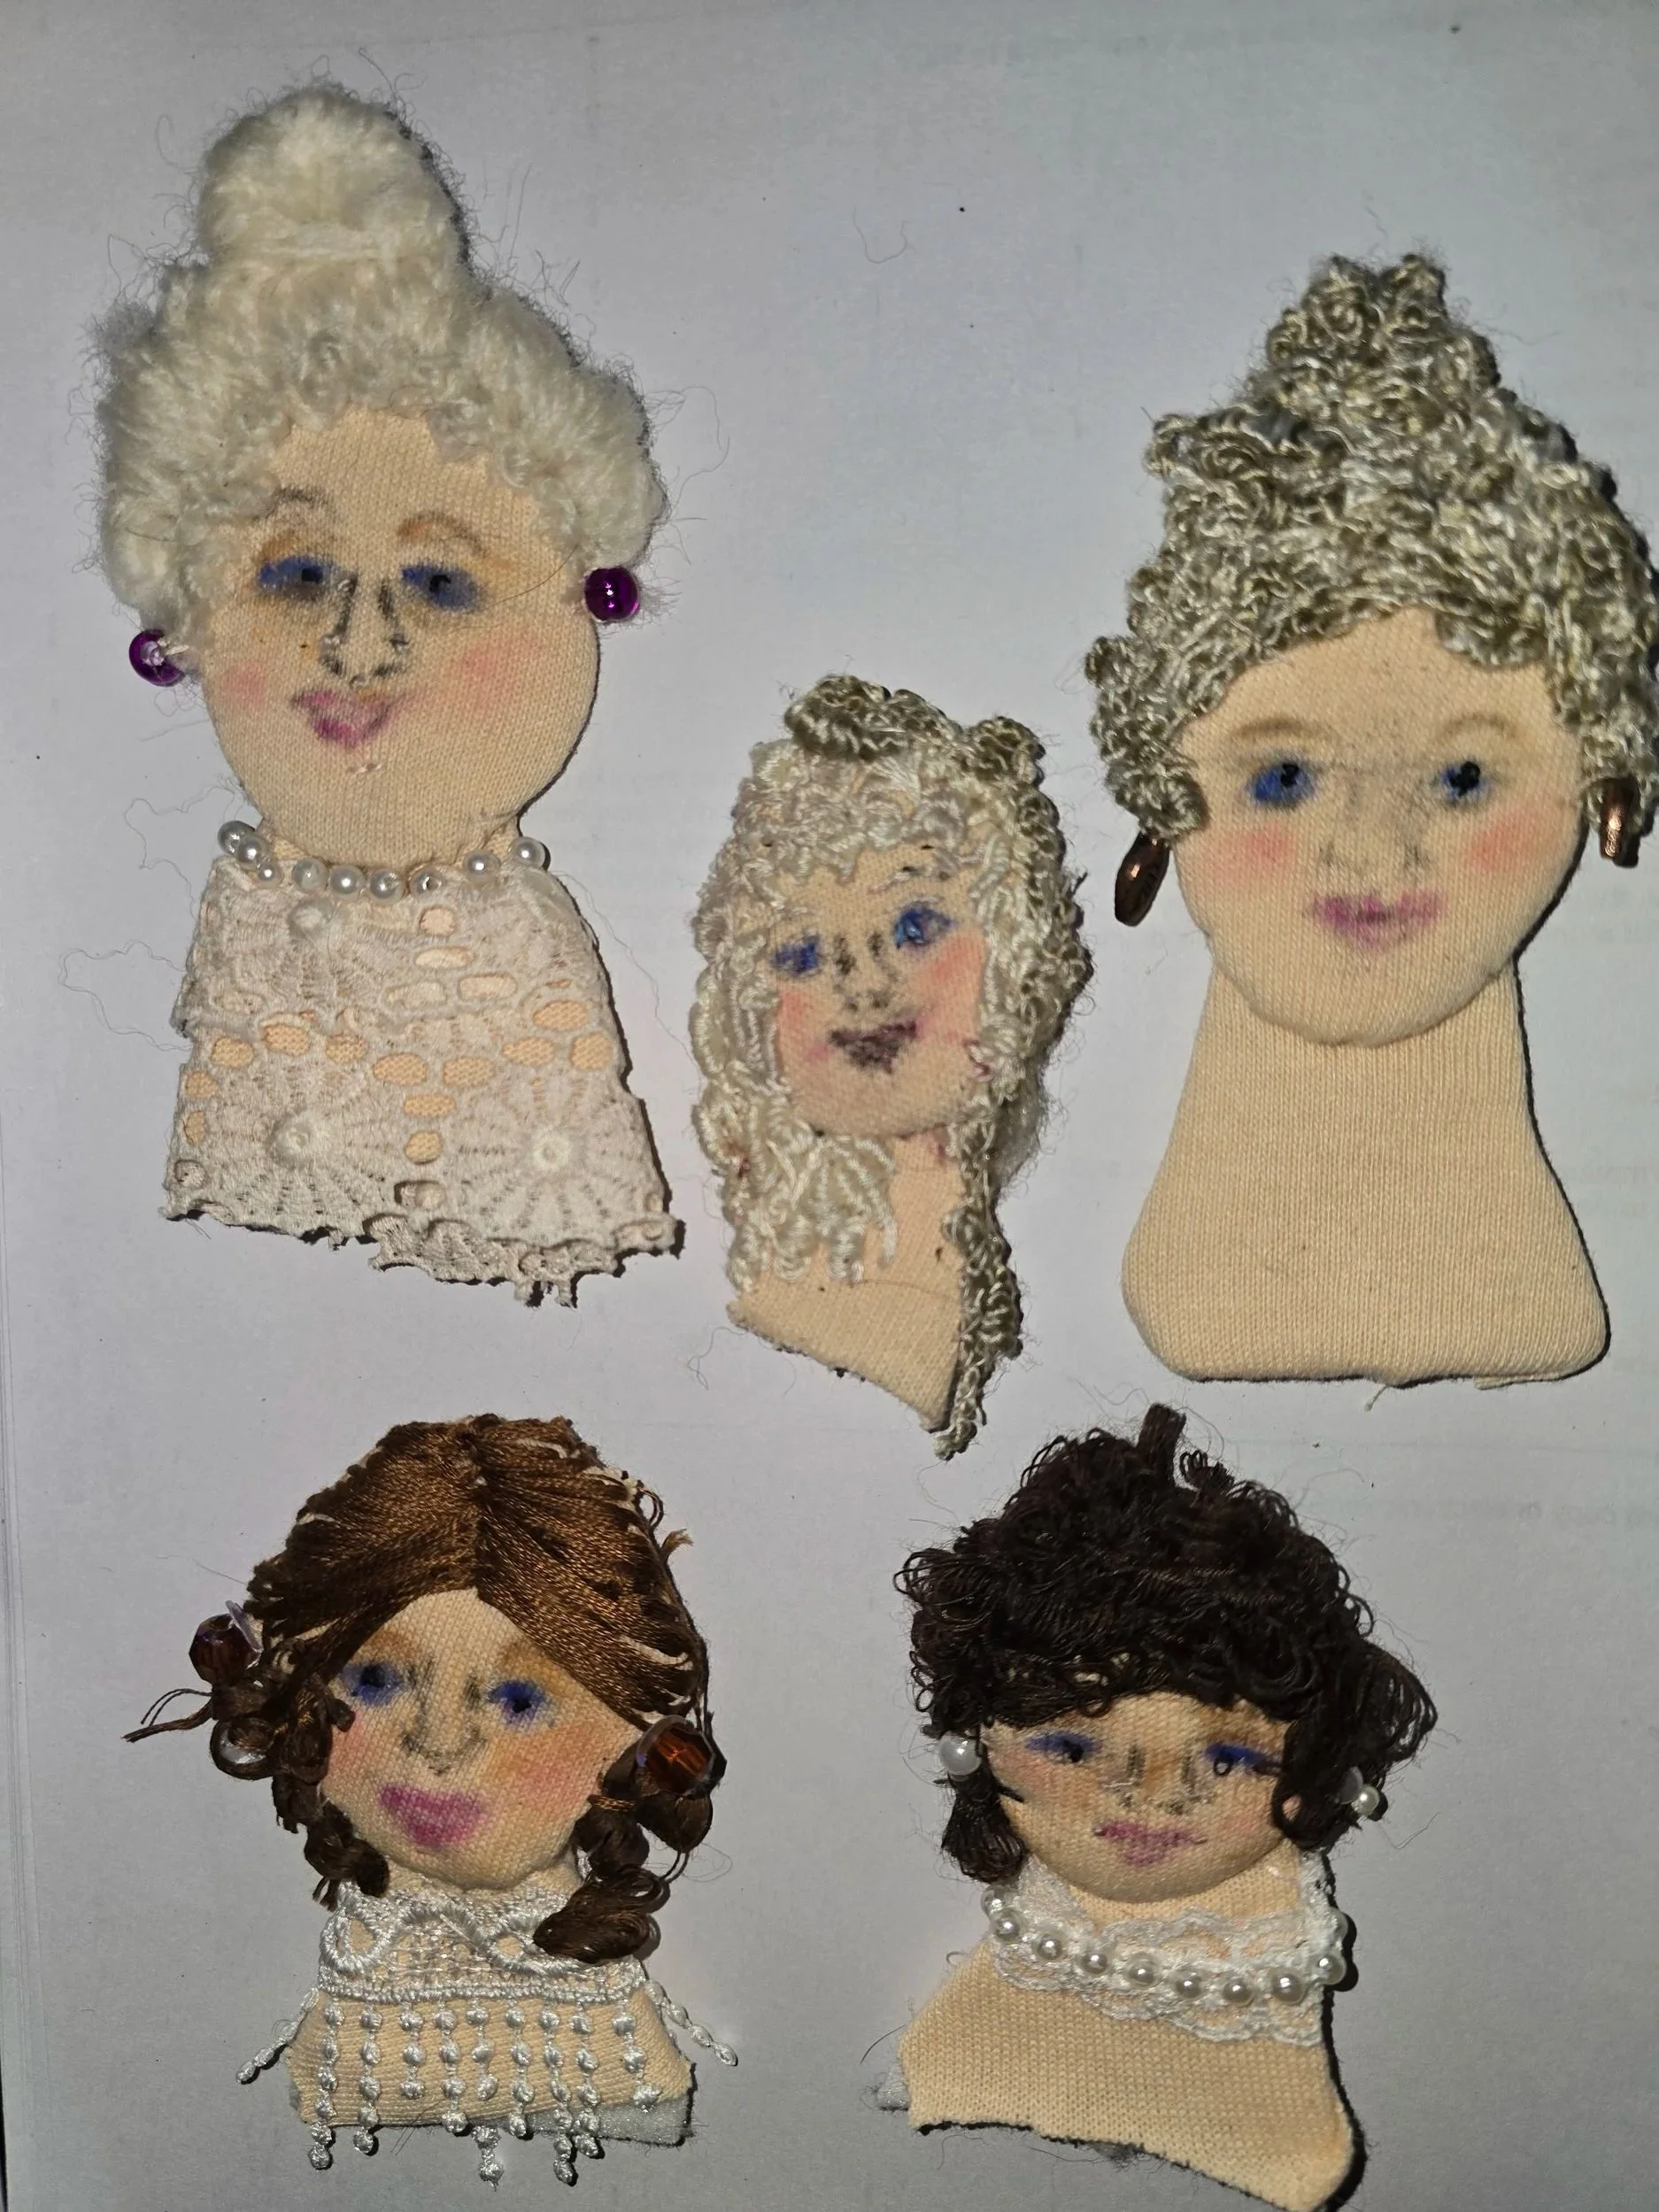
This has been an interesting project that has fostered an interest in historical hair creations. I purchased a secondhand book on creating little visages and while the original intent was to embroider the features, I ended up using pastels to create the faces. I made to oval face template from a squished in pool noodle and then created several concentric and slightly smaller ovals which i then used as padding to pull the outer oval around them and create a slight definition. I added a neck and shoulders using the template below the oval. This gave me more options of how to present the individuals. As the hair was added, using, textured, fibres the individual faces seemed to take on a personality of their own. I want to create a few more of these and then will probably end up mounting them in a concertina book. They are quite small and I can create a face in an evening or bit more.
Improvisational Embroidery
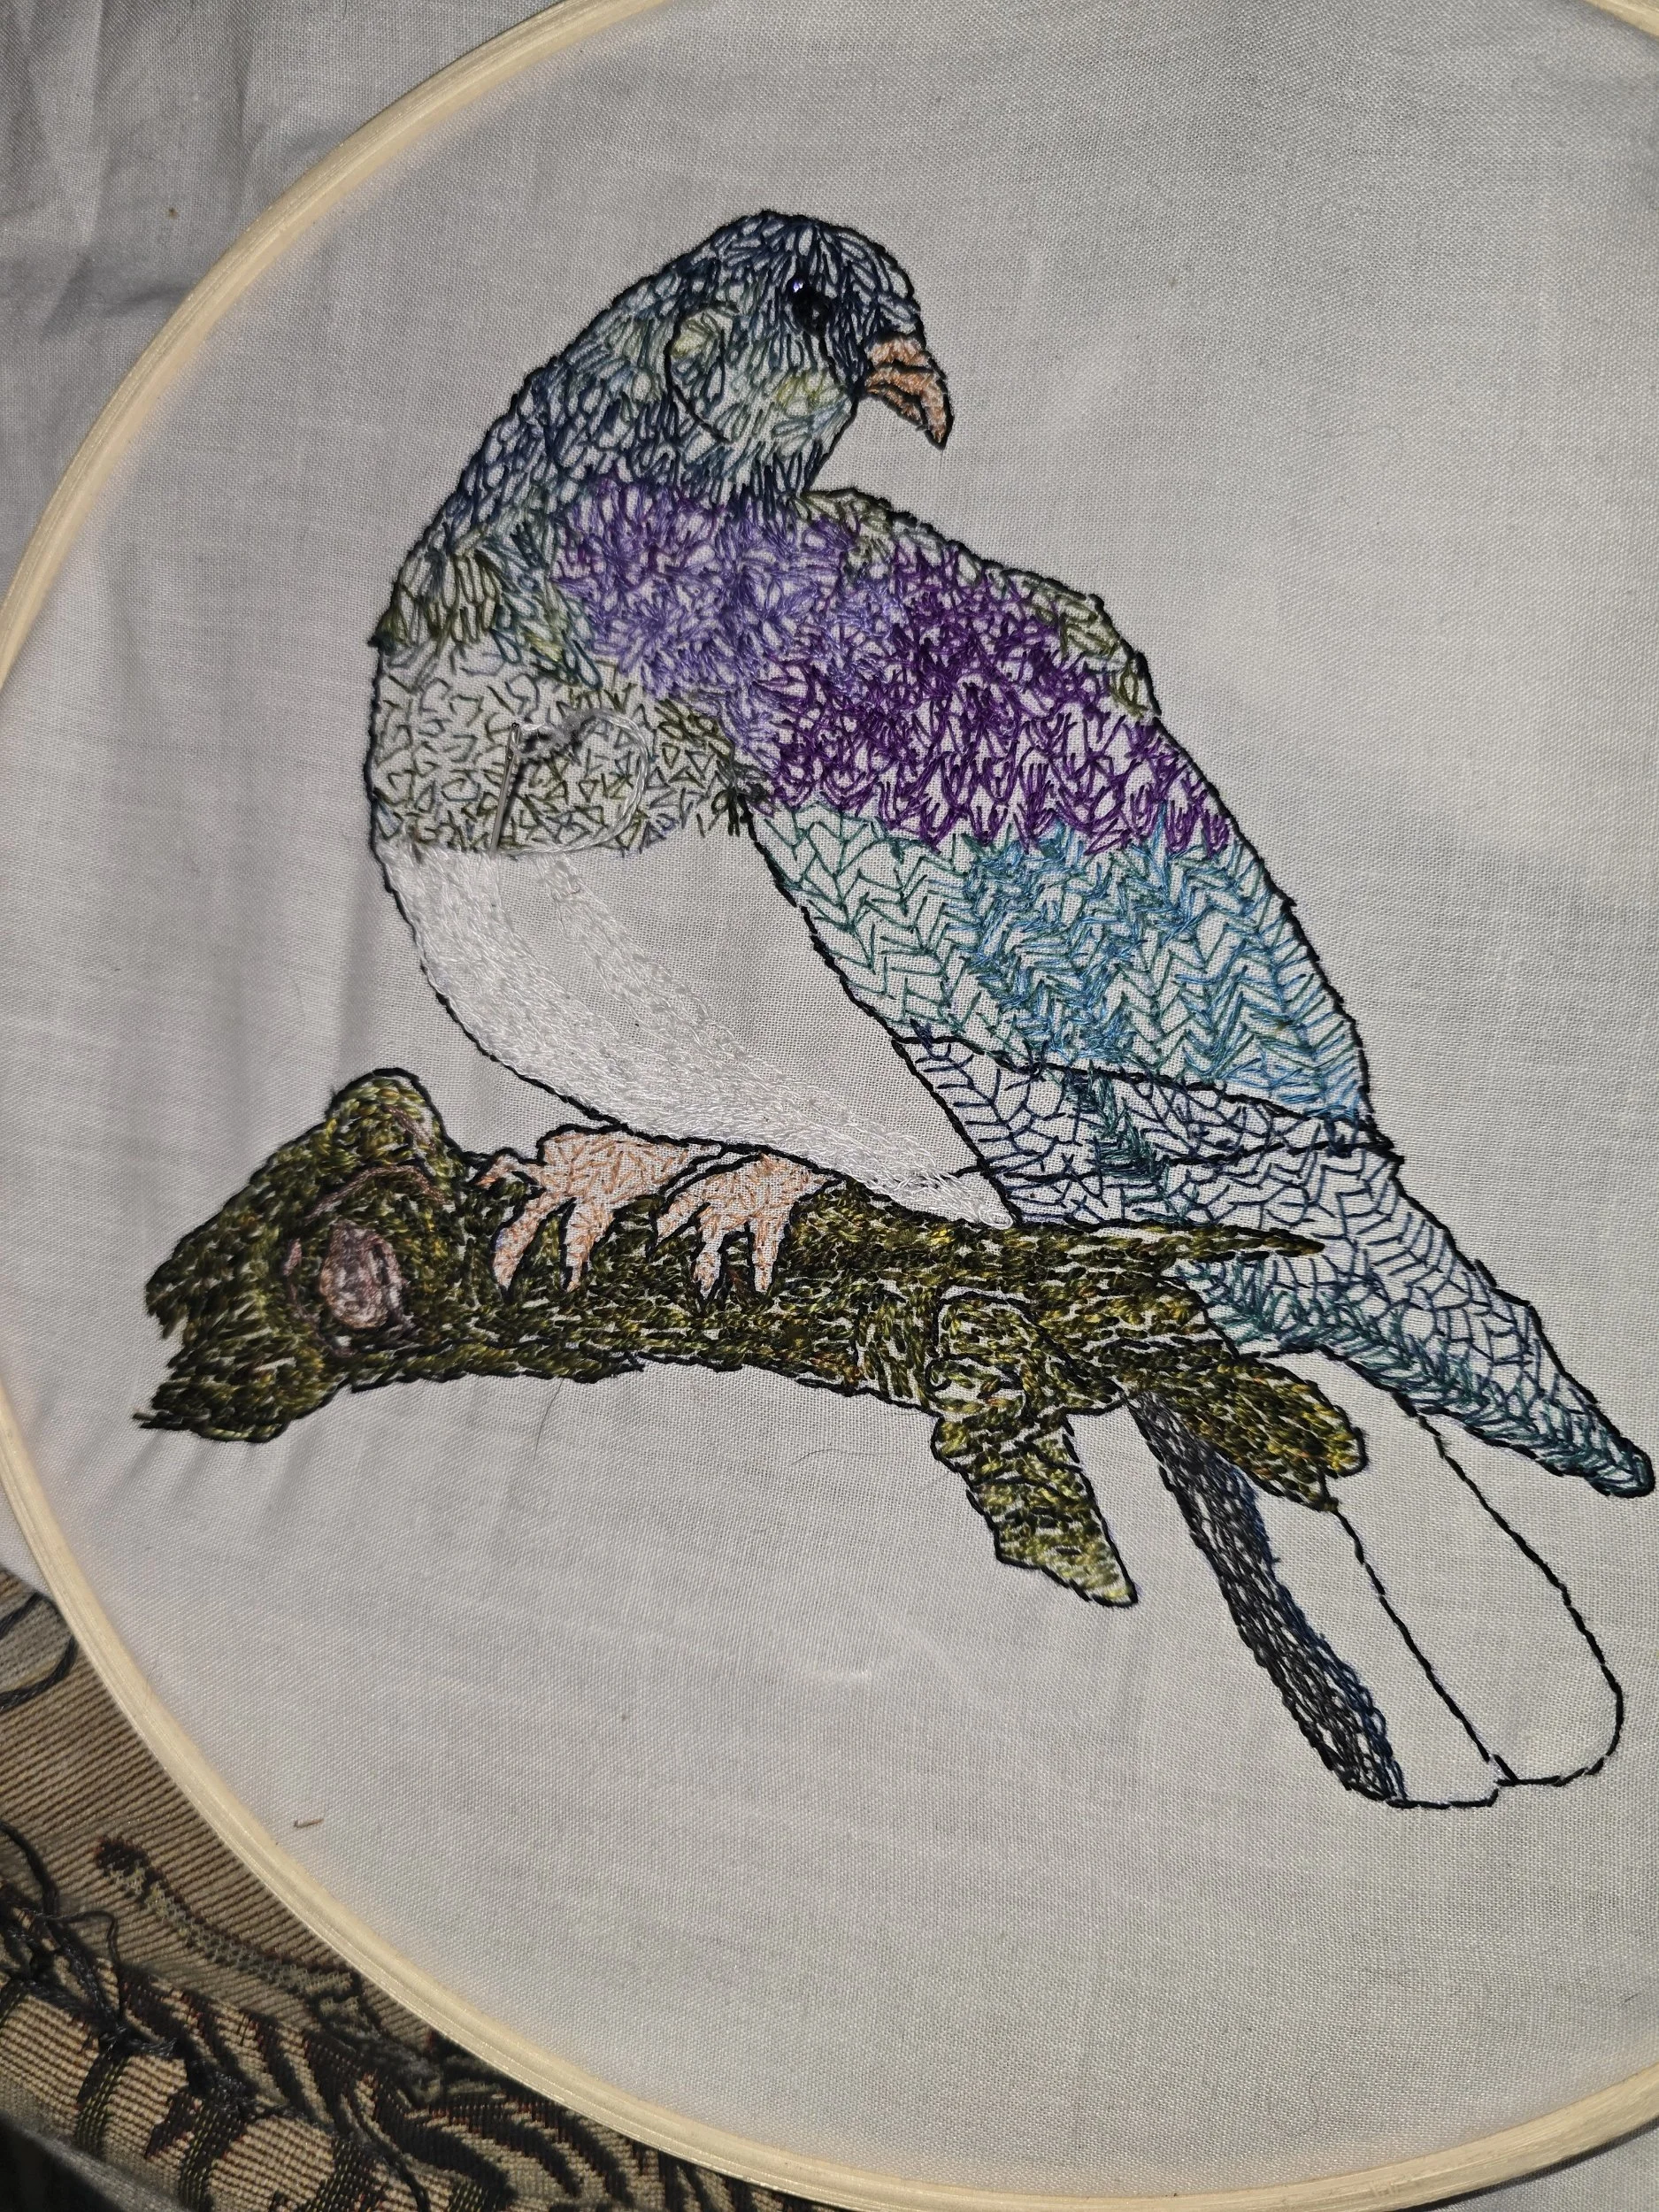
Since its inception in 2019 as a website for creative during the covid pandemic, I have been a member of Stitch Club www.textile.org.uk. It is one of the few subscription based options I have kept up with. I find subscriptions, including Patreon, can become quite expensive but this one offers two tutorials from various textile based artists each month. I haven’t managed to do so many of the tutorials while I have been working on my diploma but now that is complete, maybe I will pick up more of their challenges. Improvisational embroidery is one such option. It utilises different stitches to what would normally fill blocks of colour, without planning ahead. I used single thread embroidery floss often working over previous stitches to produce a greater depth and contrast of colour. I found it helpful while I was sitting with Rob when he has been unwell as the threads moving through my hands helps to relieve the stress of his ongoing health problems.
UpComing Exhibitions
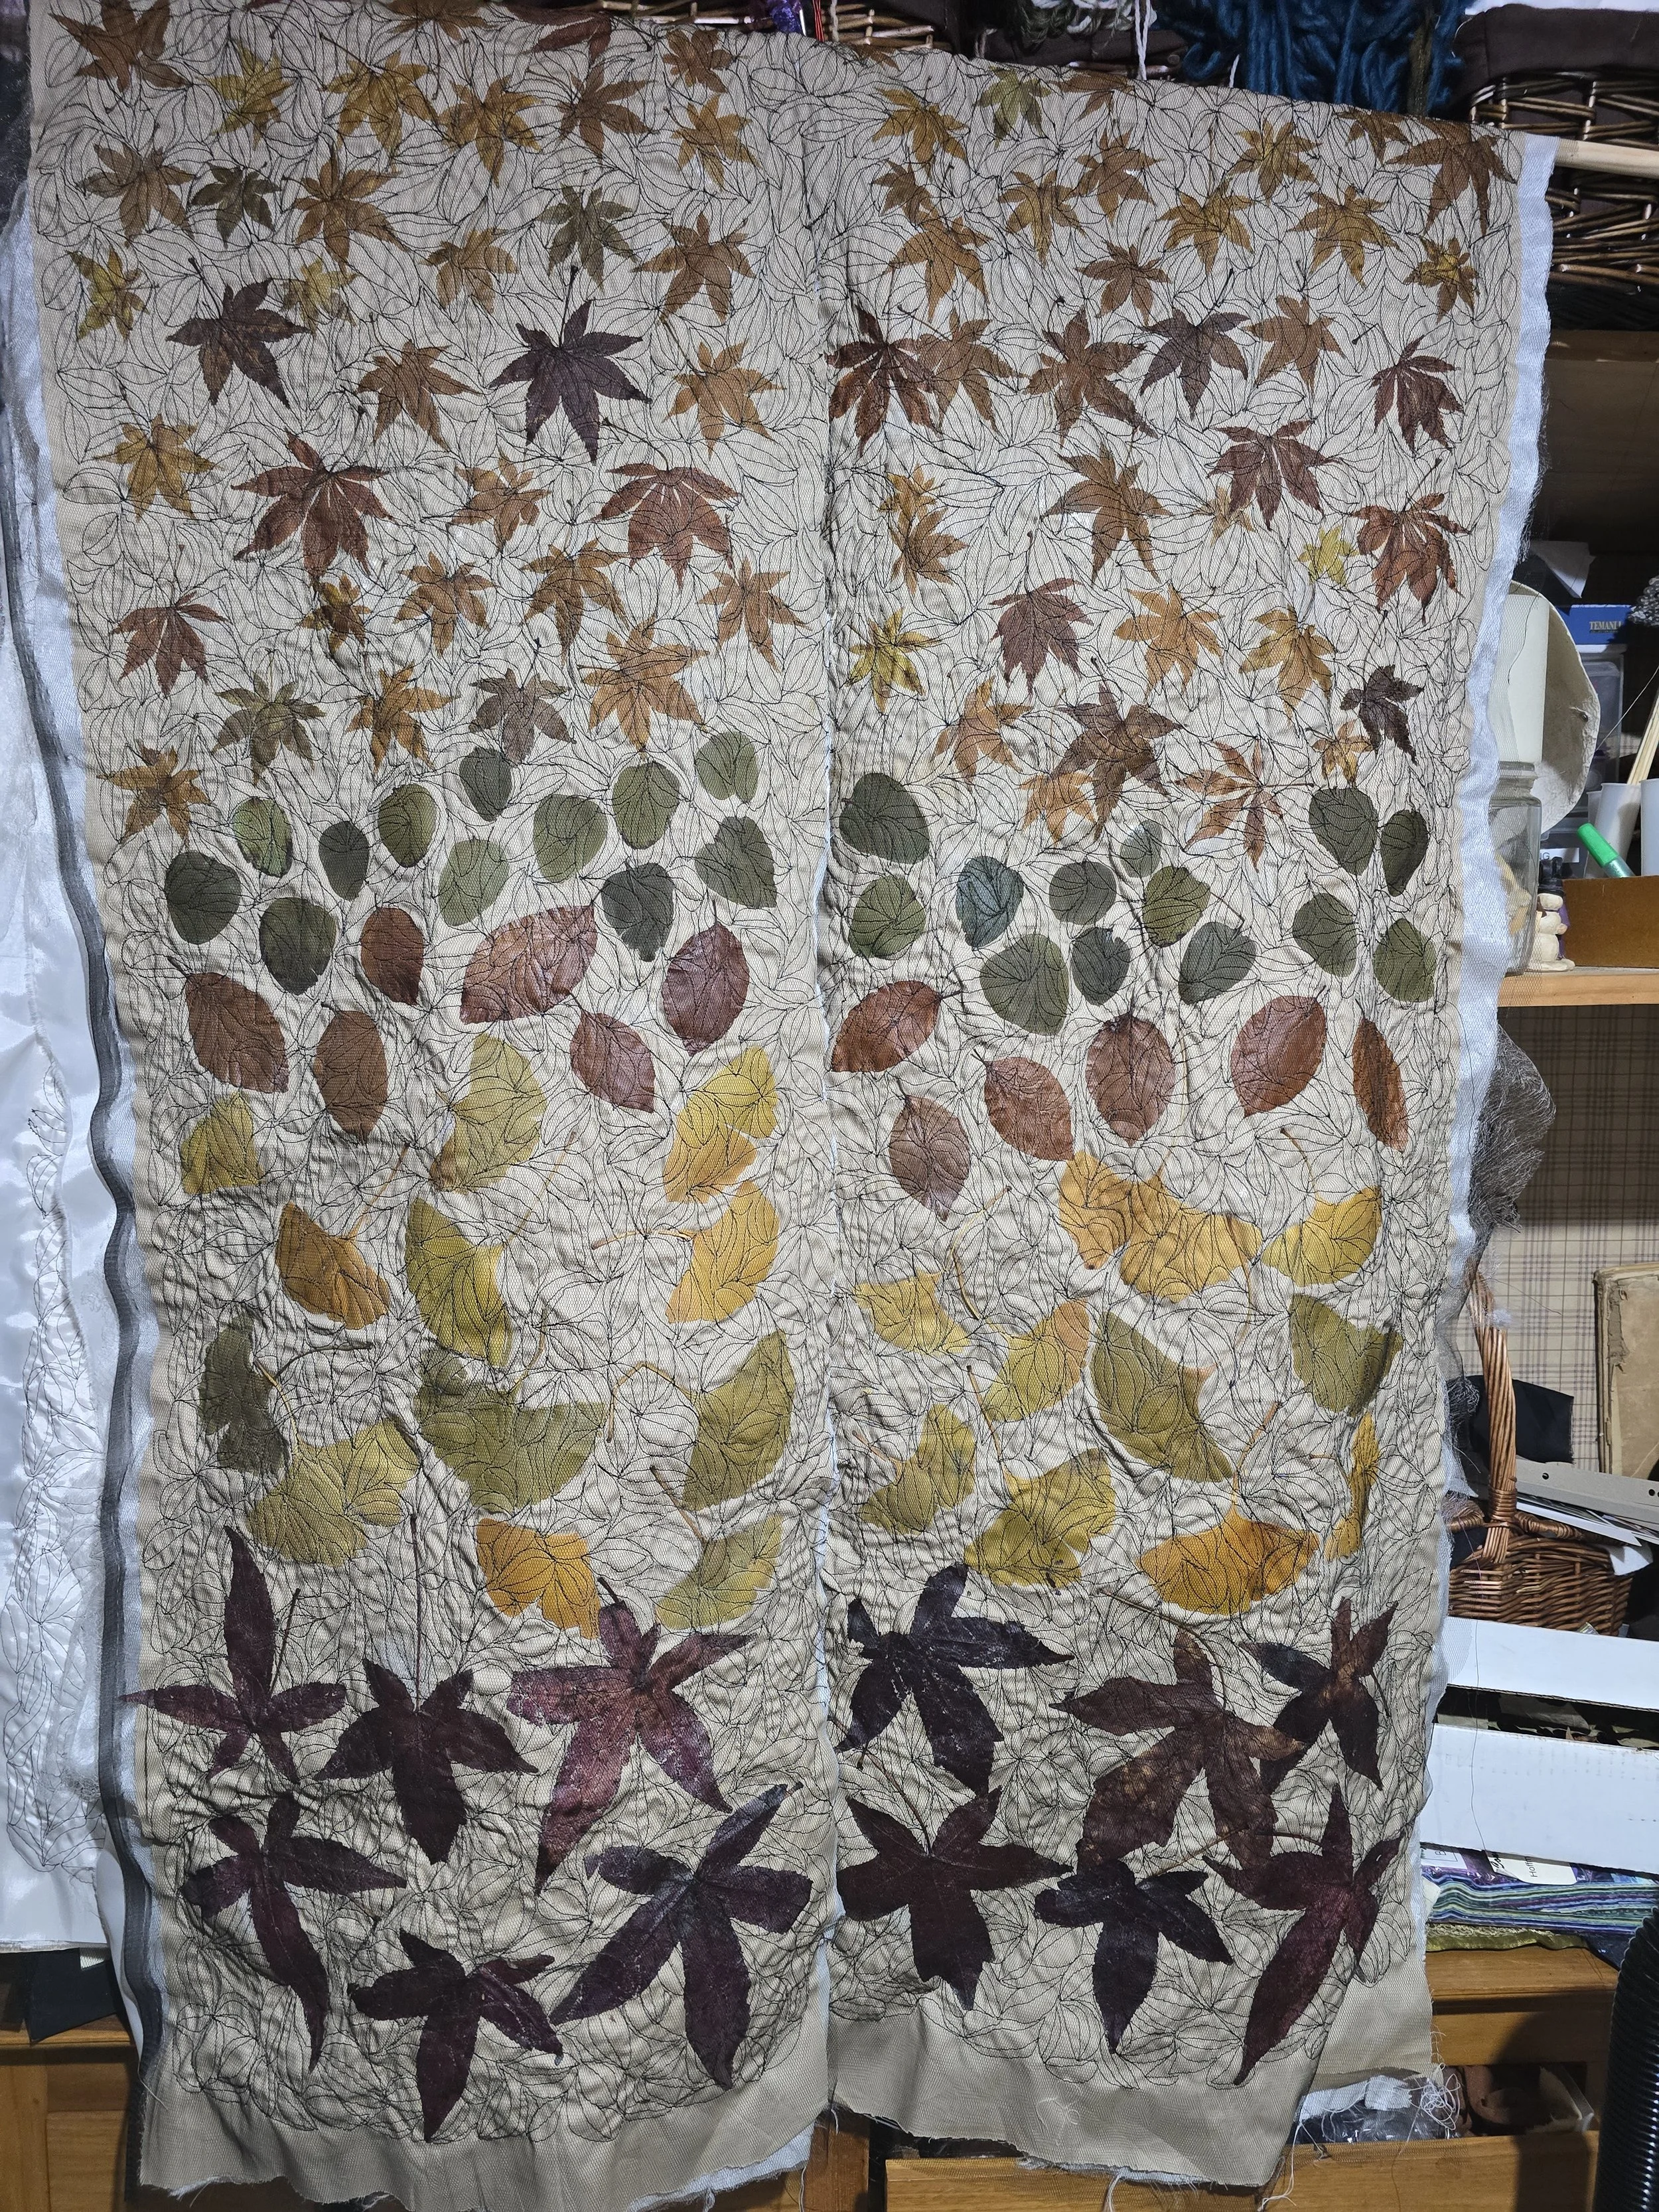
Sometimes I wonder why I put myself through the angst of putting my mixed media into exhibitions because then I have to work to a deadline which isn’t all bad but with the extra work of Rob not being so well and unable to help a lot around the house sometimes I get a bit anxious. There are two exhibitions coming up, both the weekend of the 17 September. Our biennial Waitomo Society of Arts exhibition and I will need to help out with that one as well as exhibiting and the Waimarino one which a friend suggested I put something in. I am working on an installation of a kimono using glycerin preserved leaves over reclaimed cotton and under black net with free machine embroidery holding the layers together. All the leaves are from my garden and ones I preserved in a 50/50 mix of glycerin and water this Autumn. The leaves over the shoulders and down to chest height are small leaved maples followed by beech leaves, silver dollar gum, gingko and finally Liquid amber at the hemline . So the leaves start off quite small and get incrementally larger as they spill toward the hem. The inside is some taffeta I had left over from another project. I have used heat web to hold the leaves in place while stitching them. Even so some of them have moved a bit in the process. The sleeves will be more simple with just the cuffs having gingko leaves and the rest being free machined net over the cotton. I need to make a go of getting this complete but Rob has a biopsy this Tuesday and who knows what that might reveal.
I am considering adding another entry as well - perhaps one of my cheesecloth sculptures.
Learning to Wet Felt
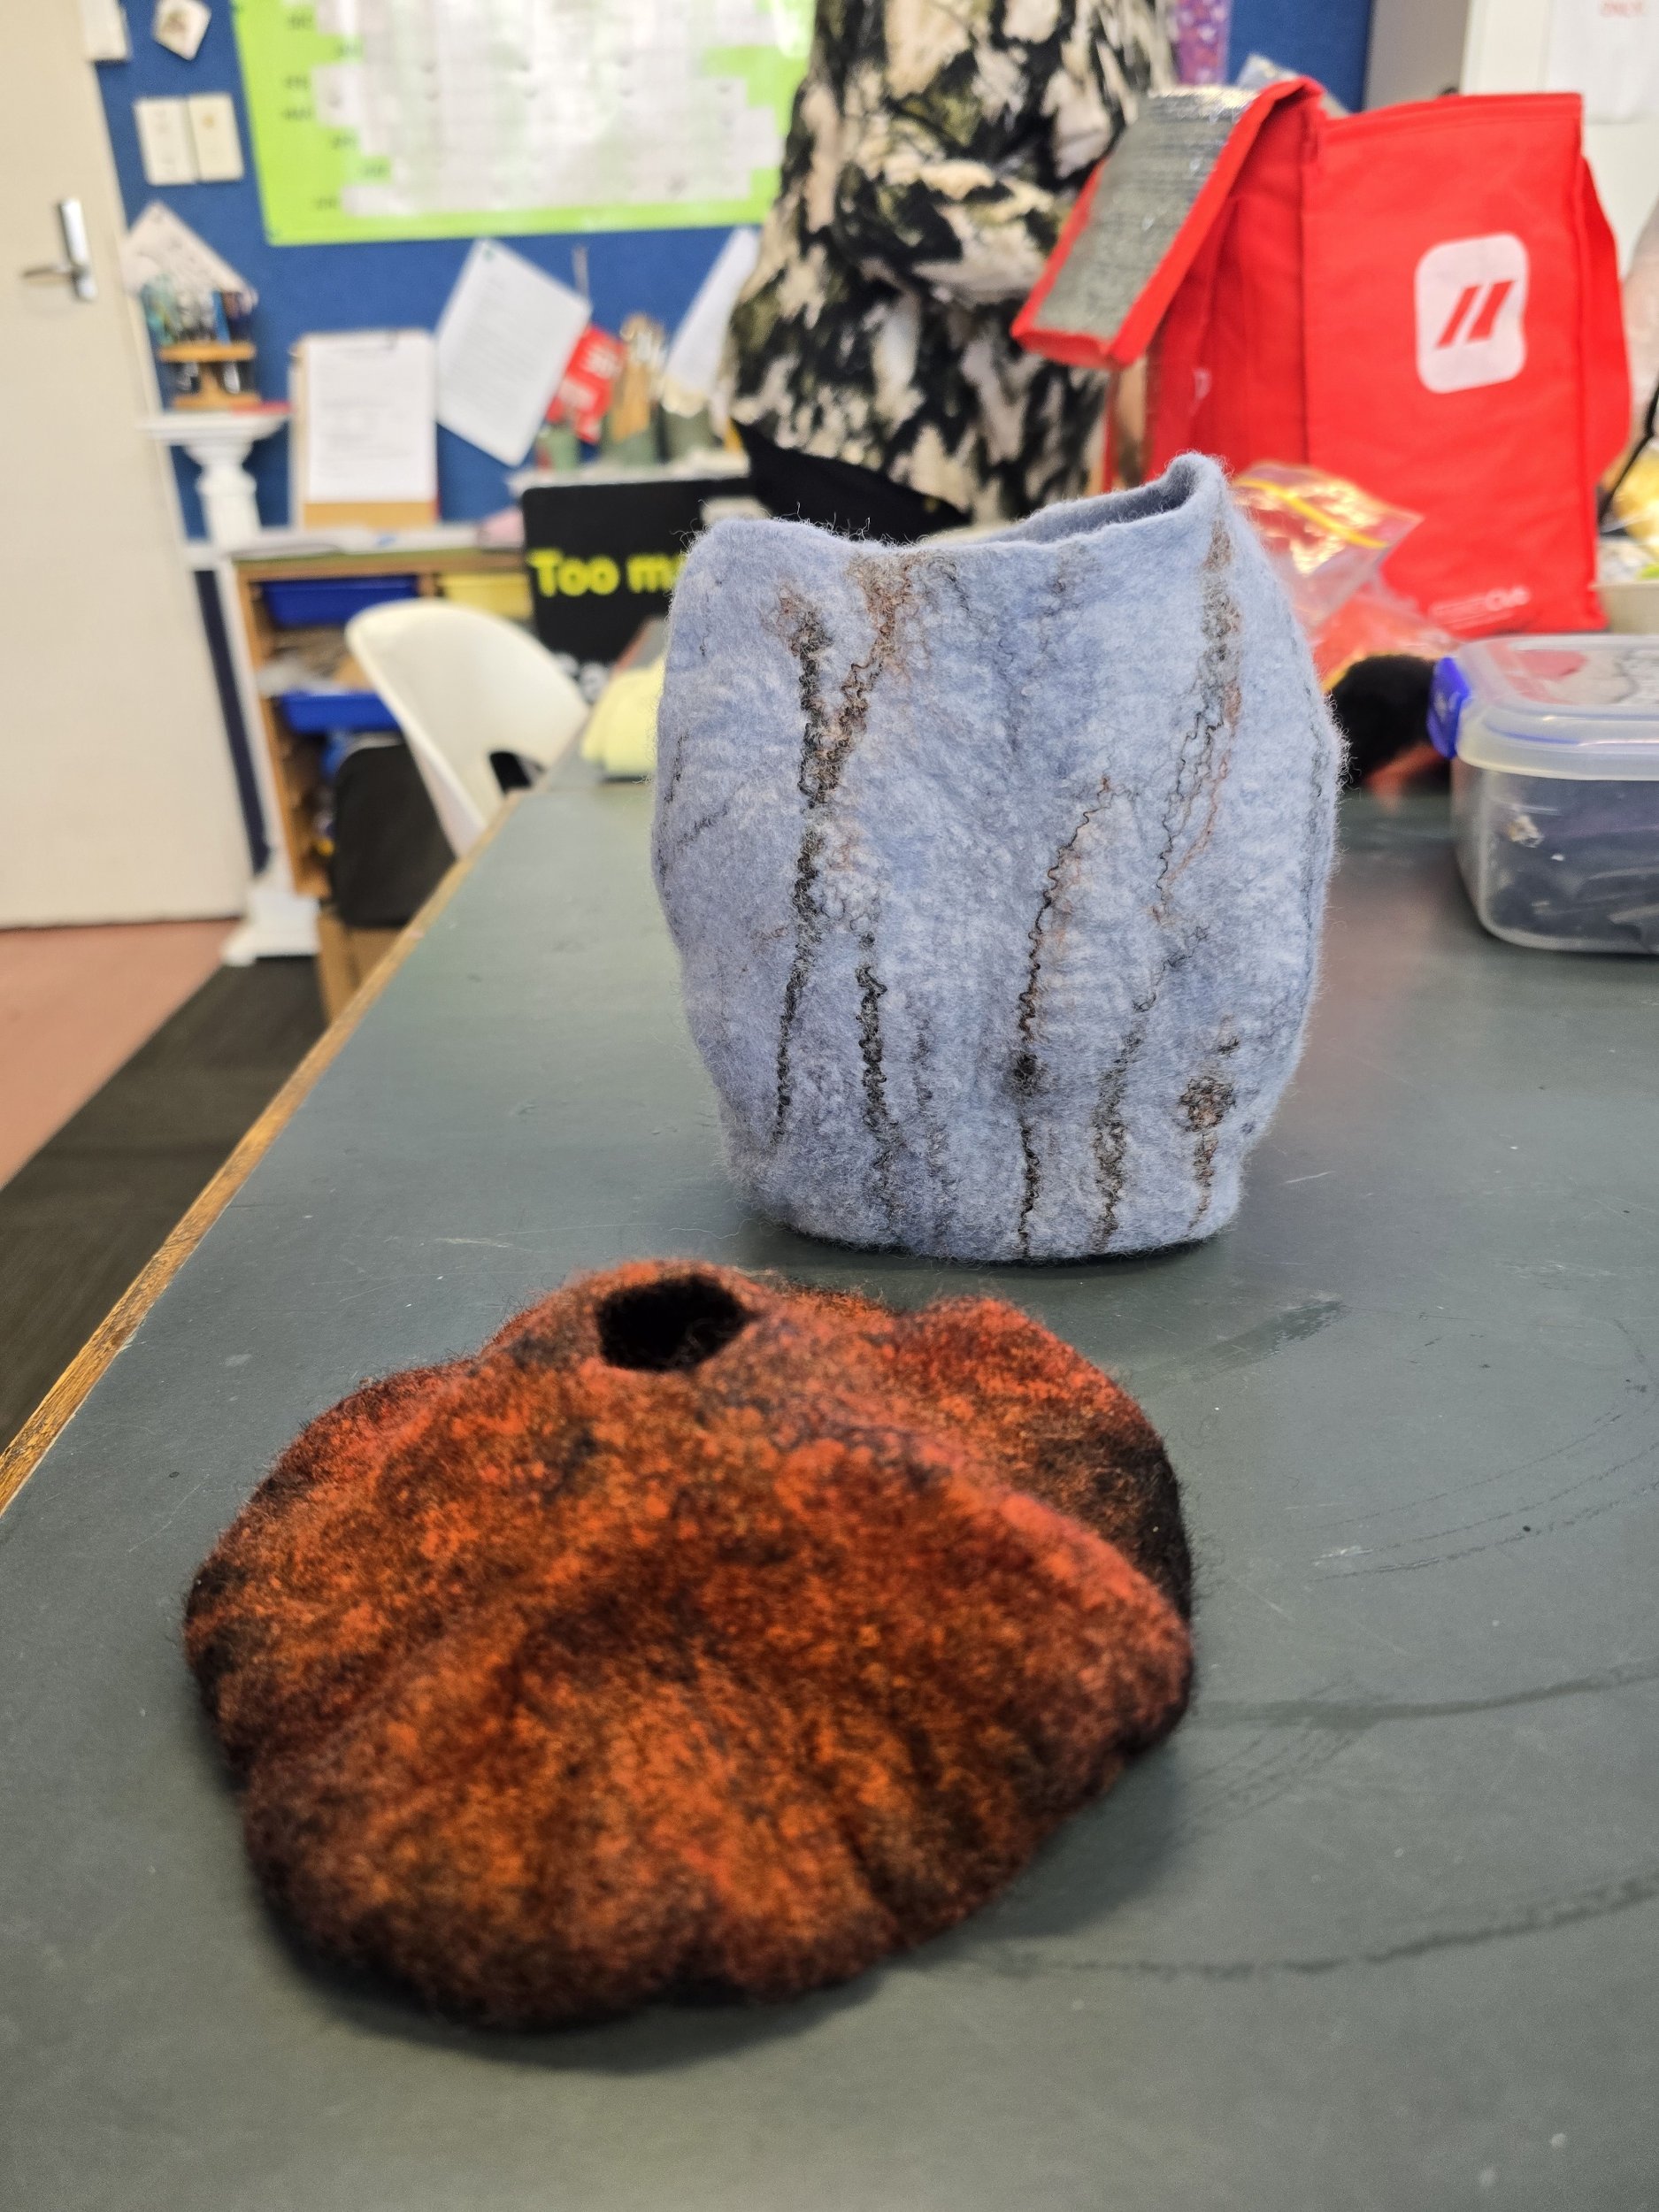
I am a member of Waitomo Society of Arts but not to any of the specific groups under this umbrella which means I can pick and choose a bit when tutorials come up. Recently we had a day tutorial on wet felting which I’ve never really had any experience with. It was a very small group and all materials were included in the course fee. Maybe it was the fee that put some people off but I bowled along to the society’s rooms ready to felt for the day. We got to make two pots/vessels from wet felting with bubble wrap and our choice of fleece colours, using a heavy plastic resist in the middle. It would be easy to use this process on a larger scale to make a beret. I was happy with rolling the wet and soaped fleece and turning it a quarter turn and then rolling again. It wasn’t as physical as I thought it would be but then the vessels were quite small. I am always amazed at how my myriad of techniques in textile and mixed media transfer so easily to new methods. Choosing a colour scheme or shaping the vessel at the end. I am wondering if I could now make some small pods that could be inserted into my table weaving and so the journey continues. I do not think I want to make clothing as felted clothing always seems so stiff to my, although Nuno felting might be a consideration. And so the journey continues
The Repair Shop
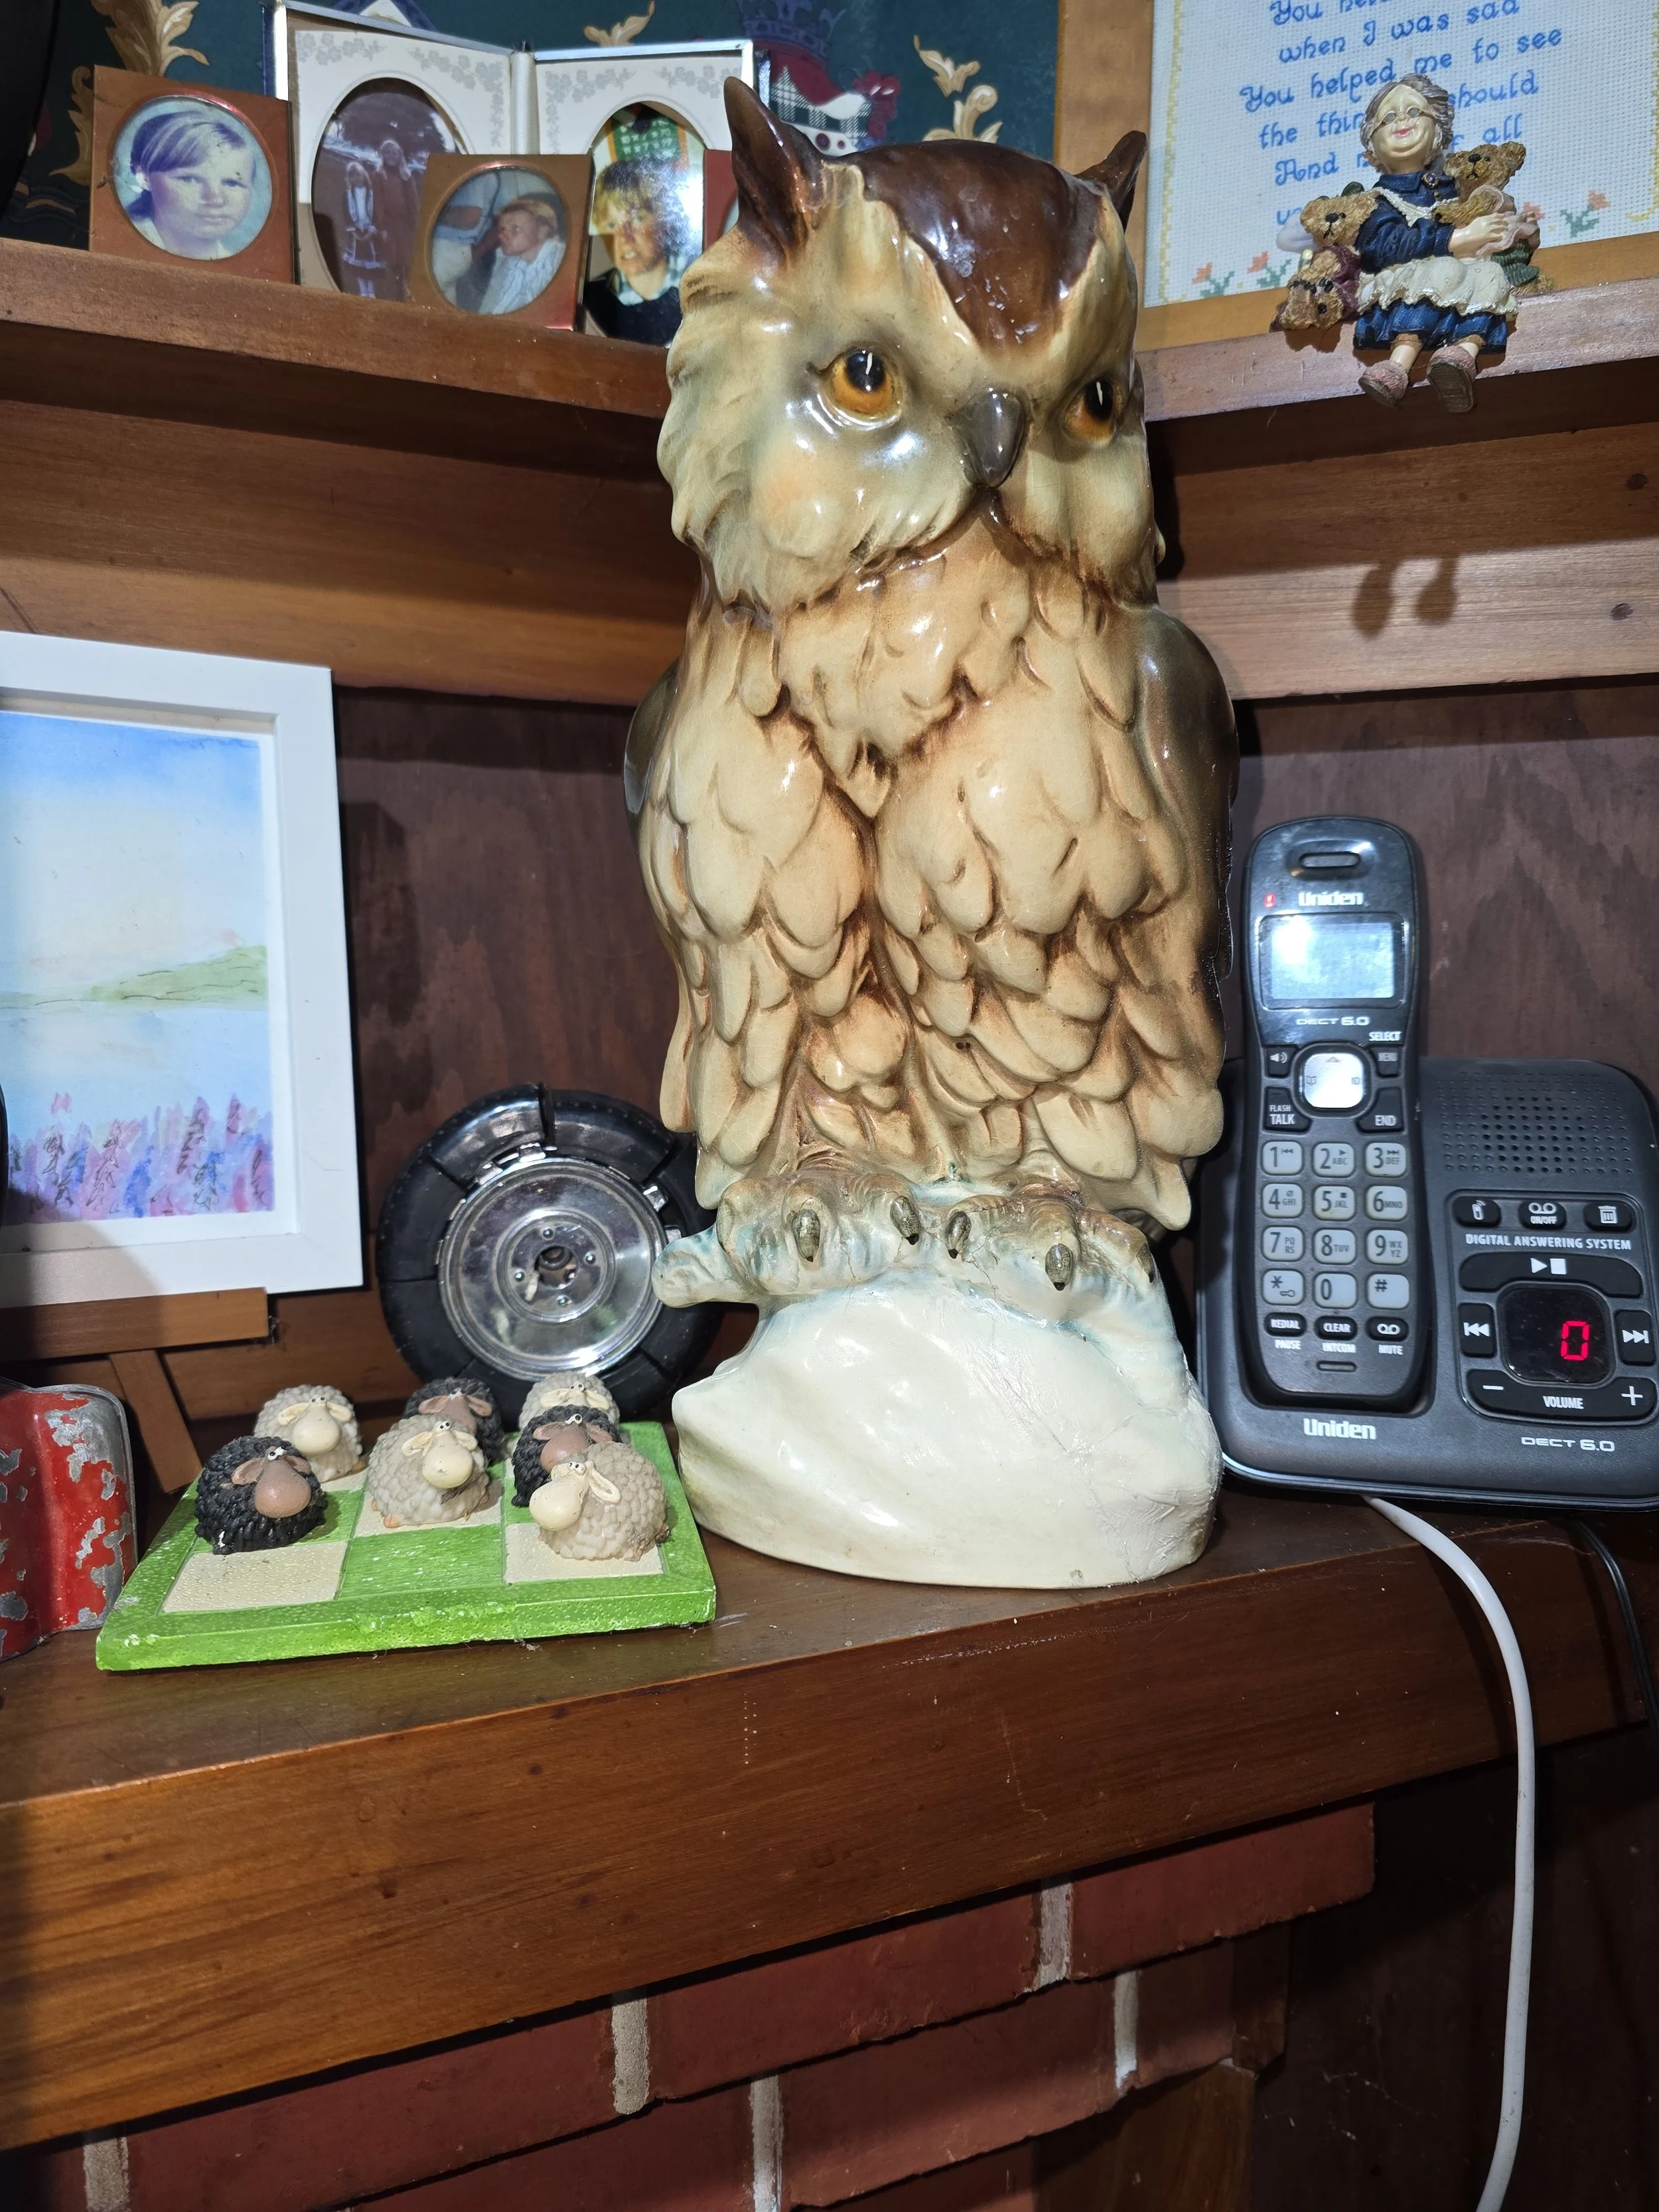
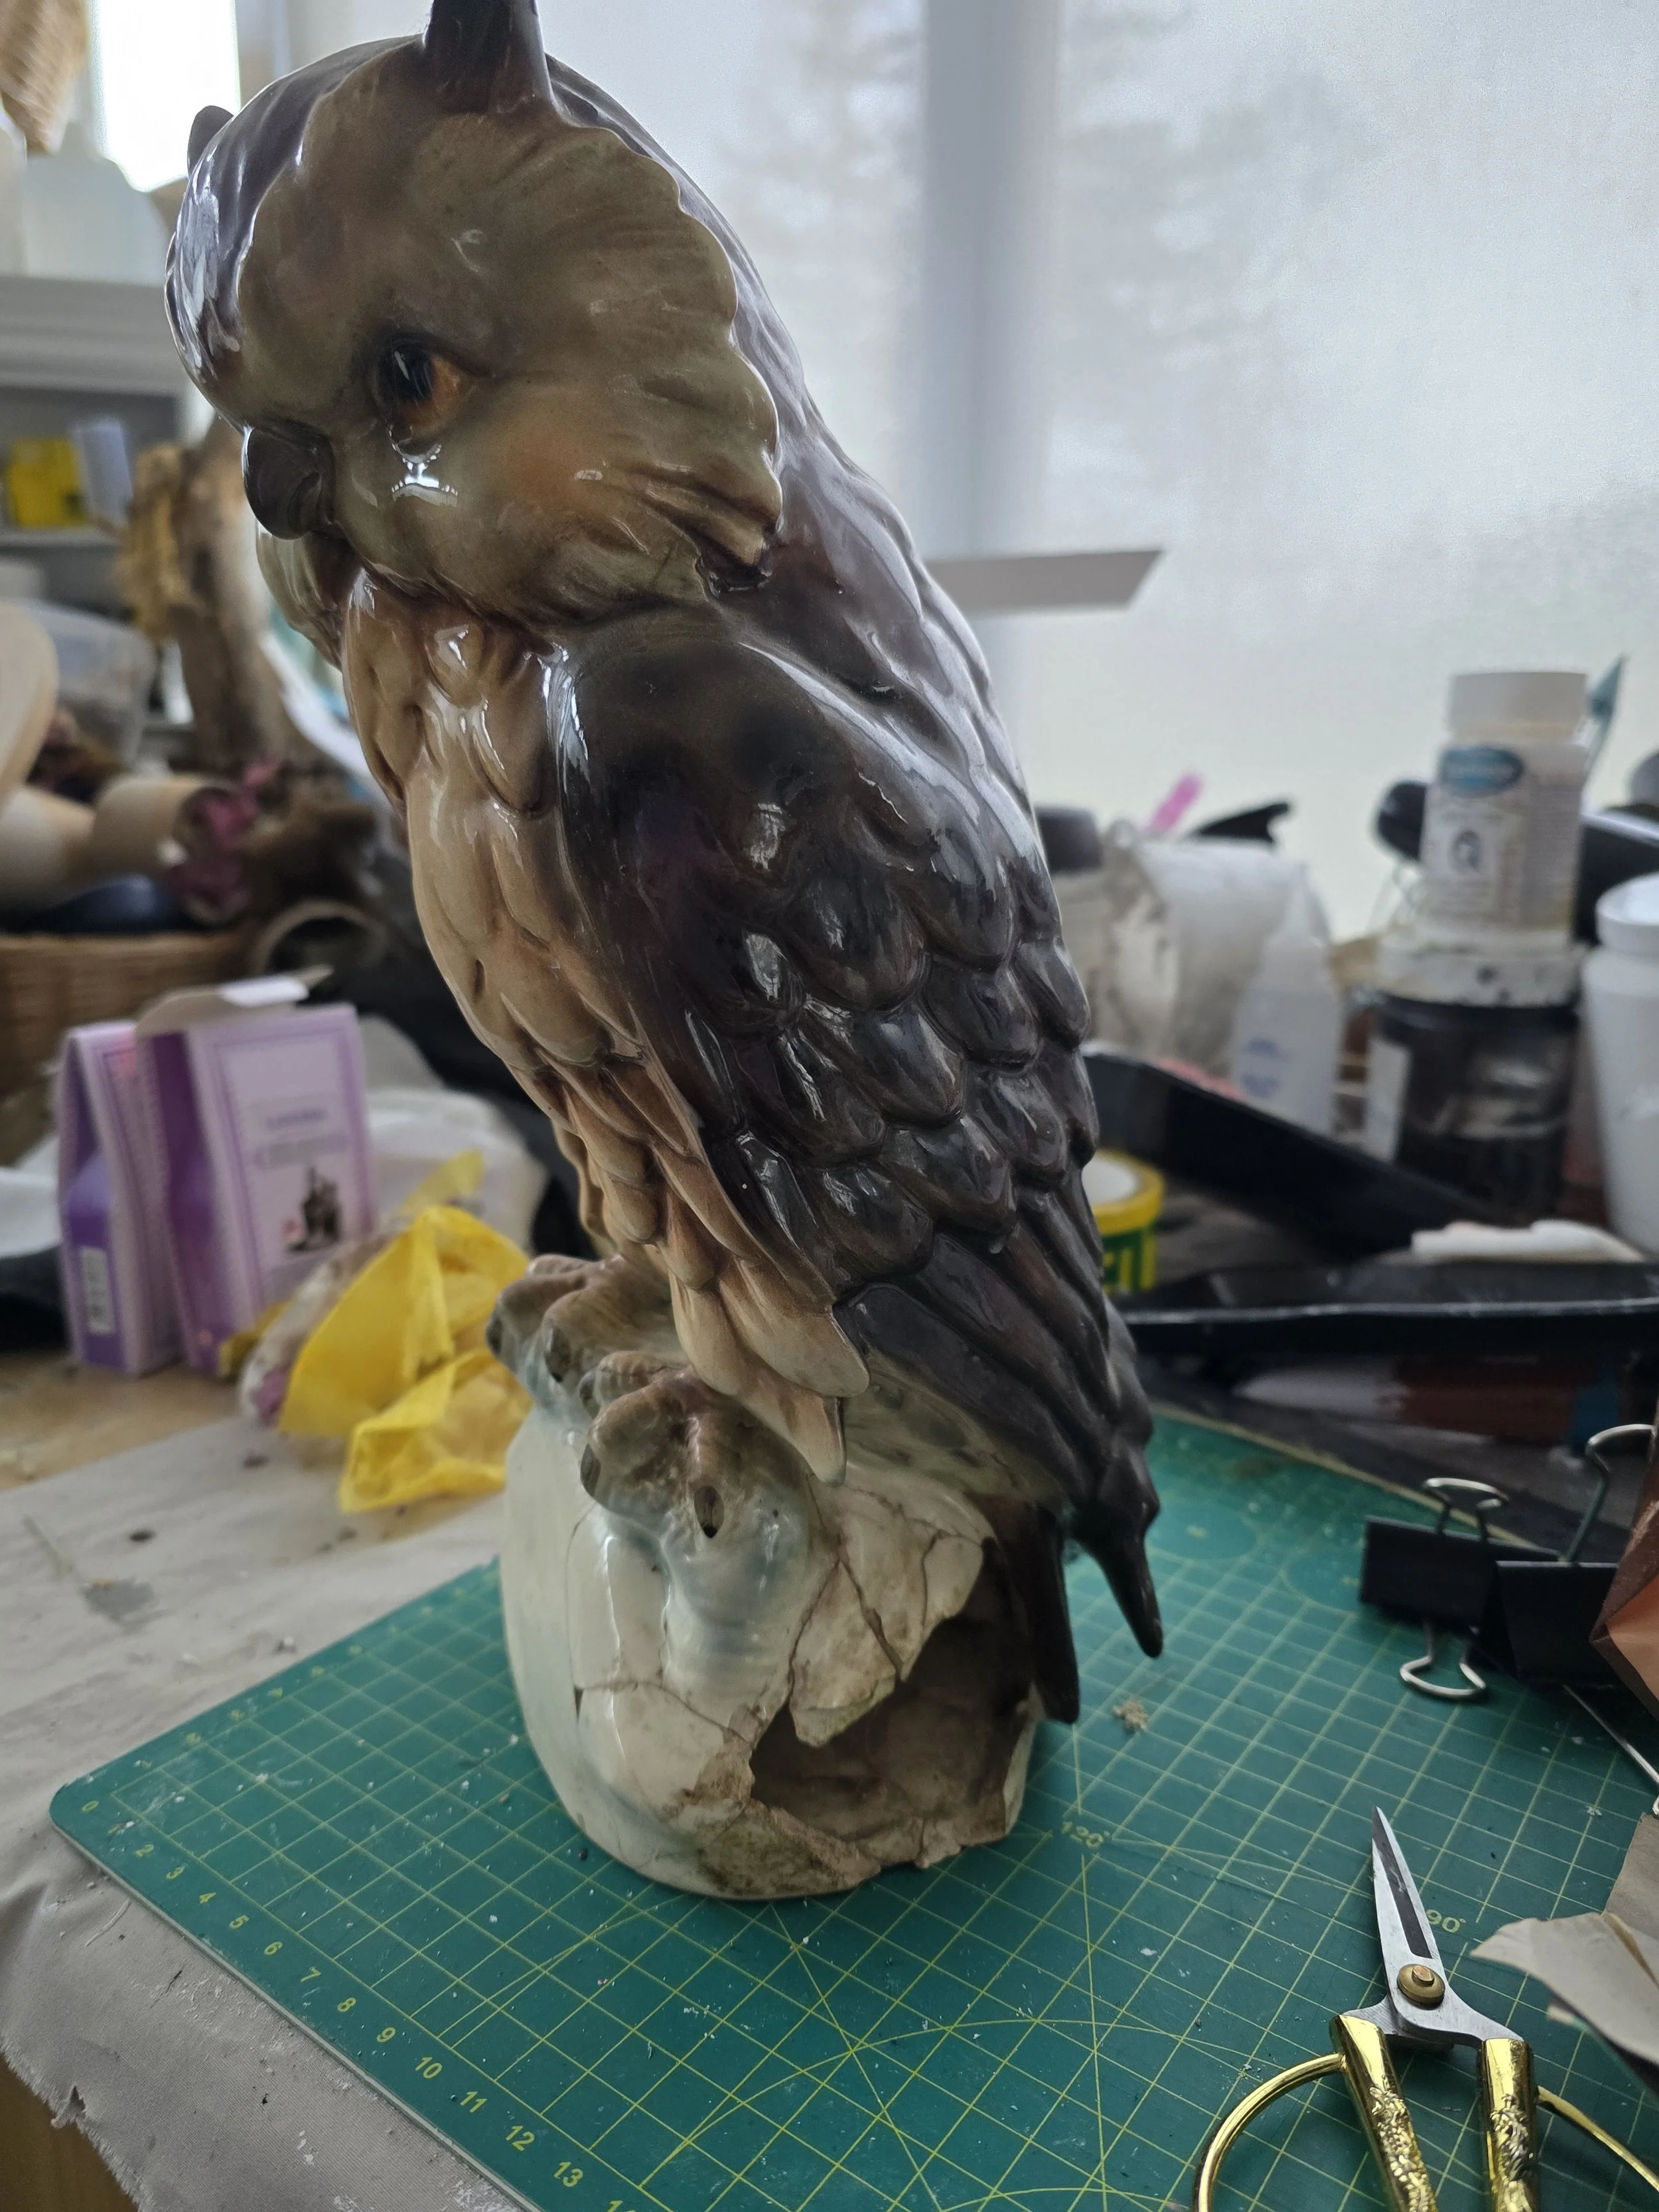
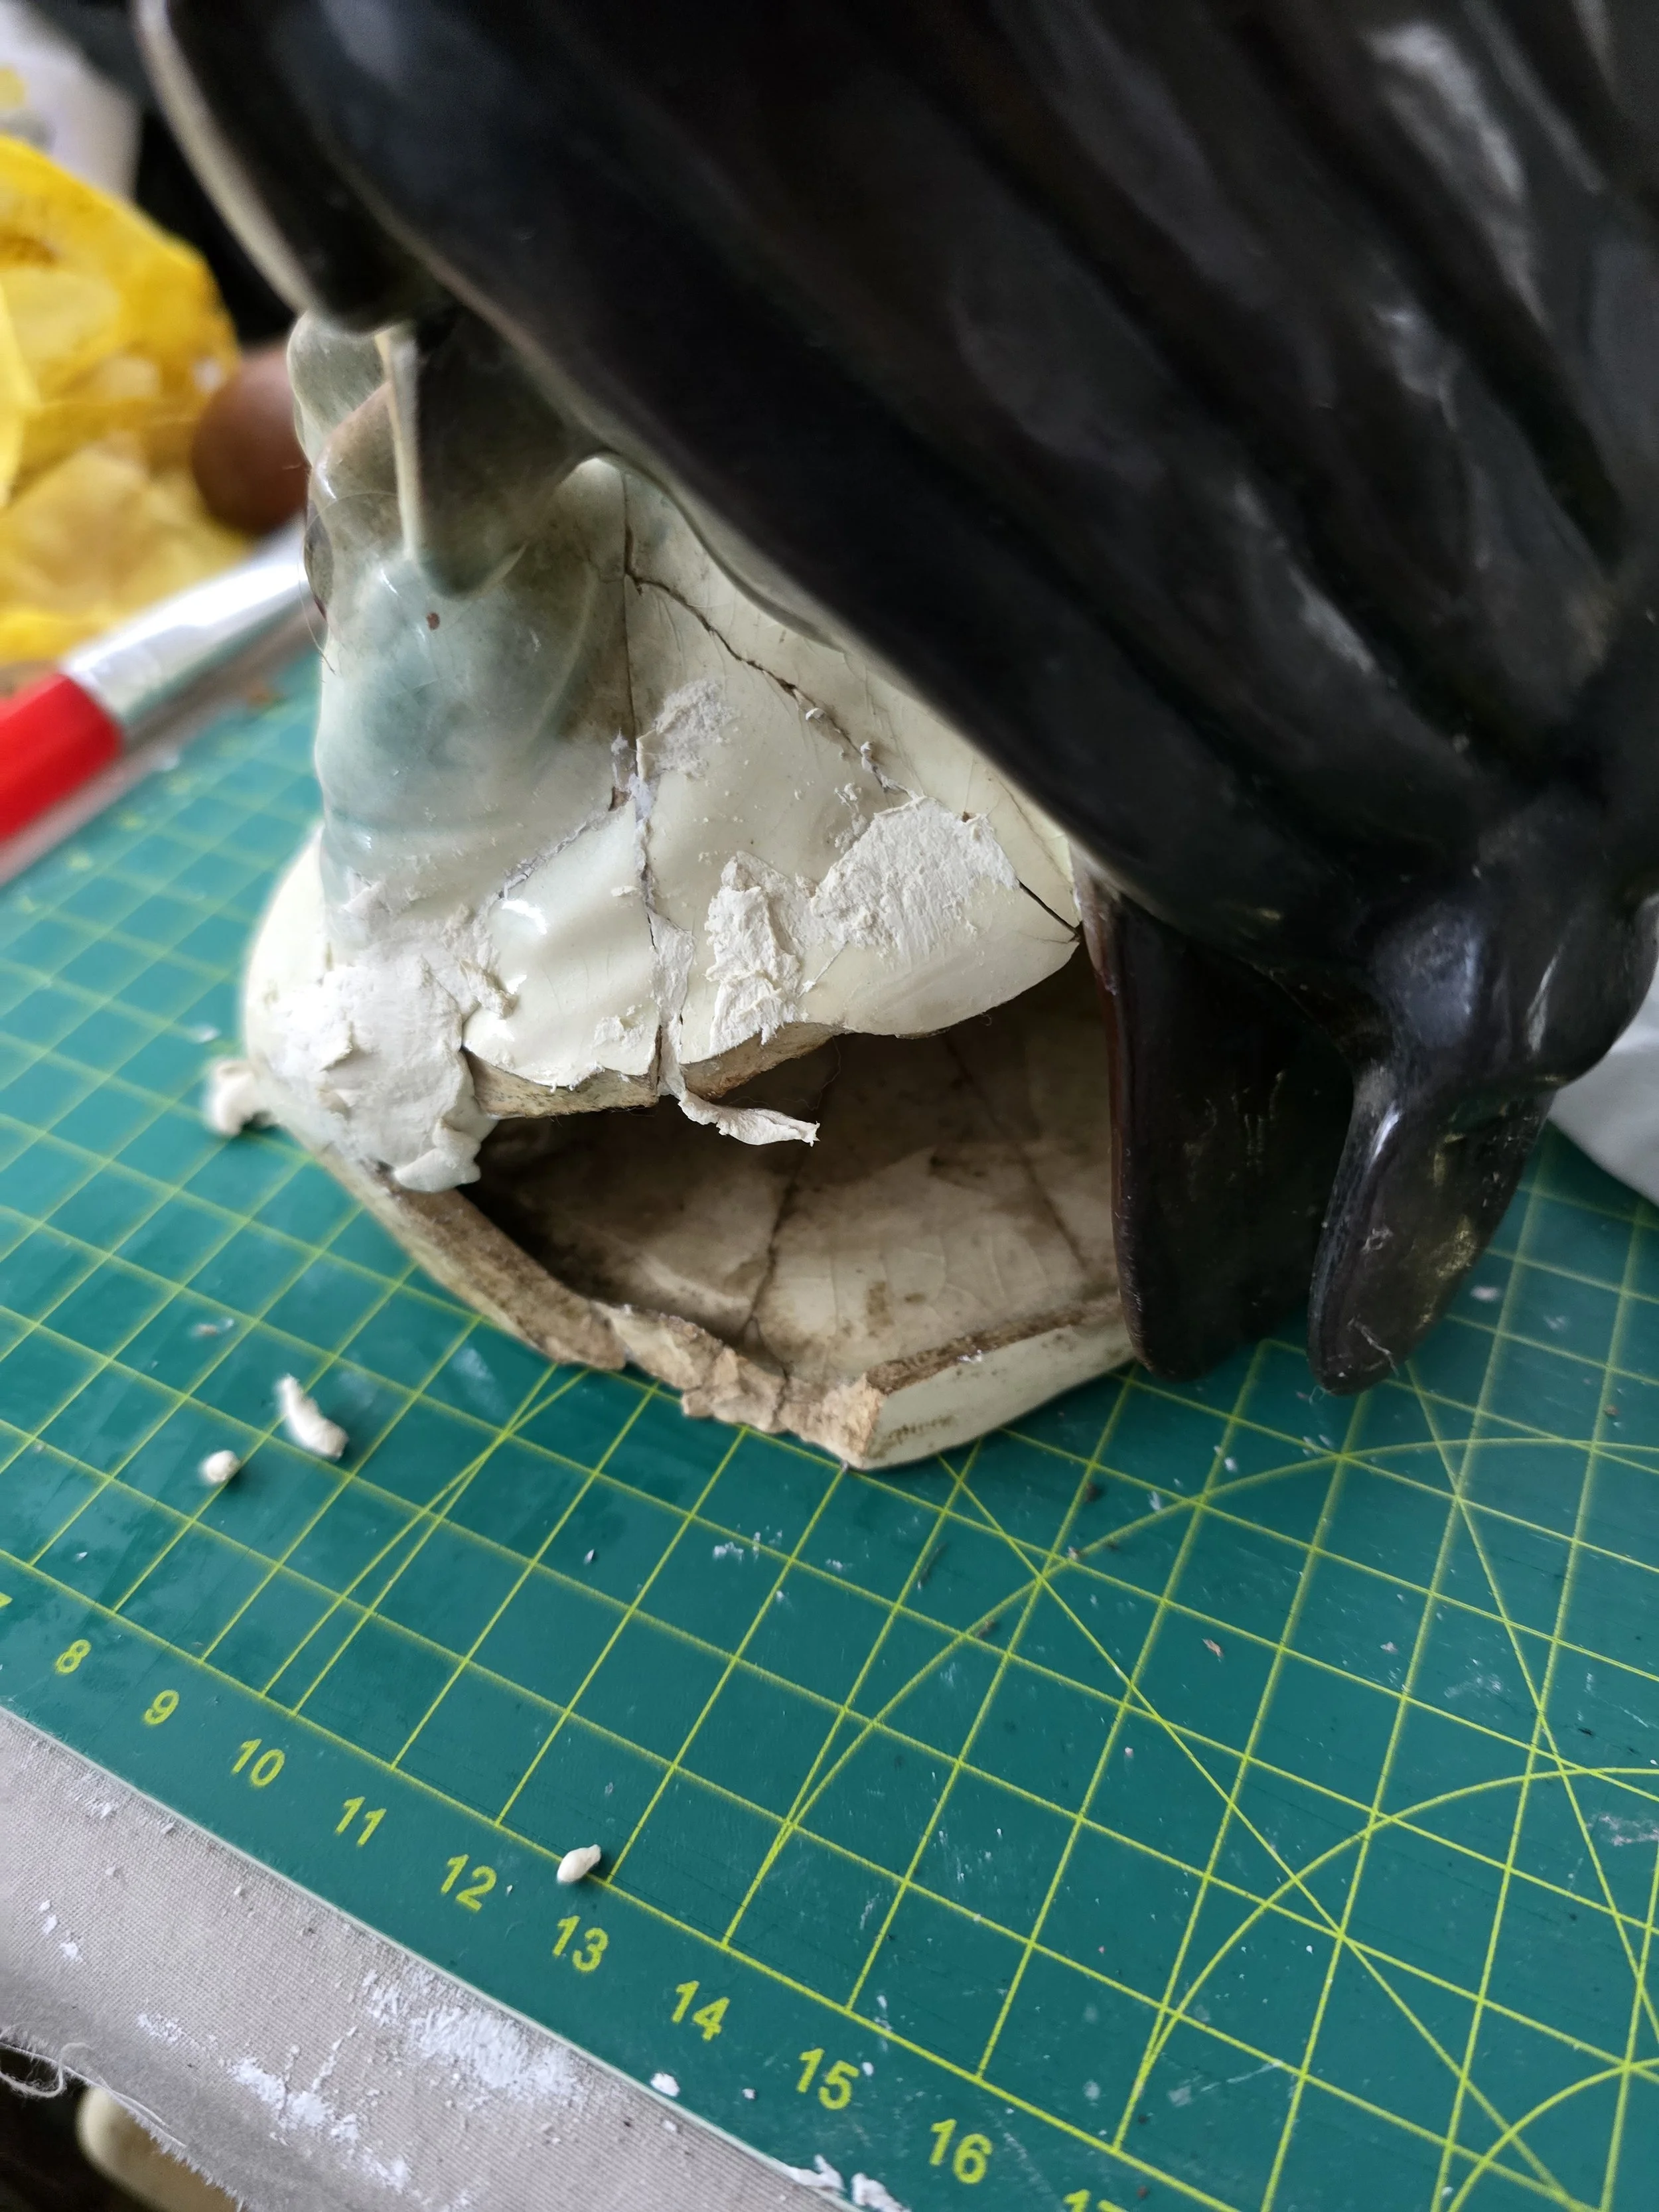
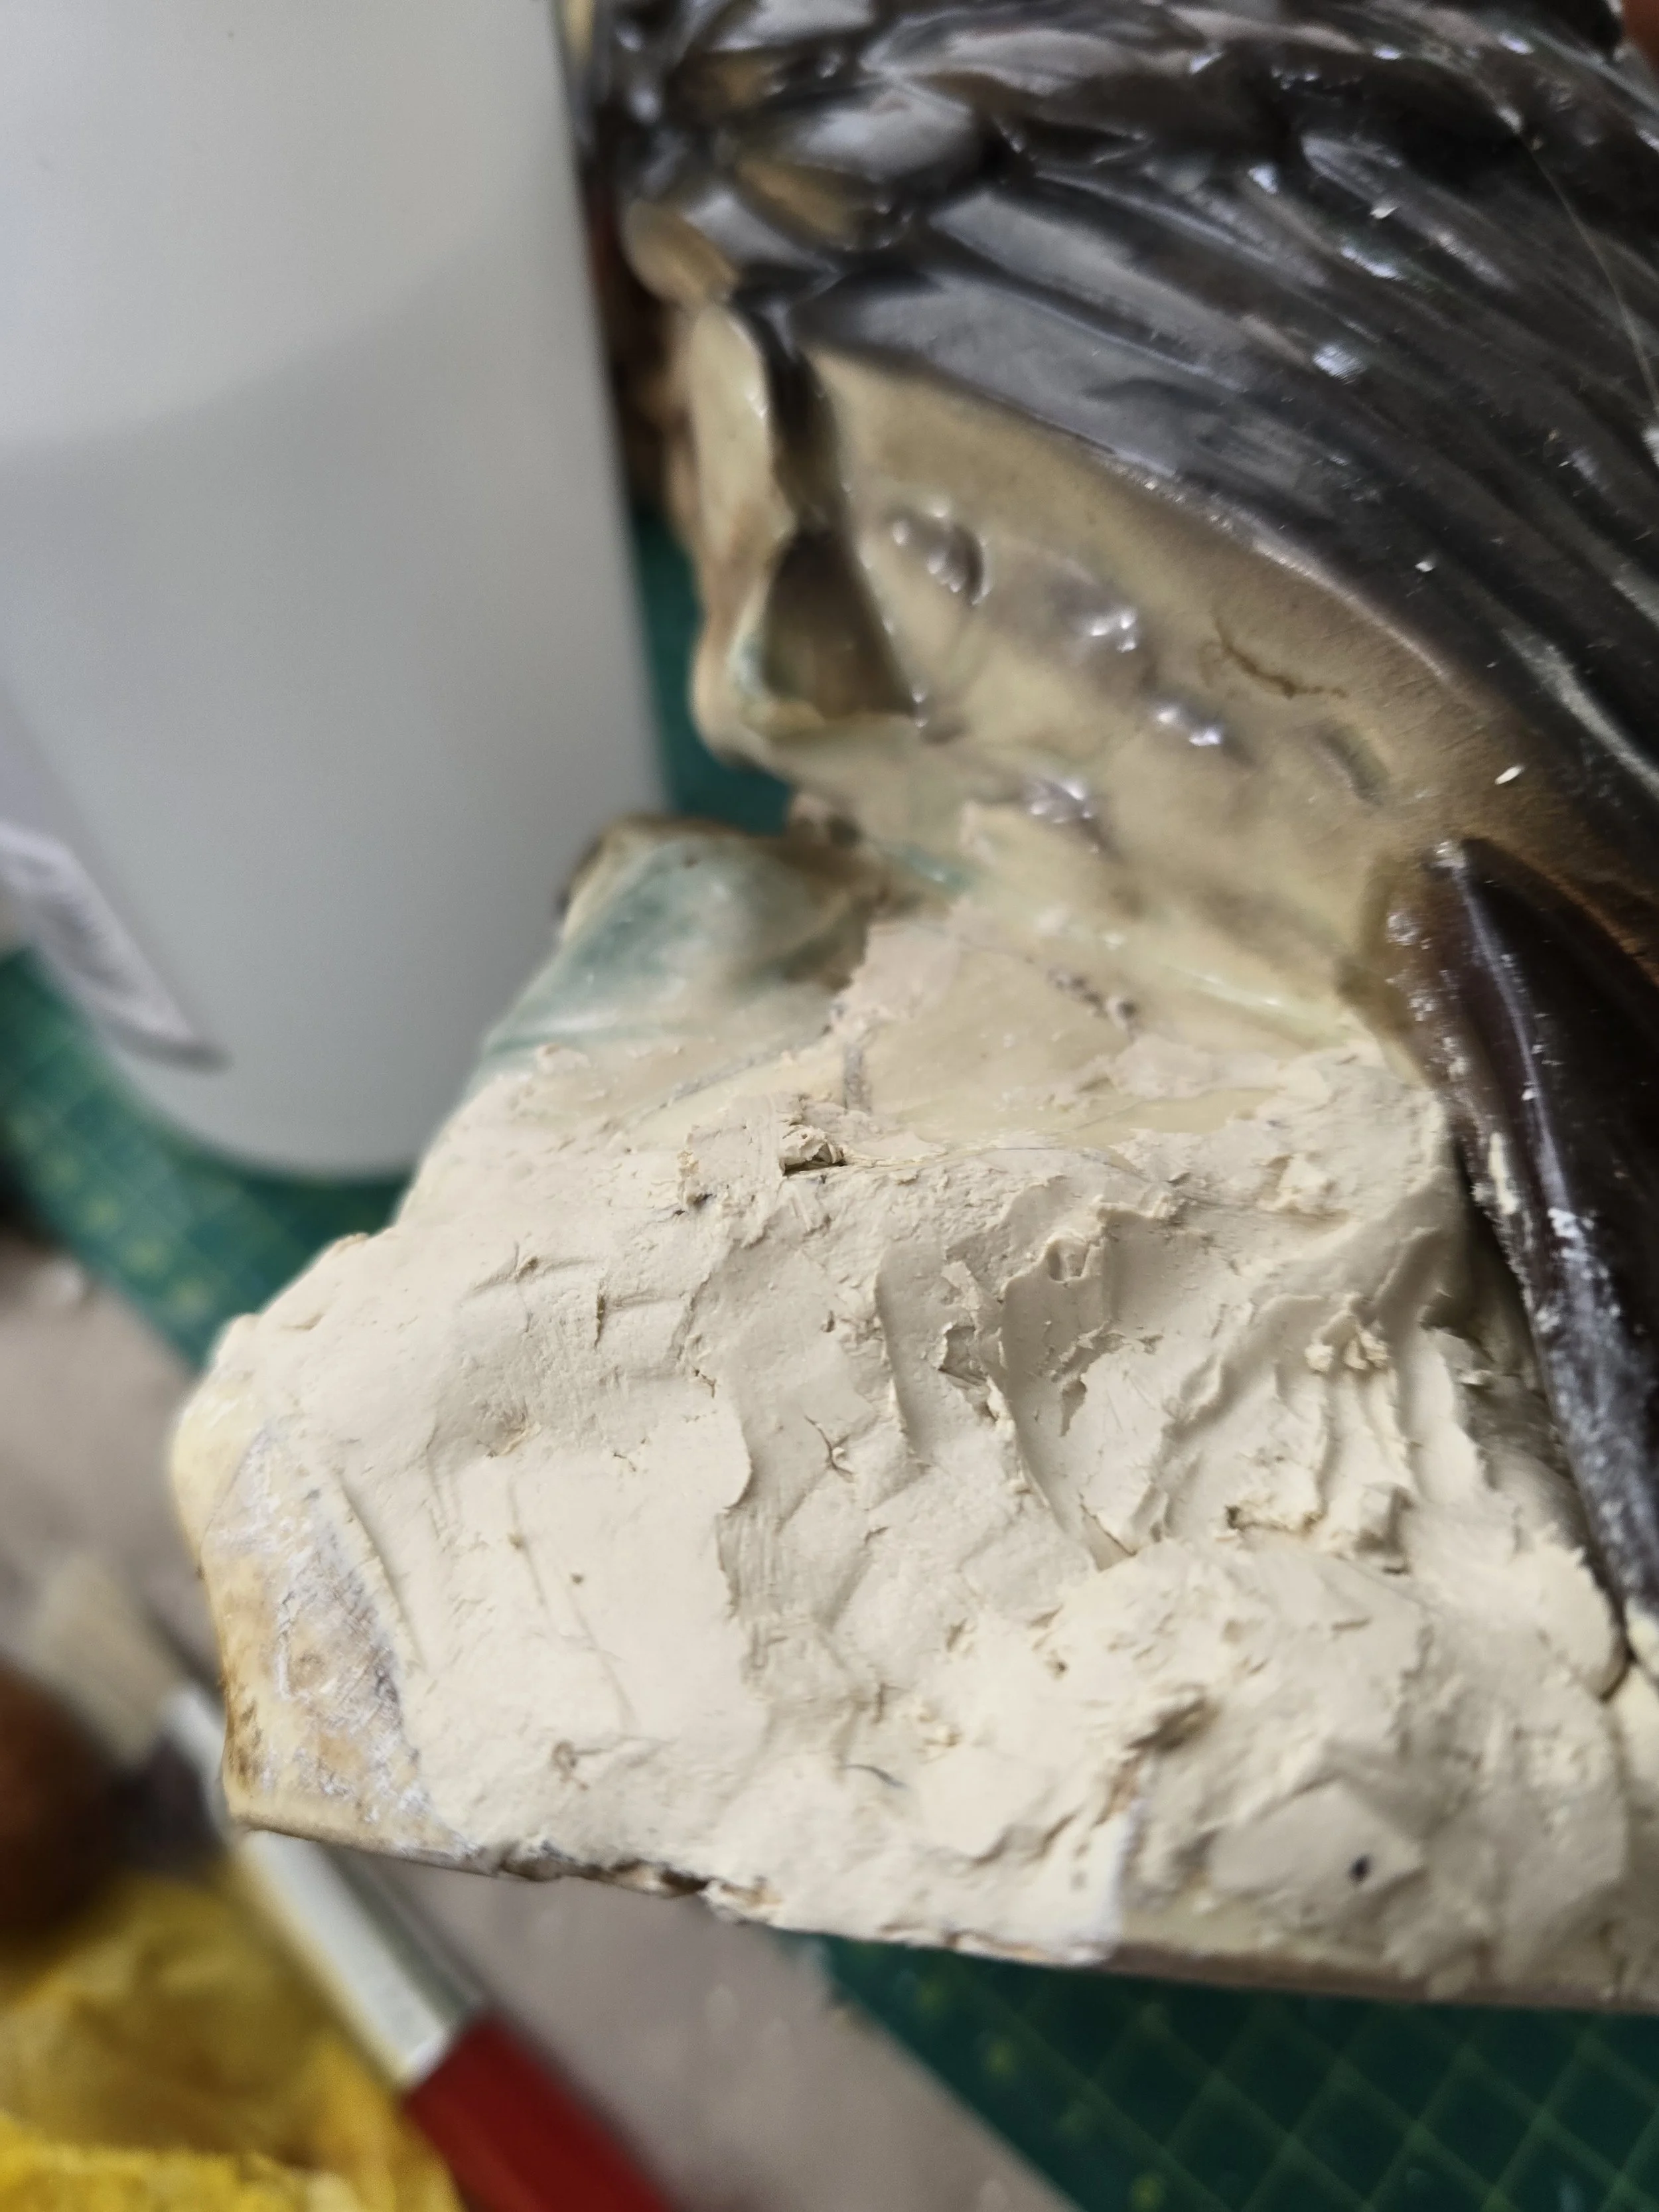
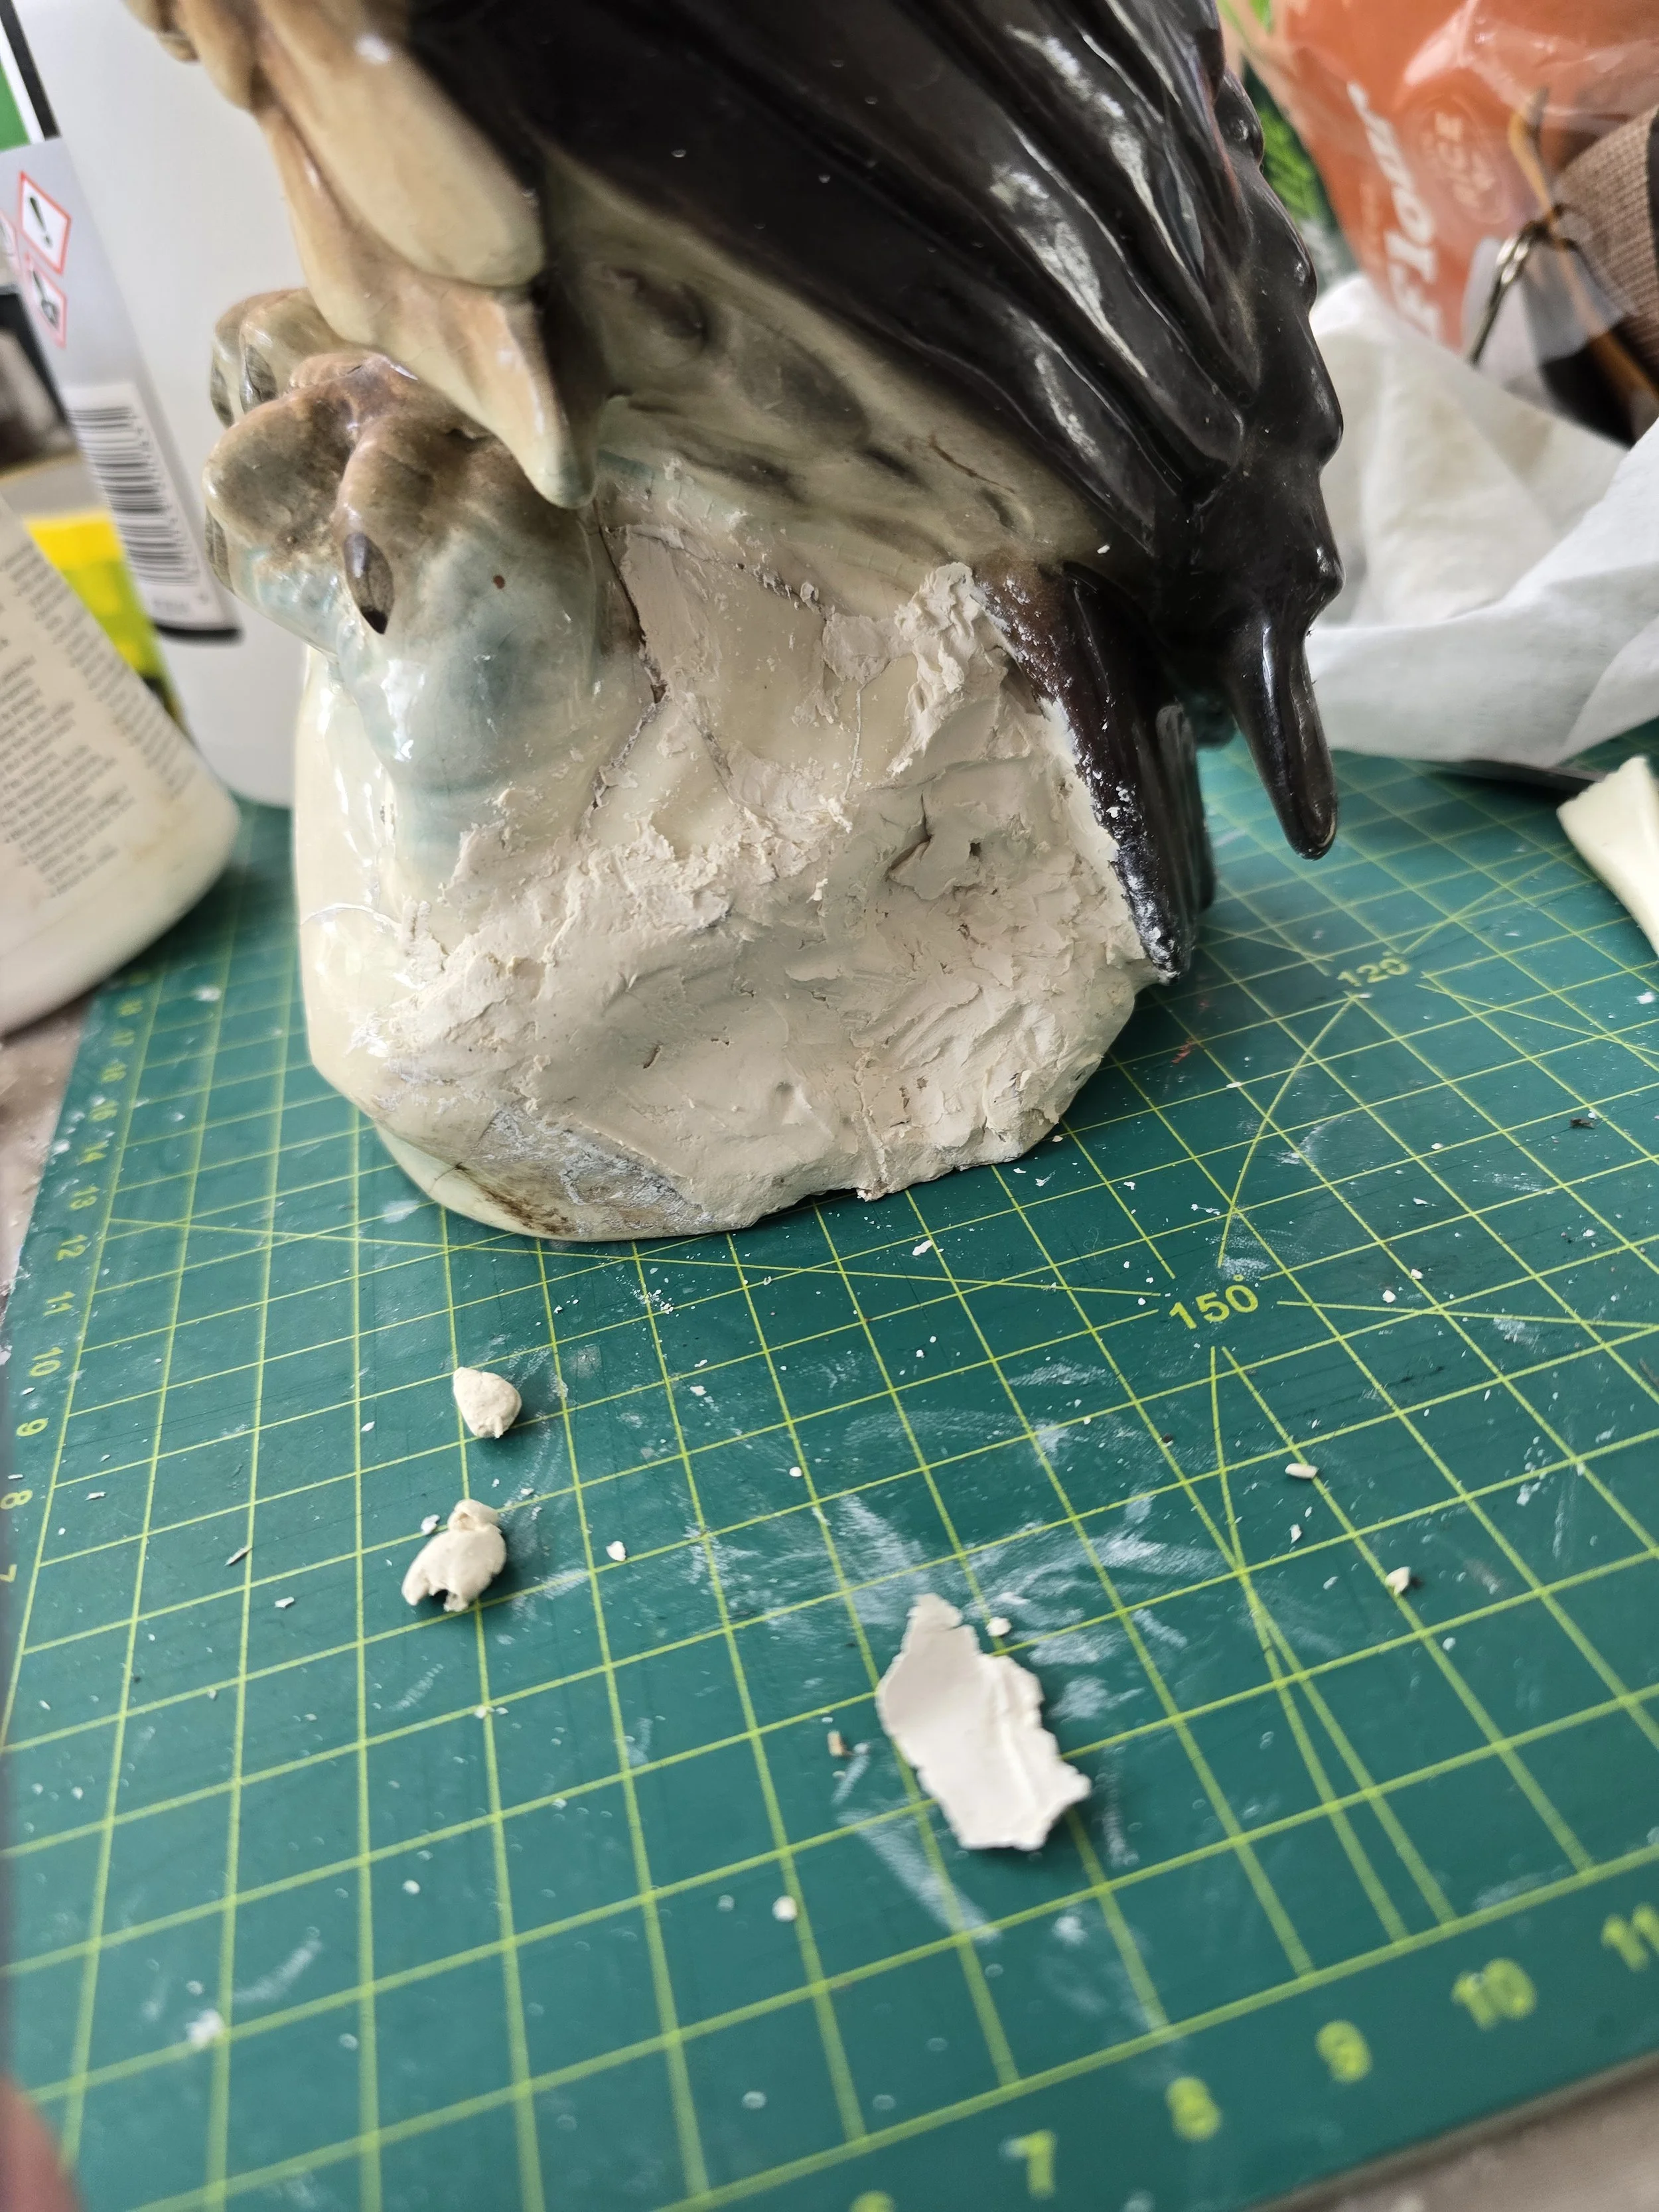
Have you ever watched the UK documentary programme, The Repair Shop? I am often blown away by the repairs made to vintage items in this programme. I have often had a go a mending broken stuff from the shop but I suddenly wondered if I could fix my Mum’s fine ceramic owl. This quite large ornament sat on the mantel for most of my childhood. When I was a teenager, Mom asked me to throw her a towel and when I did this, the edge of the towel caught the owl and it toppled down, smashing the corner of the base. When my Mum passed this special piece came to me and it as sat looking at me accusingly in my office ever since. Well today’s the day. I started with air dry clay and gradually built up the smashed base - the original fragments are long lost. I sanded and set about trying to match the colour in acrylic paints. I don’t think I did too badly. I still need to get some high gloss spray varnish to complete my task as the brush strokes of the high gloss medium as still apparent. I have documented my progress below. But I think my Mum would have been pleased to see the repair
Spring Backdrop Painting
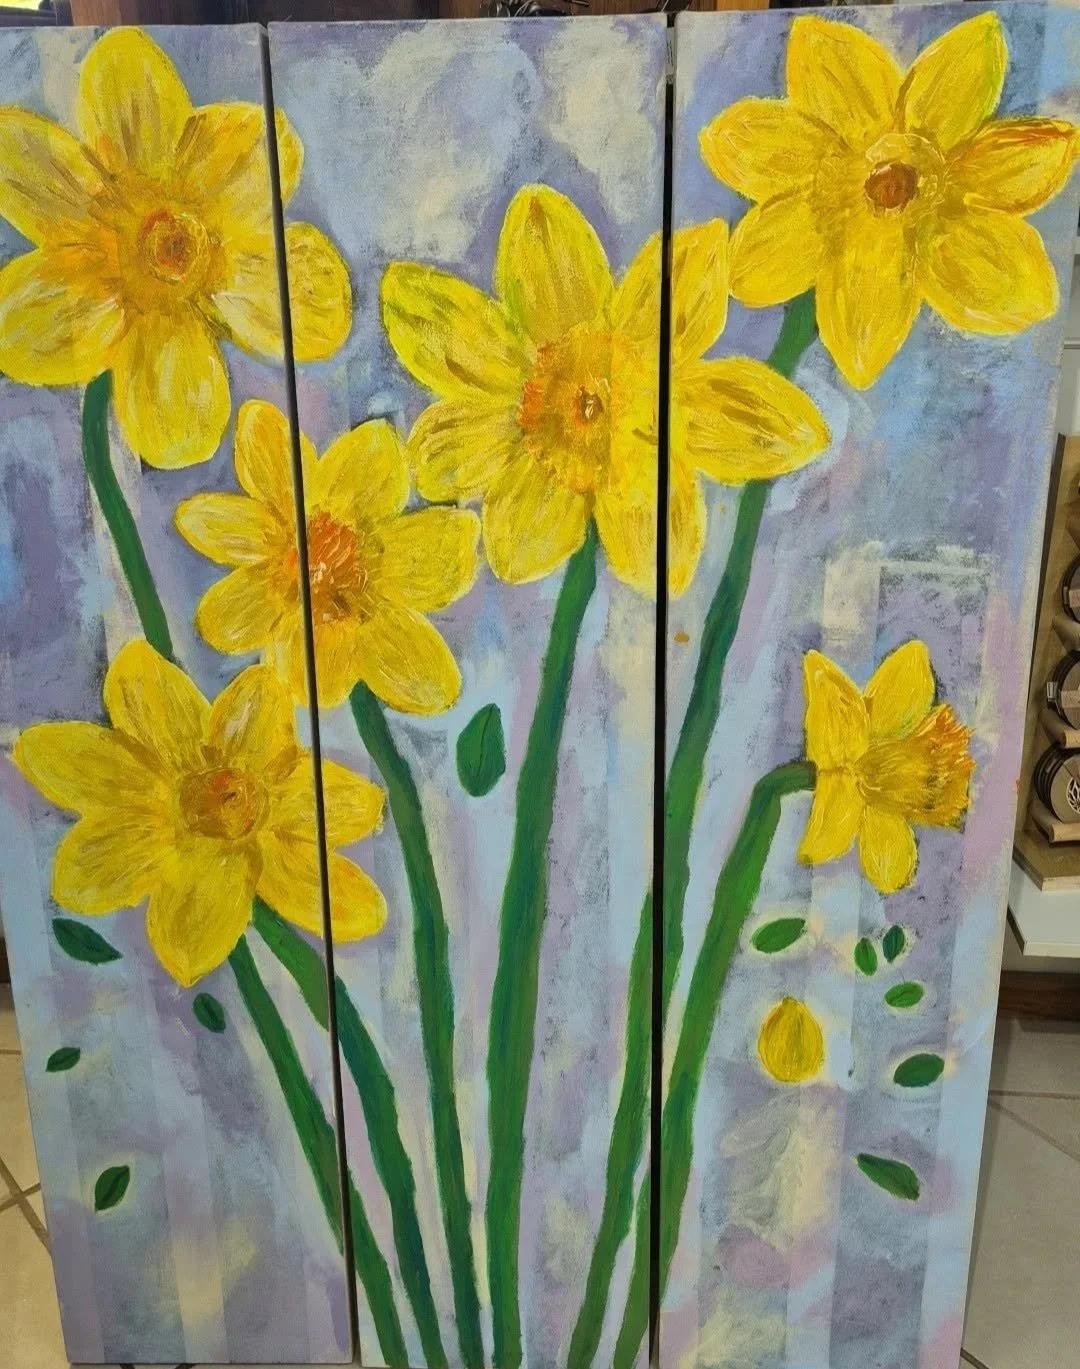
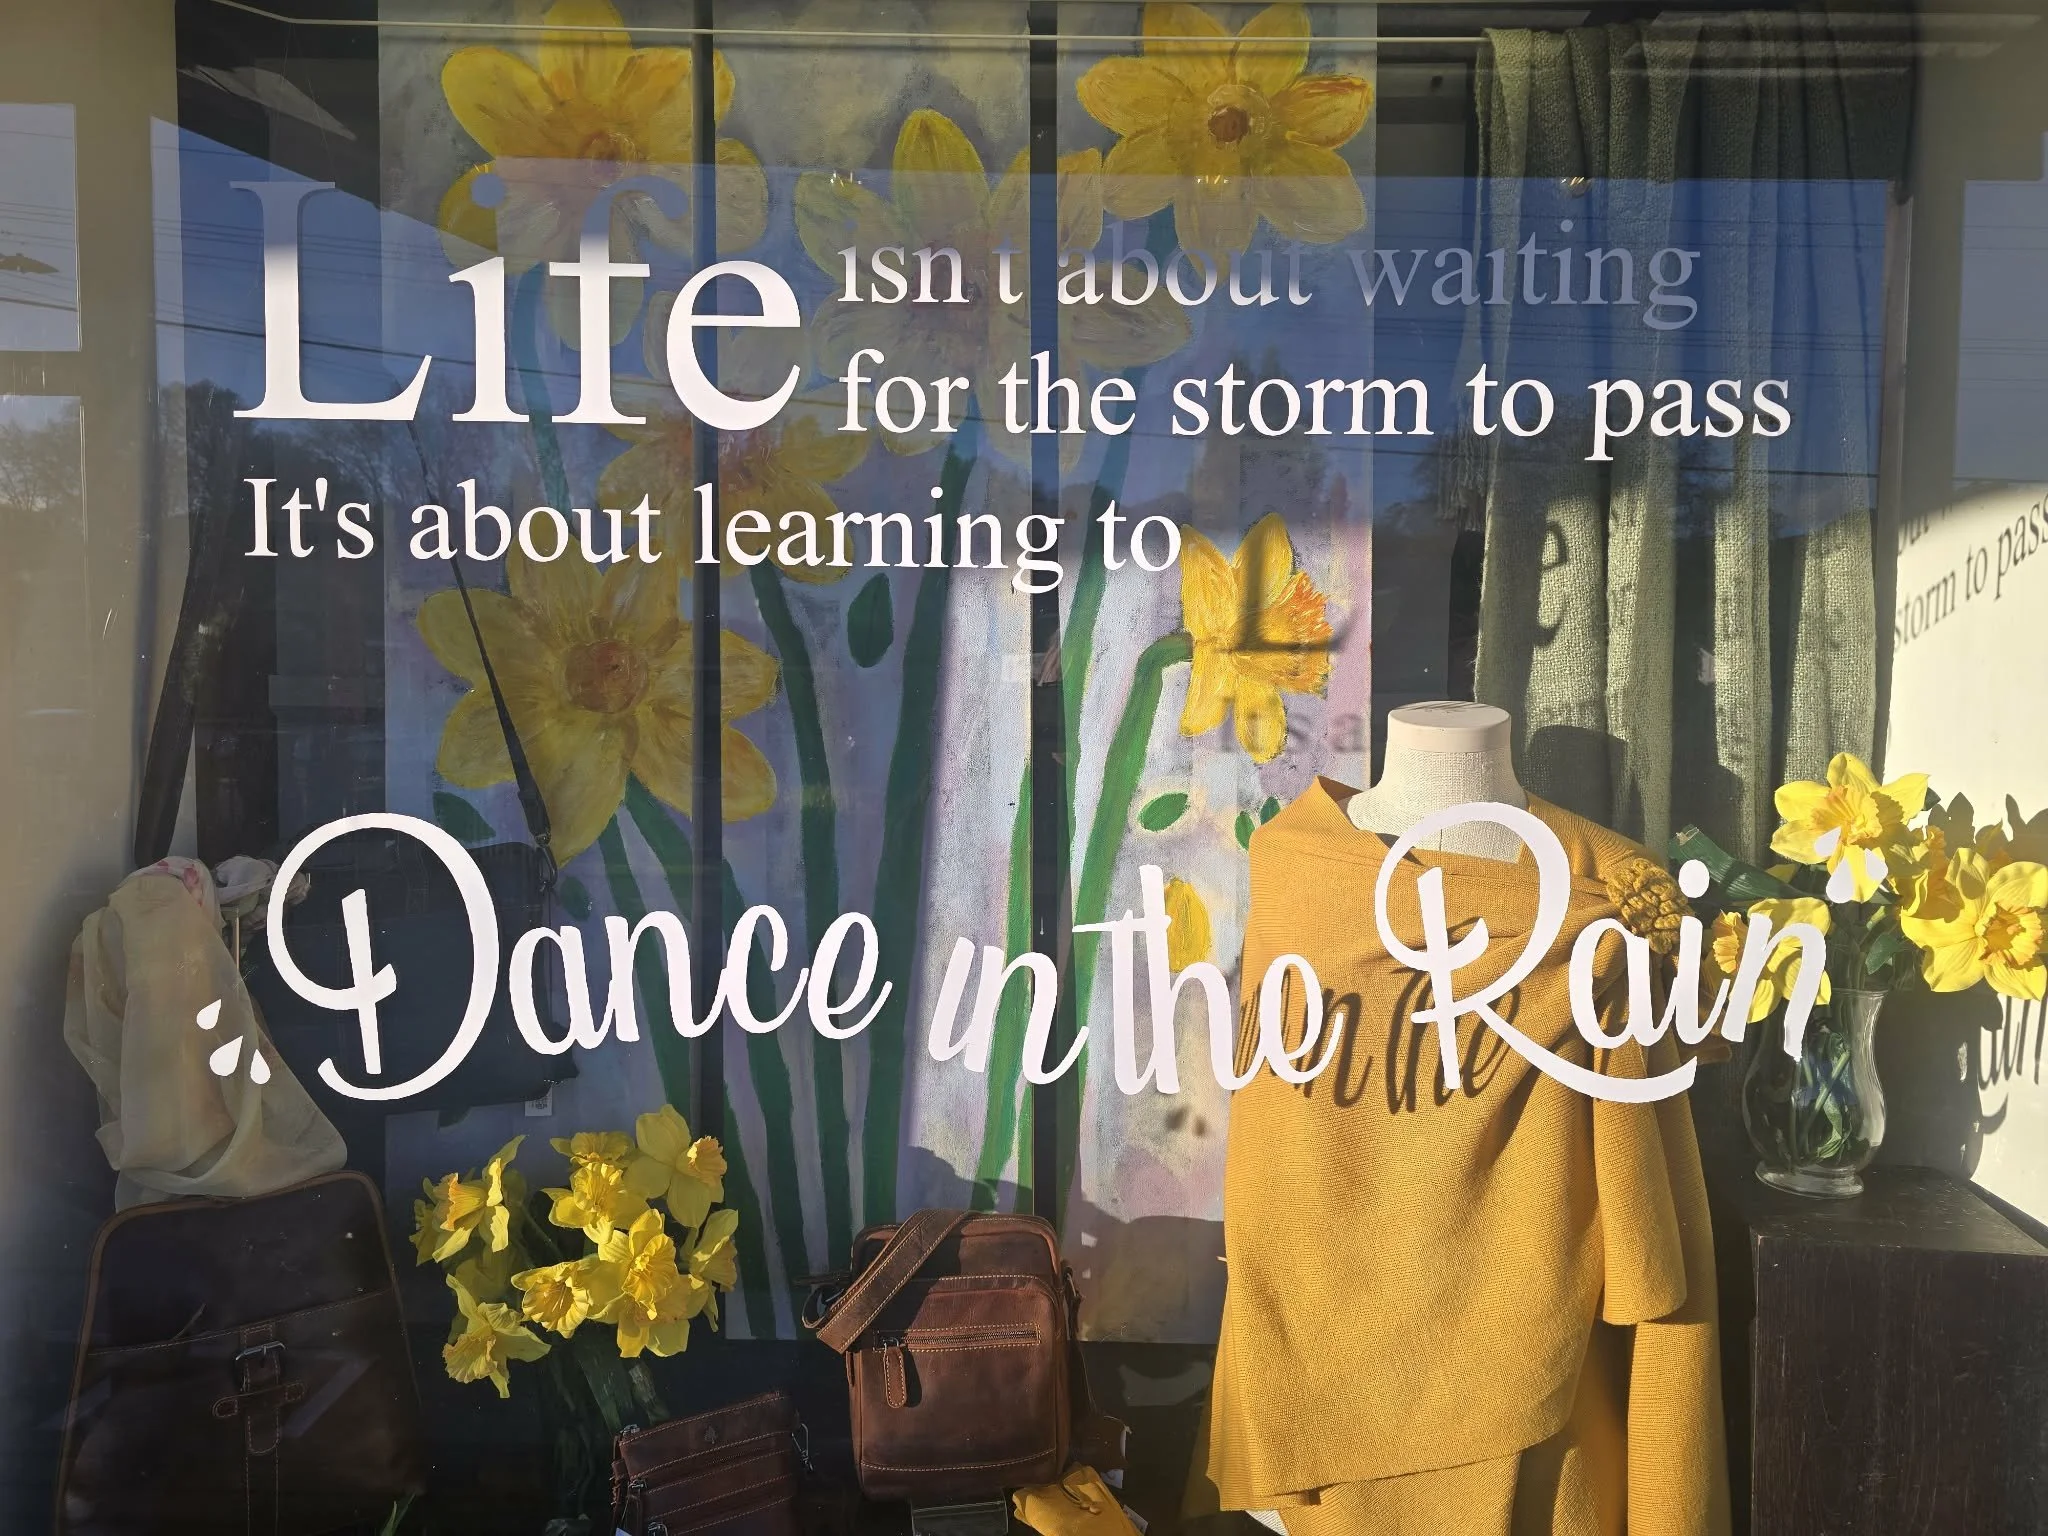
I don’t do much painting these days but Bella had done the underpainting for this backdrop for a Spring window display. The weather here is NZ has been appalling and miserable so anything to hasten Spring feelings gets a tick. Kim asked me if I could do the fleshing out of the daffodils to give them a more 3 D look. The Triptych will go behind a number of items being displayed in the window. The stalks were a bit uneven so I just shaded them and concentrated on the floral explosion. The positioning of product at that lower level will partially camouflage the stems. I could have added more leaves but I didn’t want to totally cover Bella’s work. The painting was done between serving customers in the shop I will post a photo of the complete display when it is in place.
Granny Squares
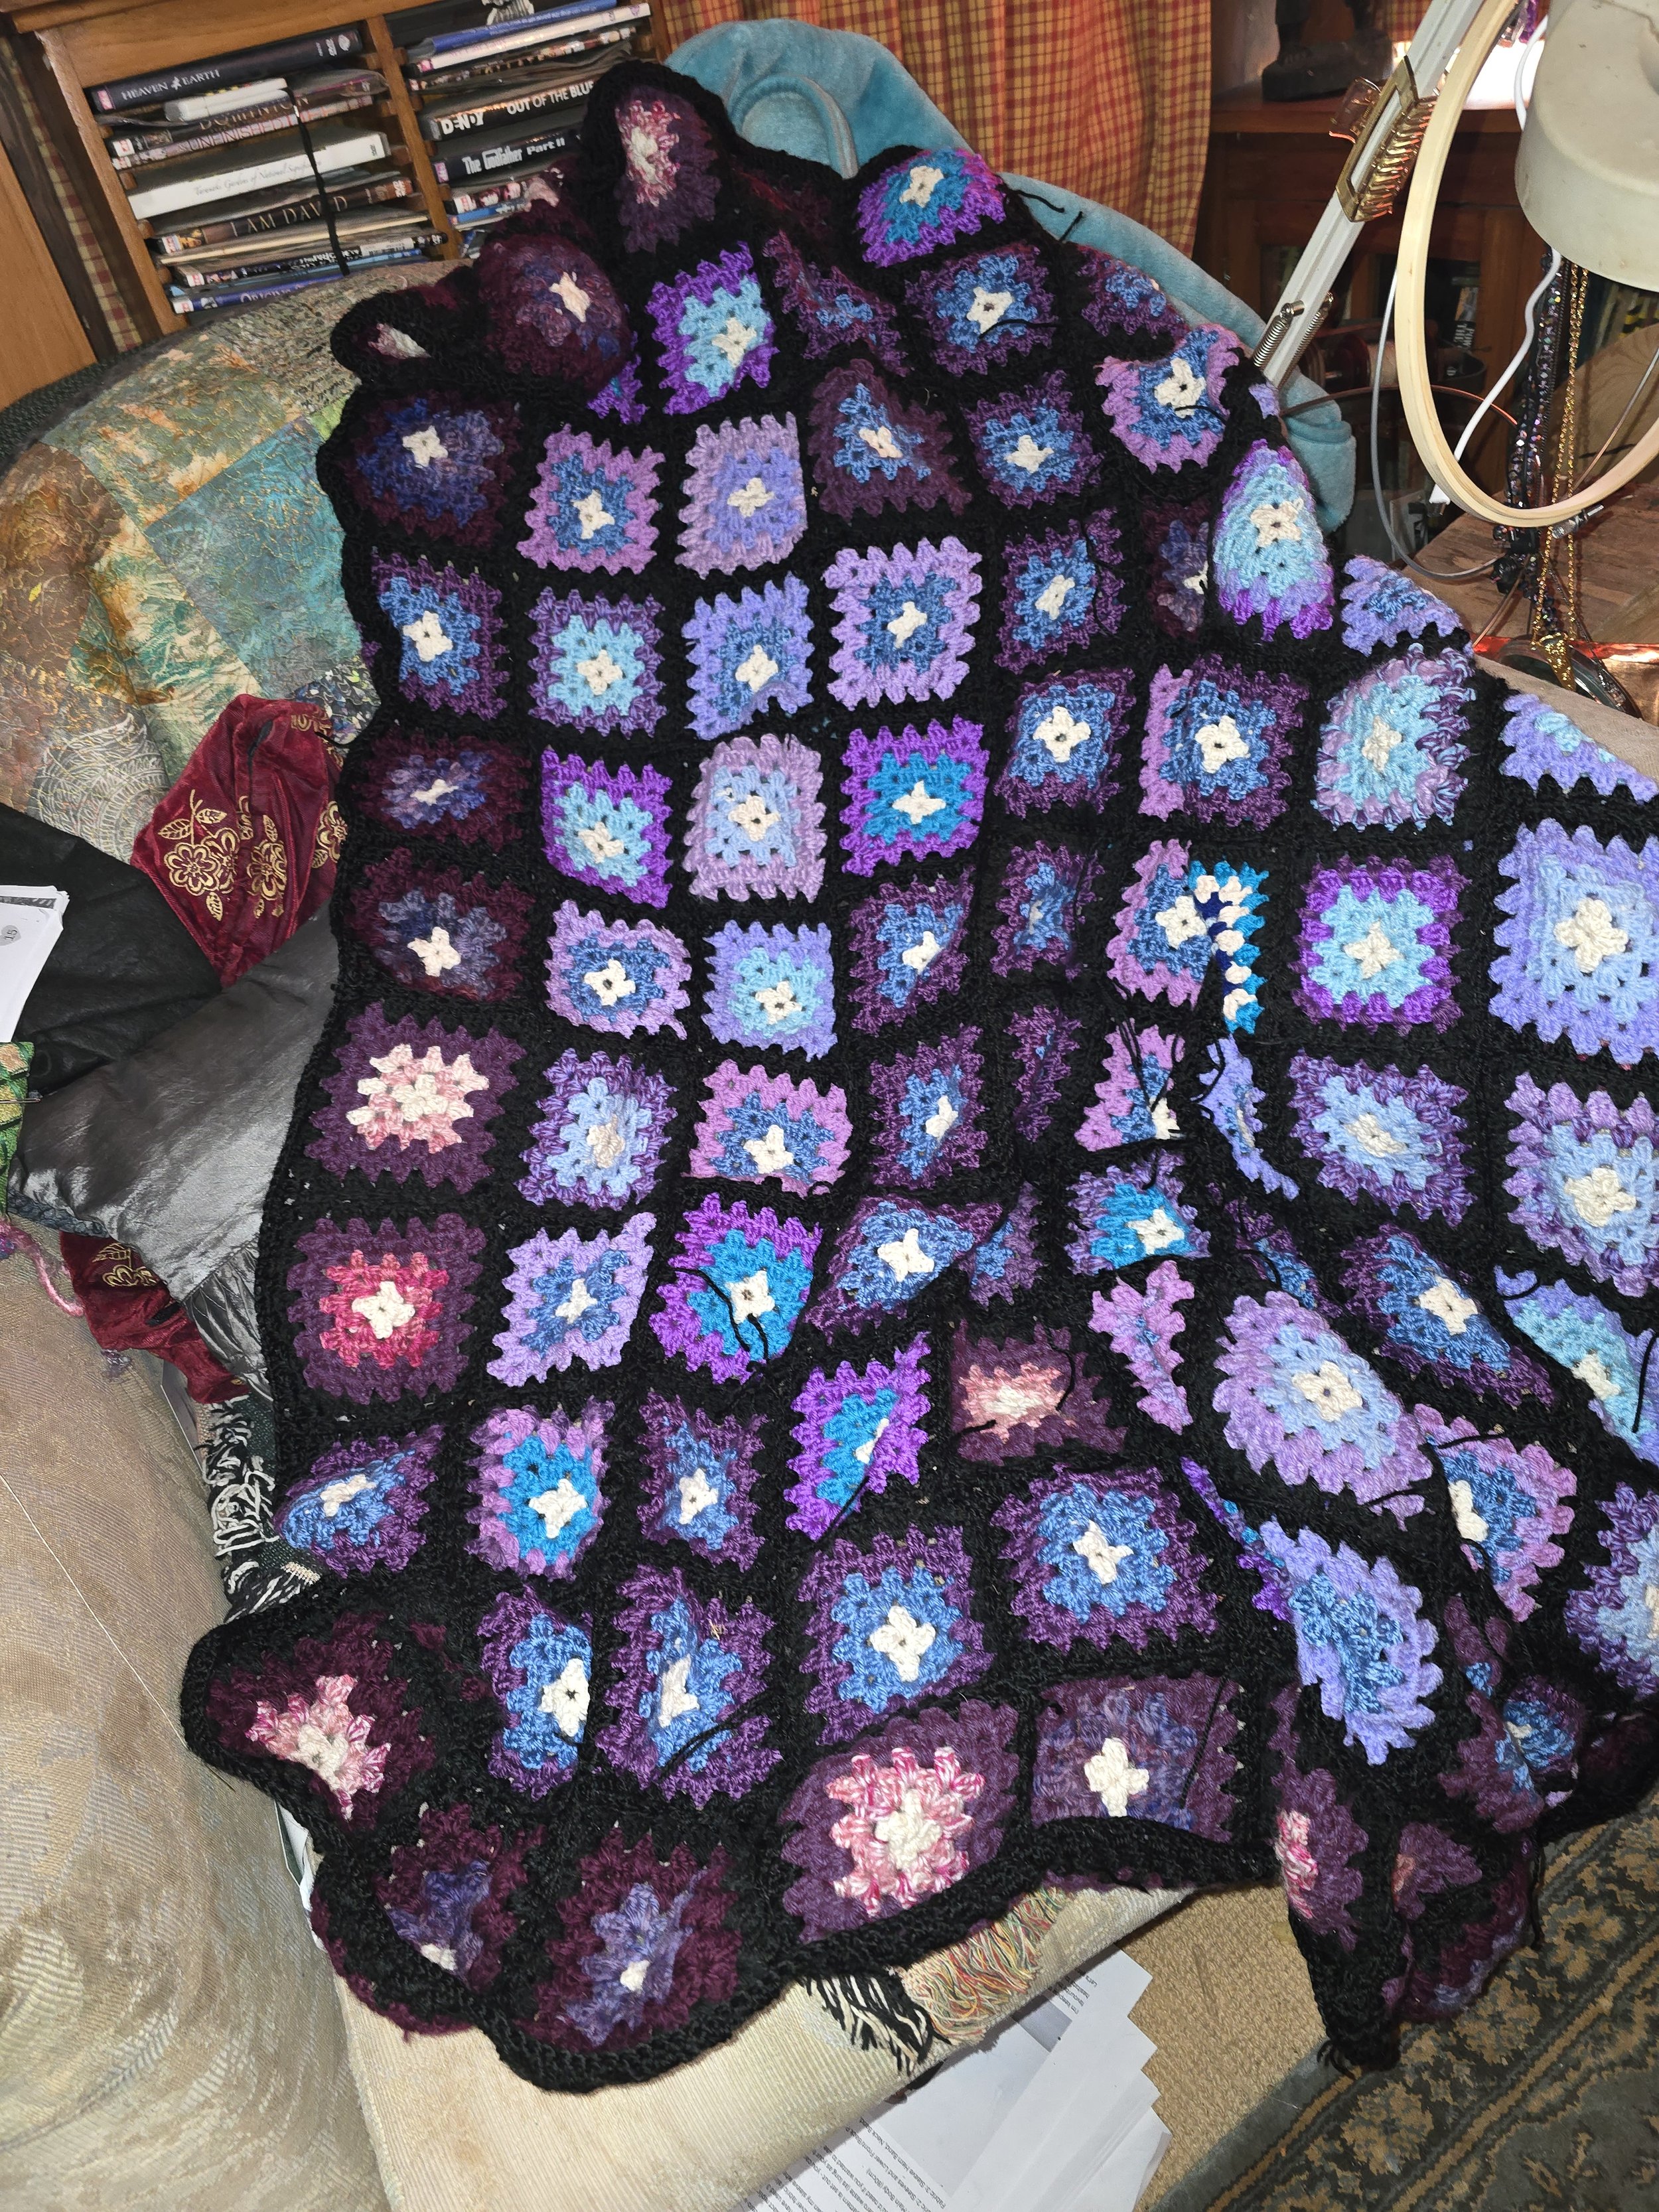
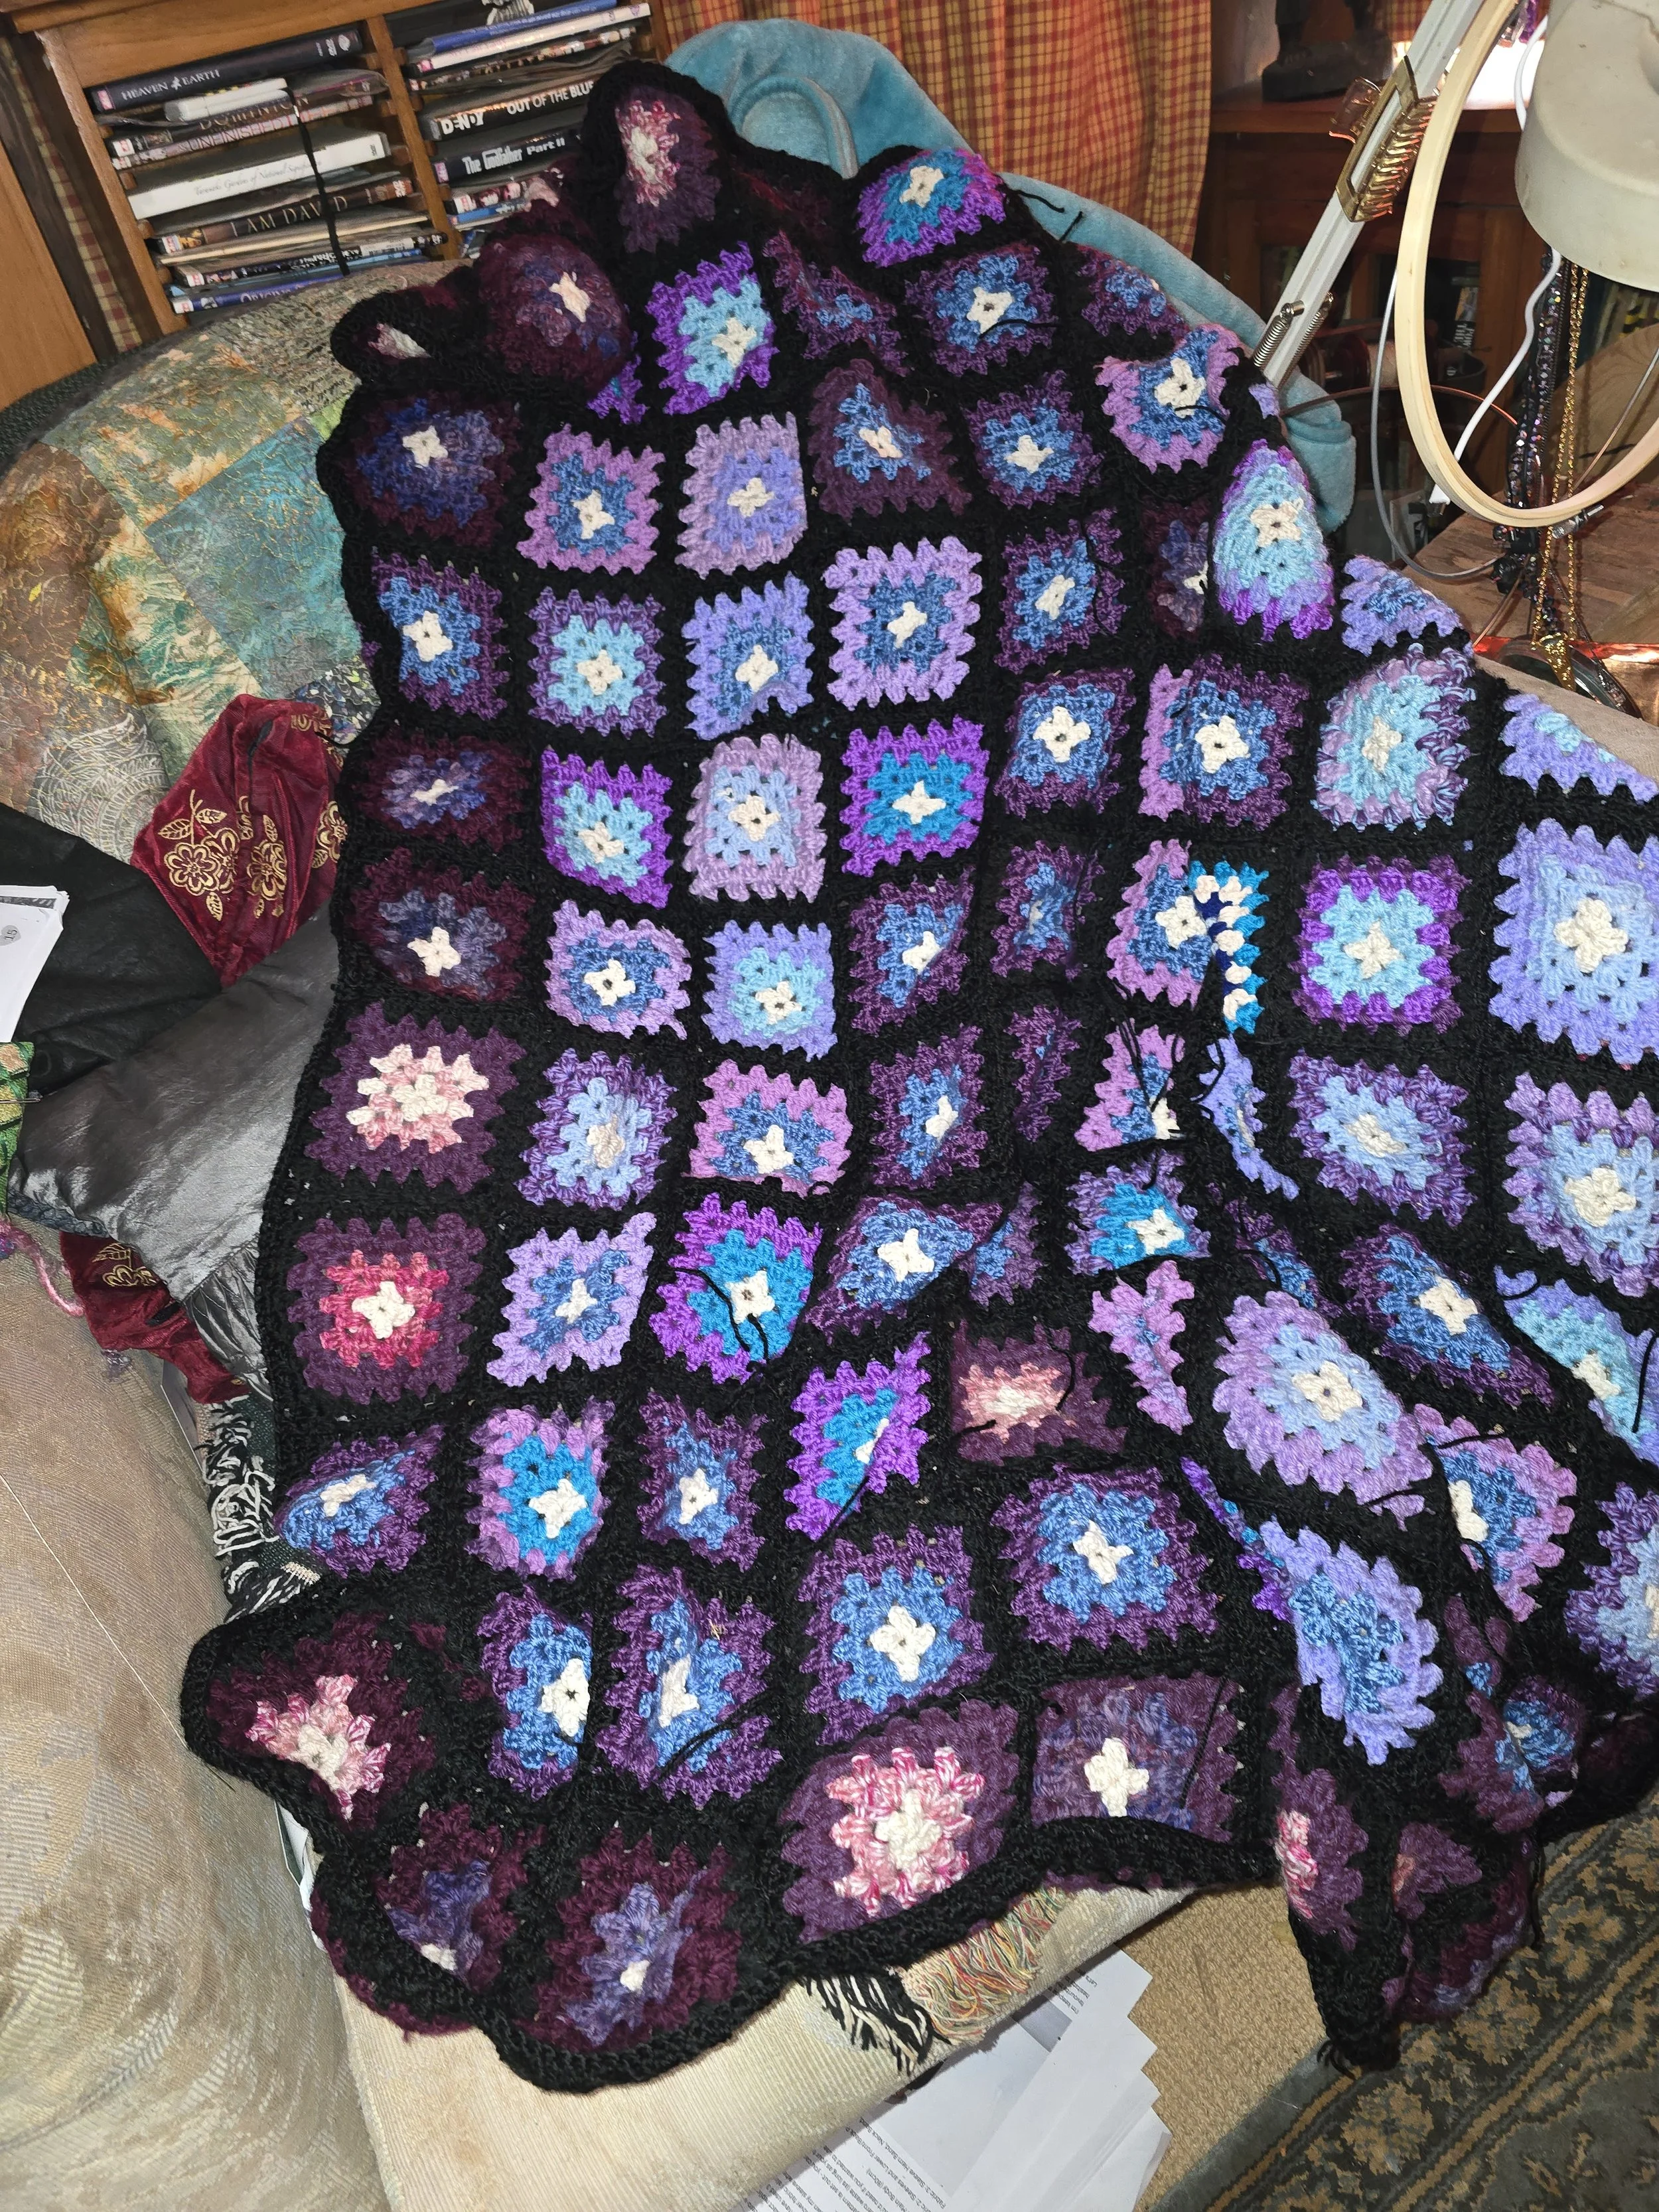
At an earlier time I used to unpick jerseys and crotchet them up into granny squares for blankets. With Robin’s ongoing health issues I sometimes feel sad and depressed so I decided I would pick up some squares that I started a while back to use up some home spun wool and have a less challenging creative time making granny squares into a blanket. I had two bins of wool from Rob’s Mum when she passed away. Some of it was acrylic but I decided I wouldn’t worry about fibre variances as long as it was double knit. So I pulled out all the purples and blues and began crocheting. Once I got into it I set myself a target of 10 squares a night which was quite ambitious but kept me focused on the moment an doing something while we watched TV in the evening. It has been really cold this winter with several days in a row being below 0° C so having something to do inside by the fire was also nice.
I spread the squares out on the bed in the spare room and then crocheted the squares together in rows. The blanket is a lovely mix of the colours that I chose and I felt a lot better for having used my time creatively and staying in the moment
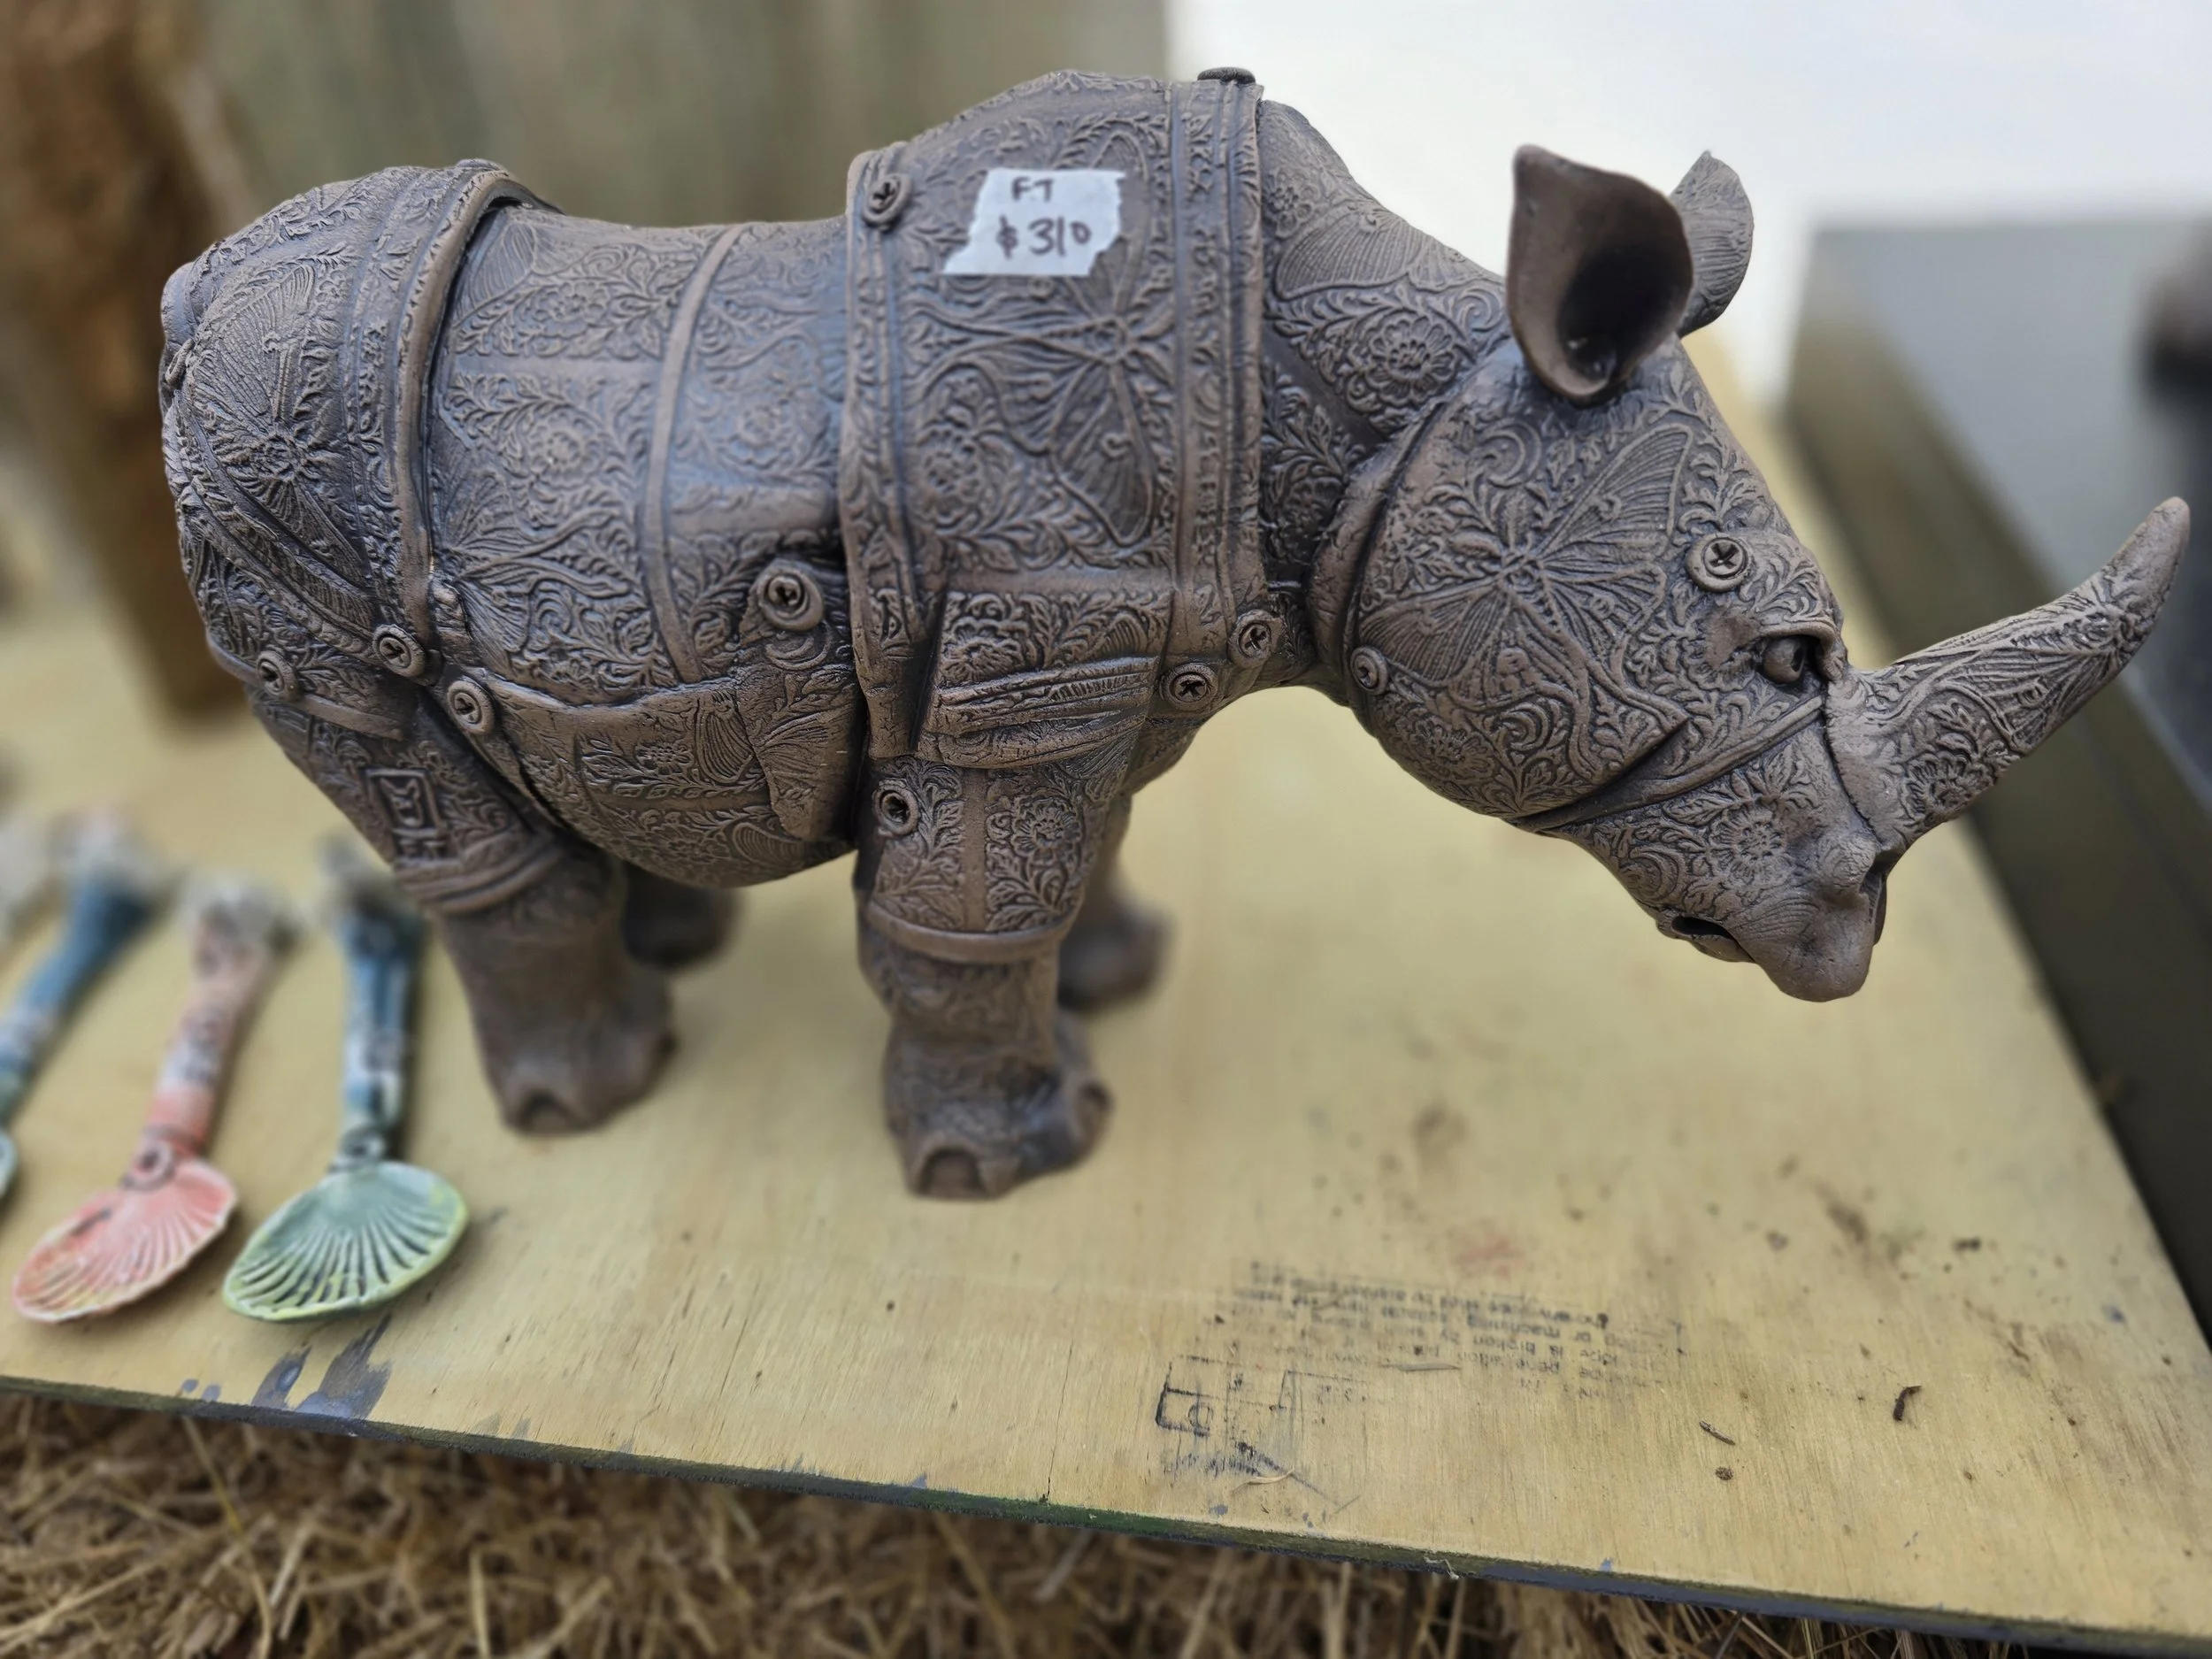
Waipa Arts Trail -Rotoorangi Pottery Collective
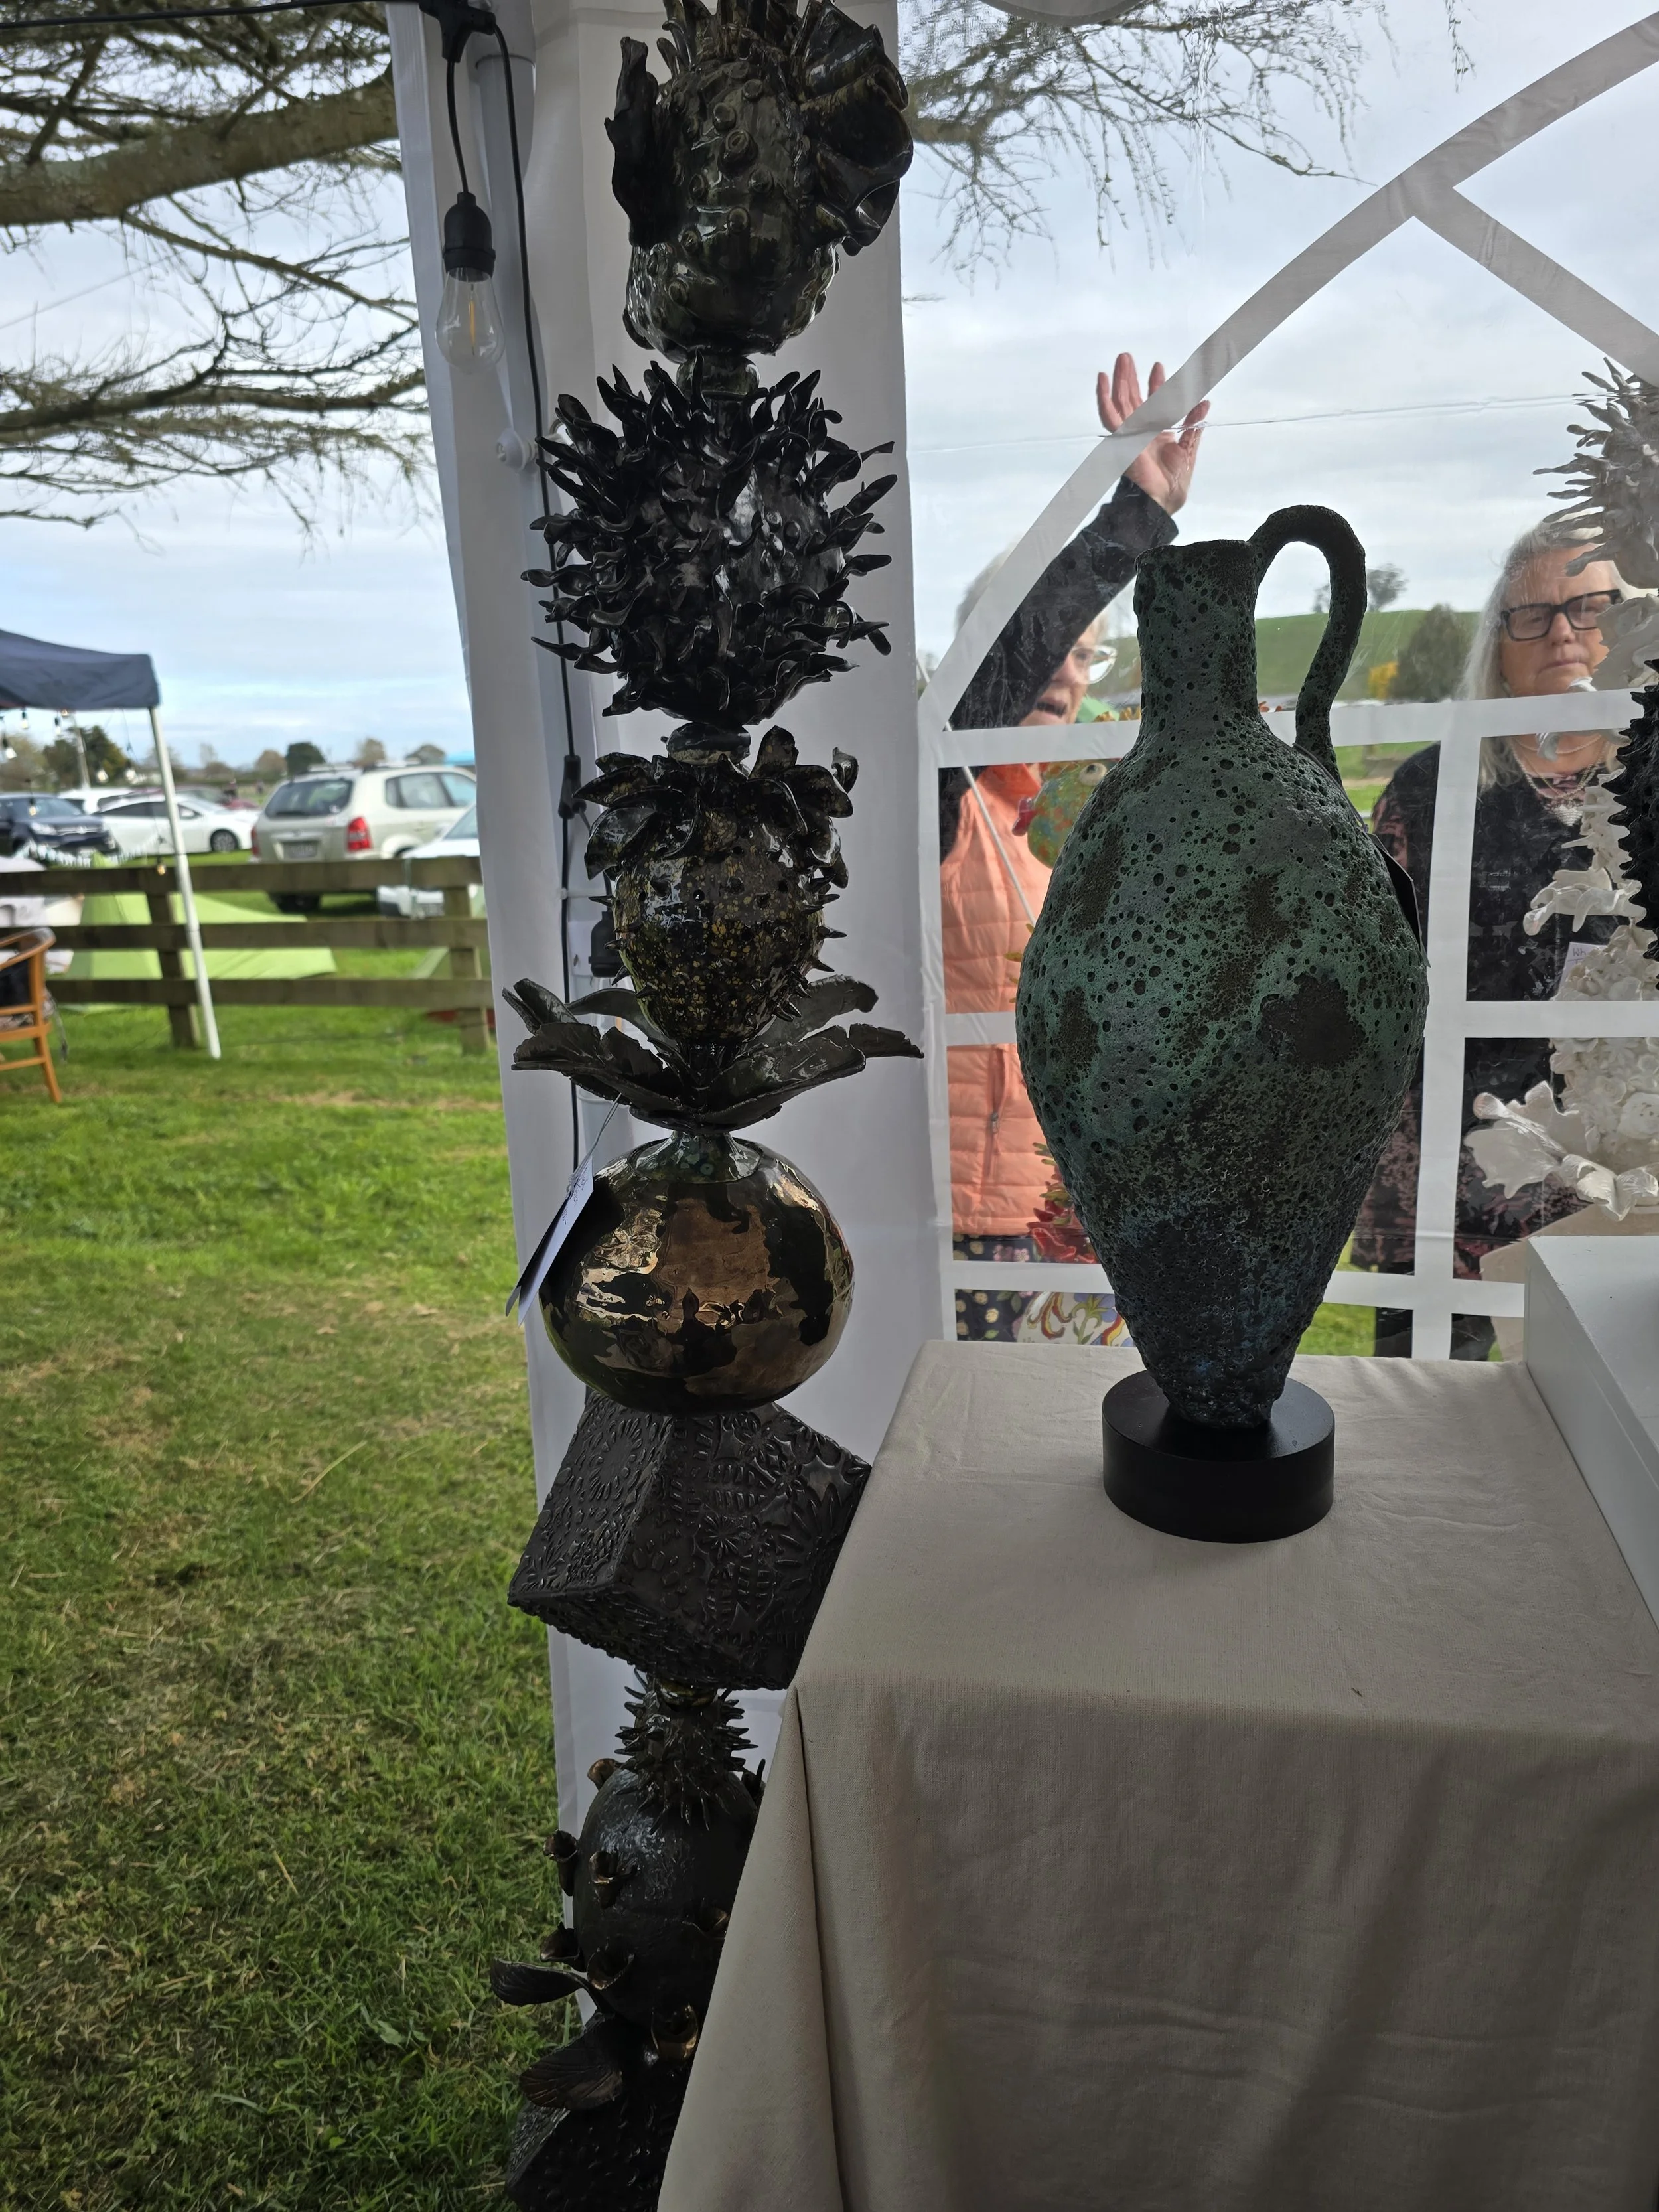
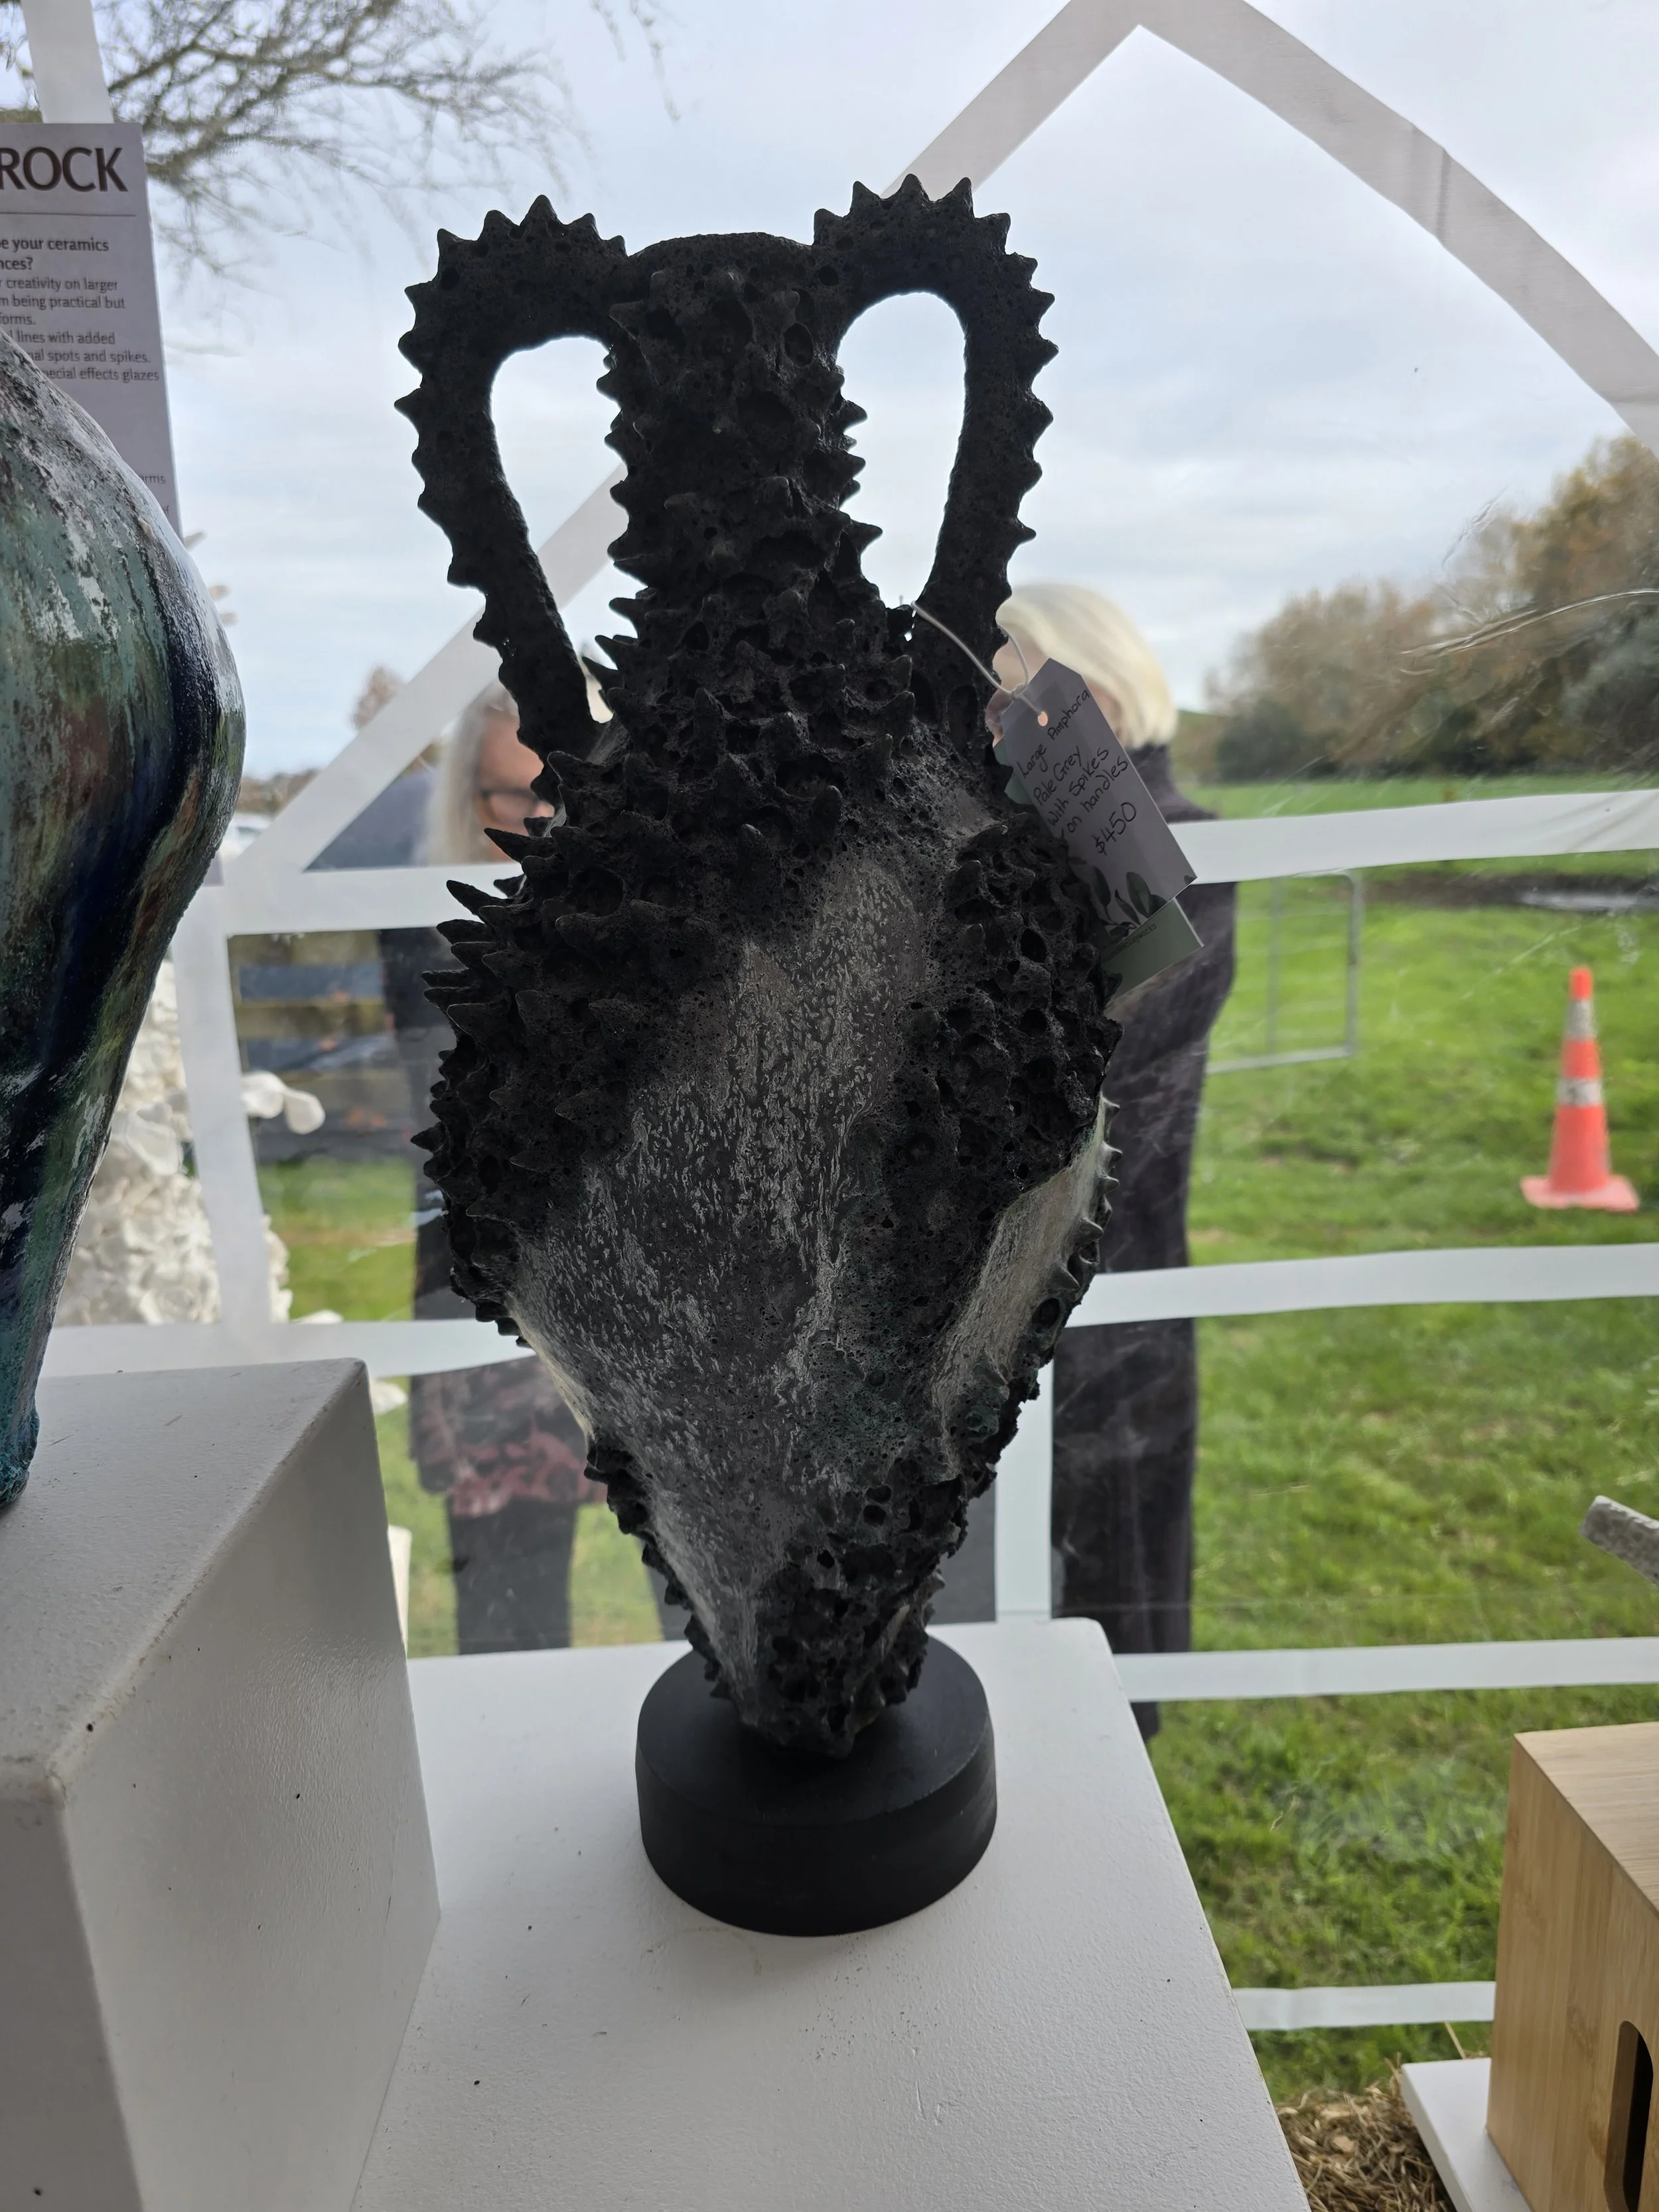
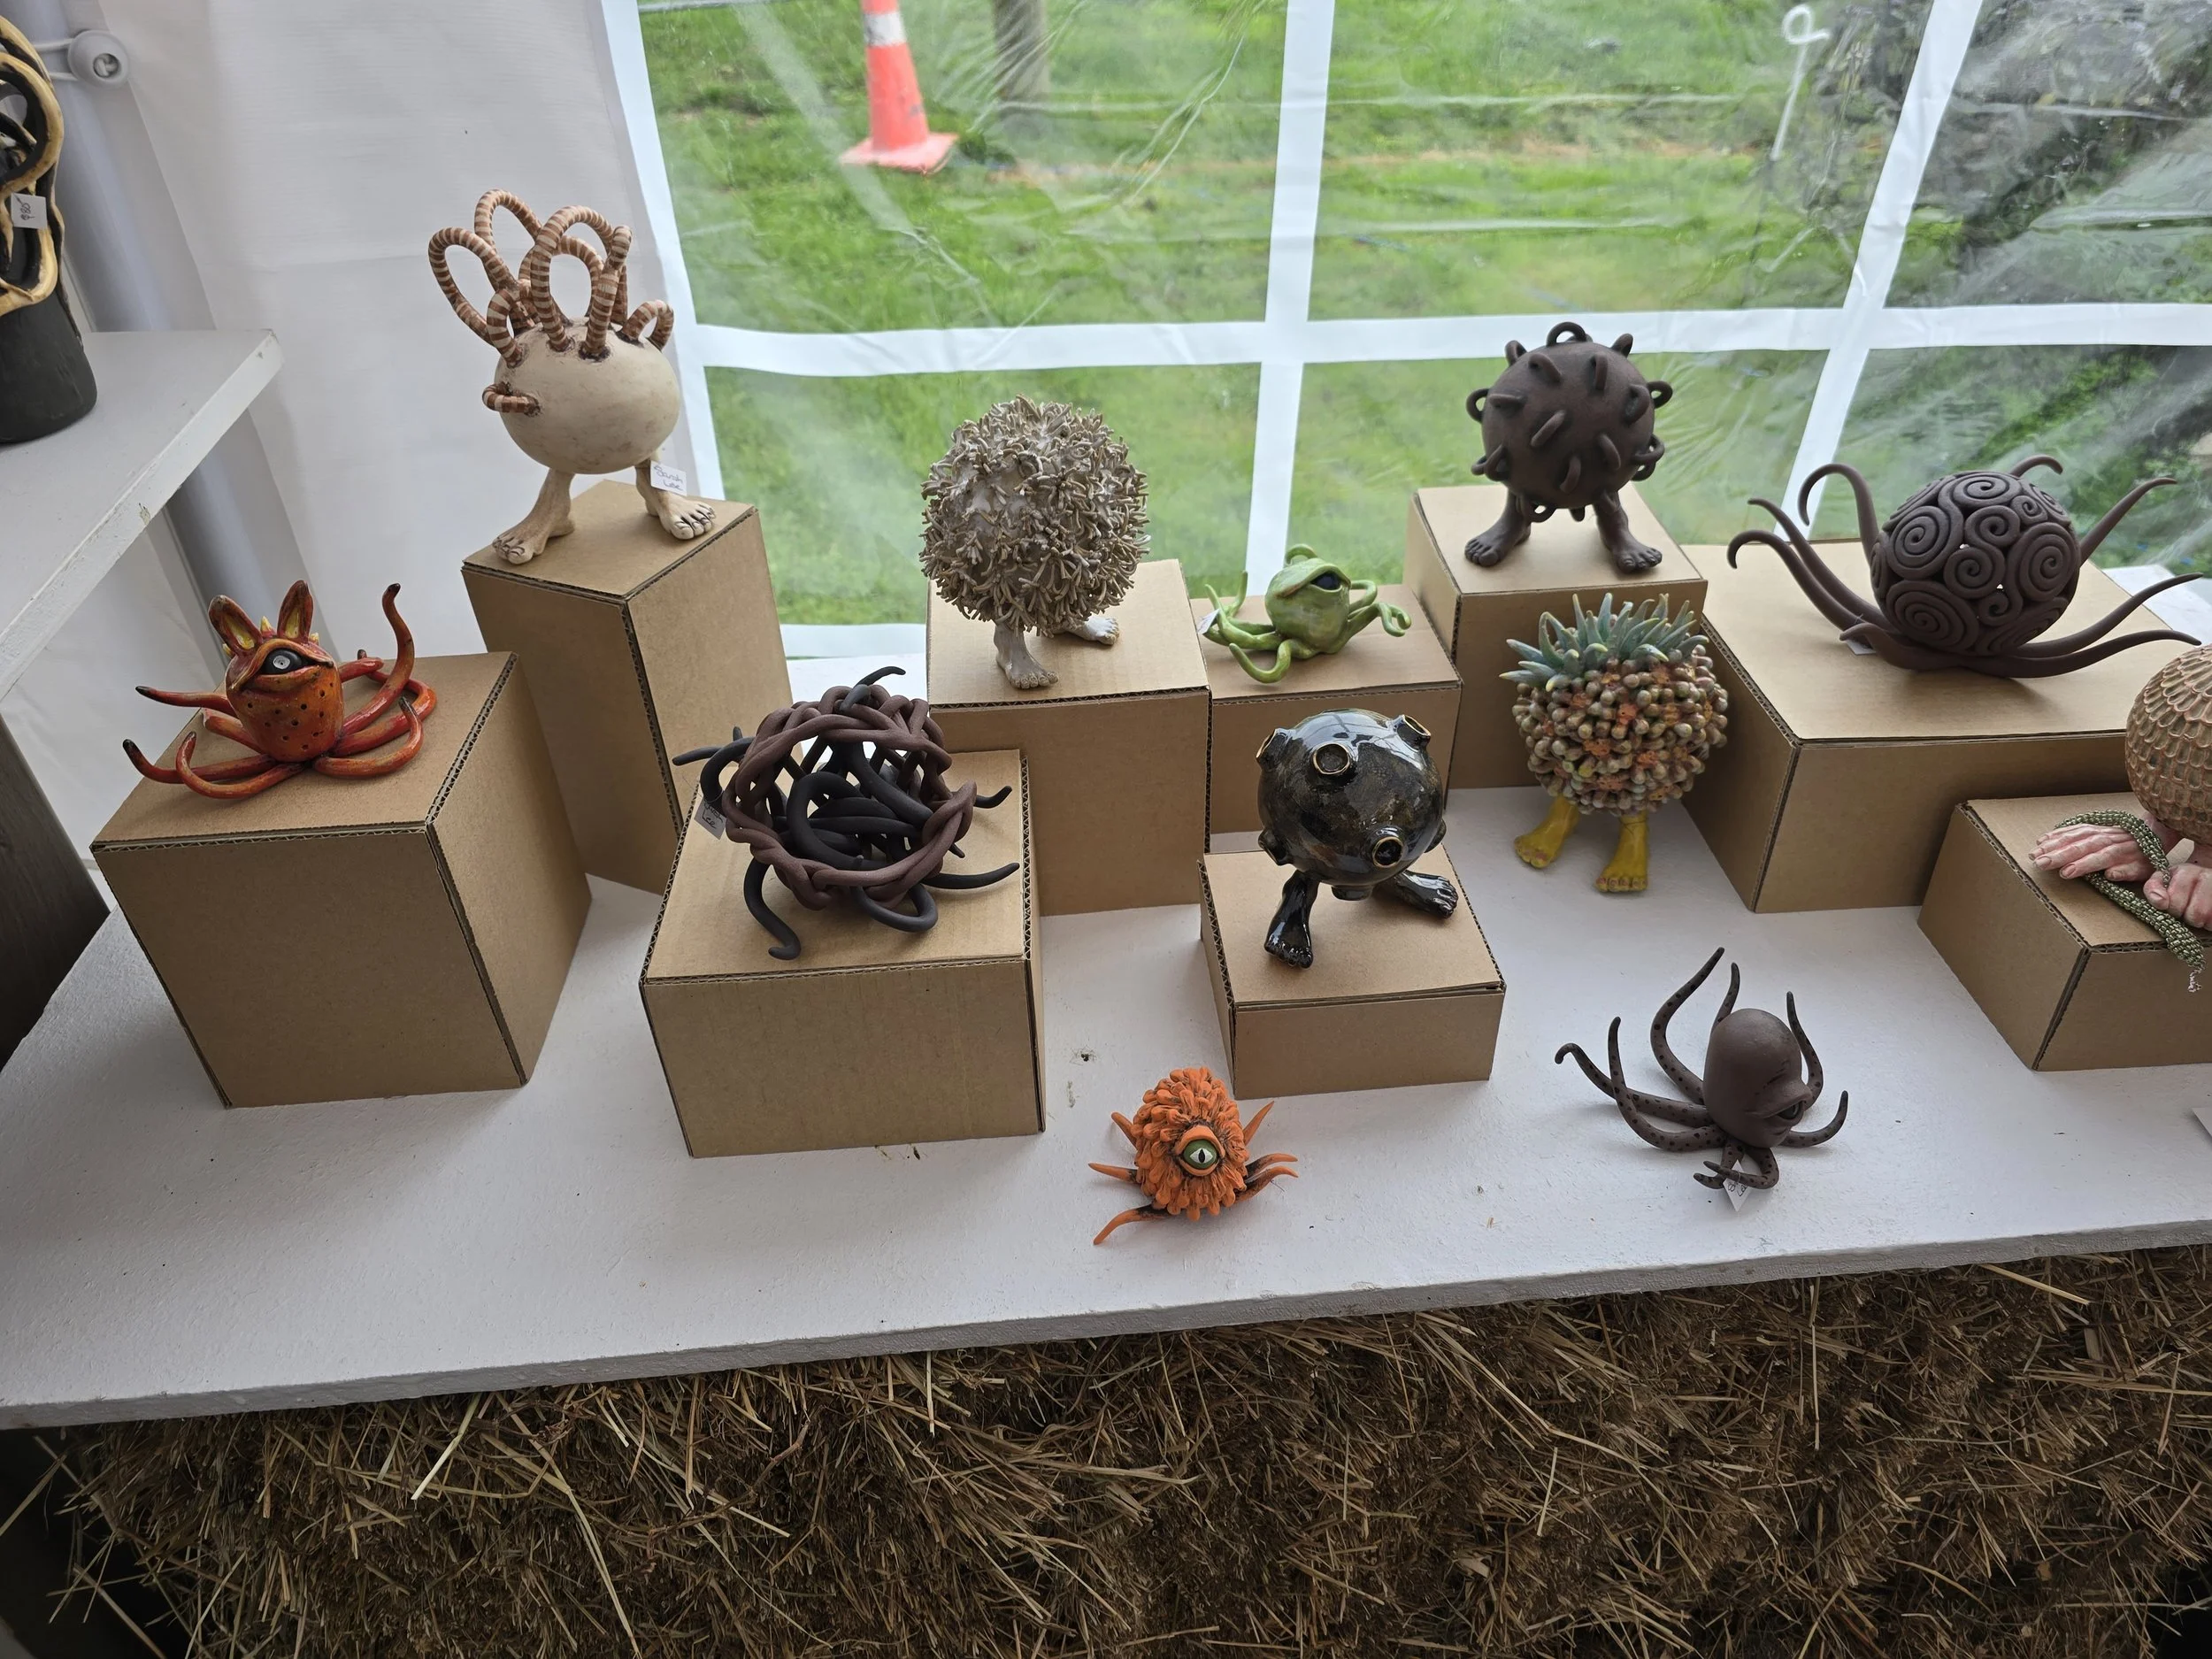
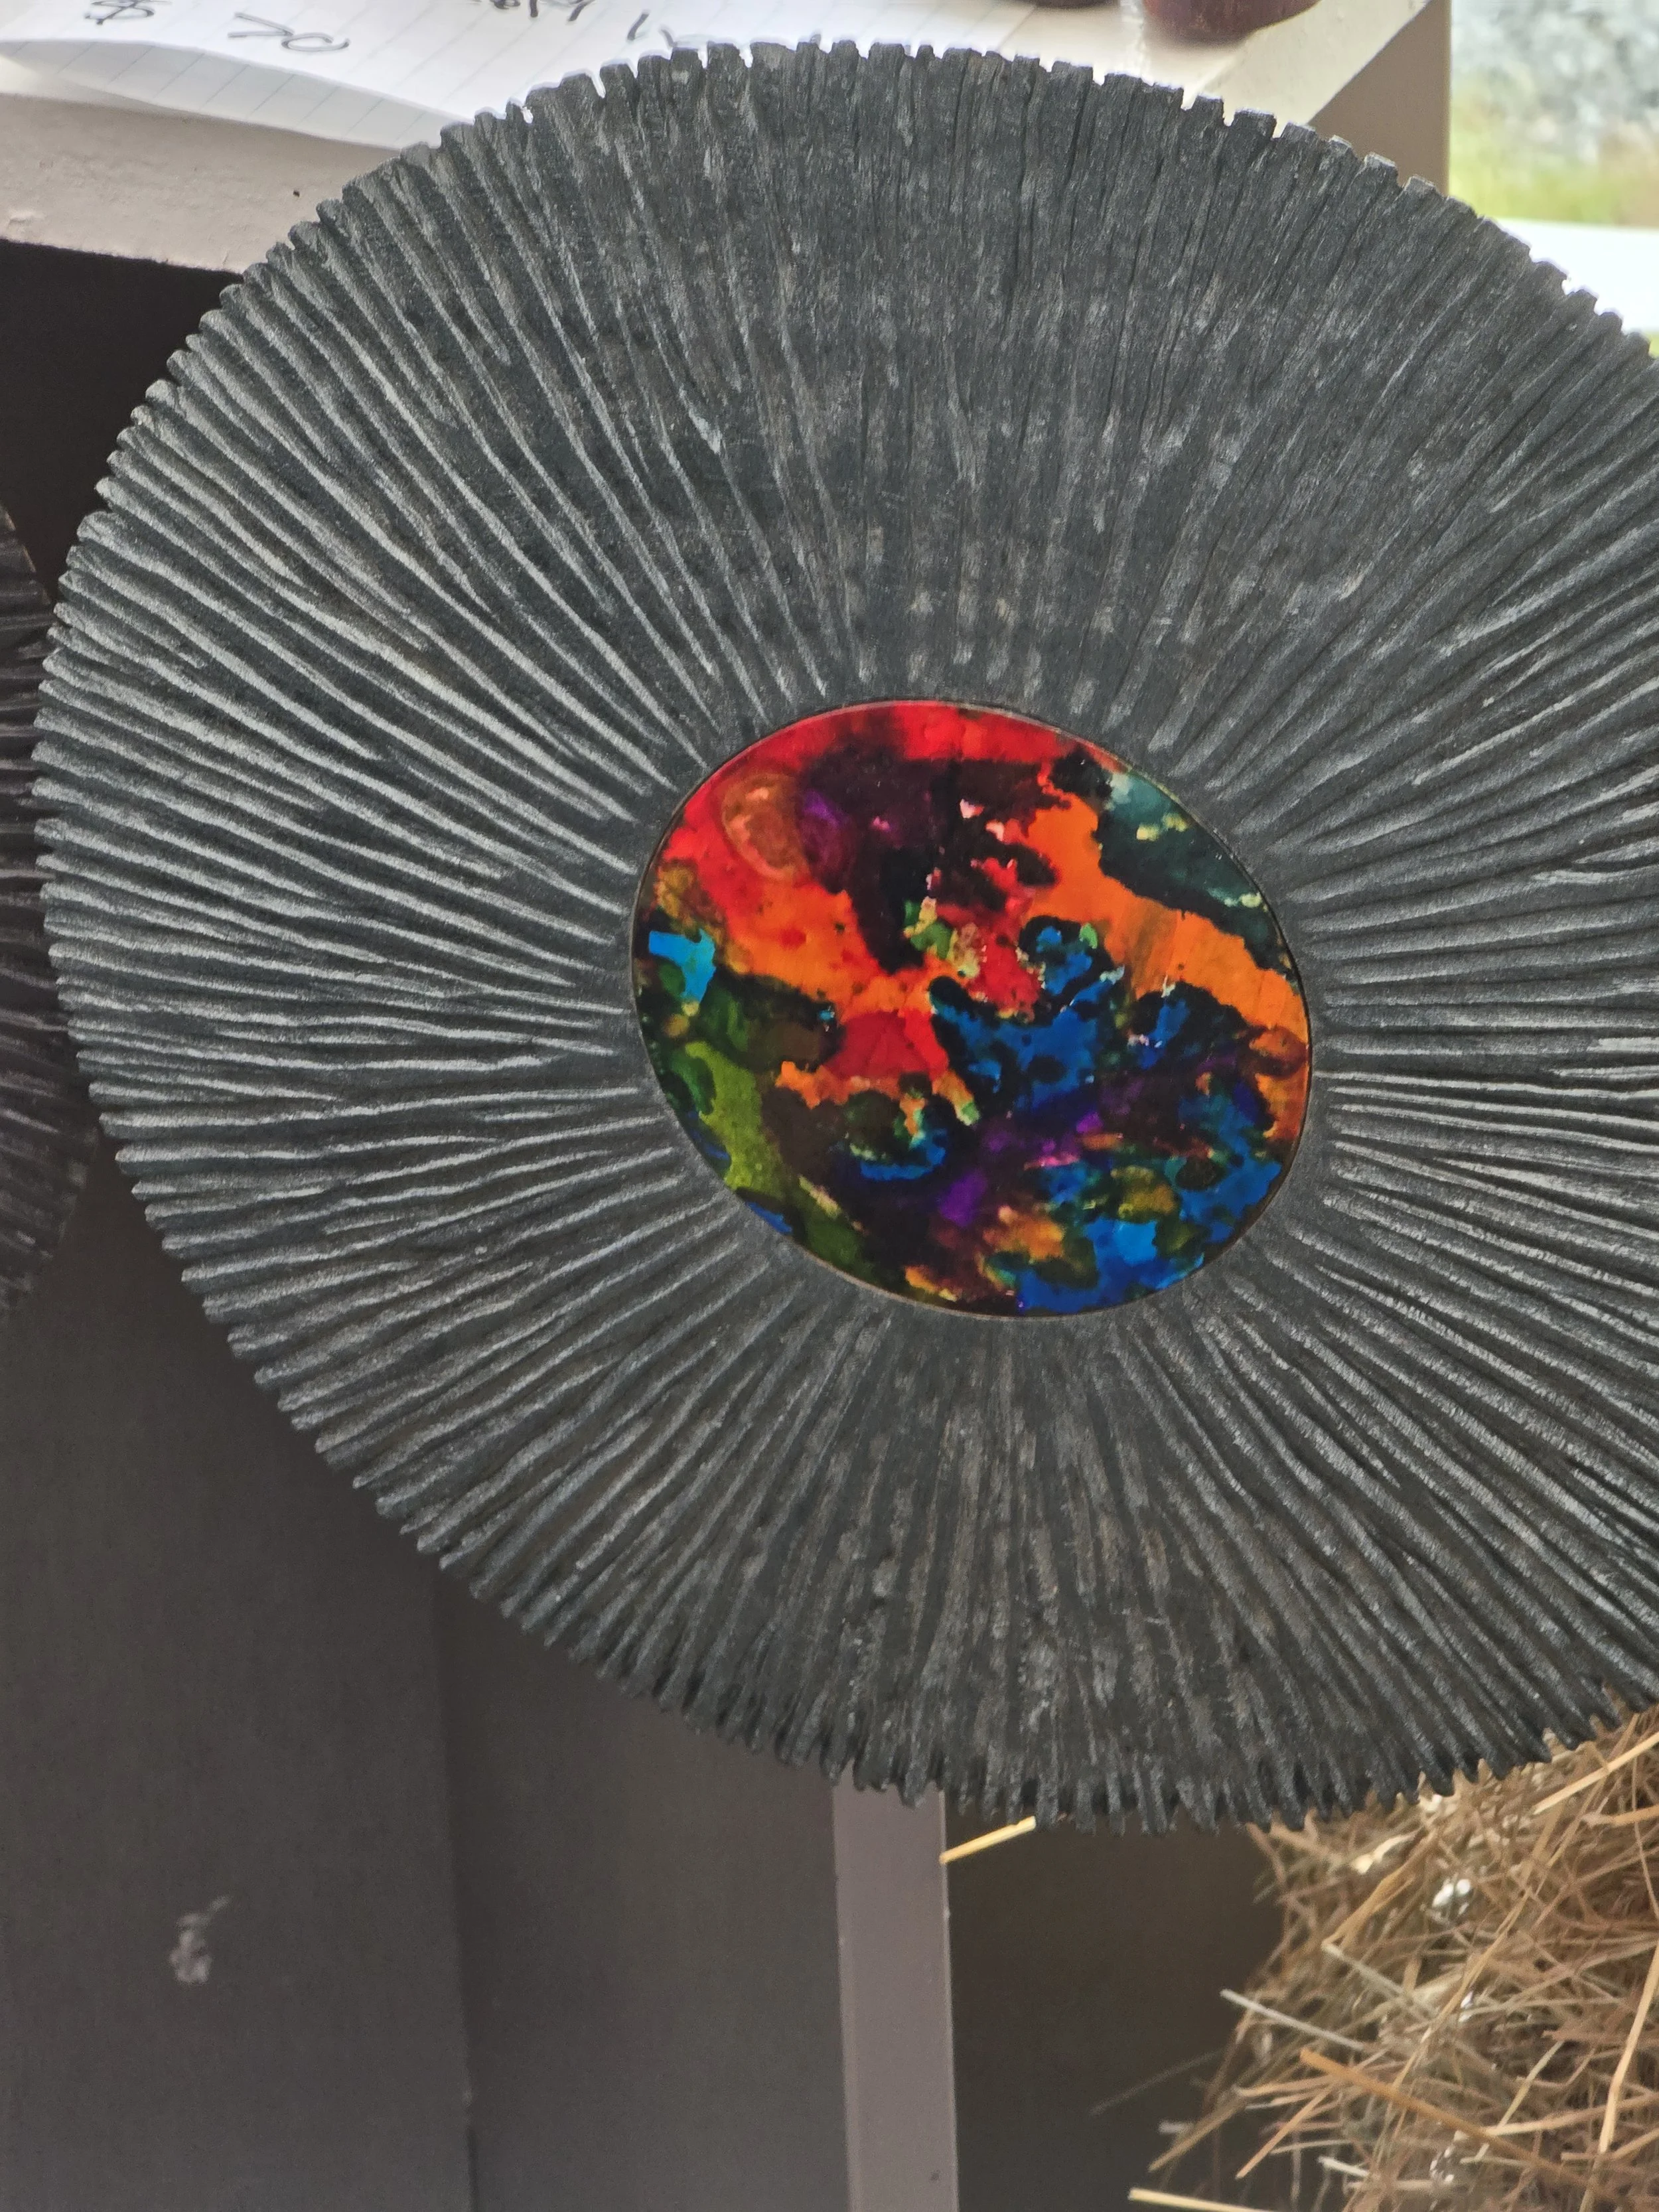
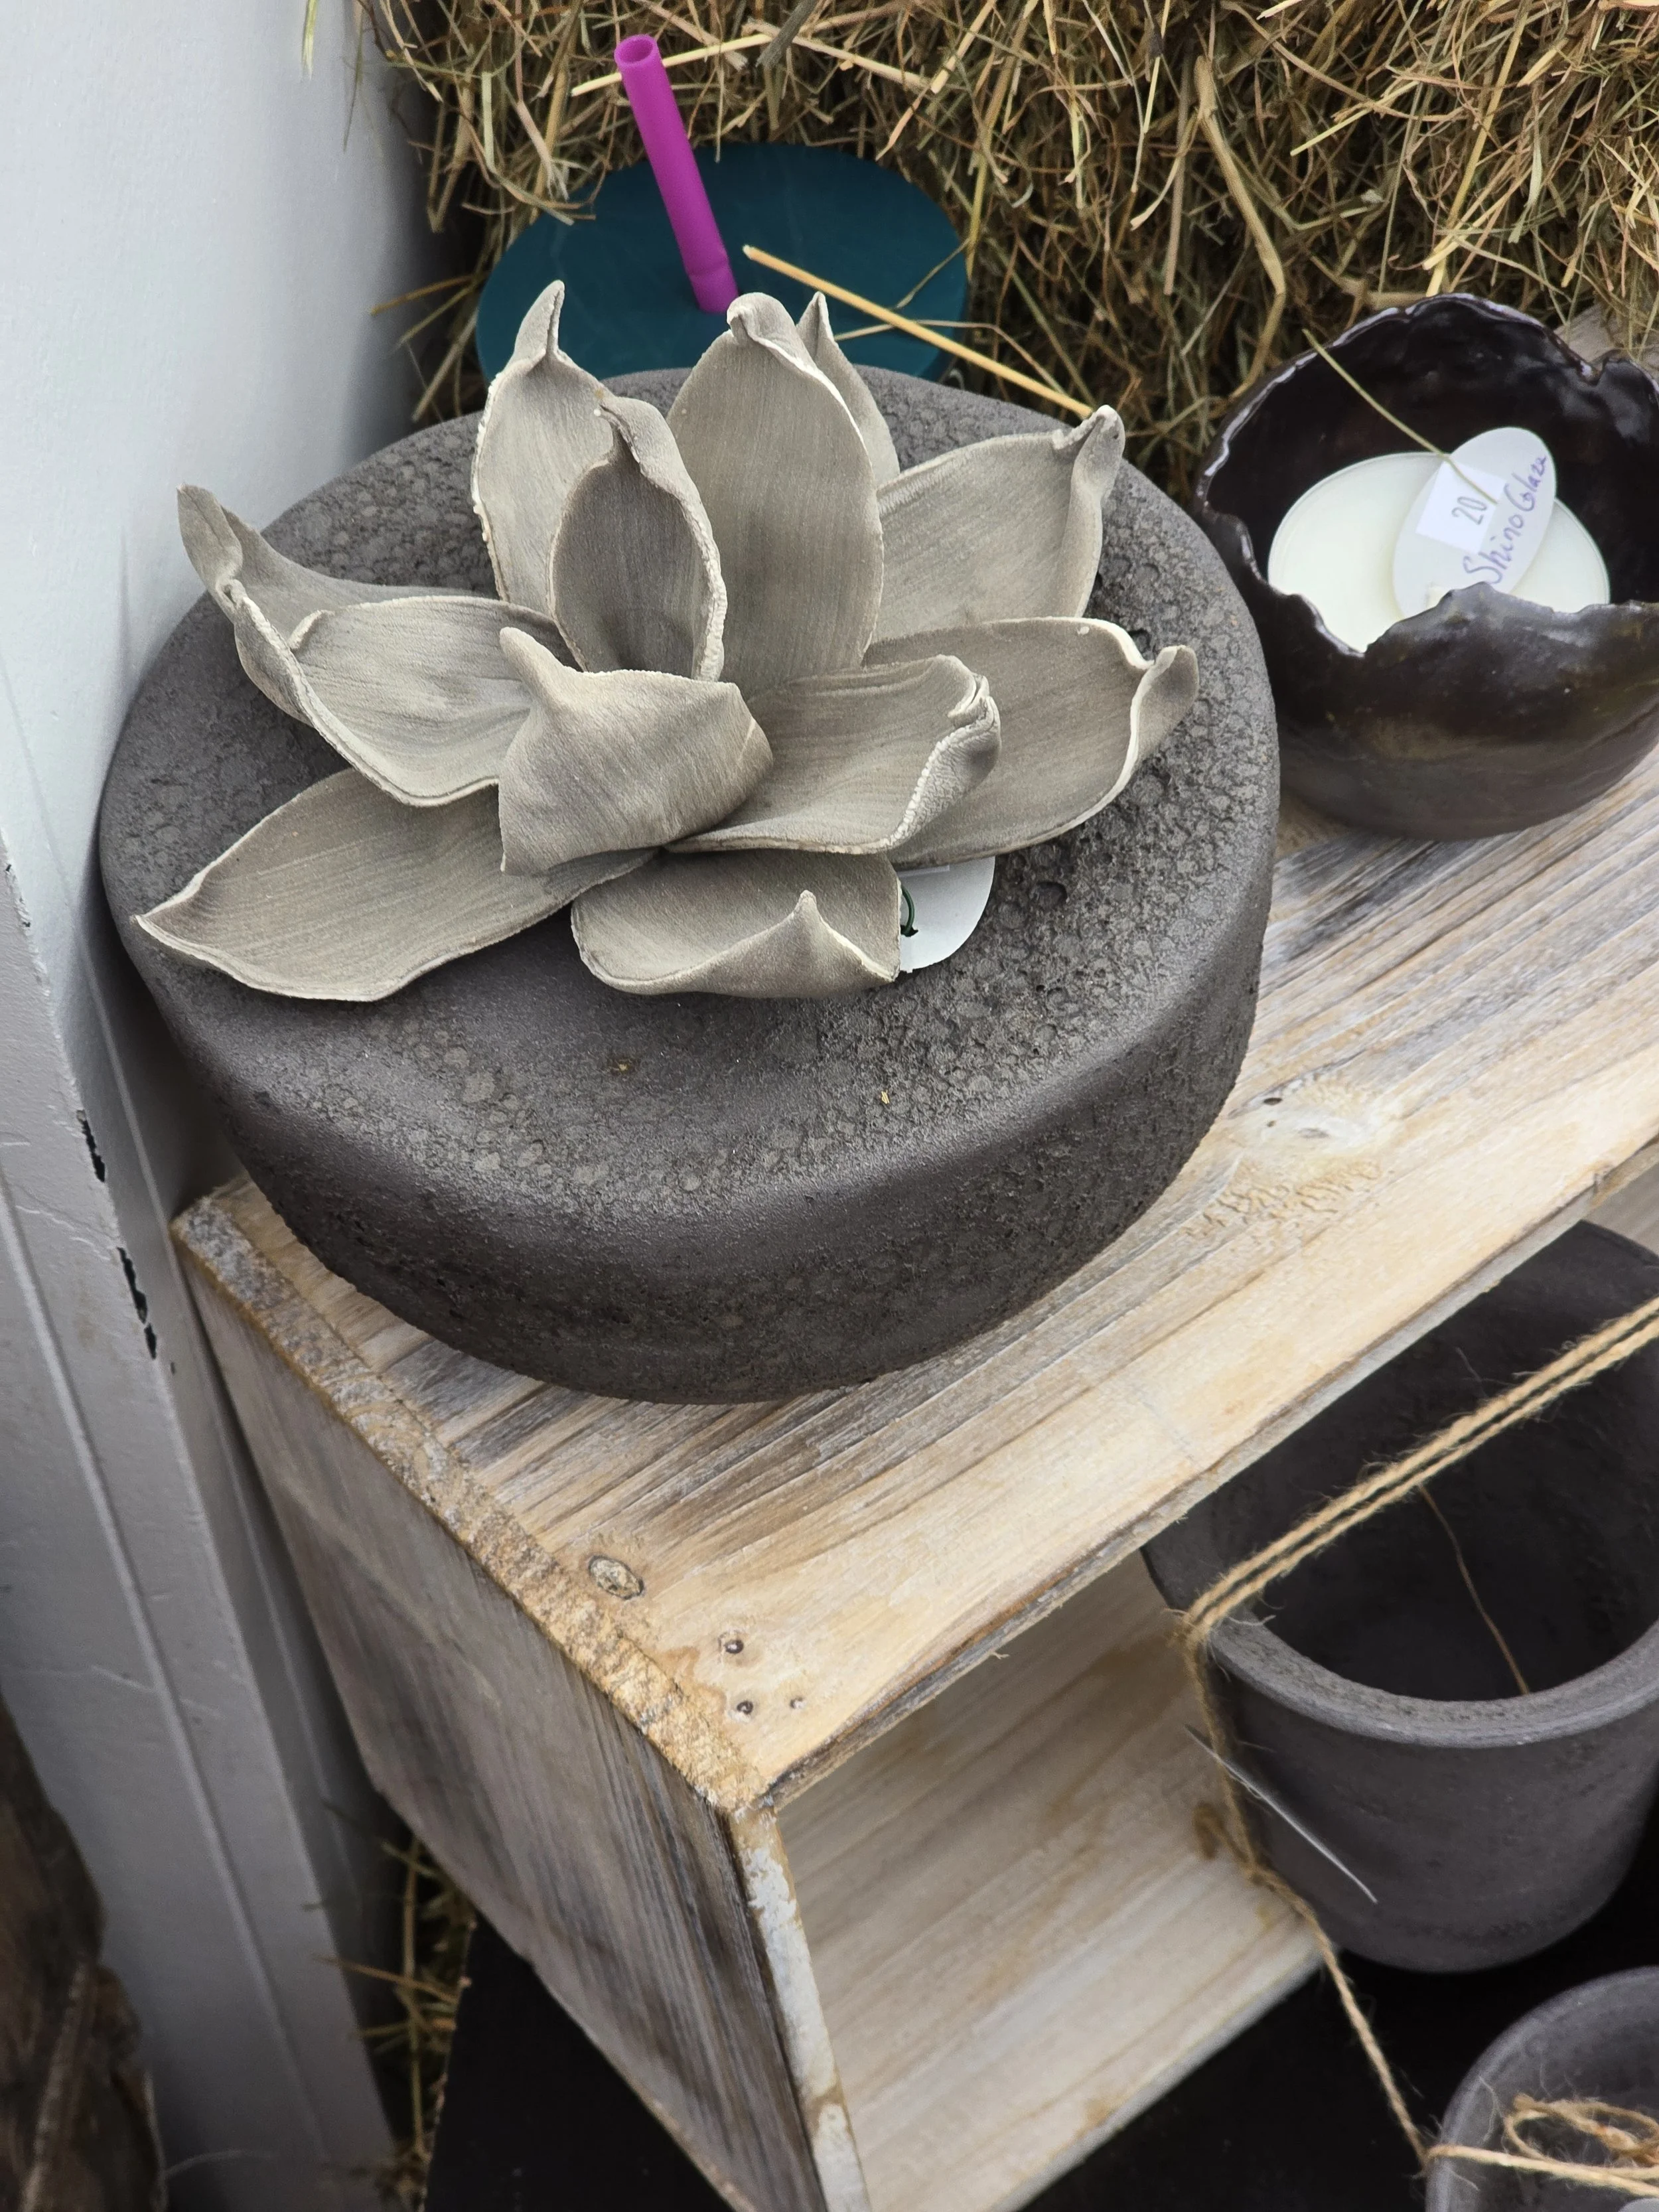
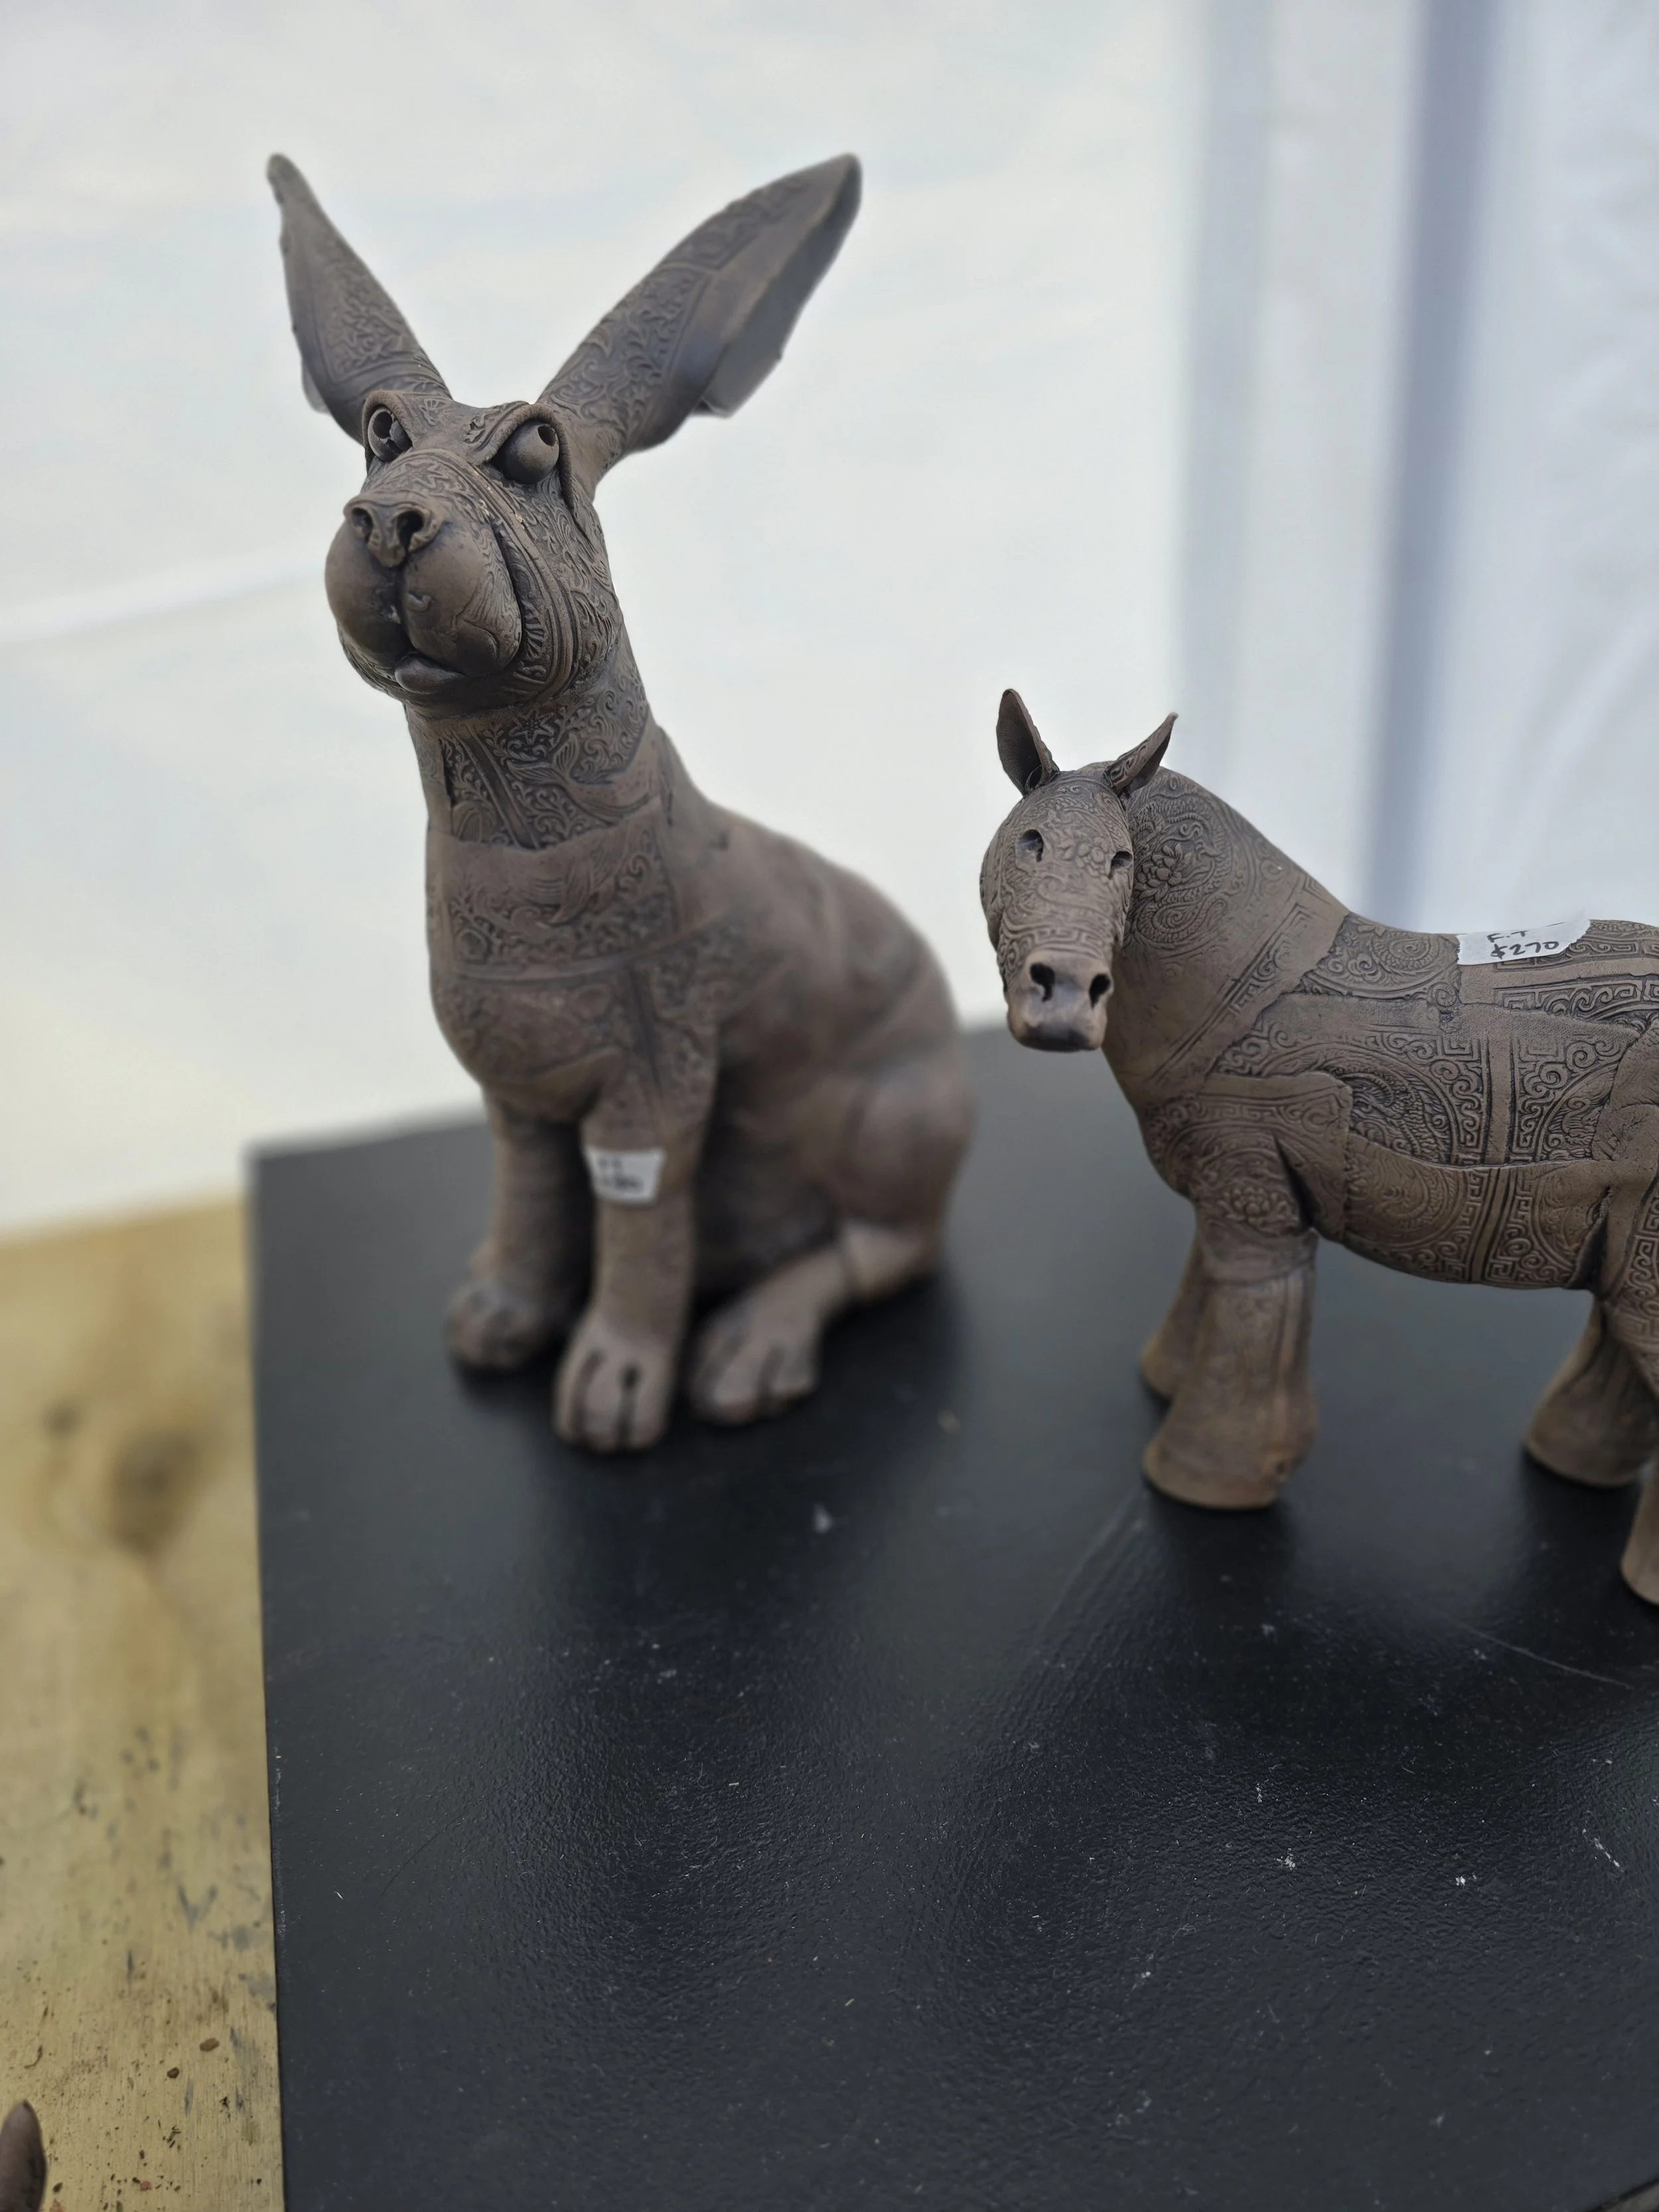
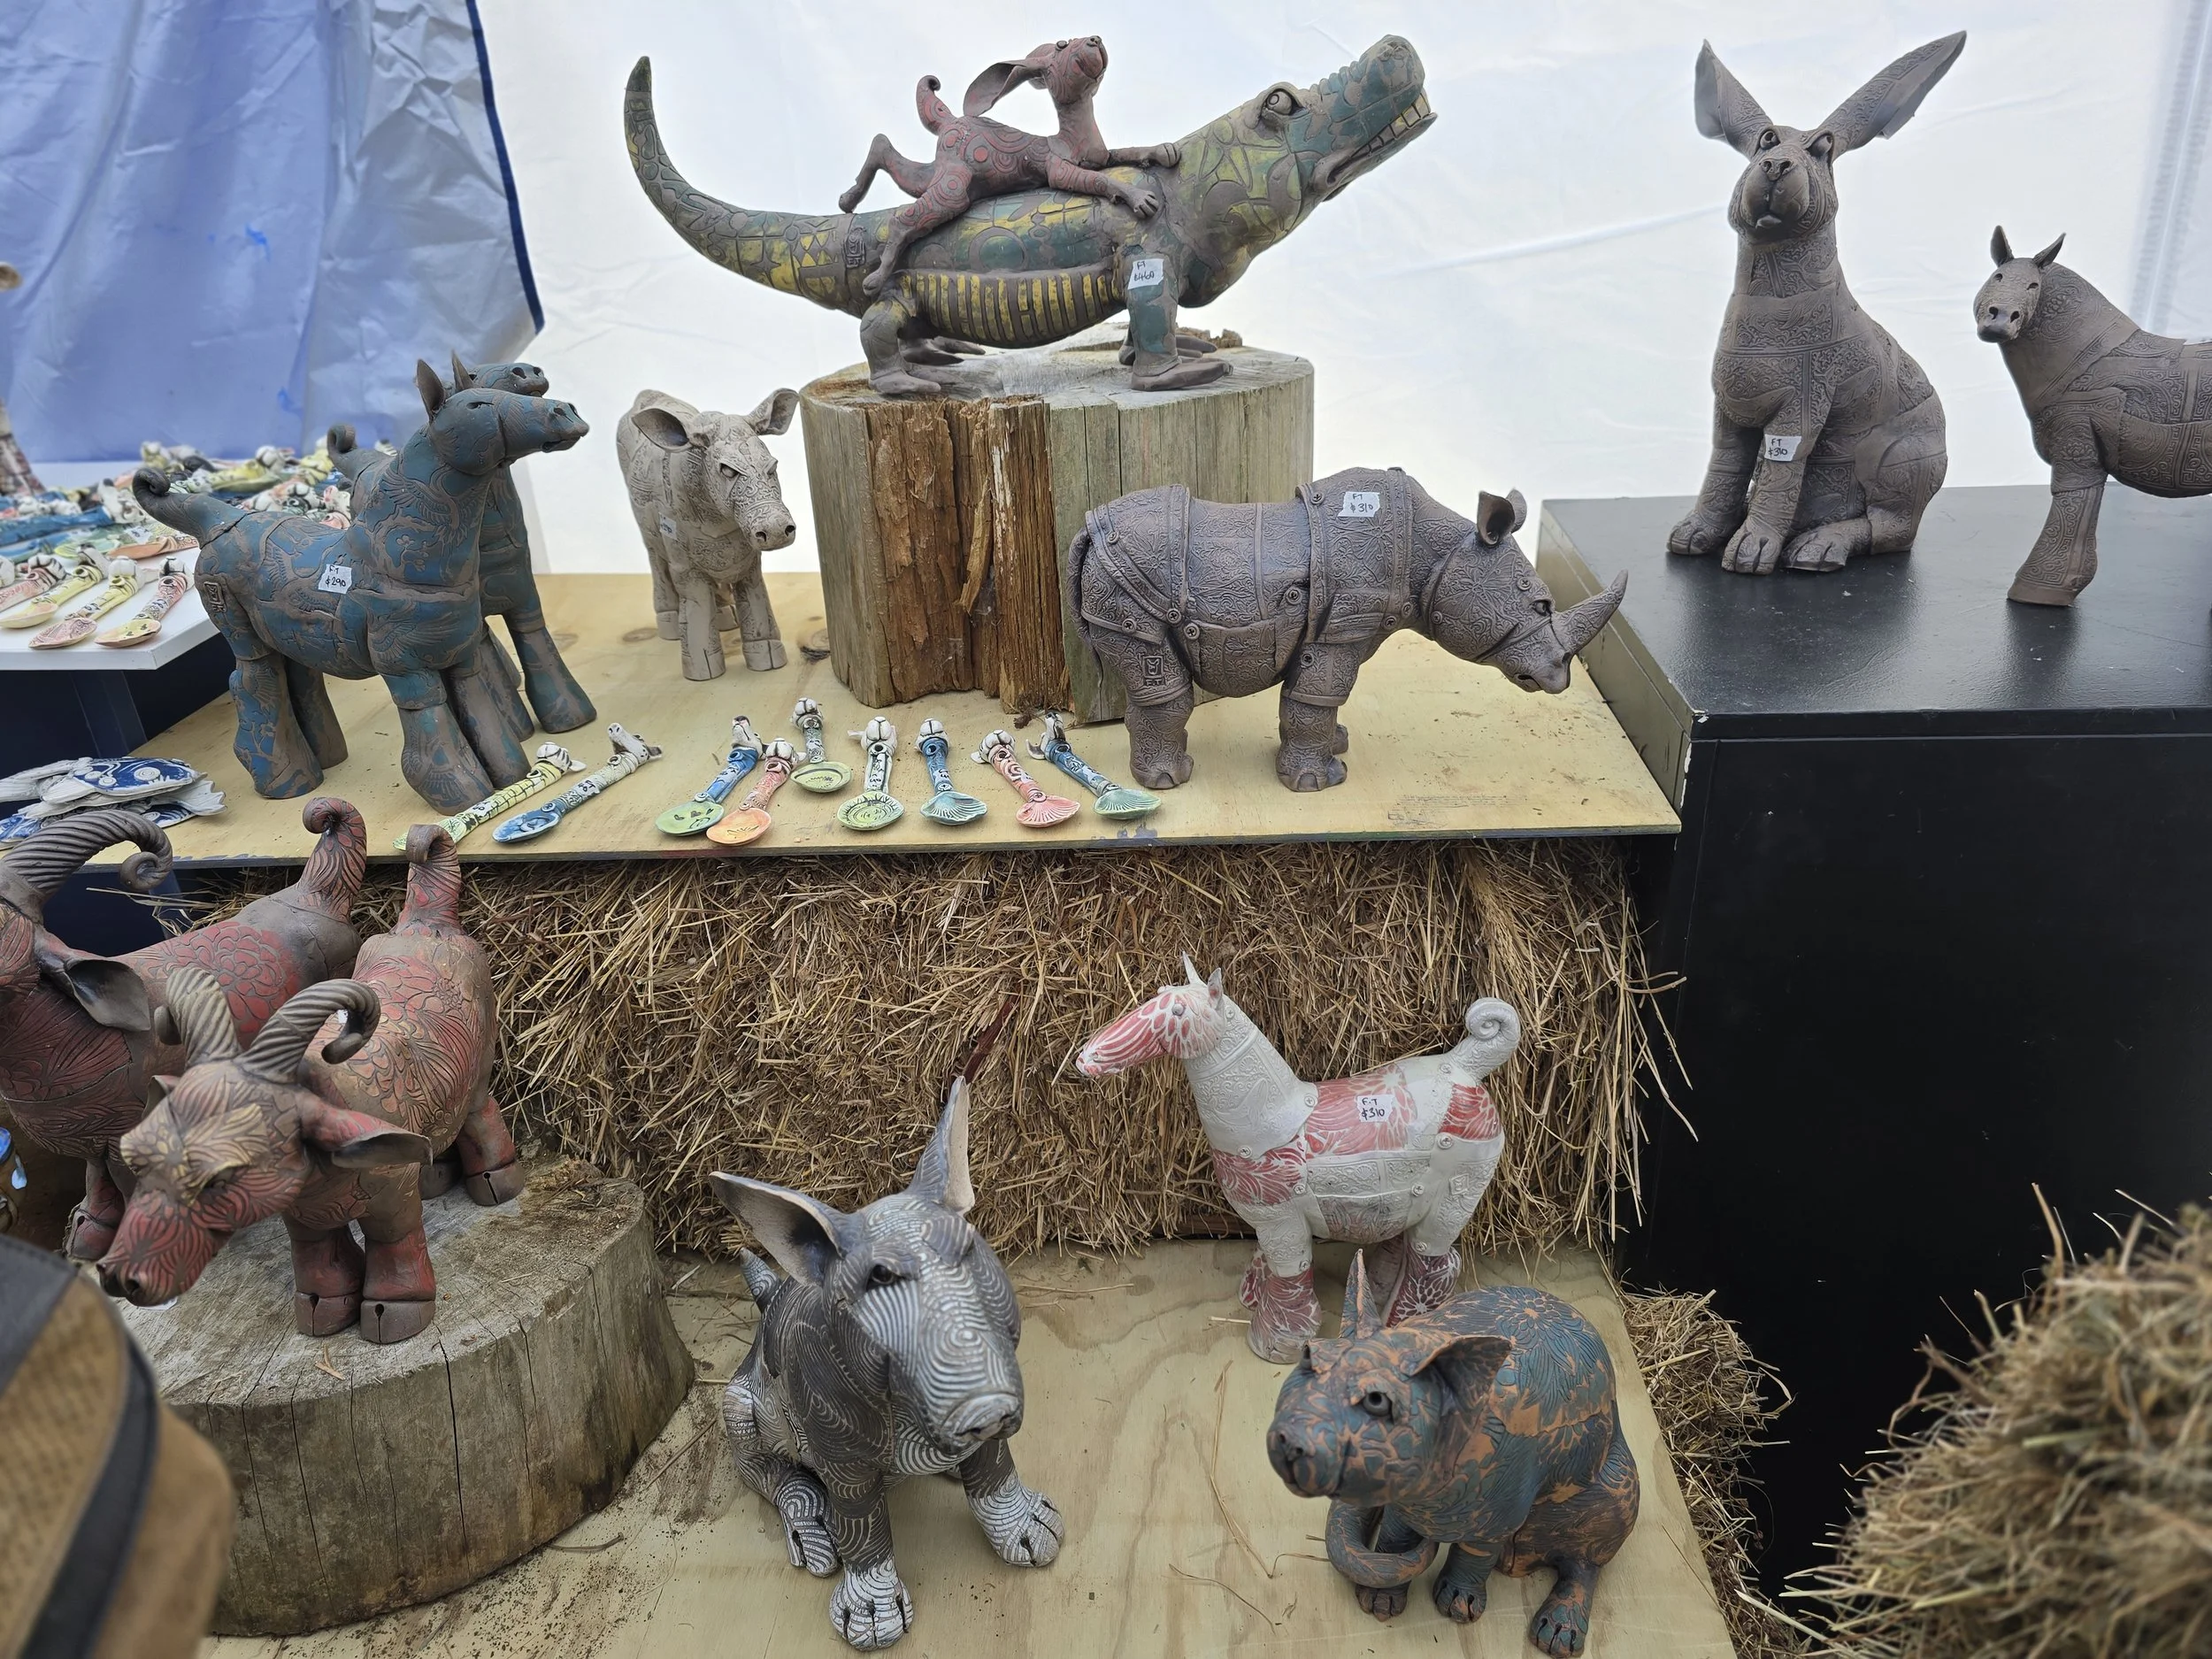
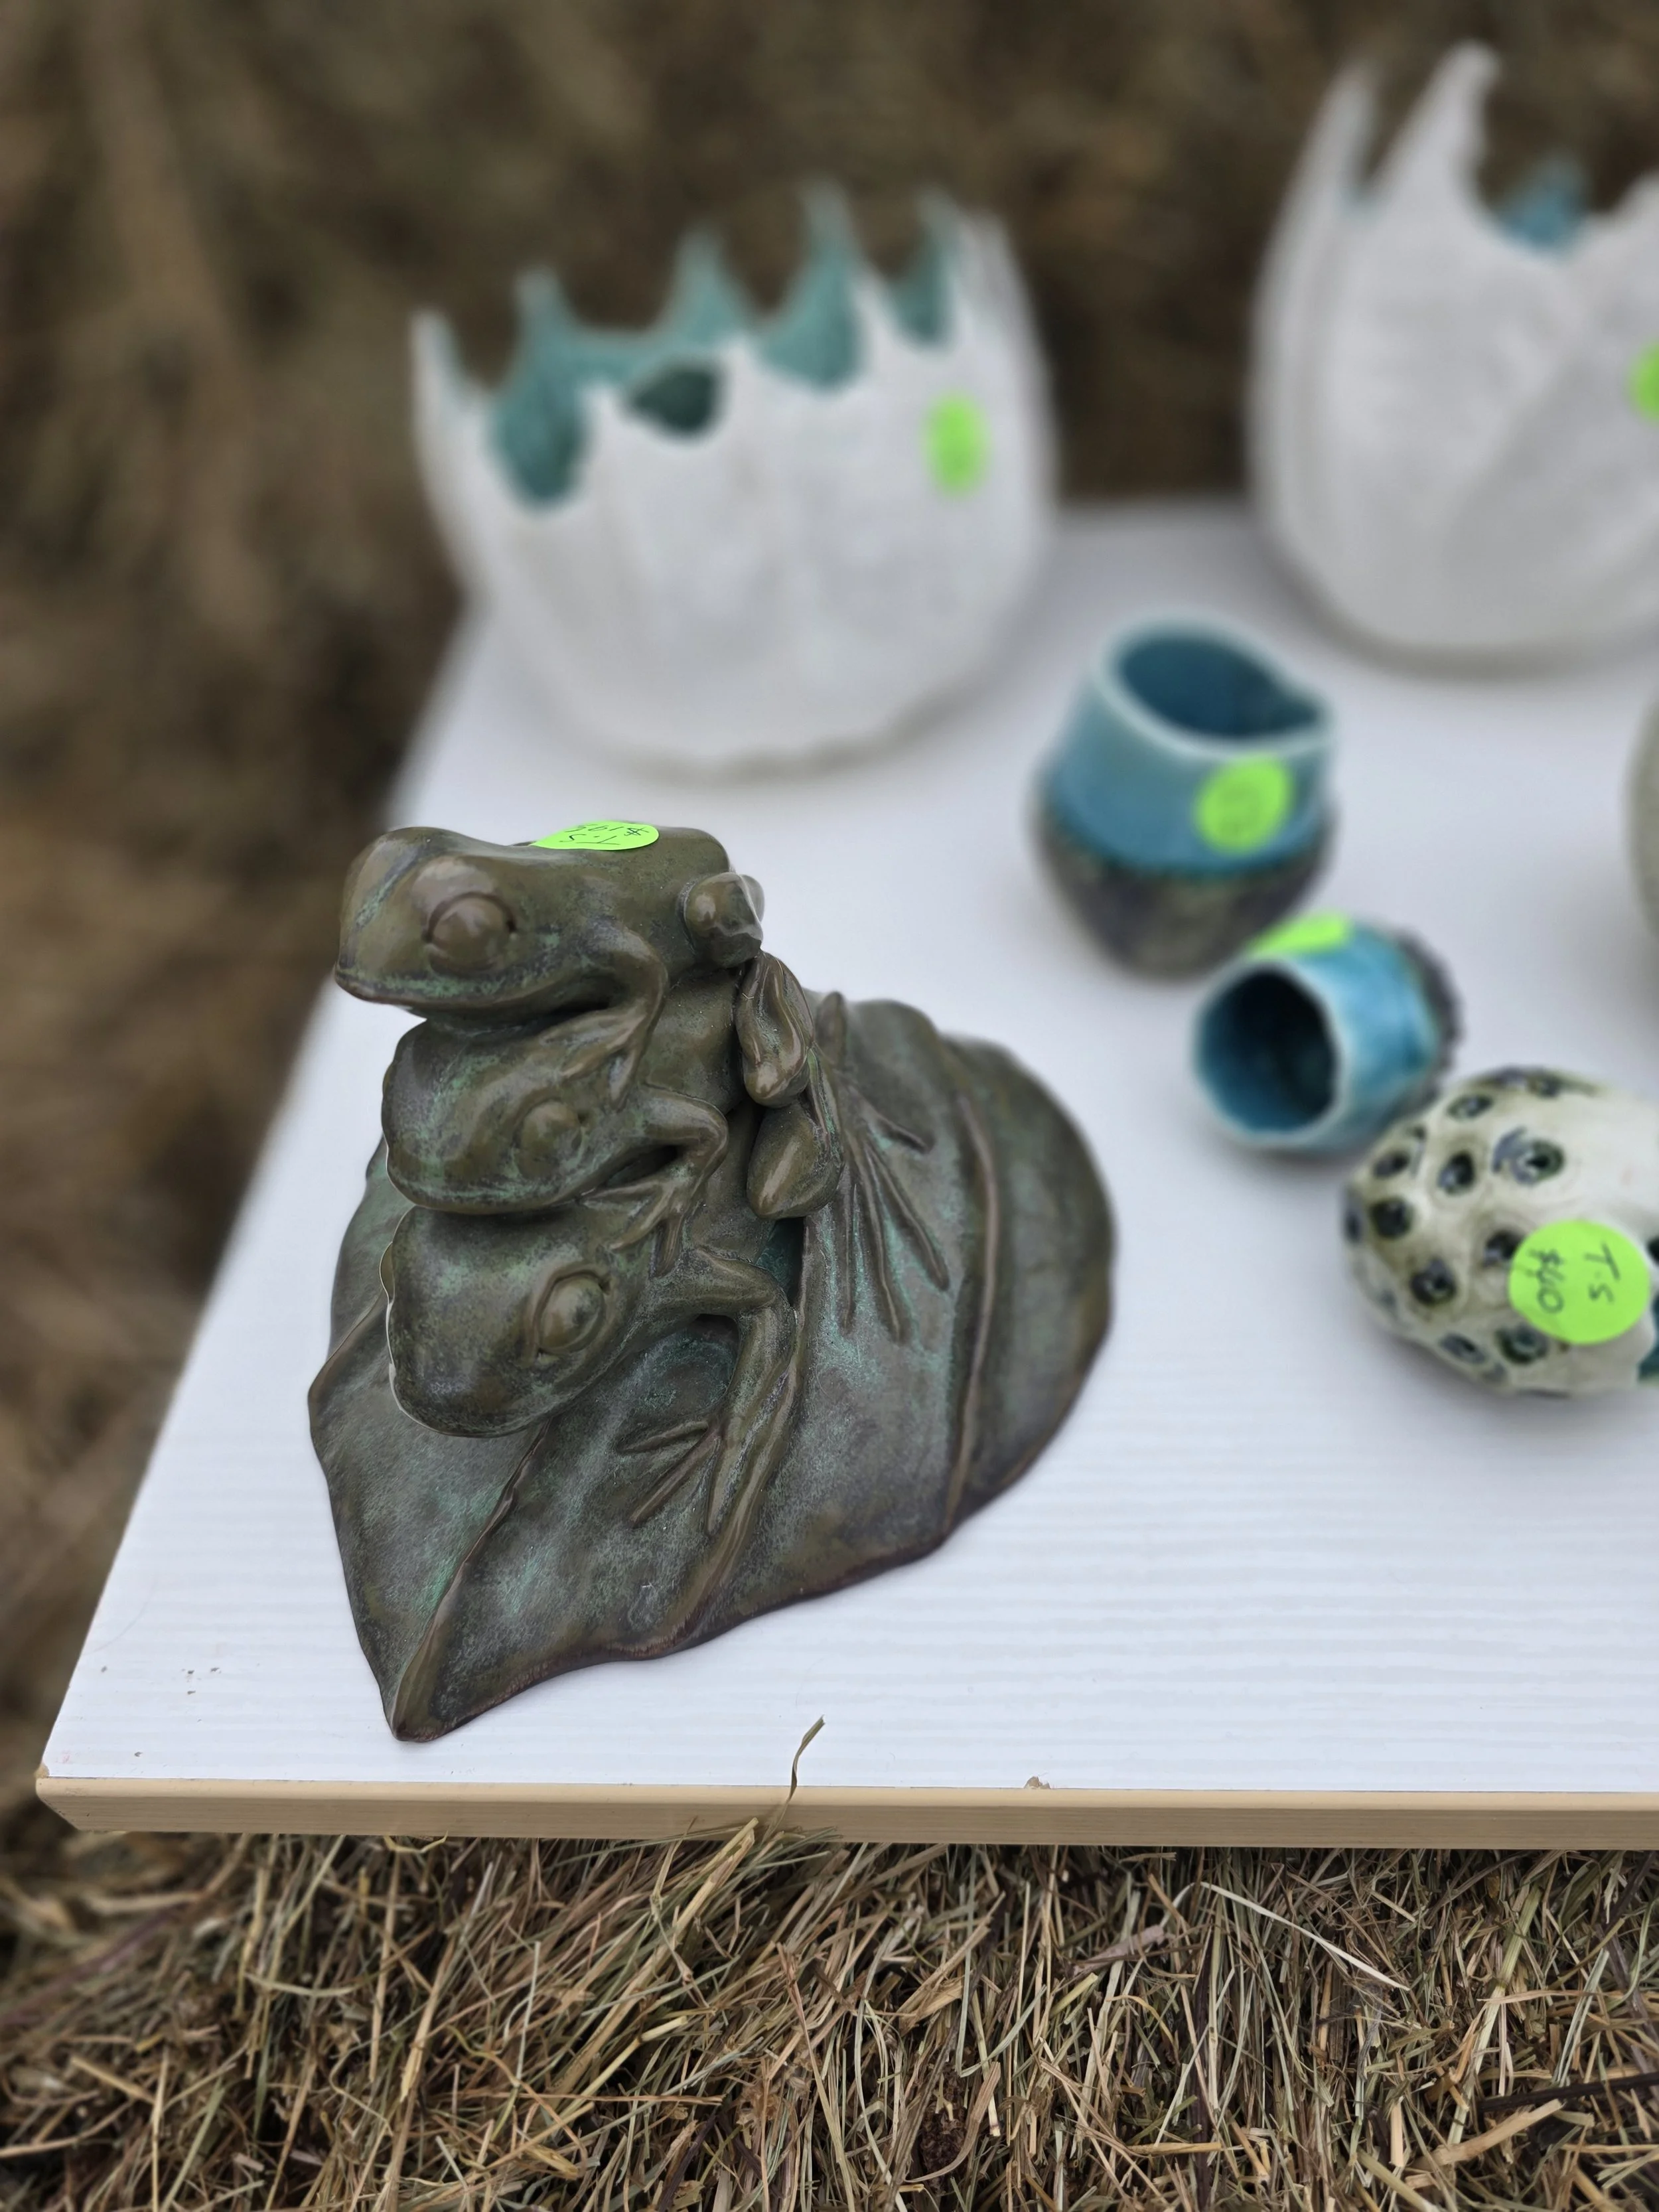
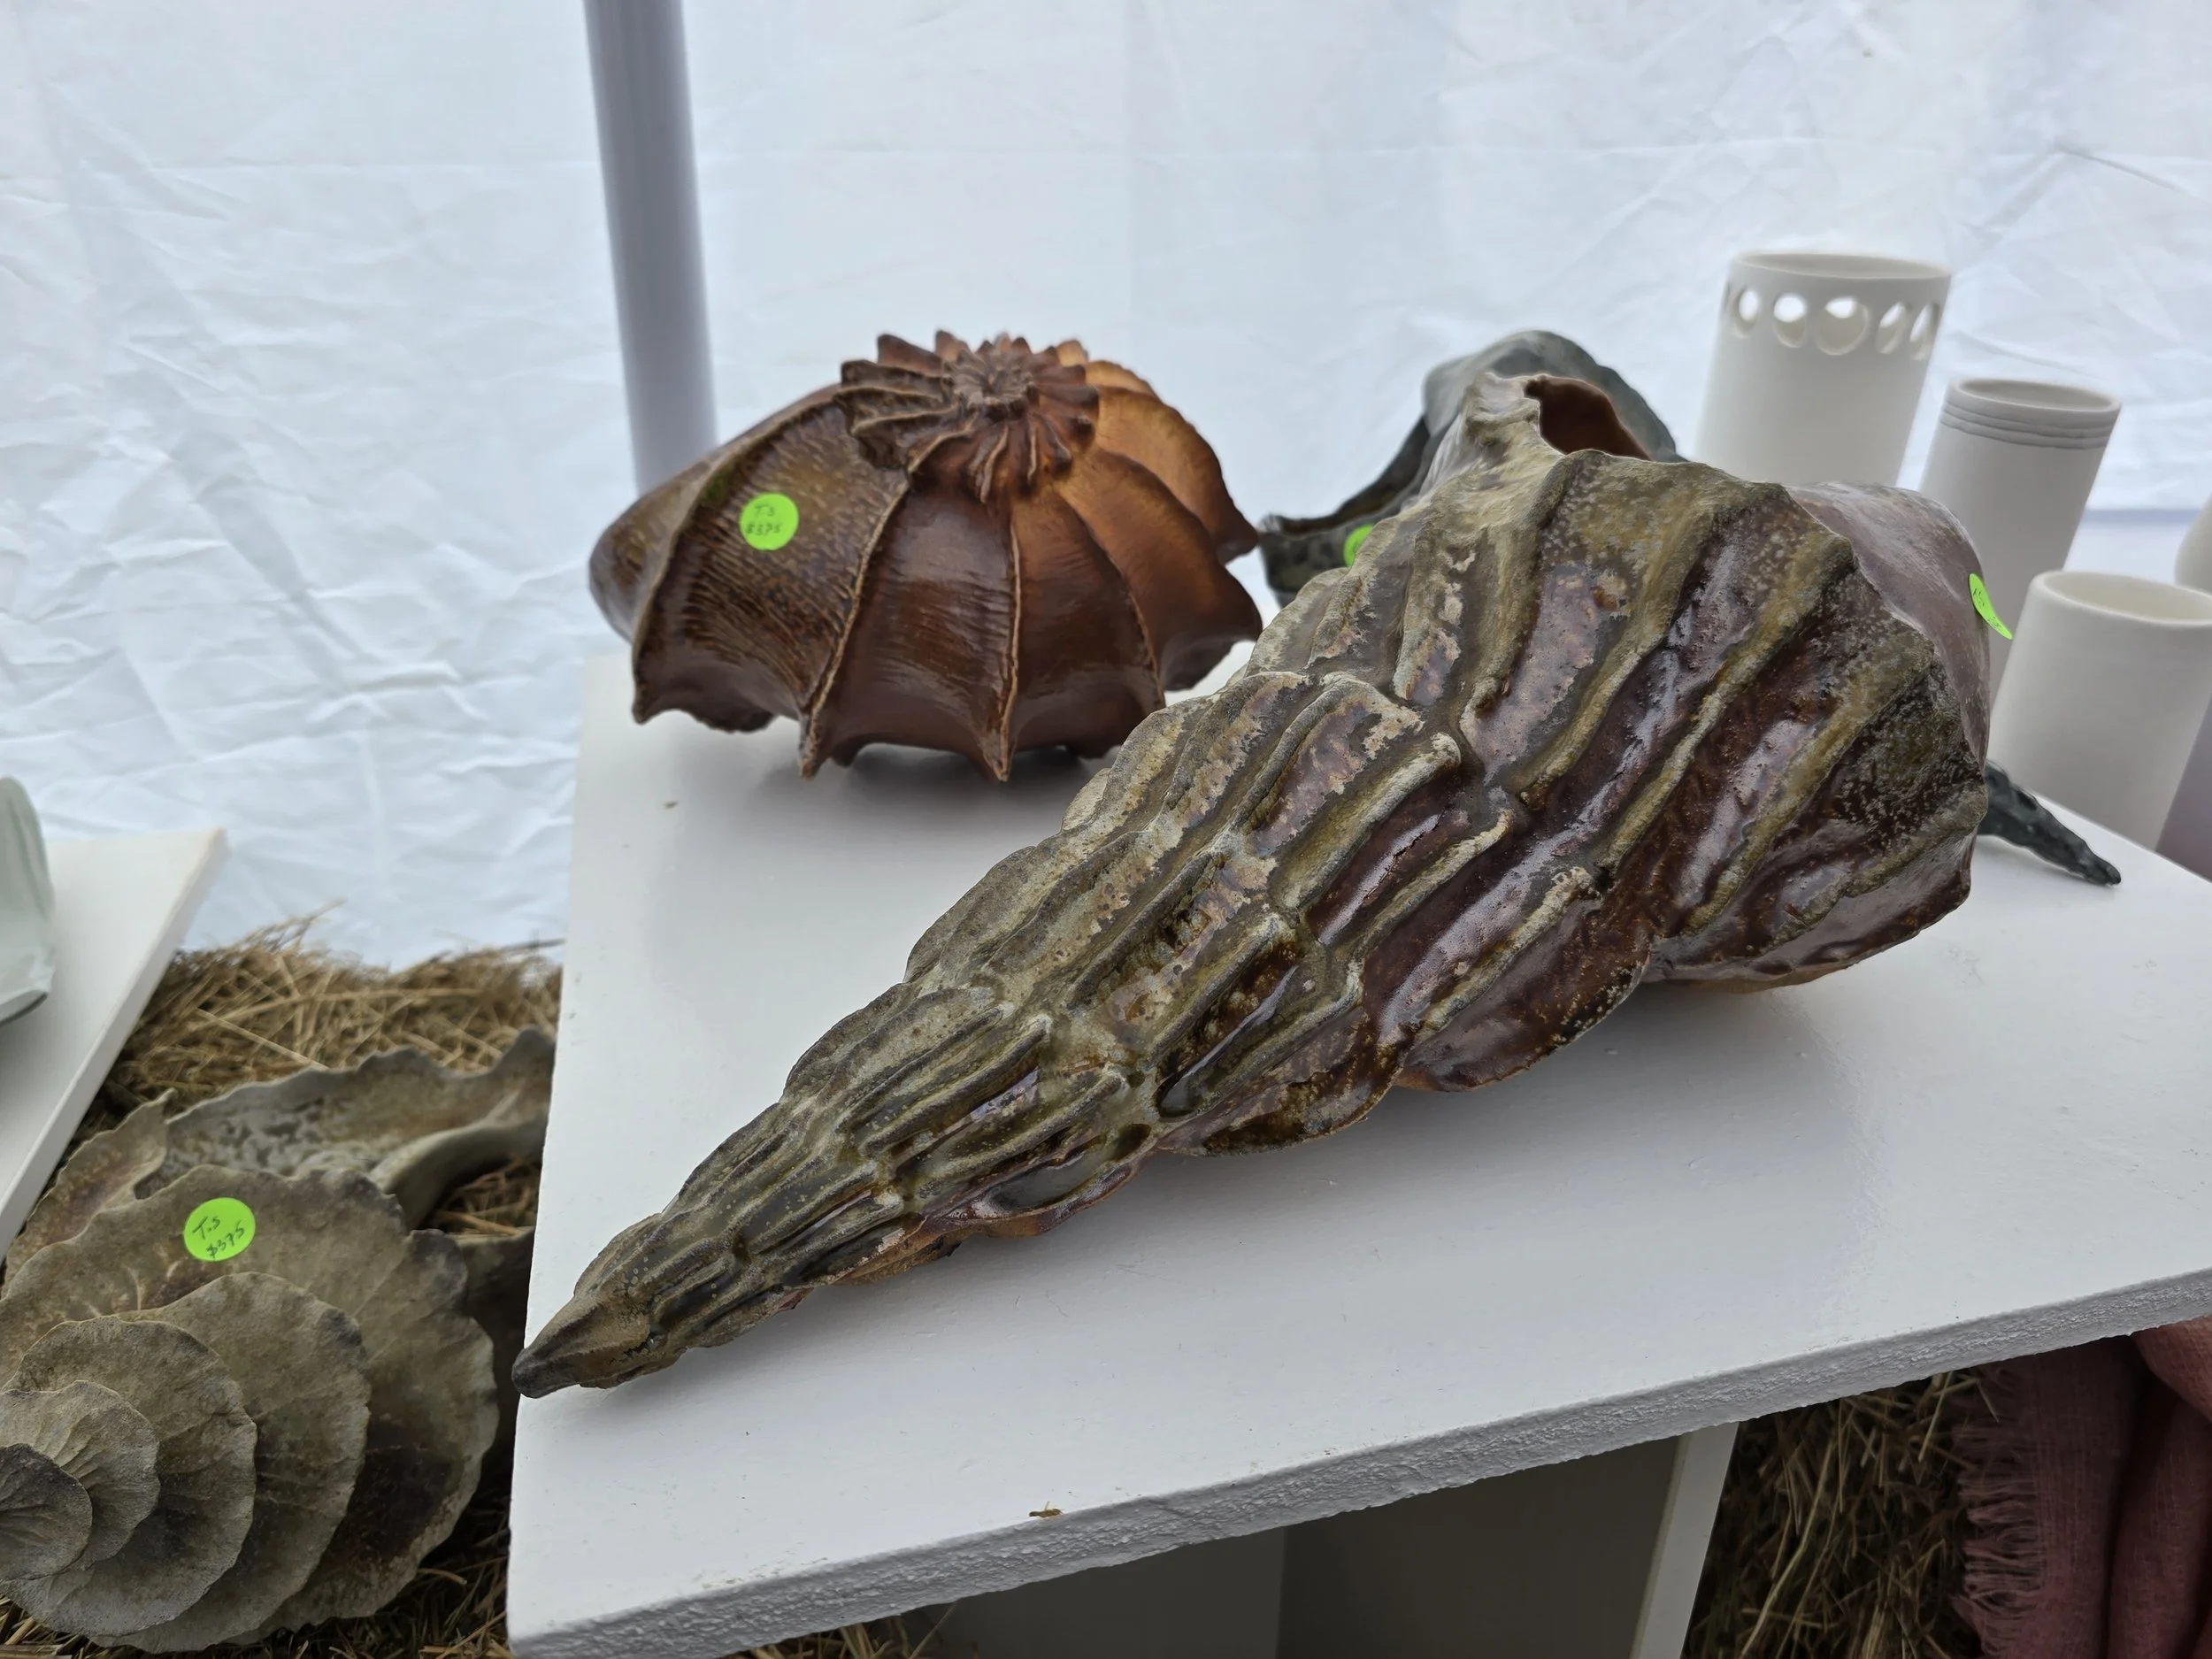
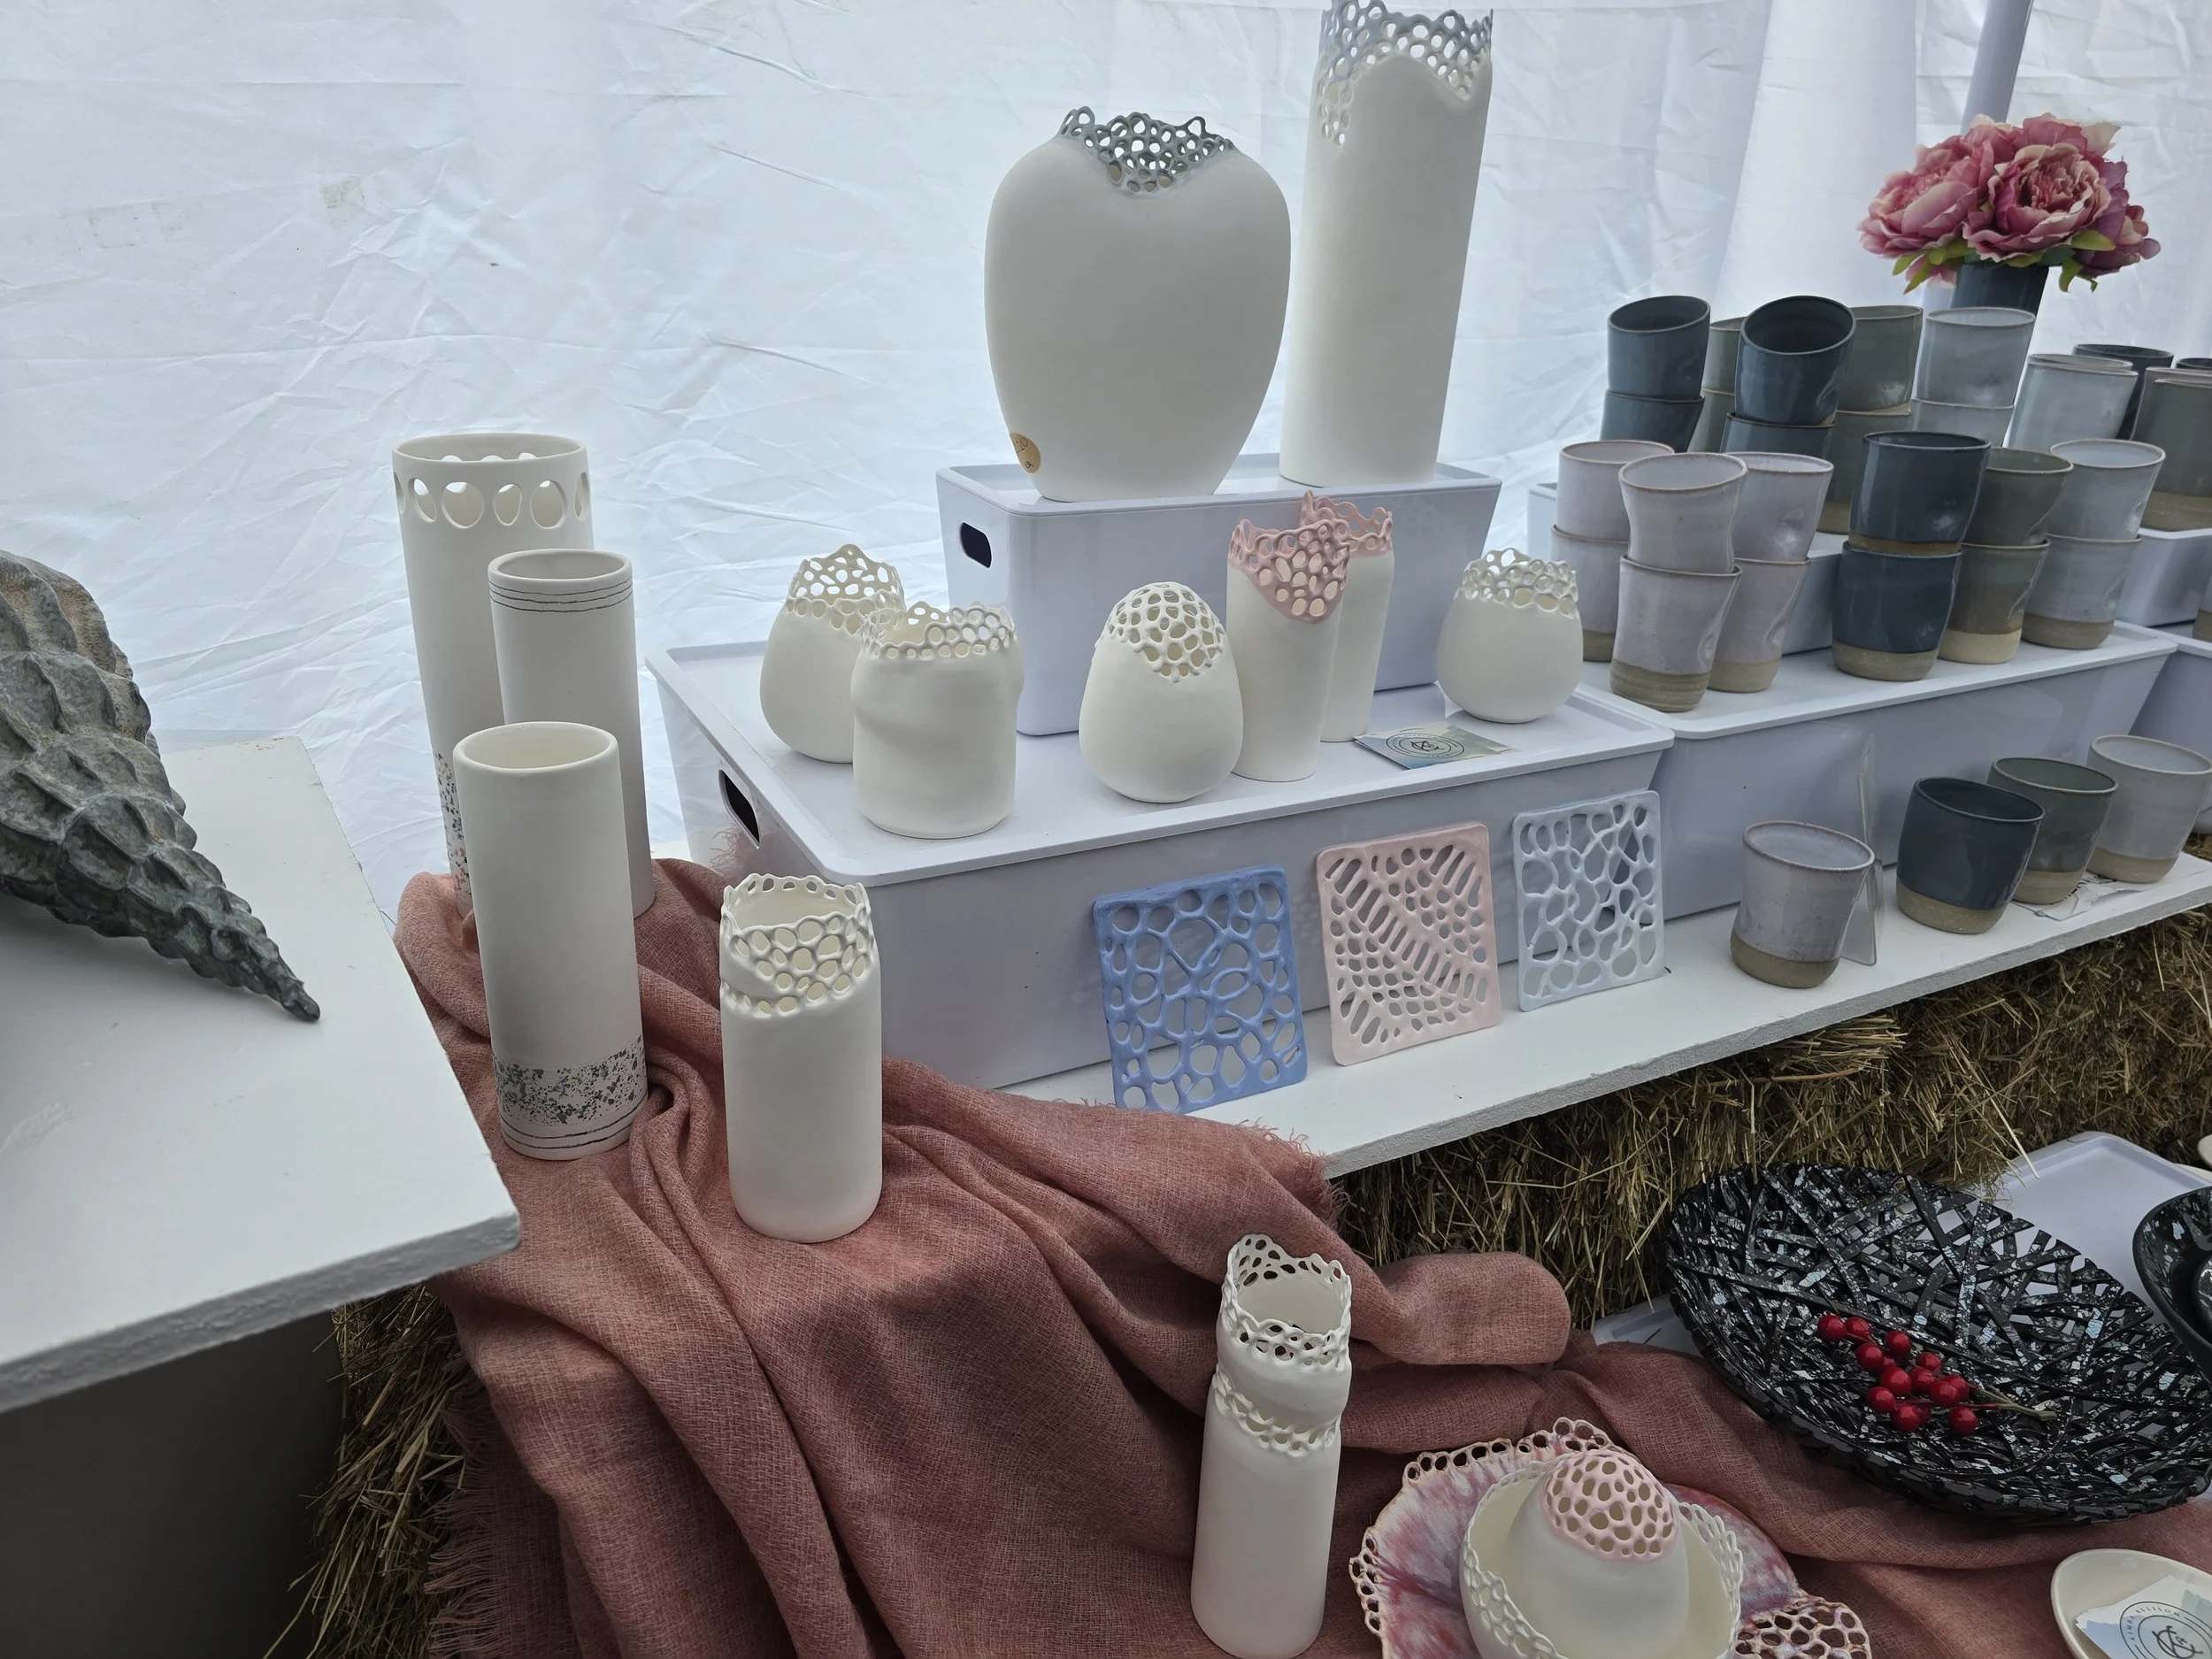
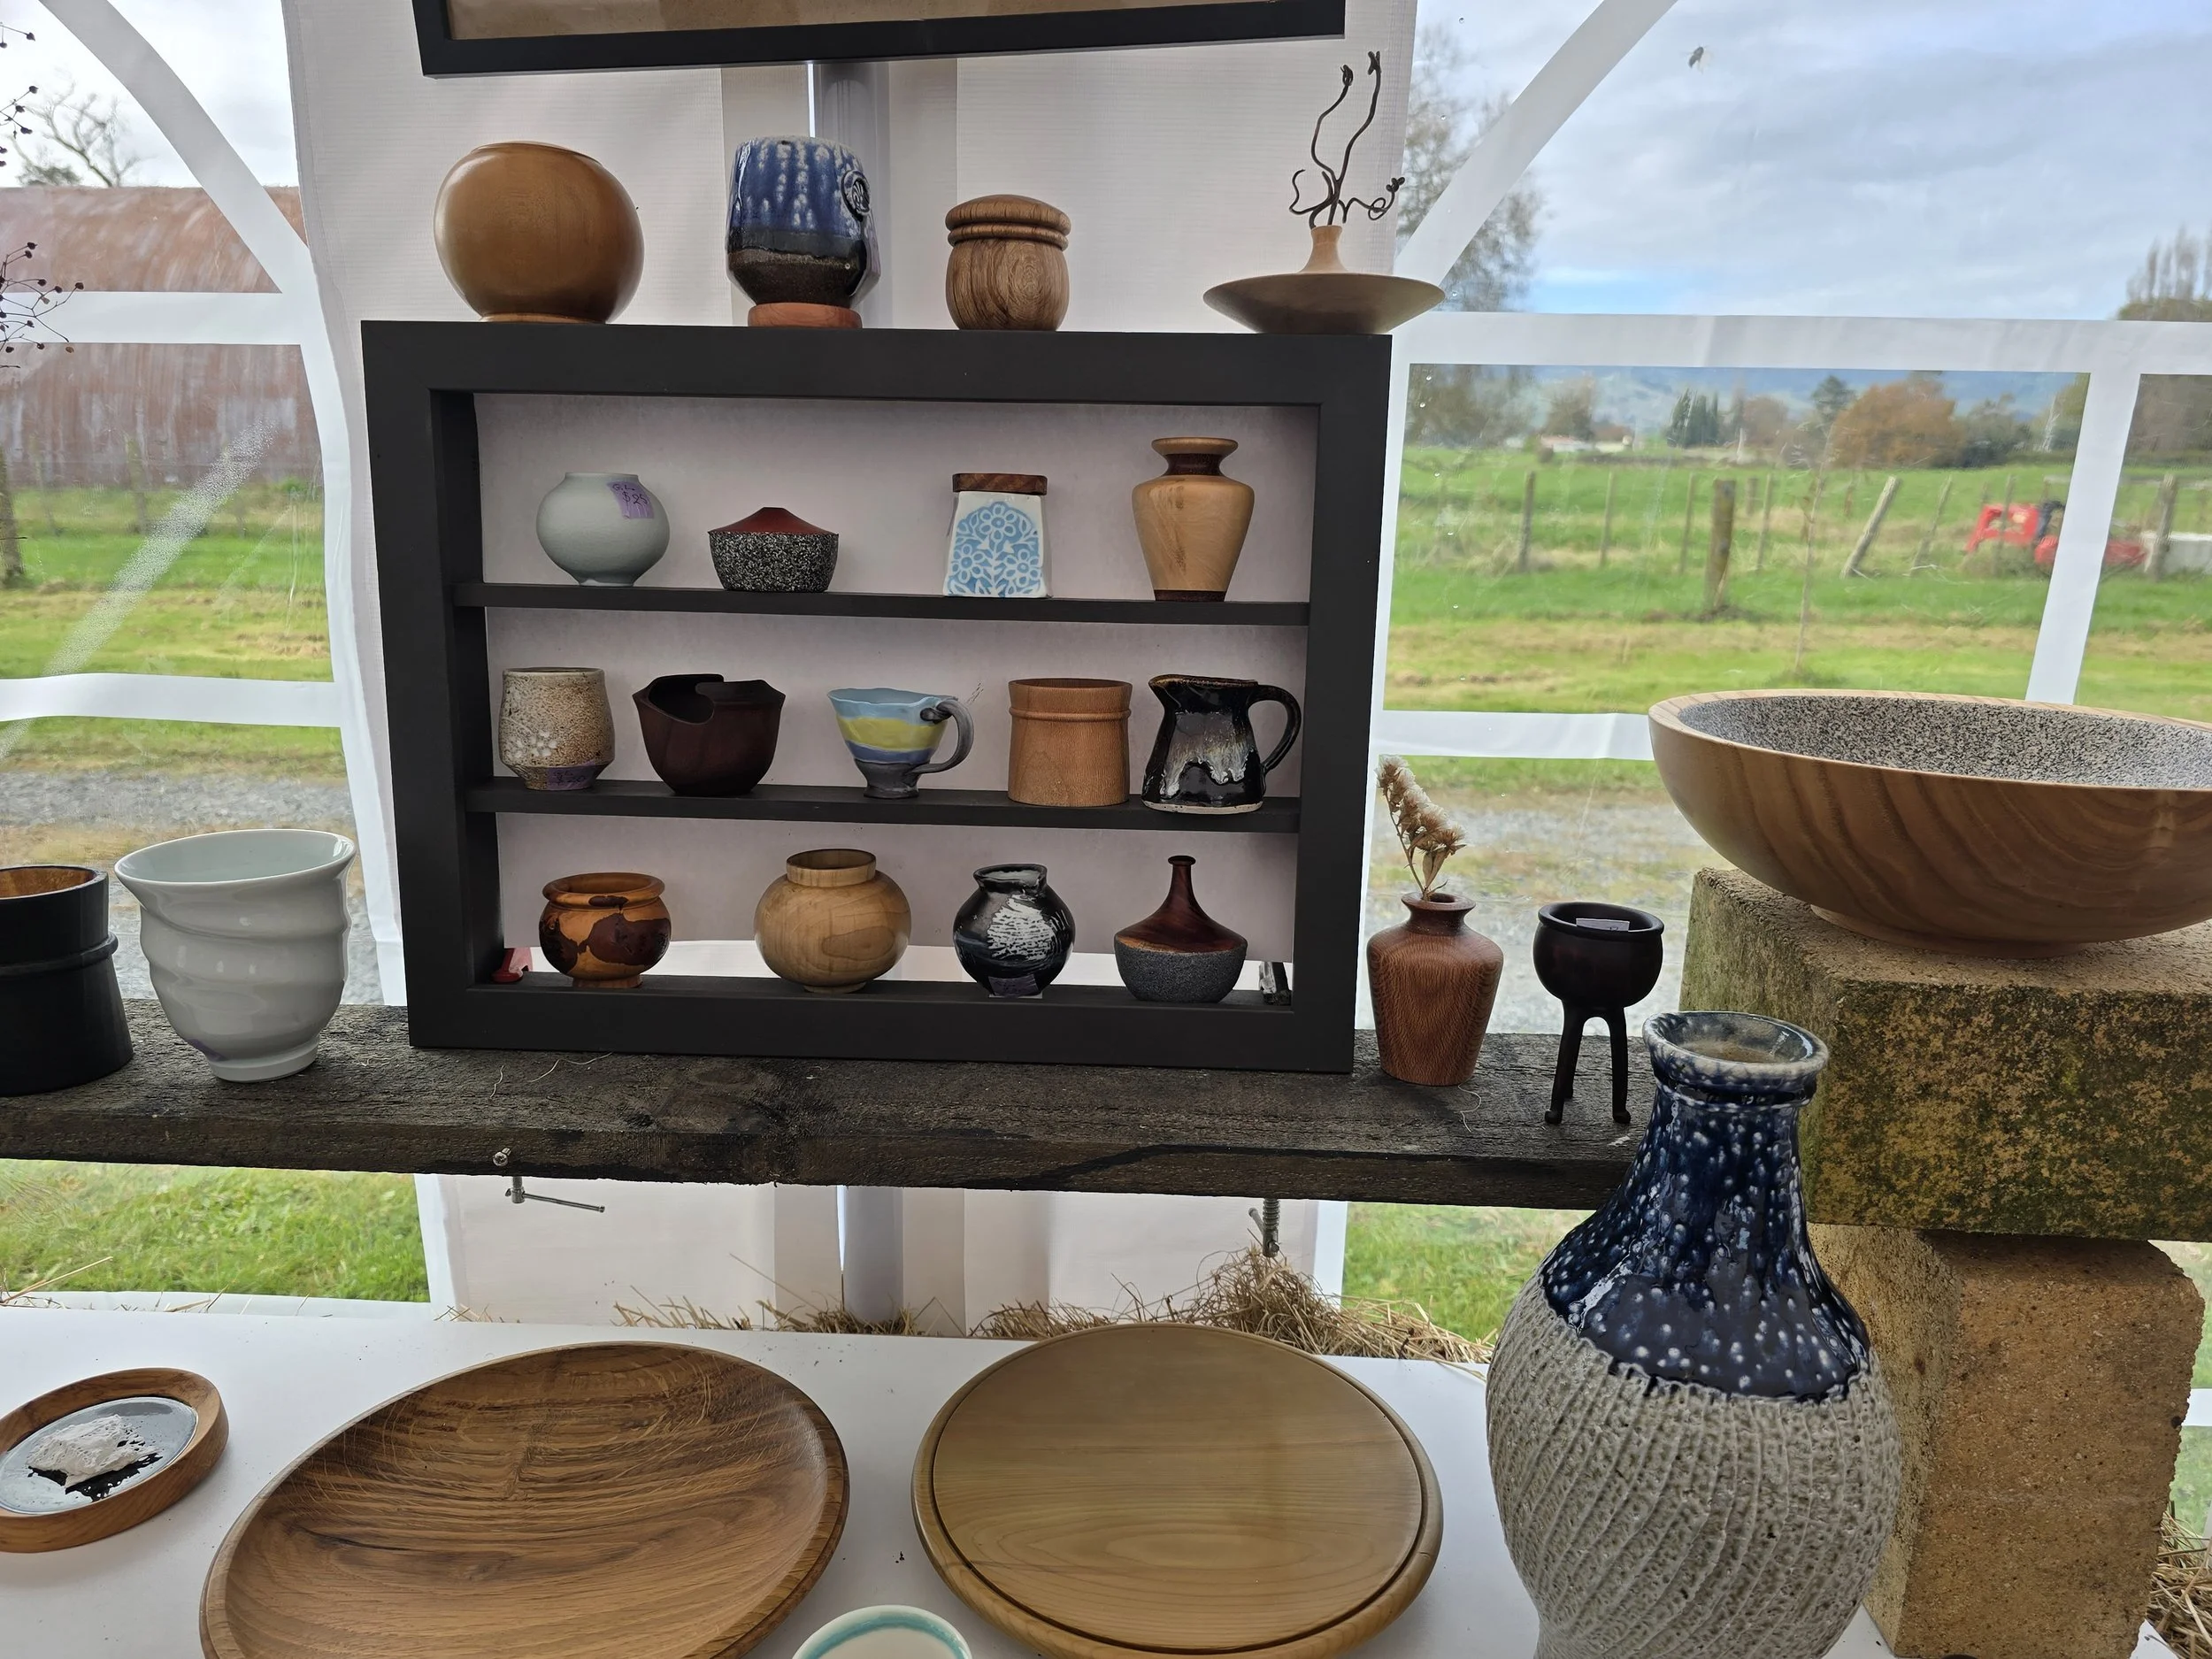
Here is a display of the Rotorangi Pottery groups offerings at the Waipa Arts Trail. There is a huge variety of styles here from handmade, flat sculptures and thrown work. Just beautiful. After dabbling in the Waitomo Society of Arts beginner pottery class earlier this year, I have a greater appreciation on these artifacts. I would love to do more in this sculptural artistic media but I am not disciplined enough to attend regular group meetings to utilise the kiln and specialist materials needed. Still lovely to look at and appreciate how talented the artists that made these are
Fibretron
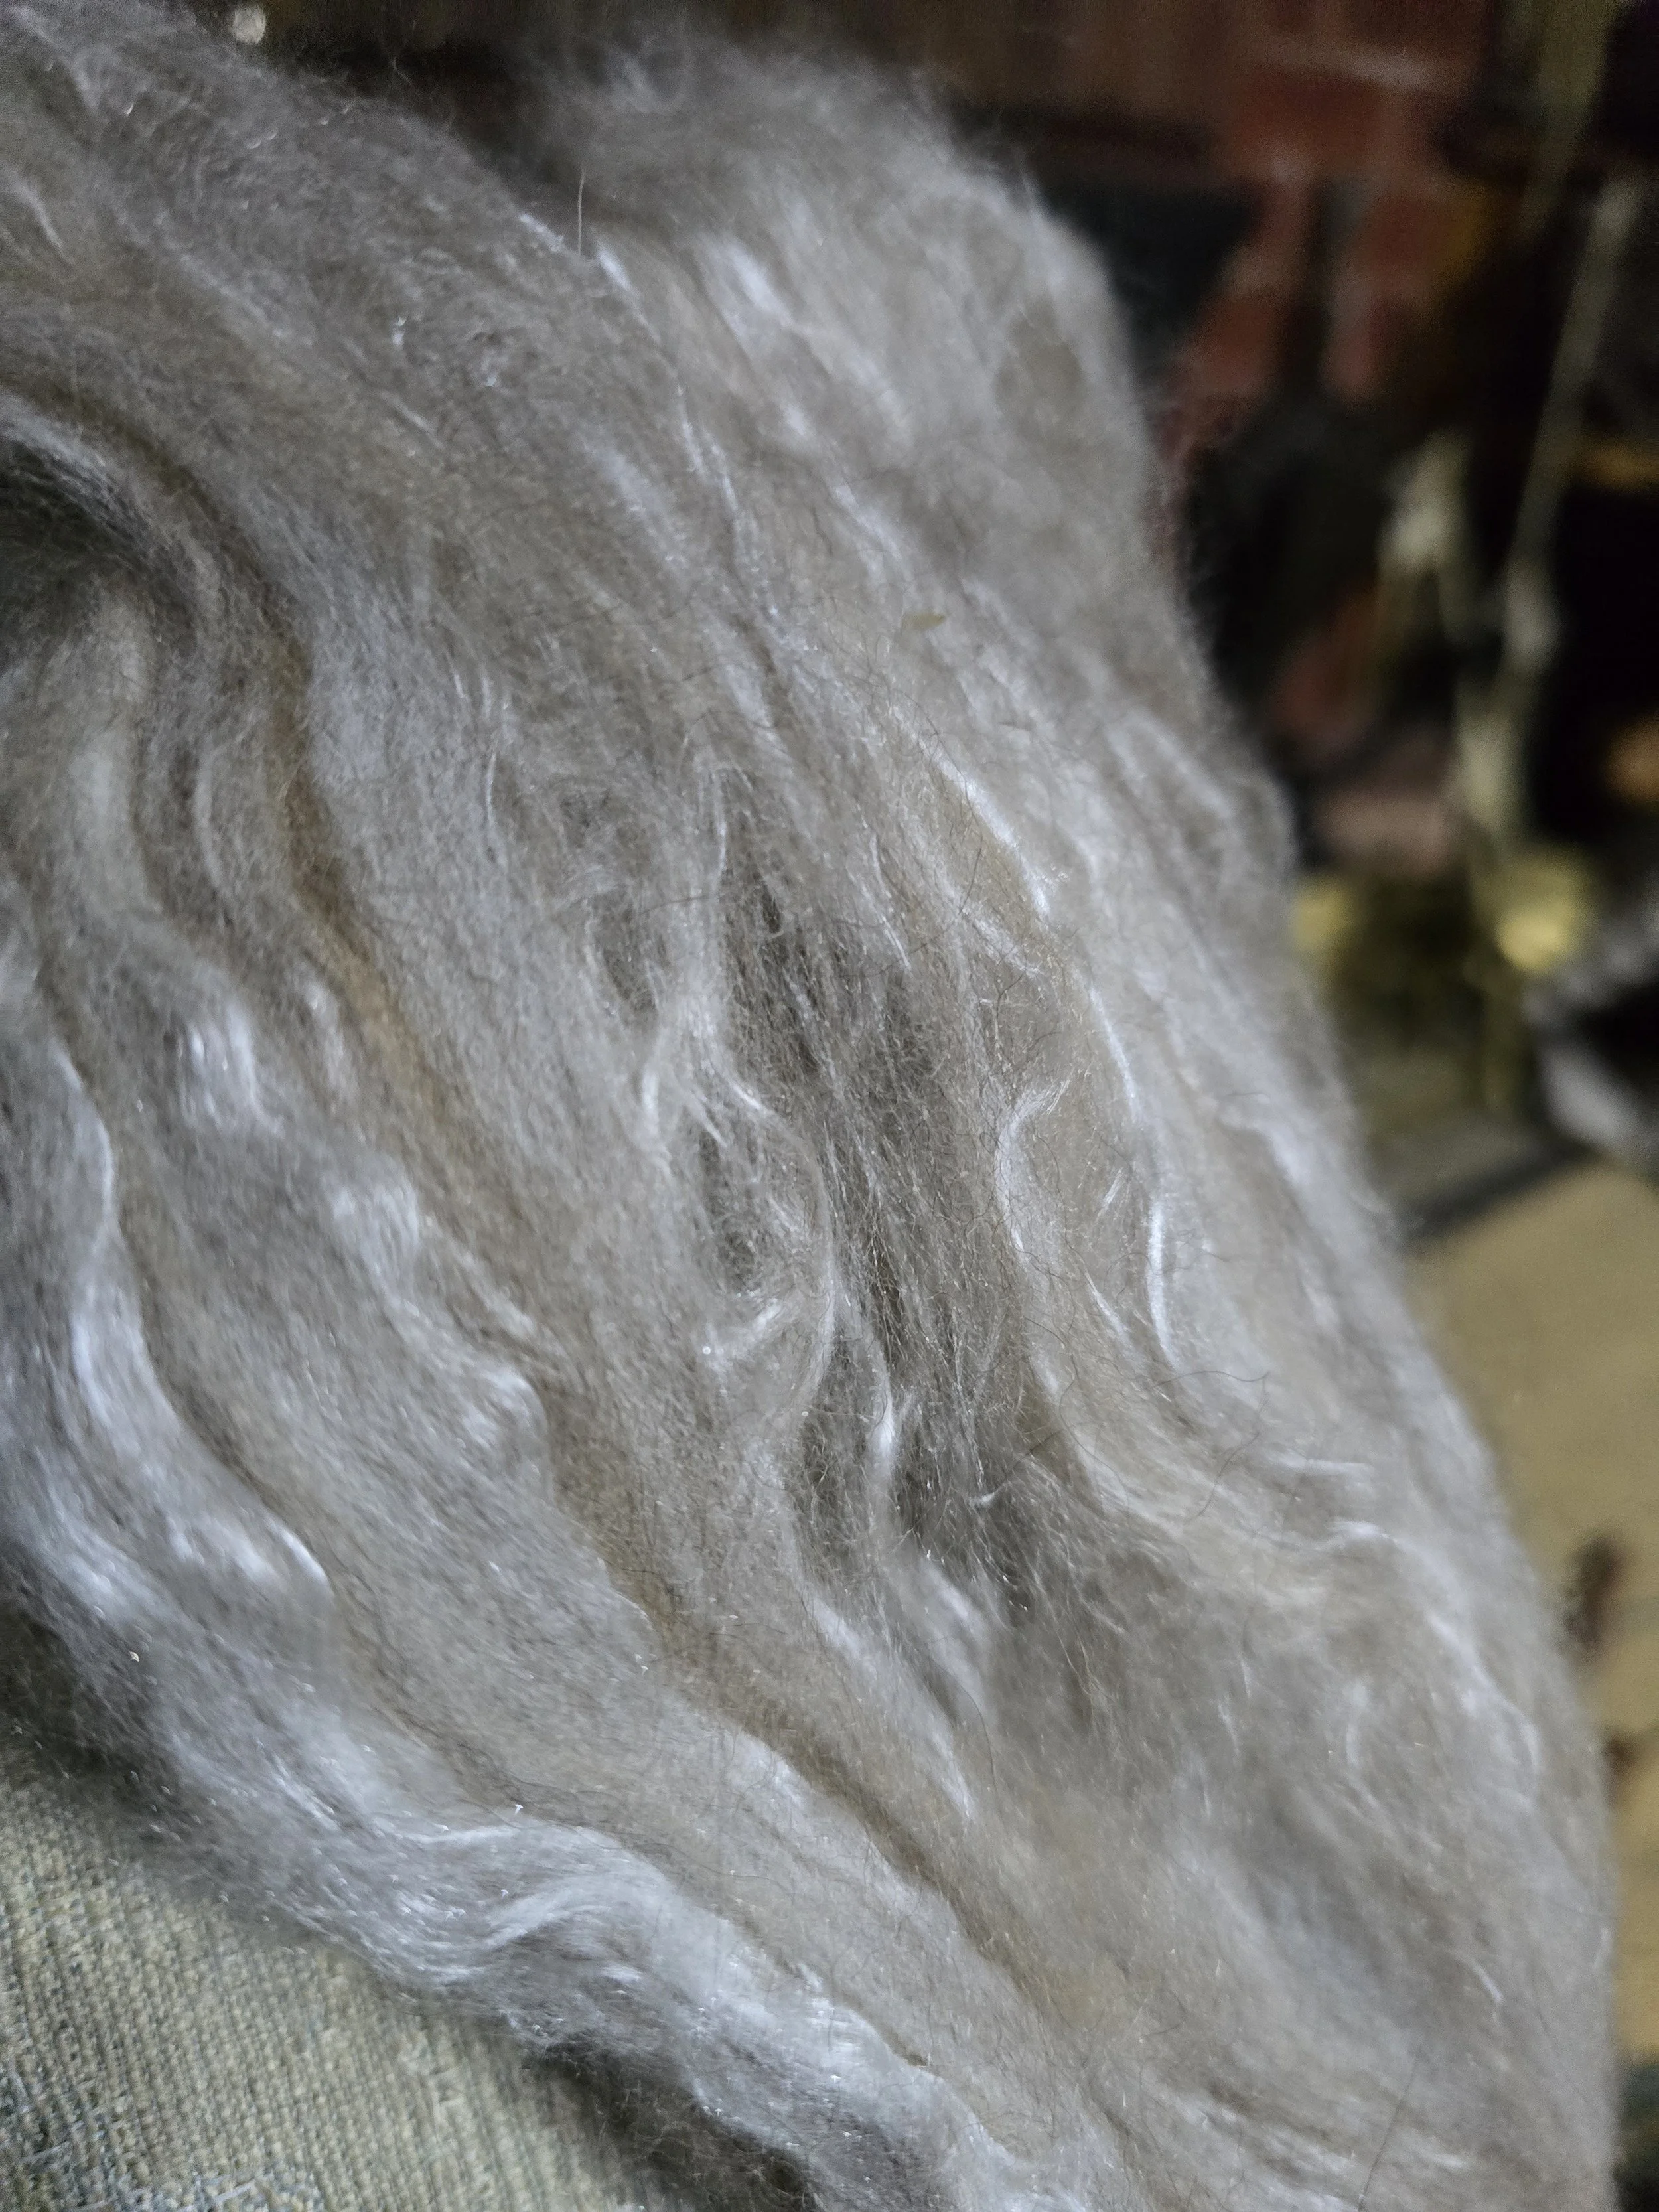
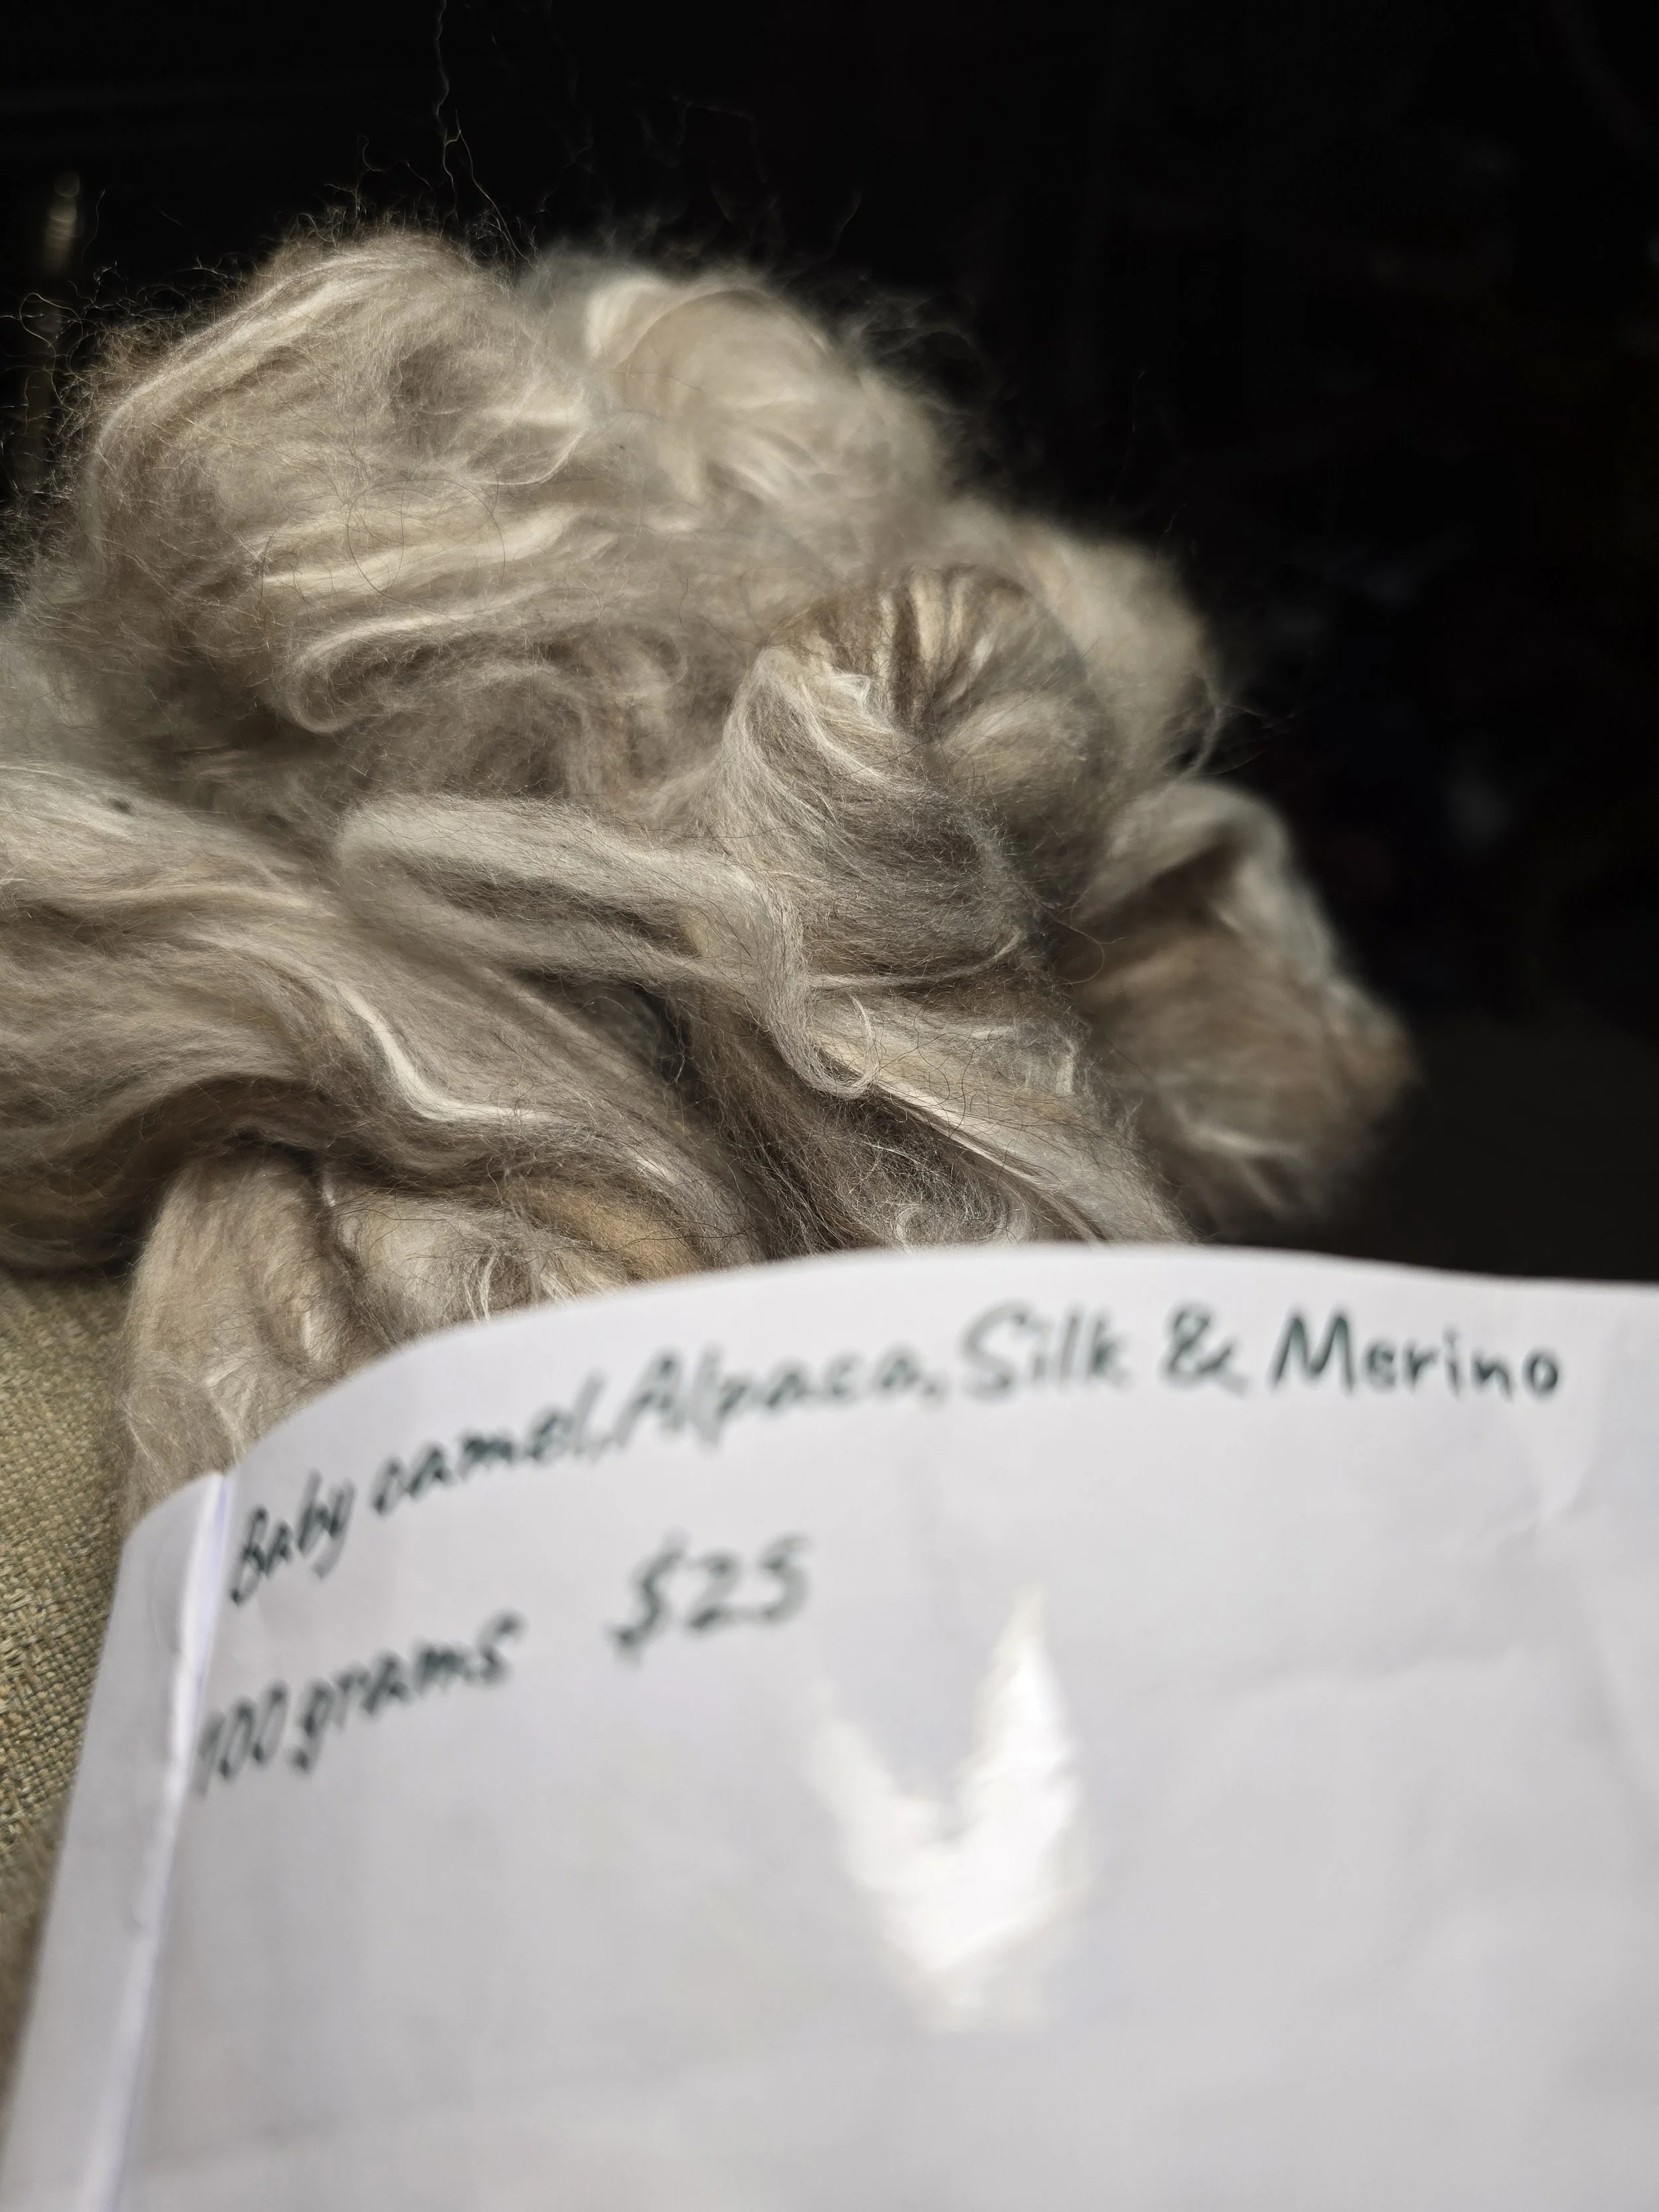
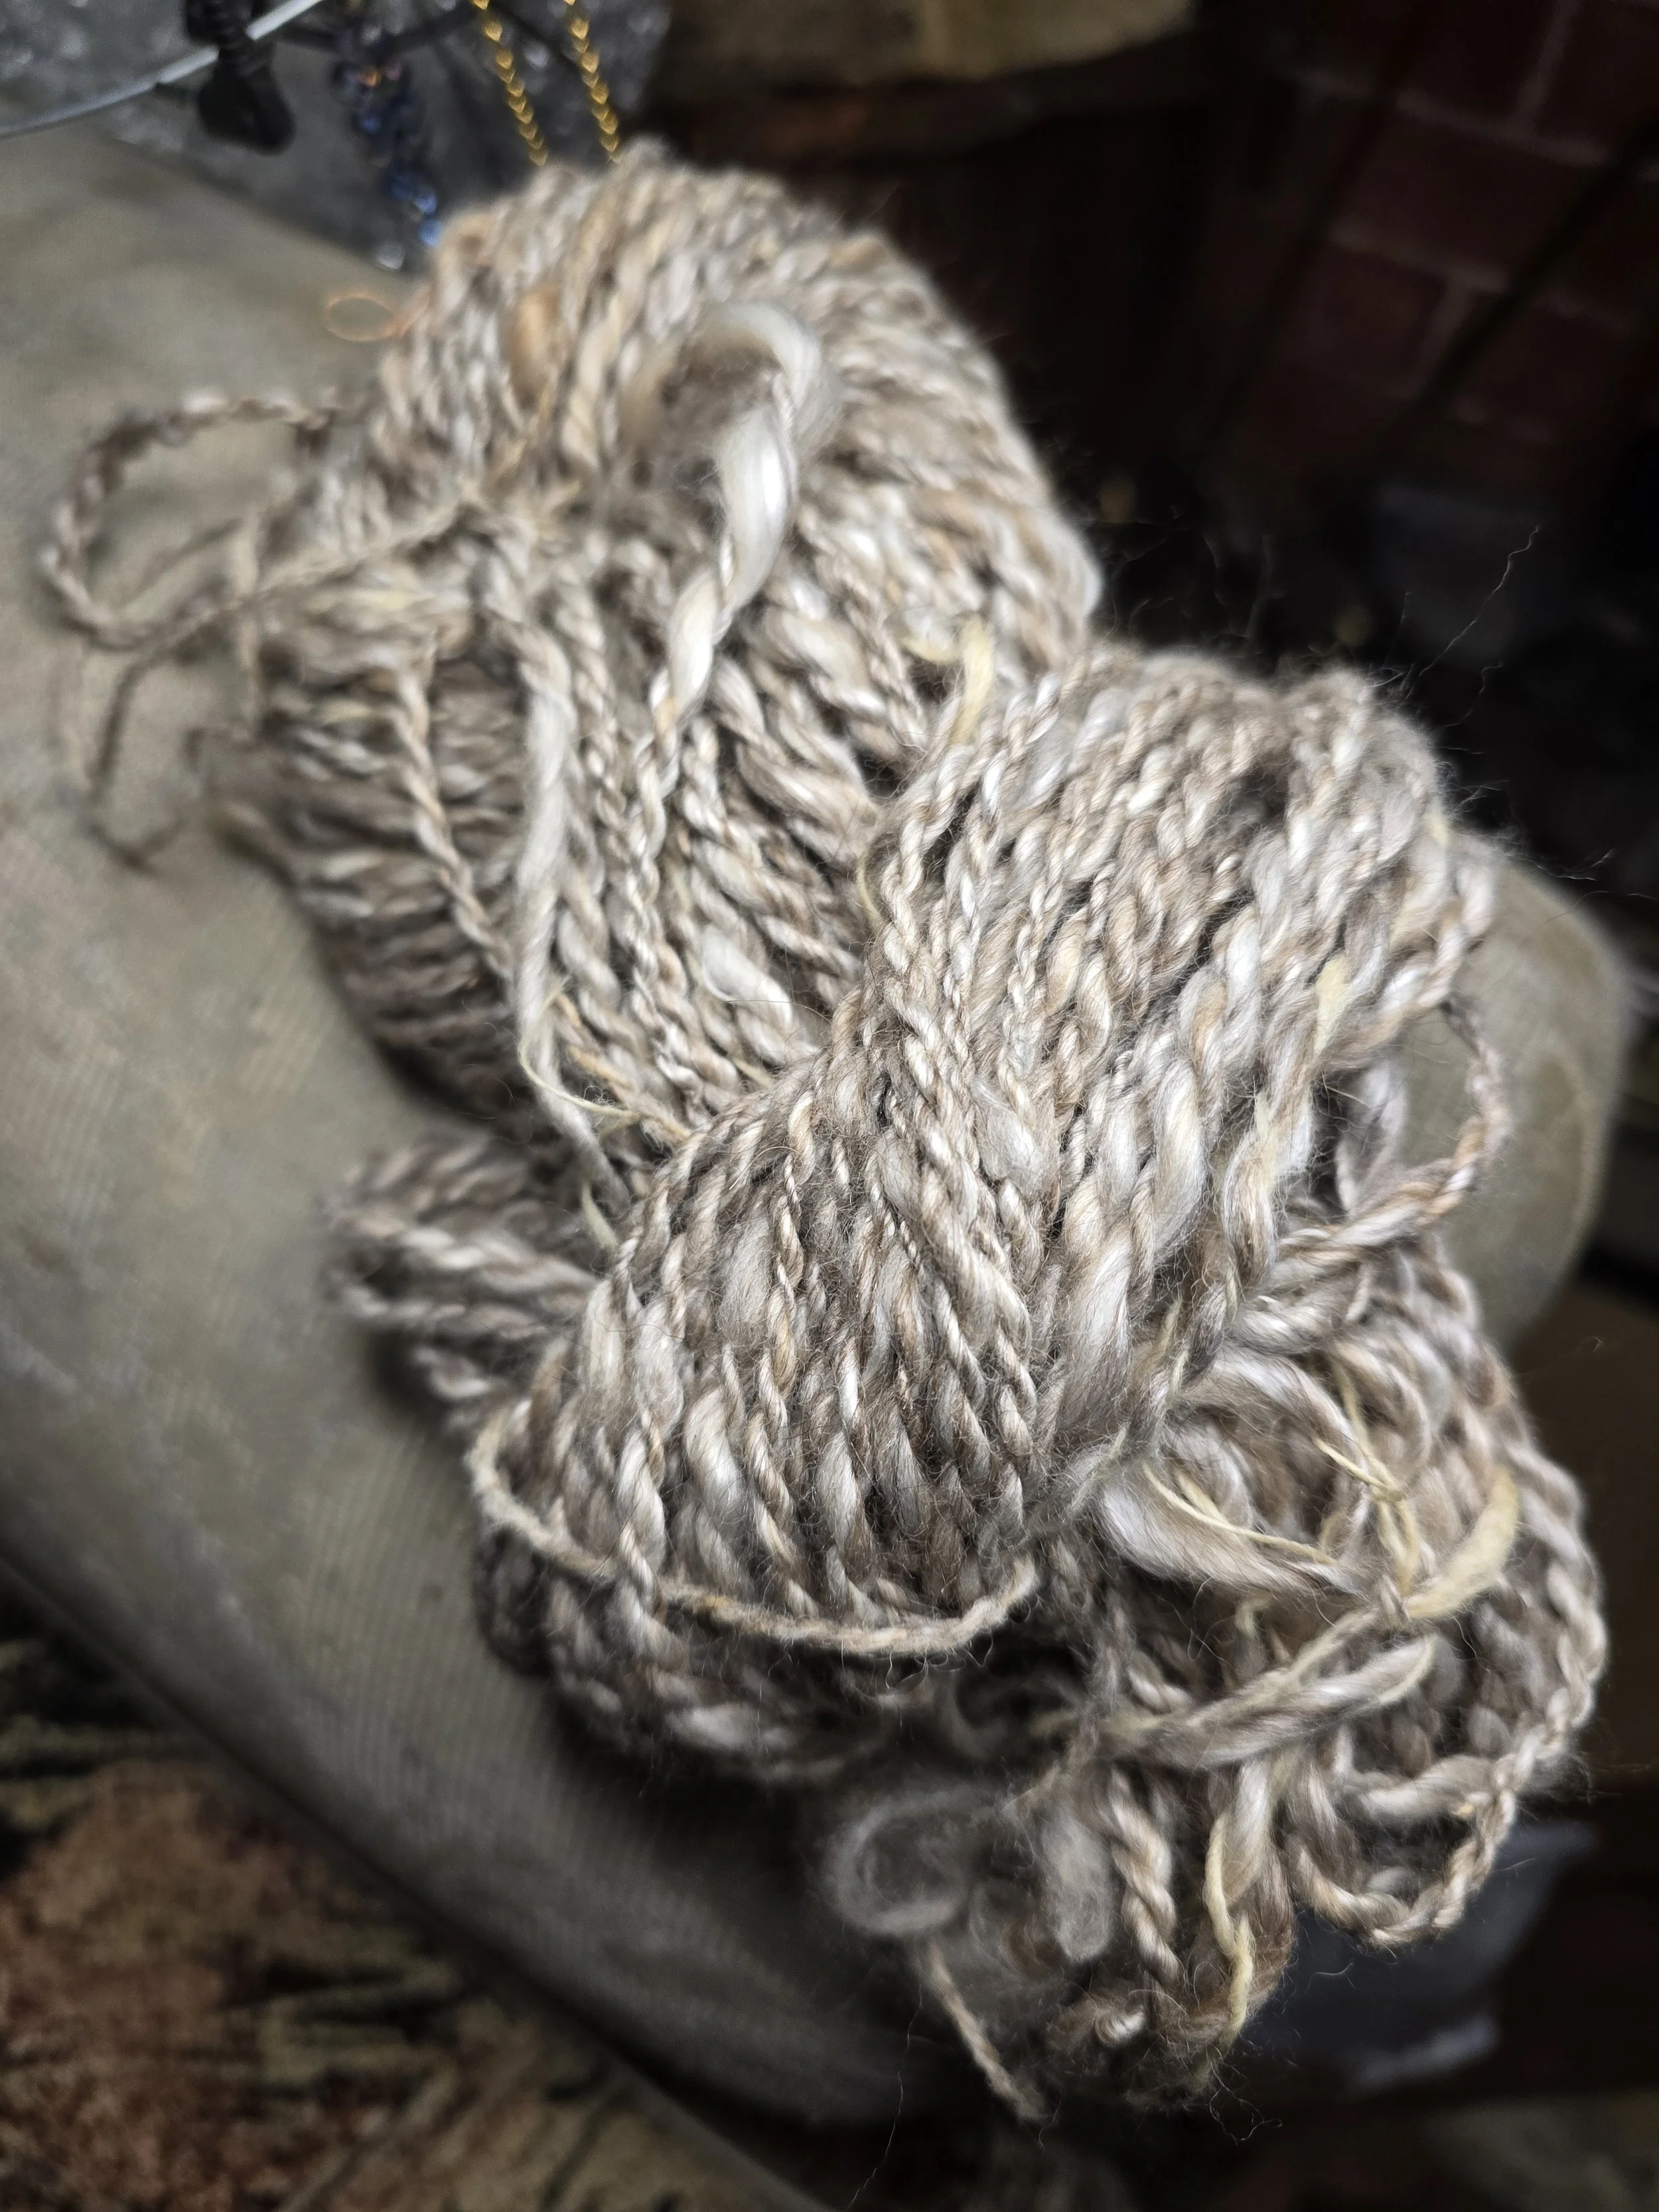
Each year in the winter there is a retail extravaganza at Mystery Creek call Fibretron. It is an amalgam of commercial and small business who have connection to anything to do with fibre - fleece wool, dyes, knitting wool, fibre creating equipment like looms and spinning wheels. It is only on for one day and is so hugely attended that it is hard to make your way around in the hall. I often feel overwhelmed in these situations but I push through because there are often things there that are hard to find elsewhere and it gives me a better idea as to what is on the market. I was hoping to get a blending board or fleece but the price was very high so I came away without one. Instead I purchases some interesting fleece, 100% merino, a mix of young camel, silk, merino and alpaca and some corriedale fleece in four or five colours. All the fleeces wool was scoured and carded ready to do something with. Since my foray into wet felting, I was keen to get some more fleece so I could play around with it when I get time.
So out came my trusty old spinning wheel which hasn’t been out of its corner for a few years and away I went spinning. The muscle memory soon came back and I was away. When my children were young I spun, dyed and knitted all there woollens but that seems like a life time ago now. Now instead of aiming at even double knit wool I am trying to get a more textured approach for weaving on my little frame loom as I attempt to follow Kerri Hollingwoth (Take Two Arts) course. This is something I have been aiming toward for a while but have finally made to effort to do something toward it. I want to try needle felting as well. but that might need to wait till this course is done and my submission for its exhibition is in.
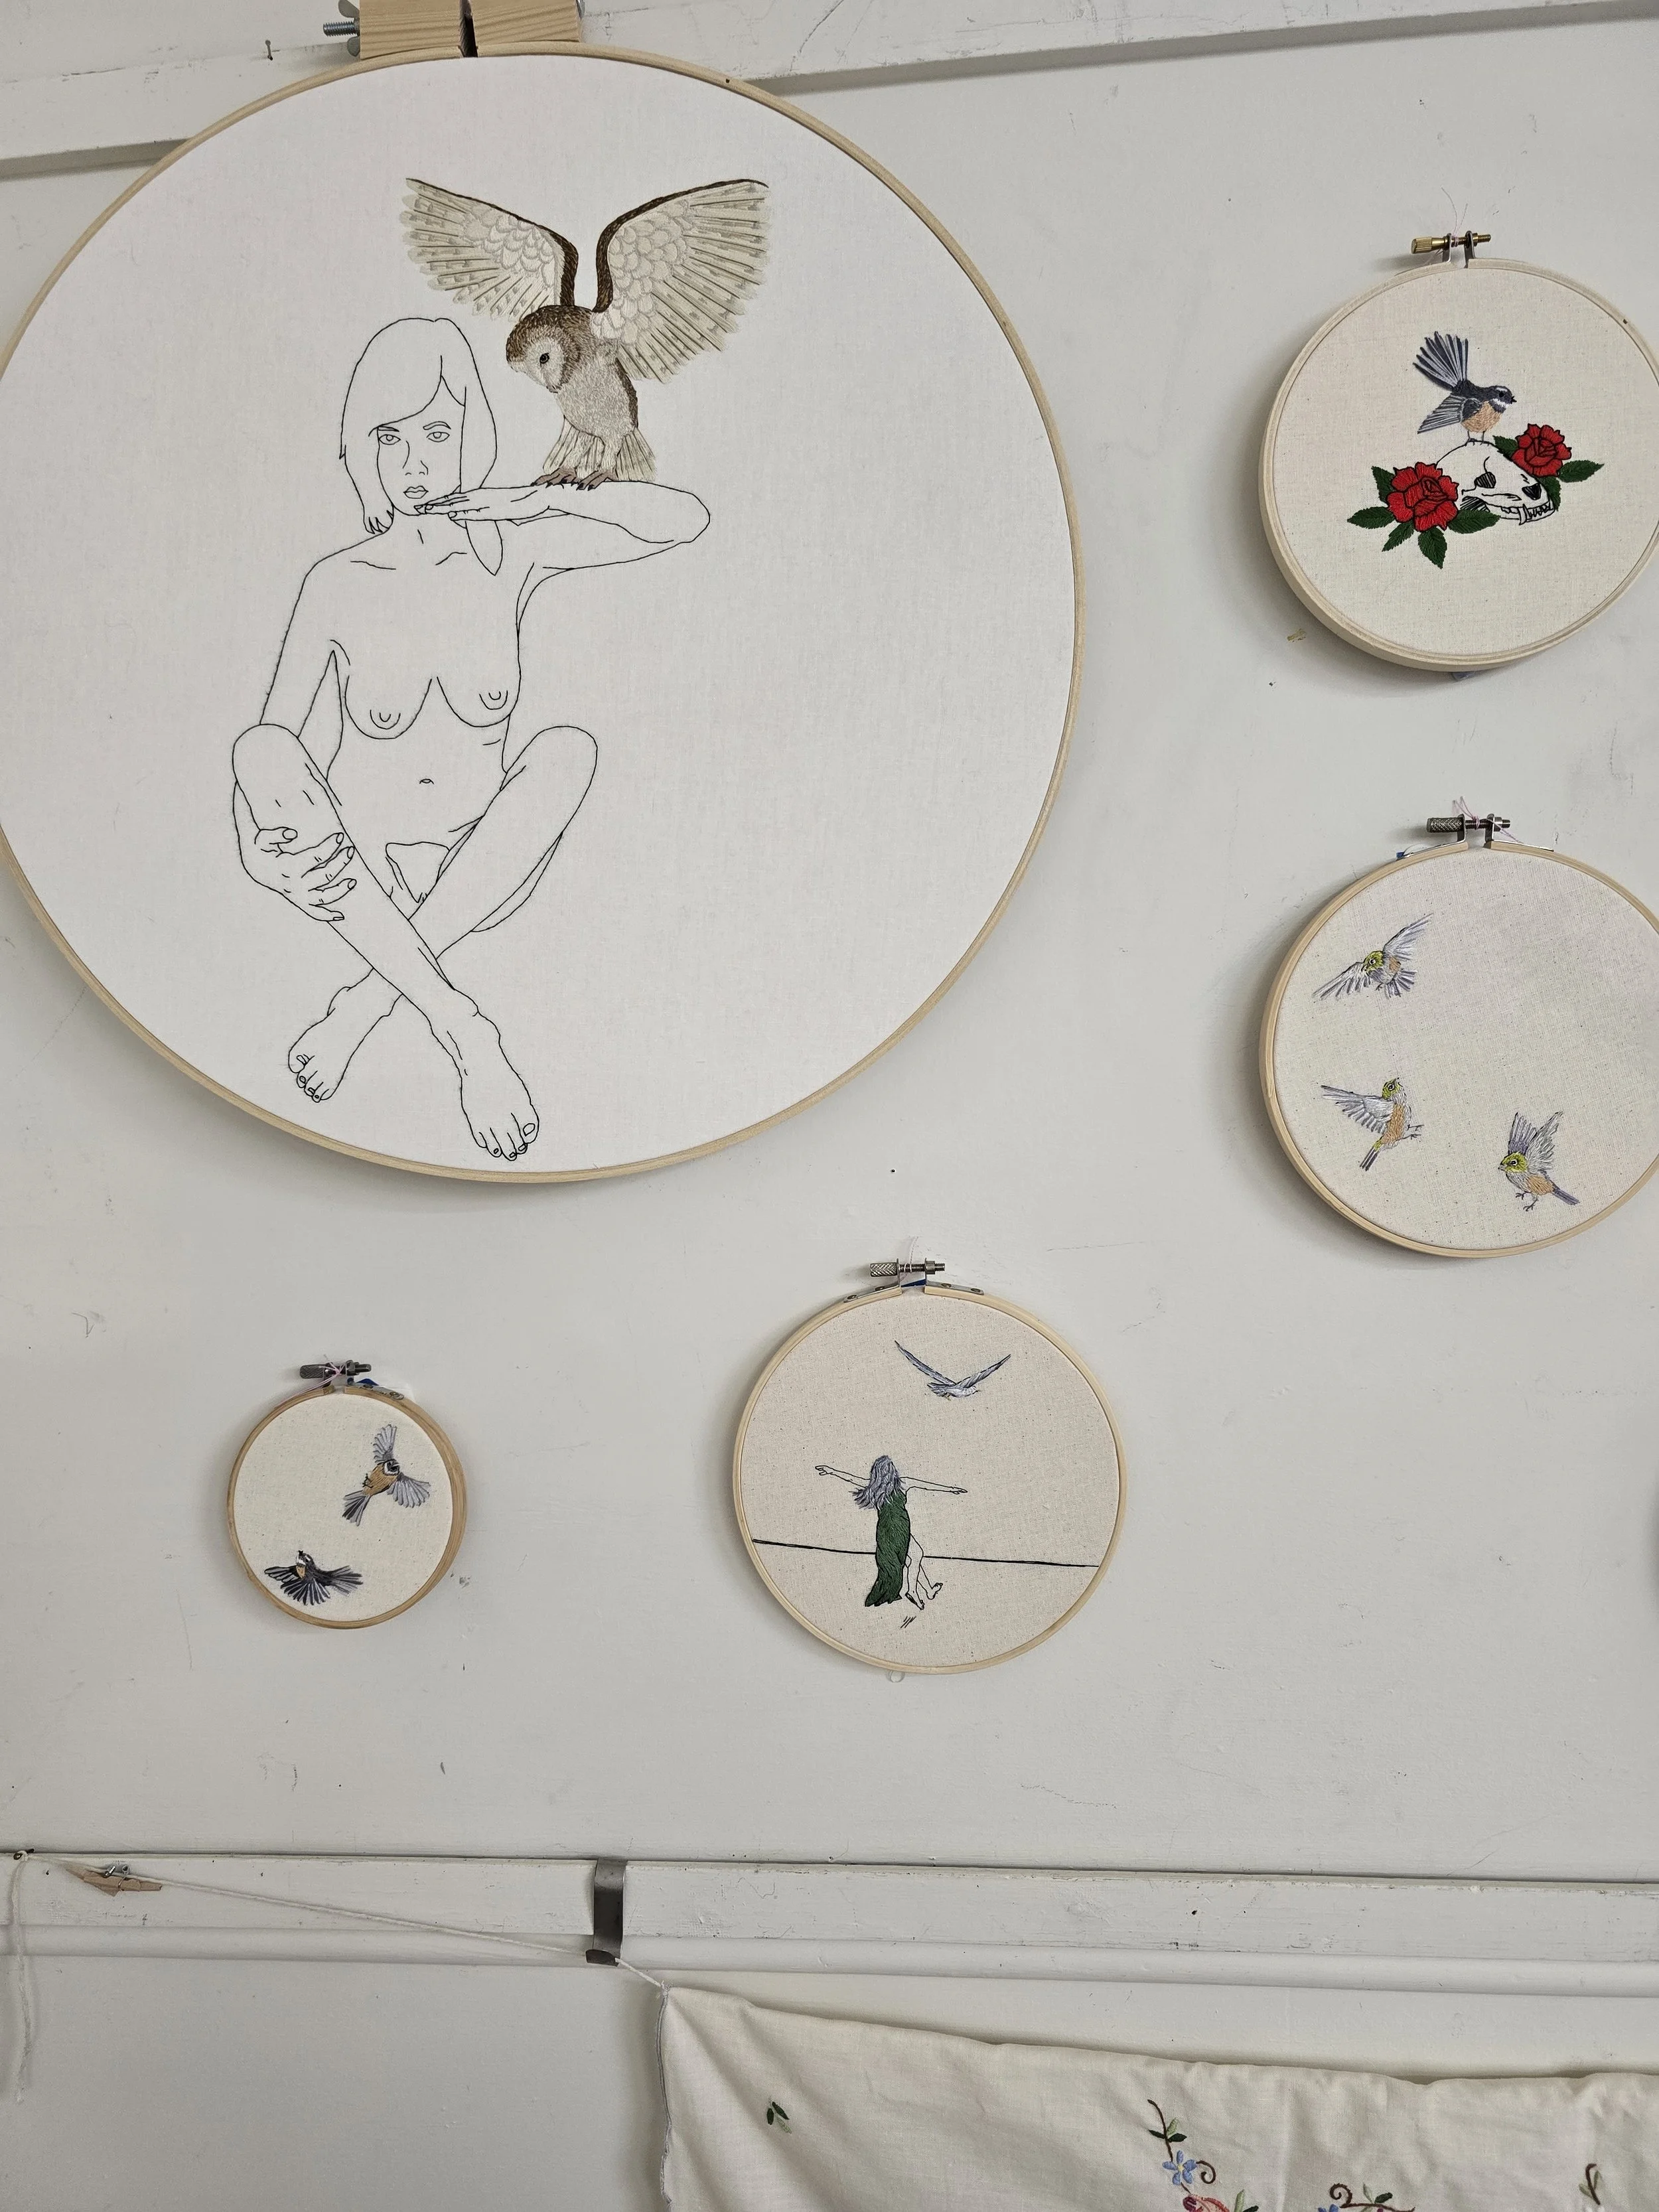
Waipa Arts Trail March 24 2026 - Cambridge Art Society
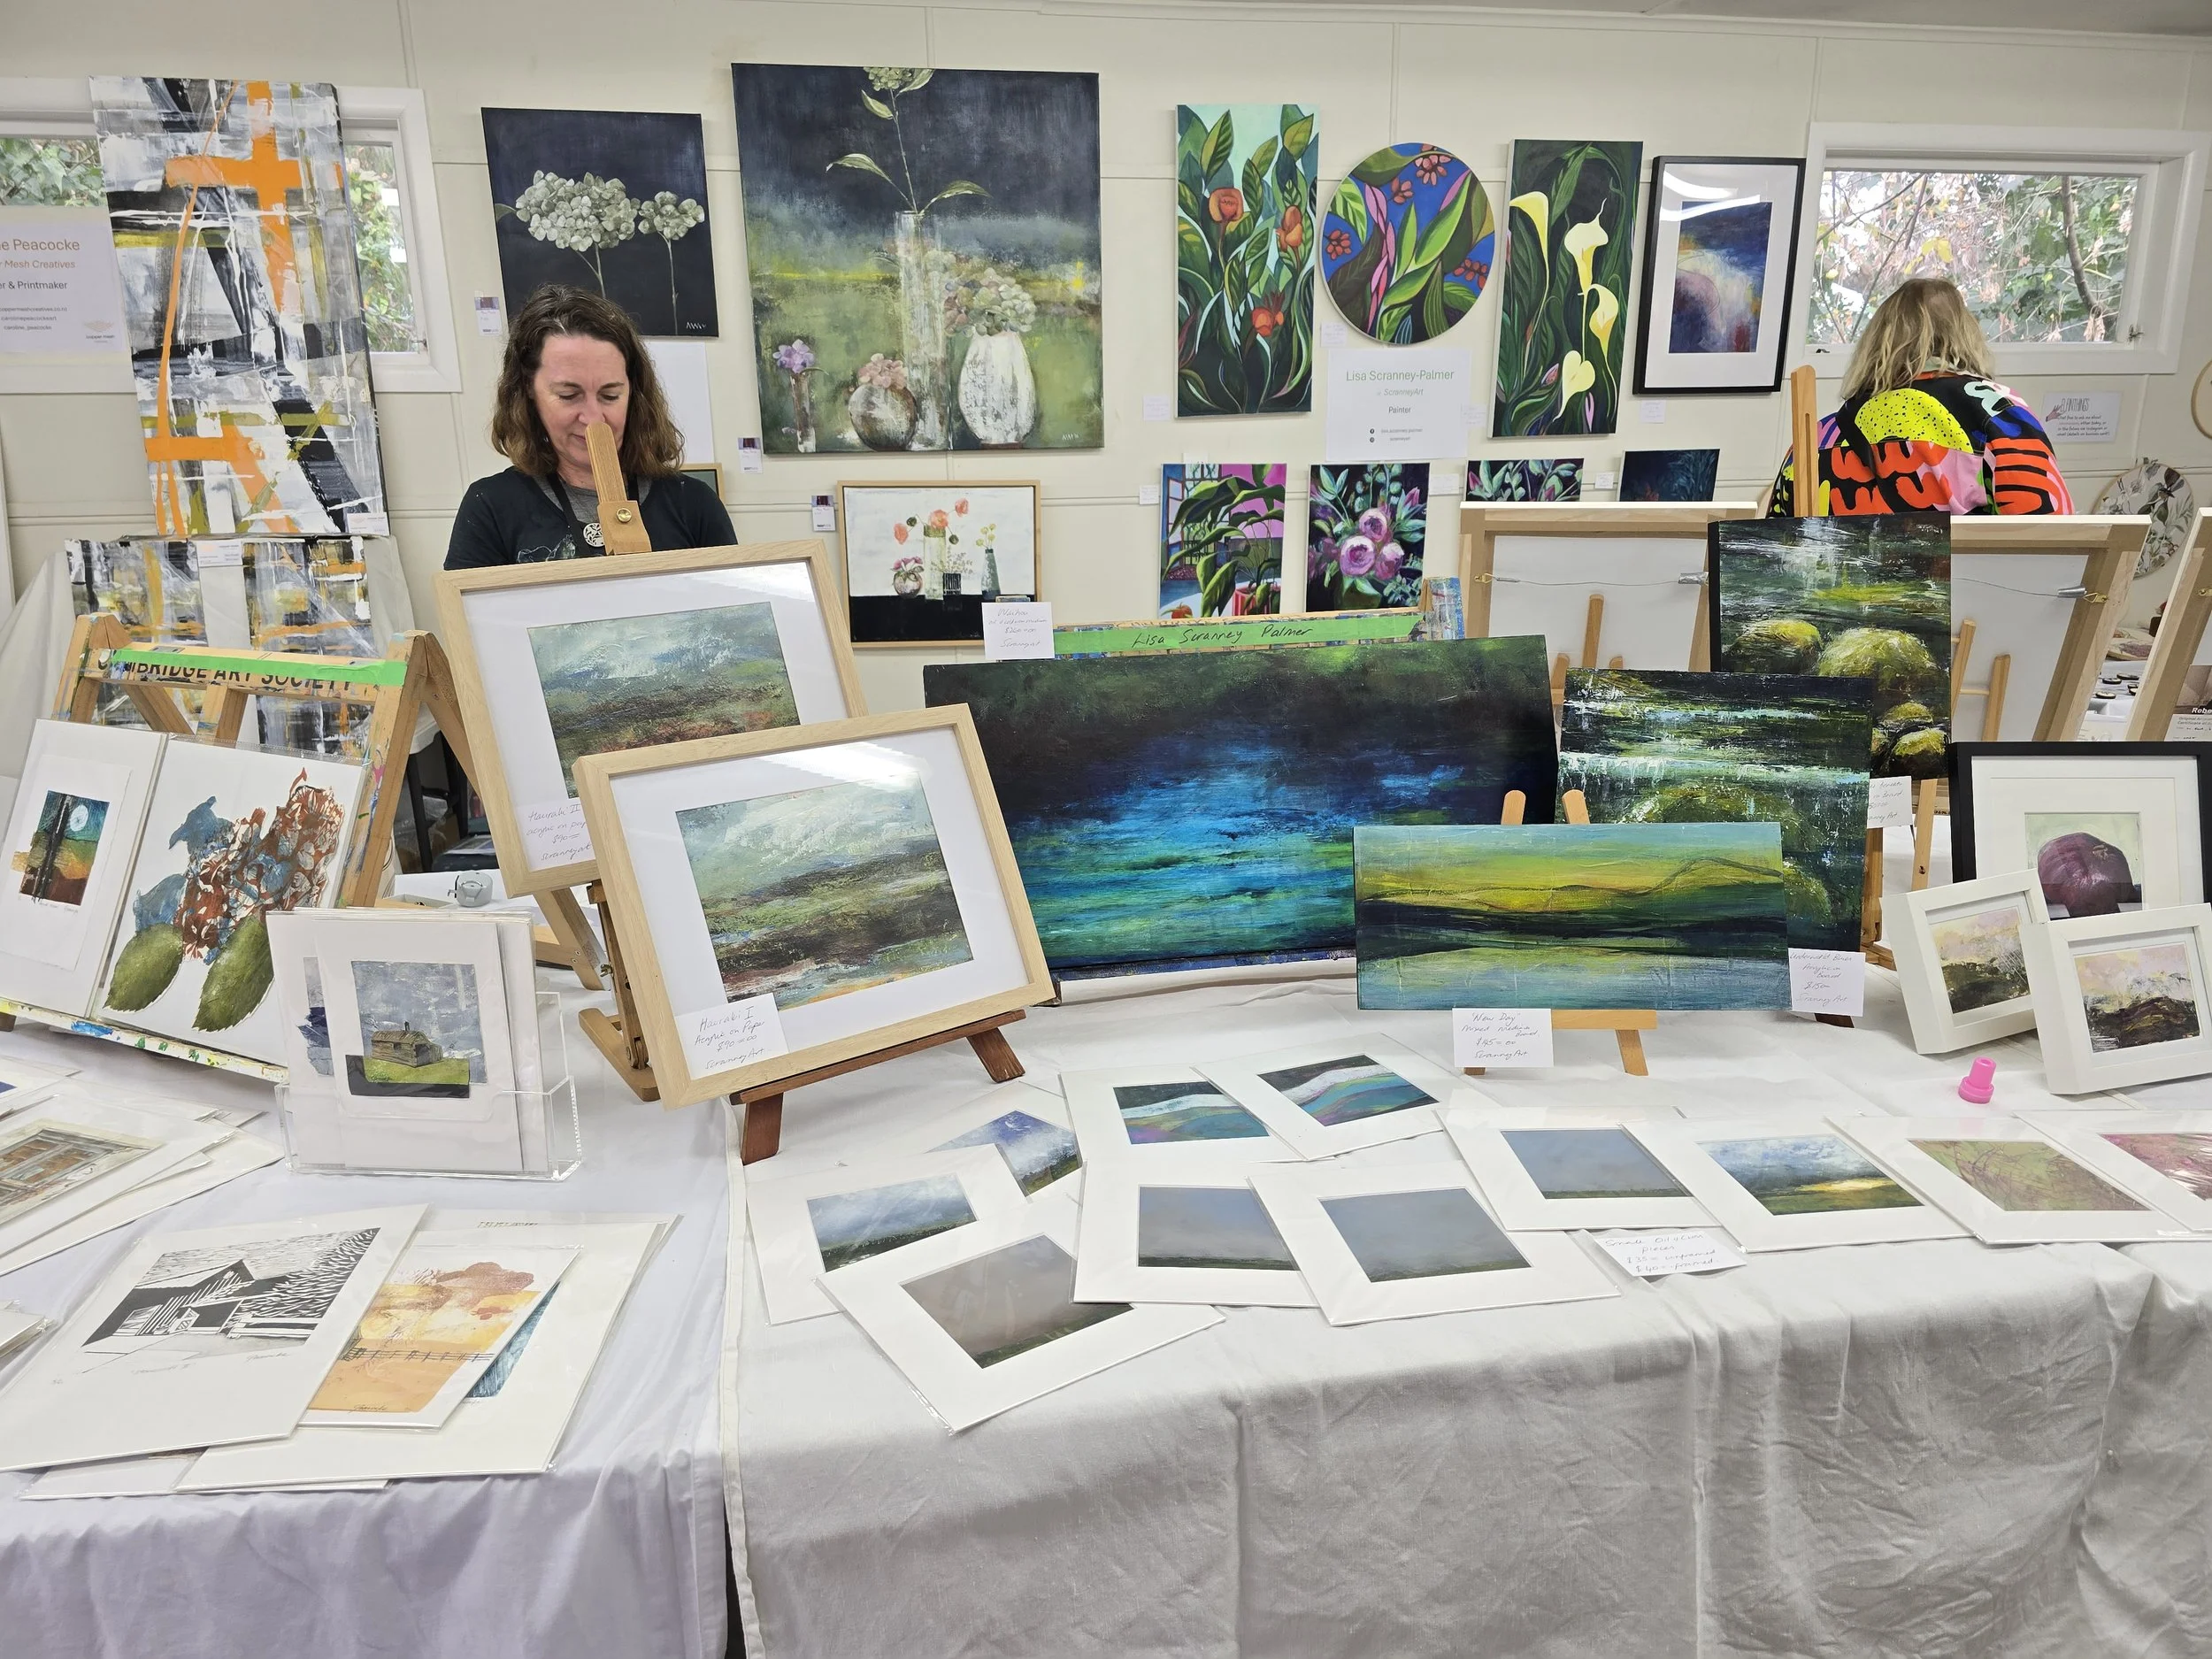
This stop included several artists, not all of whom were happy to have their work photographed. Work on display included prints, paintings in a range of styles and mediums and quilting.
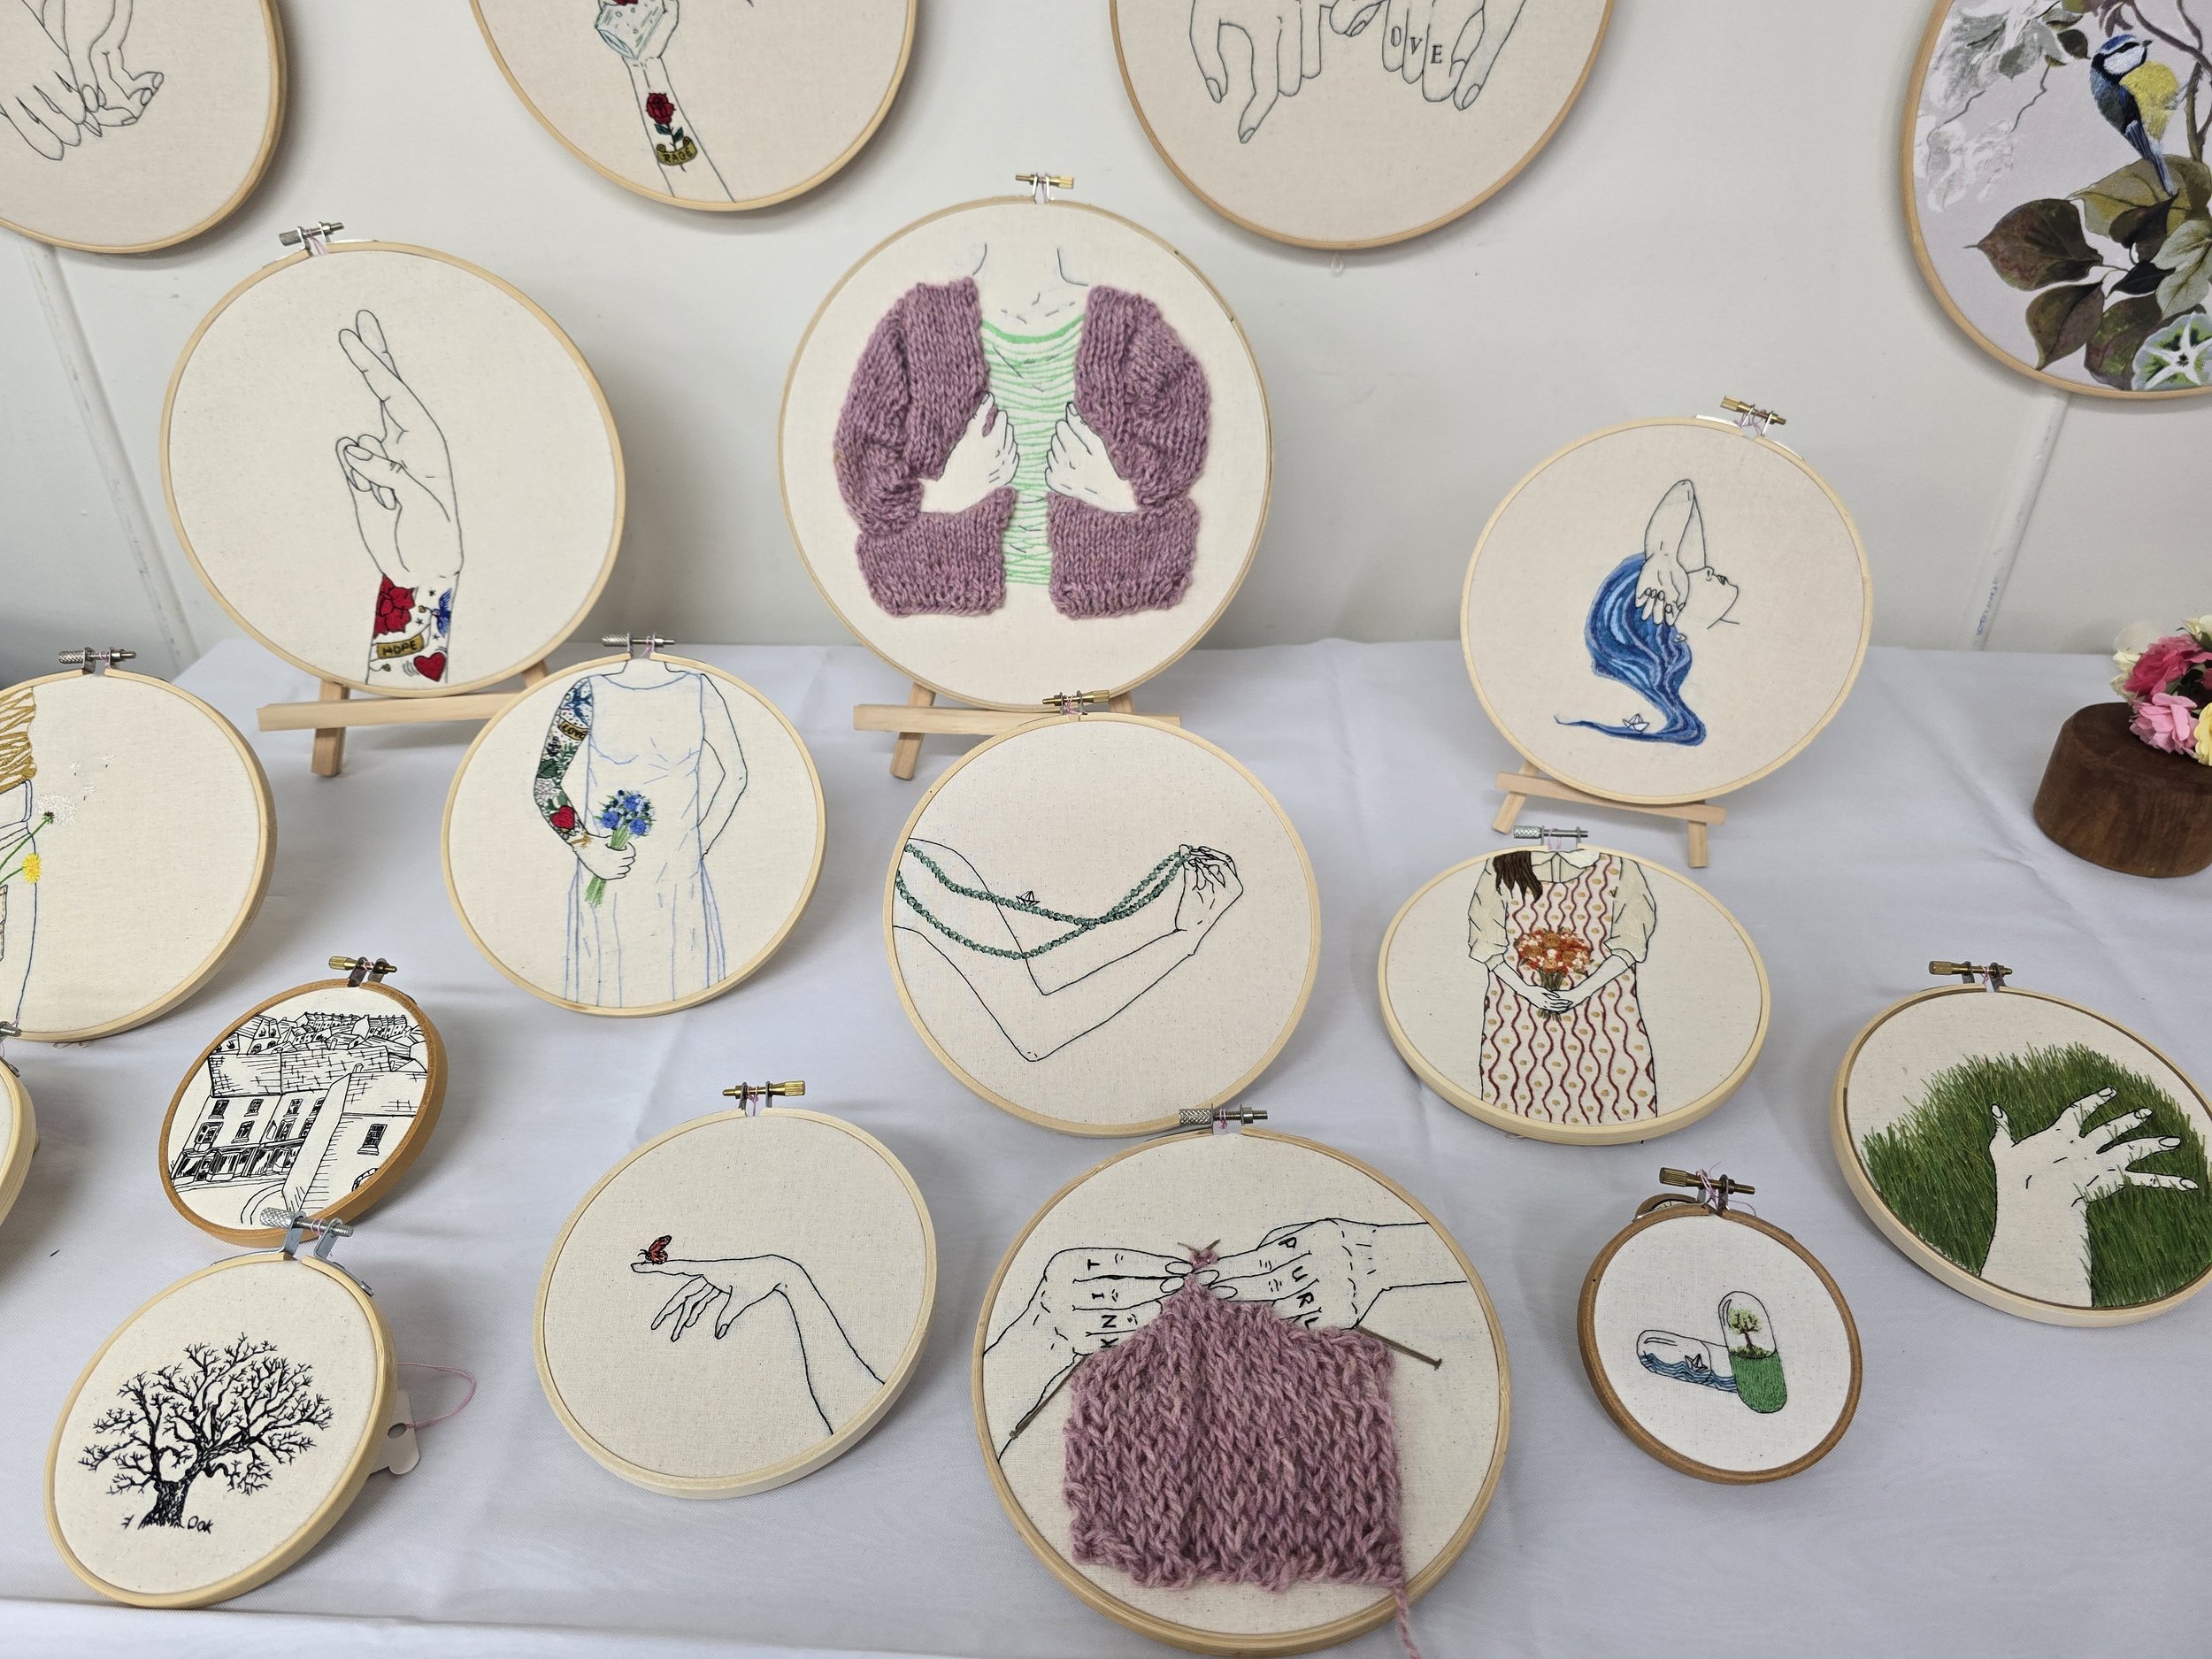
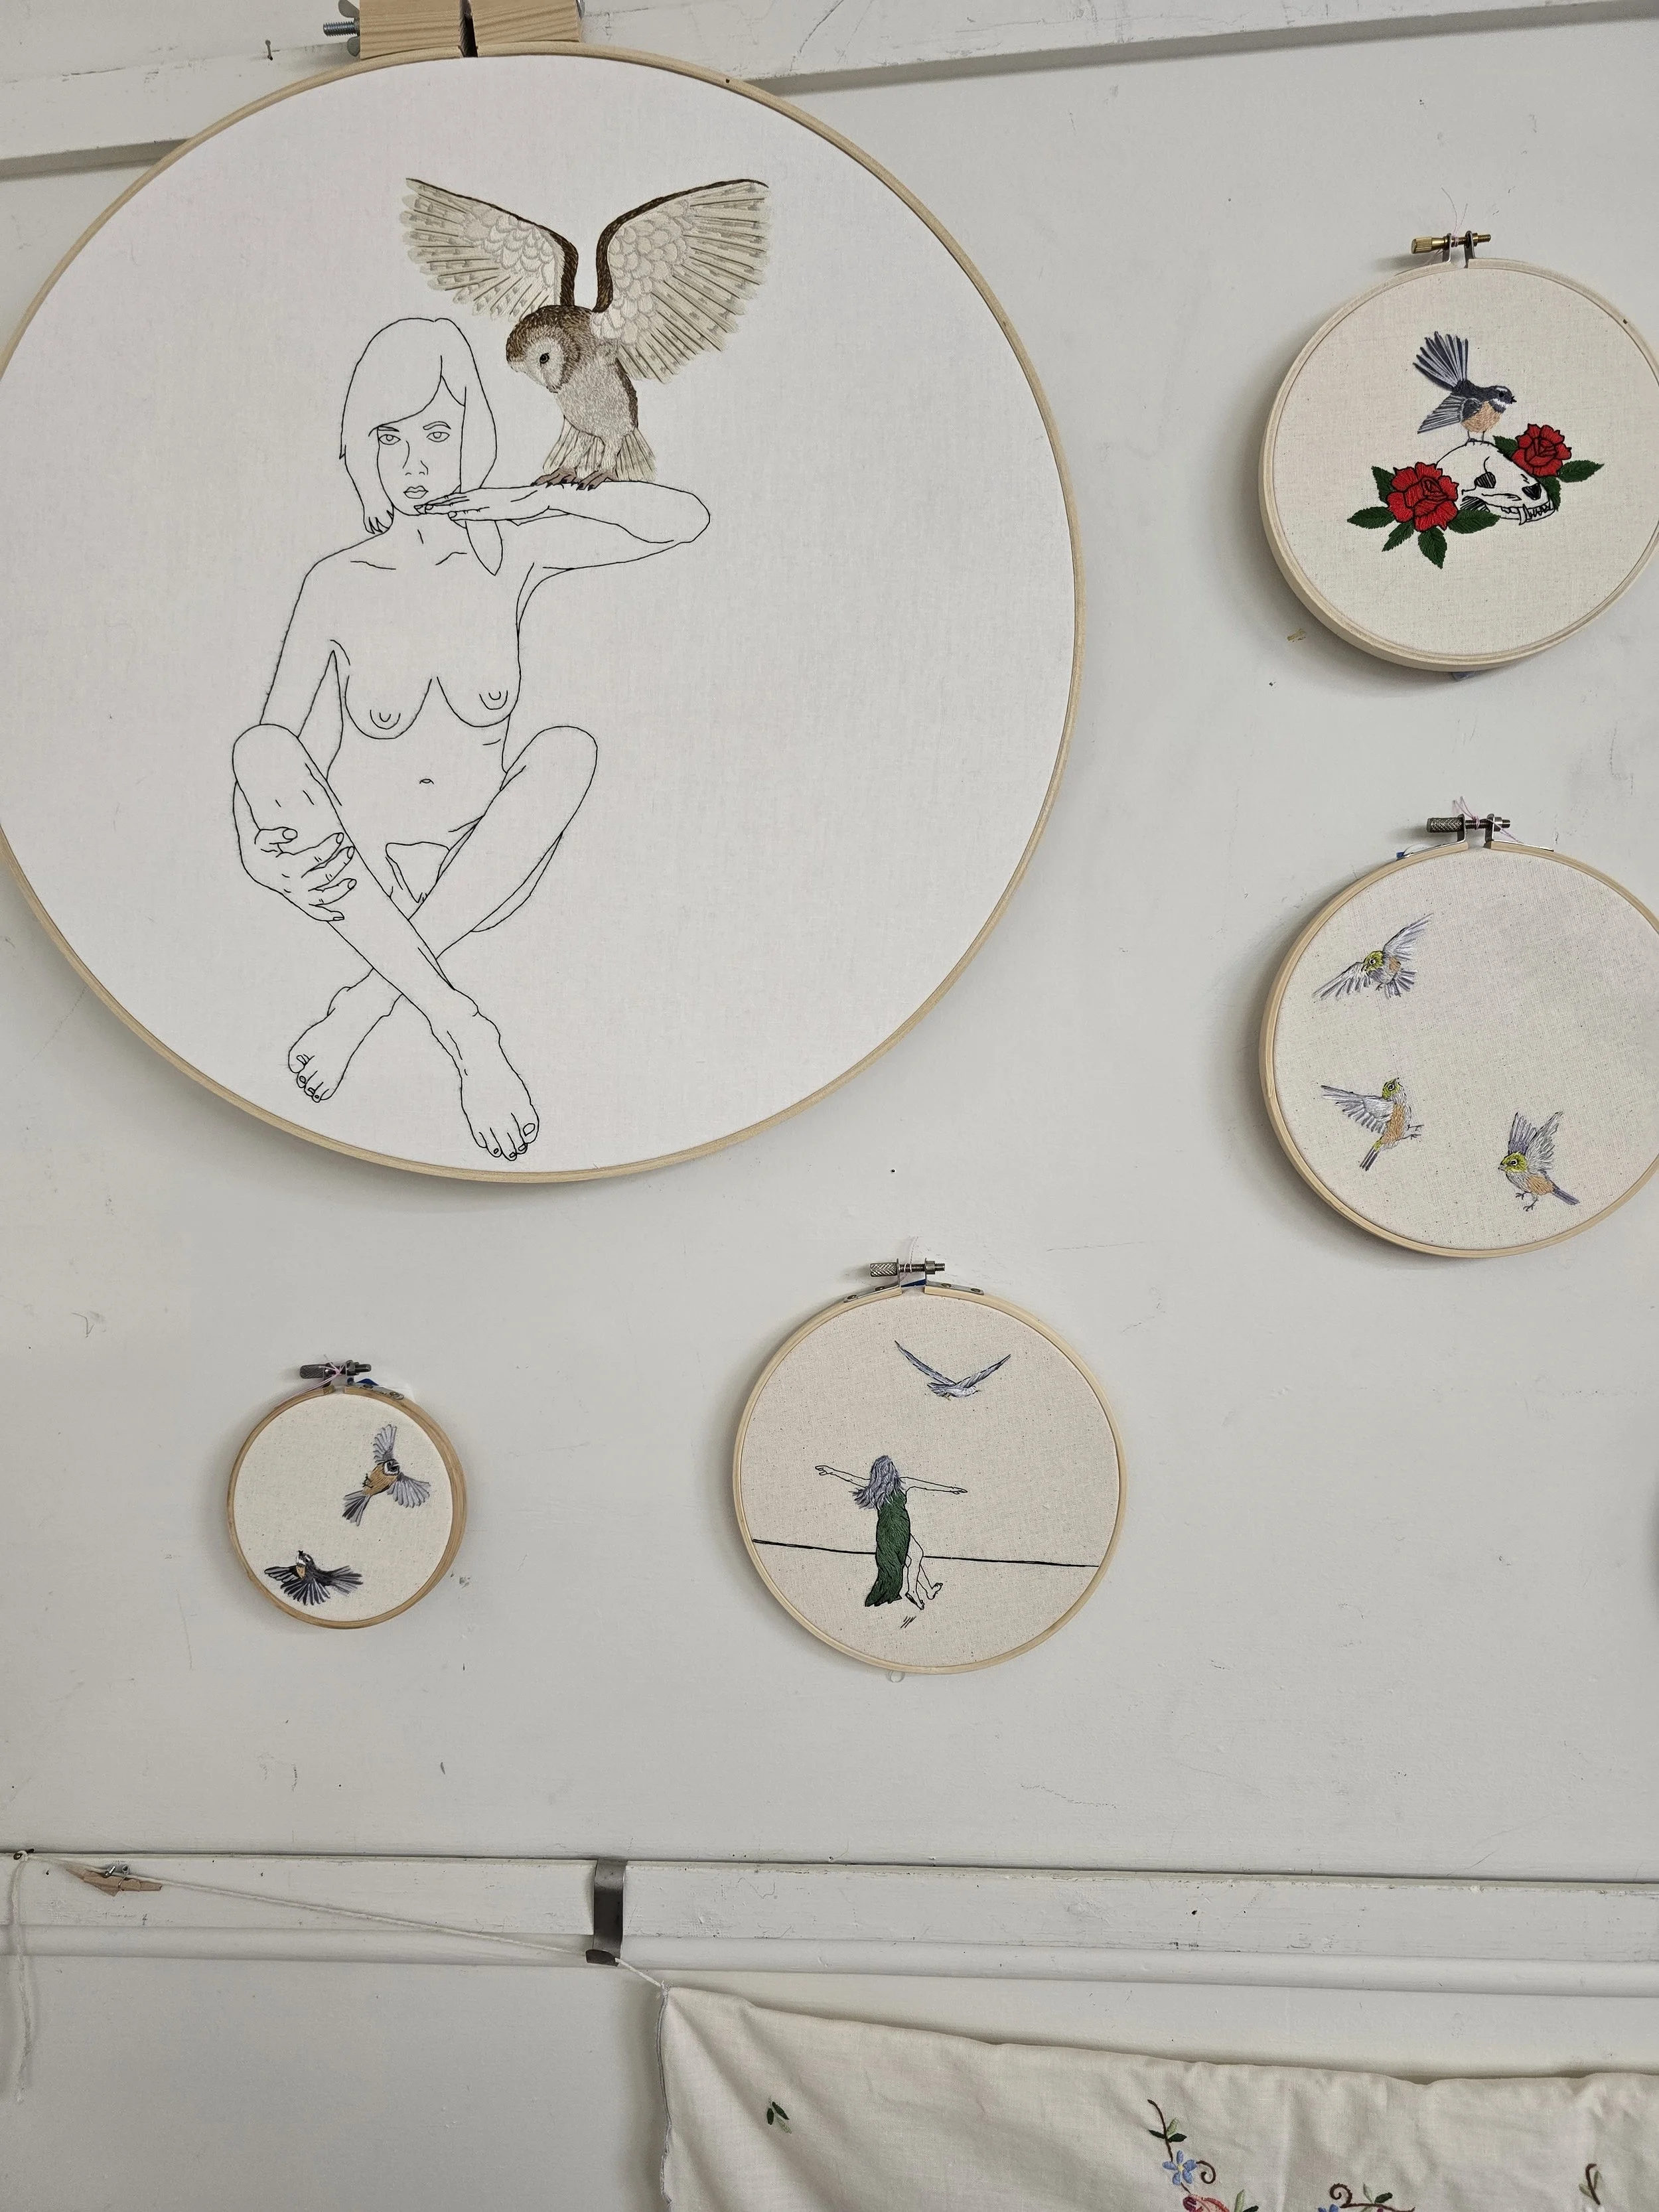
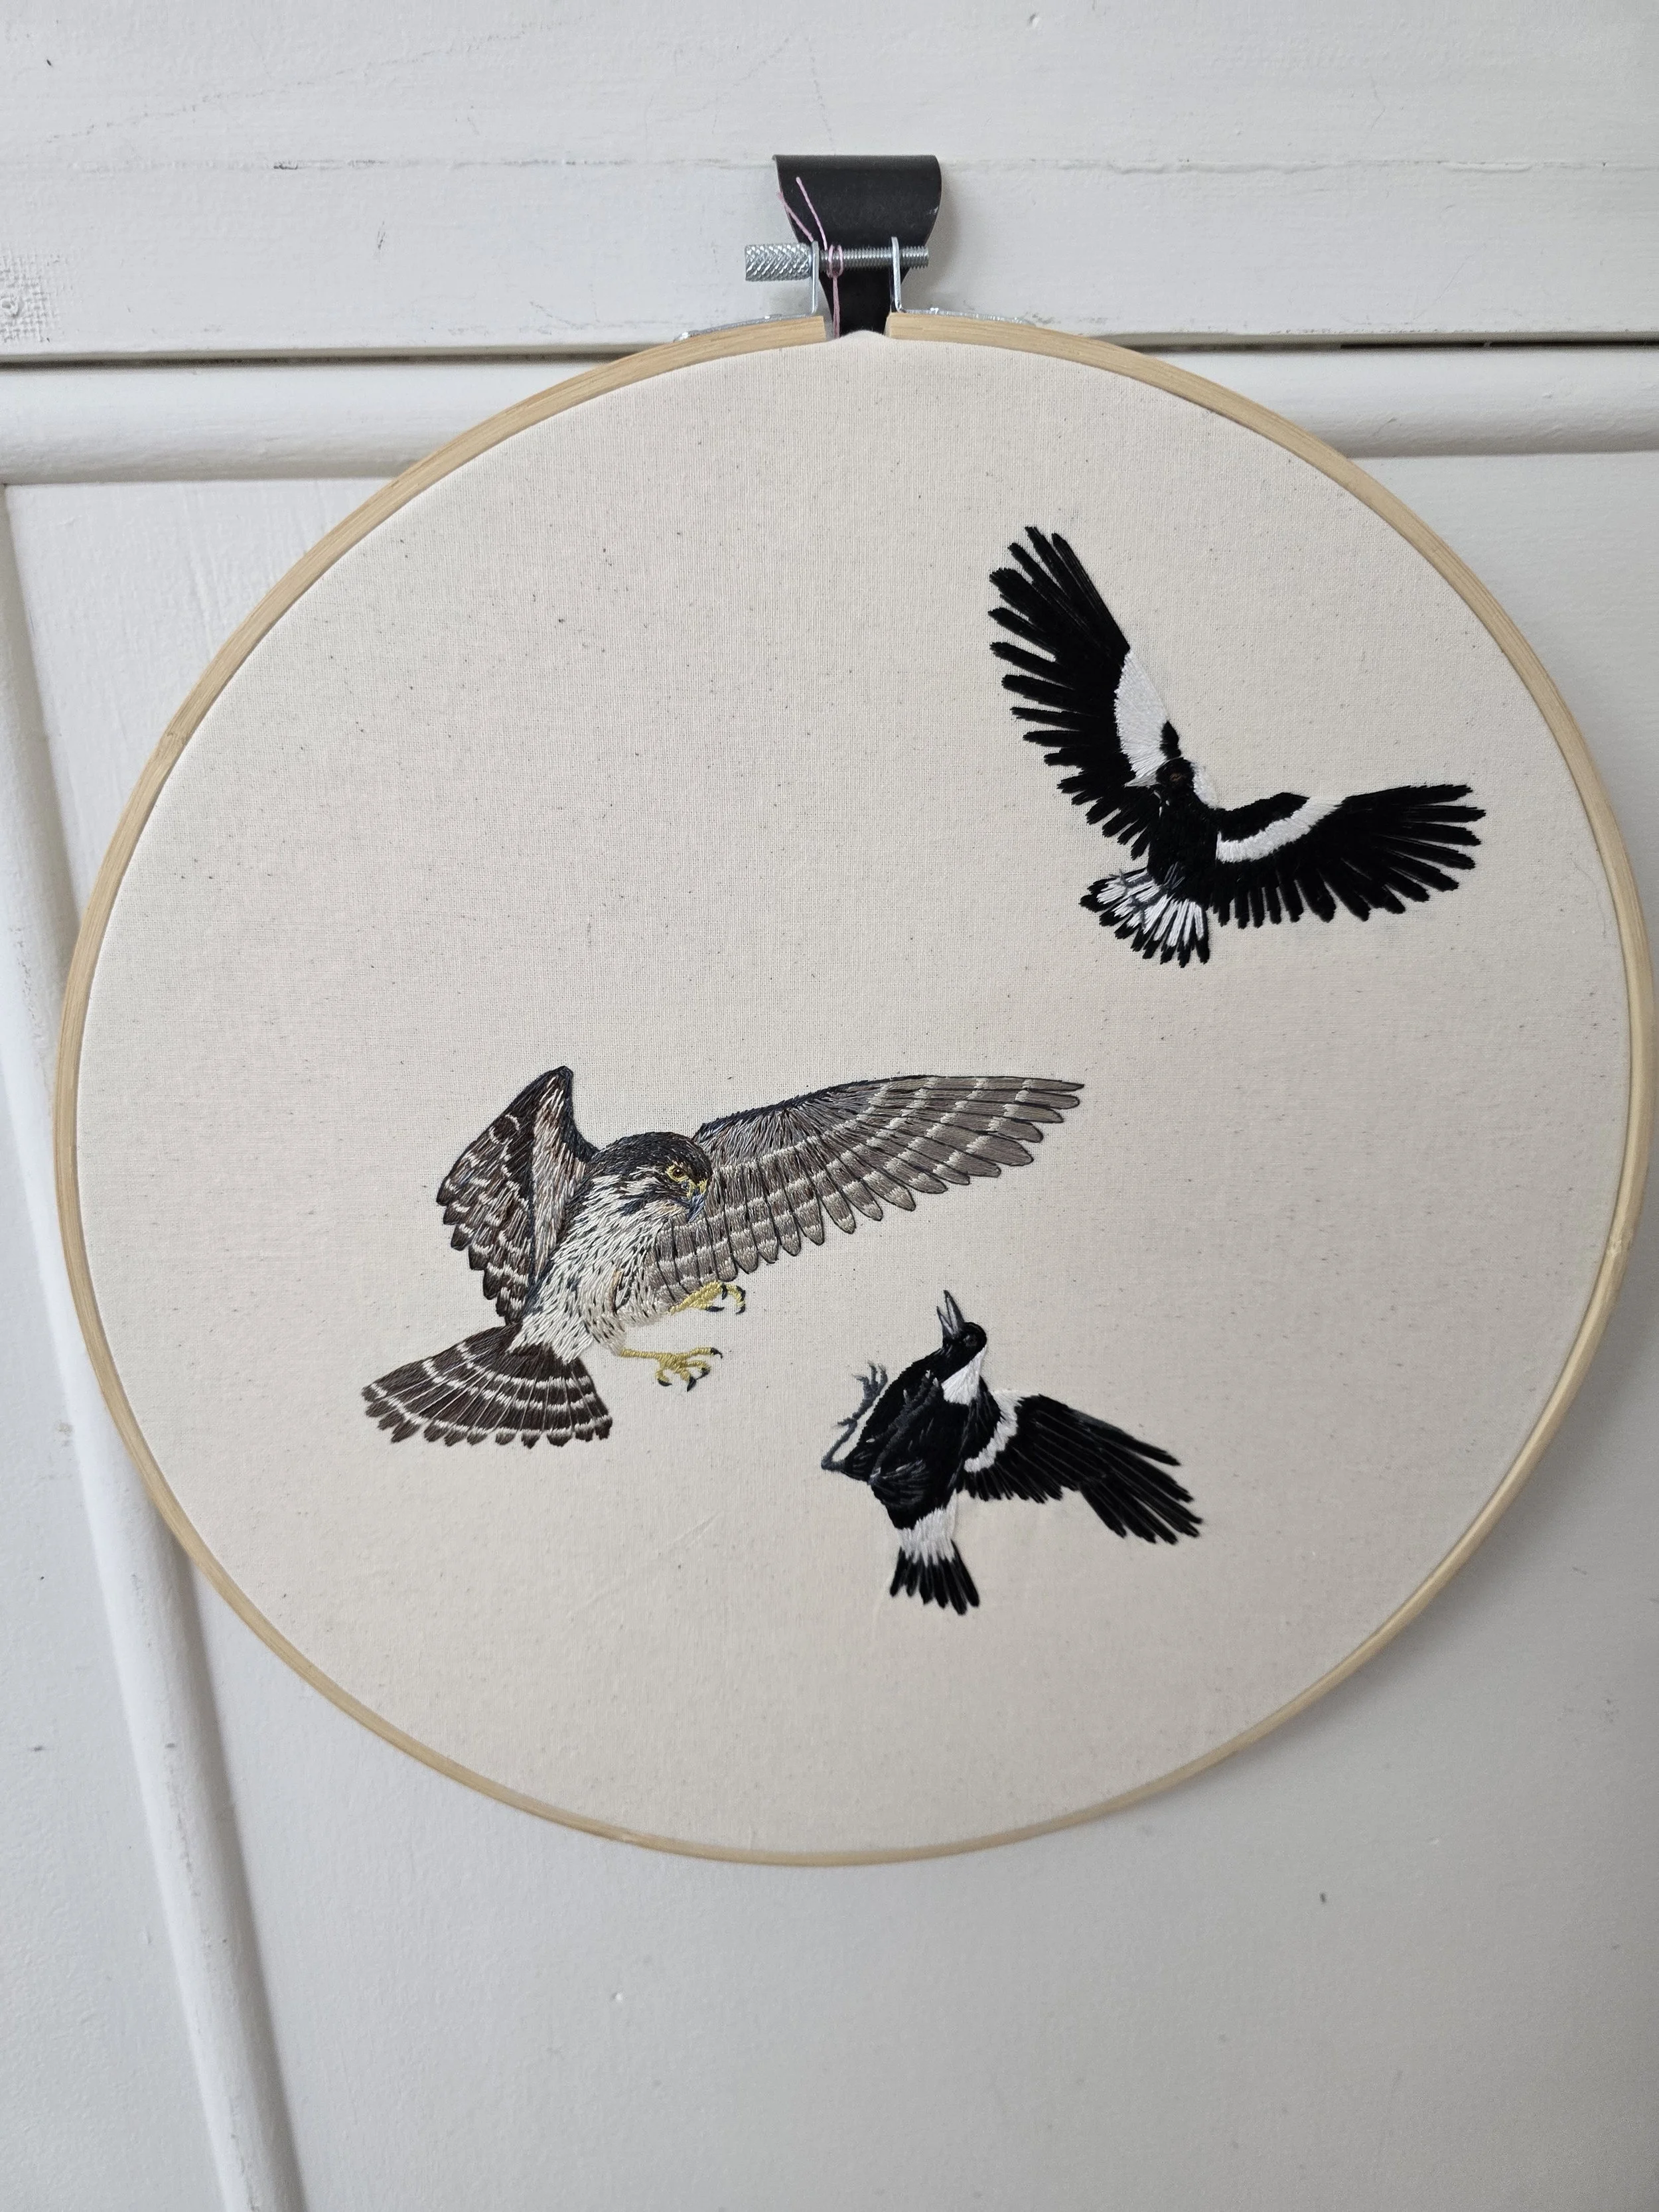
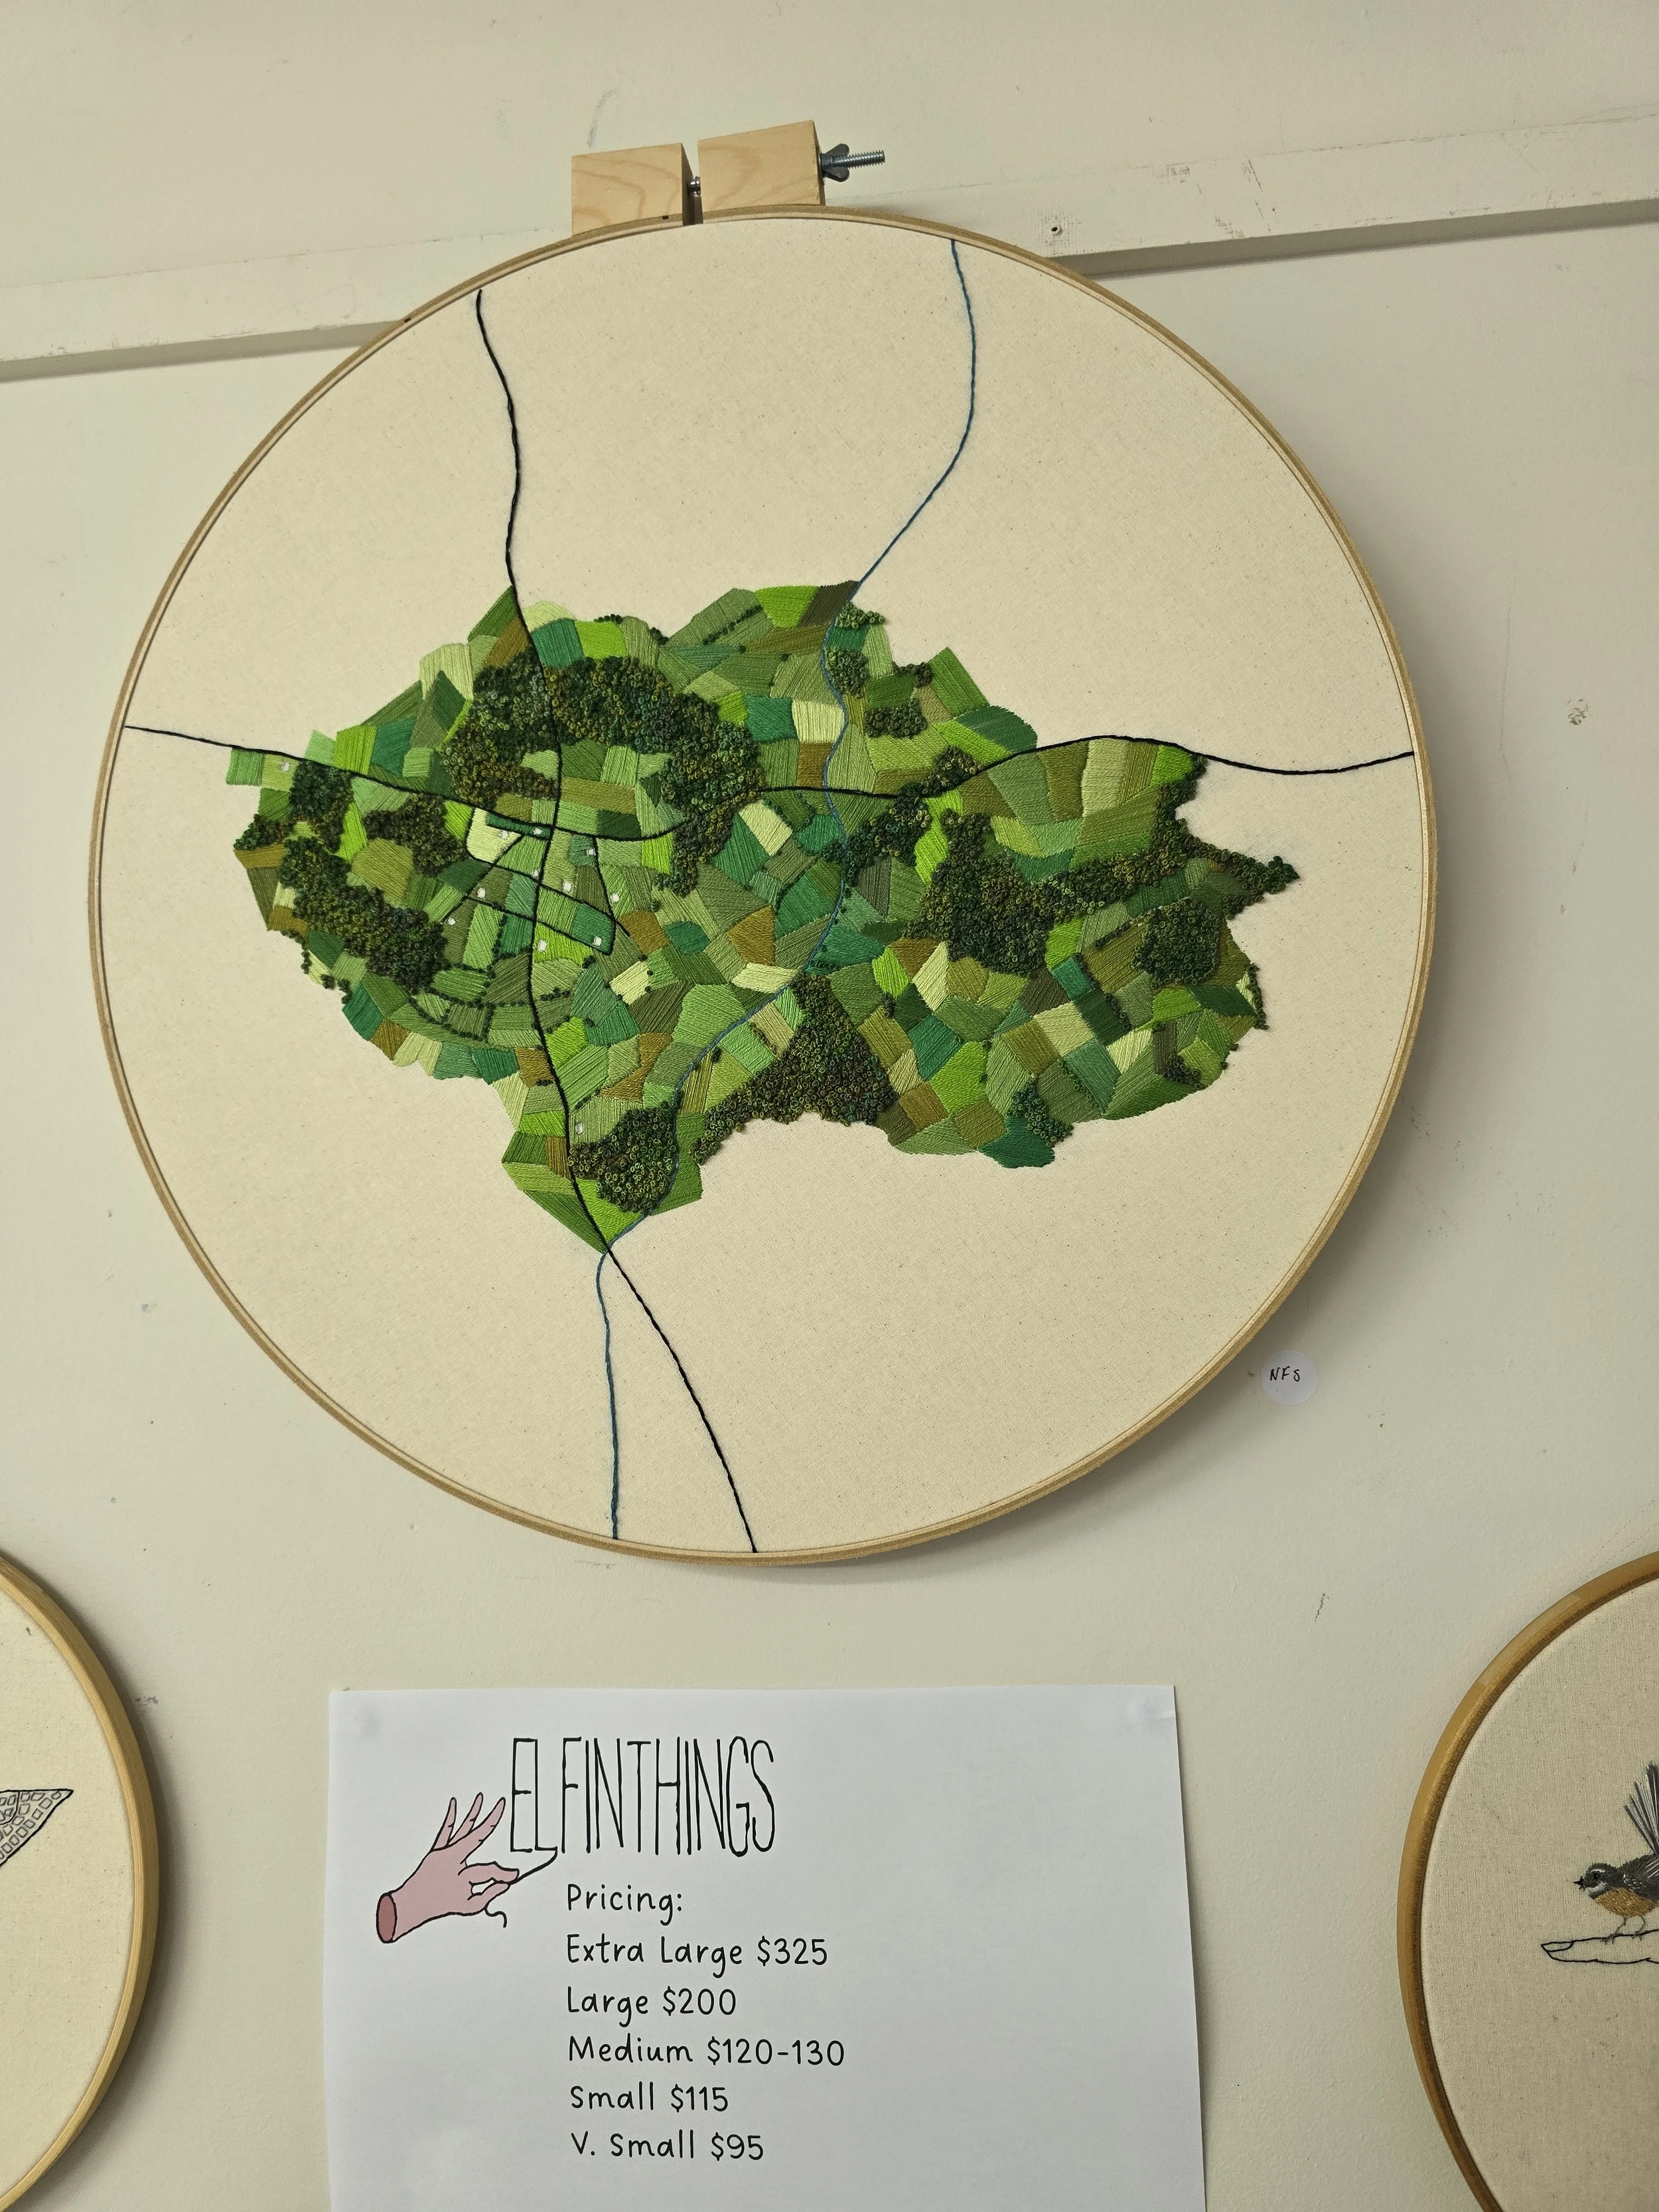
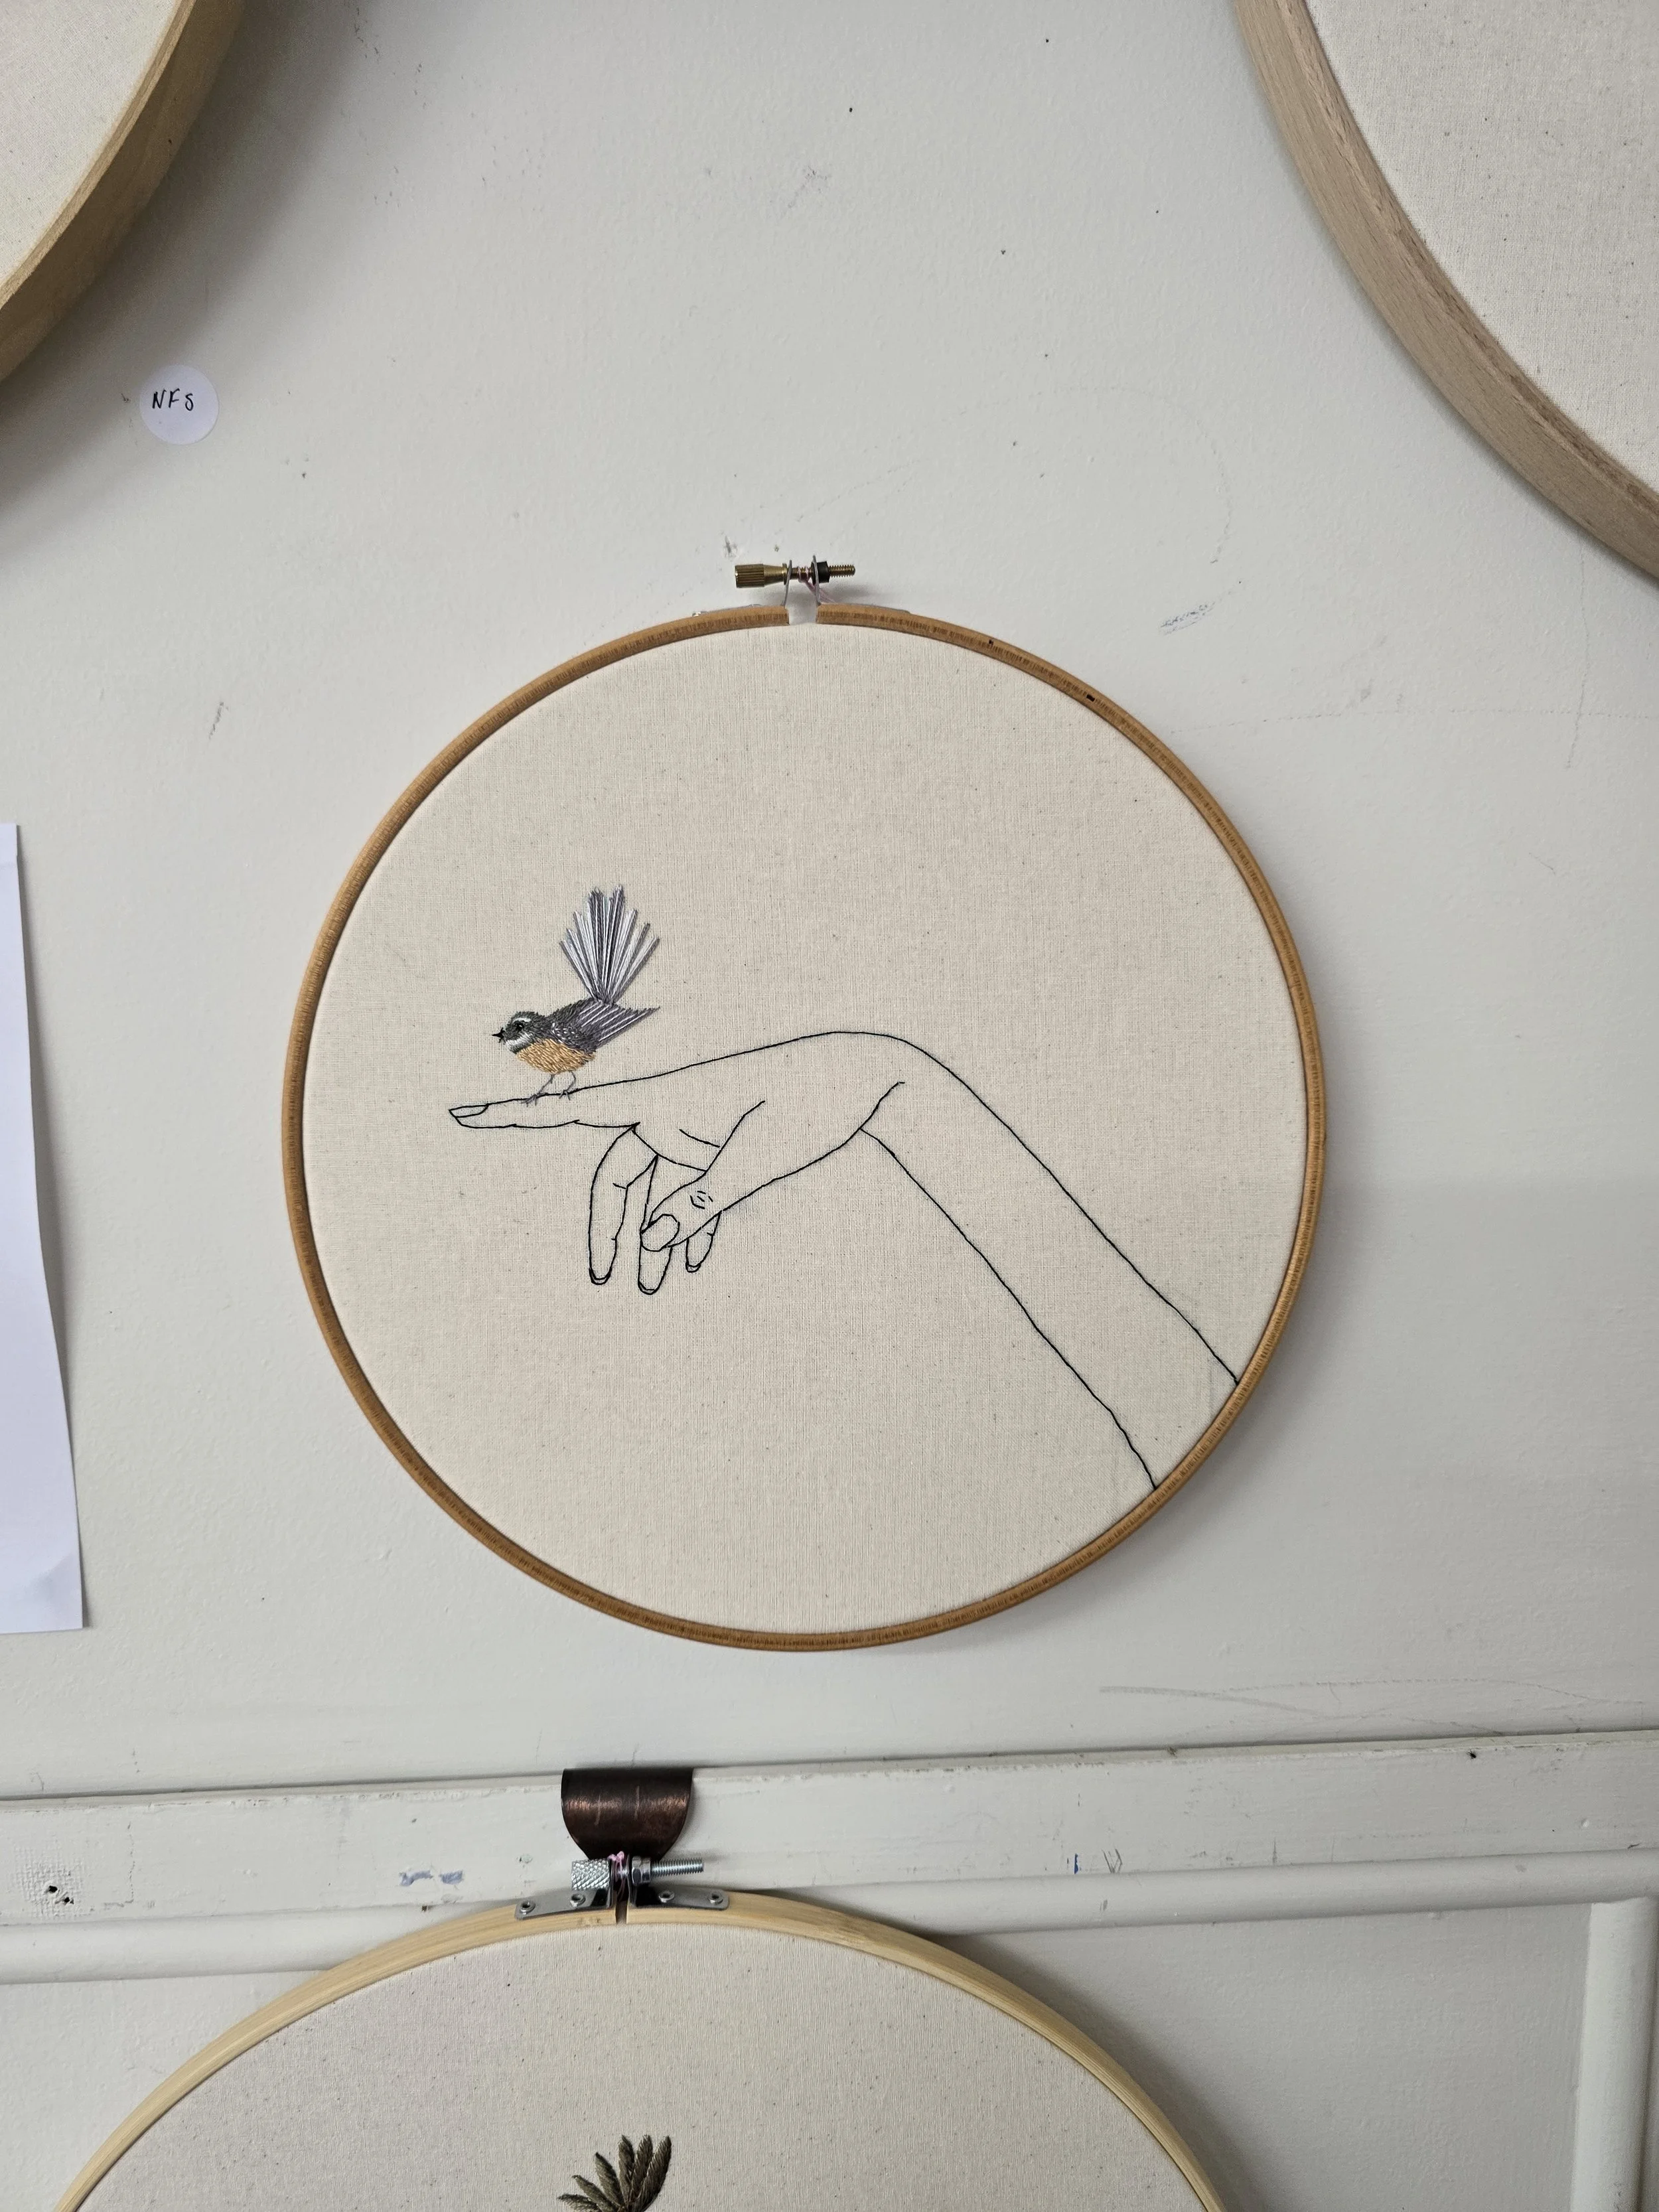
For me the highlight of this stop was Elfinthings: a display of hand embroidery hoops that focused on negative space and added in exquisite and different details - for example, the lady in the mauve jacket below has a fine knitted jacket that is applied to the embroidery.
This year I have worked quite a bit on negative space and working in the round so not only the beautiful work but the concepts were of personal interest. I spoke to the maker and she tells me the fabric is cotton calico stitched with single thread stranded cotton . Below is a gallery of the pieces that really caught my eye. She works out of her living room and while she does not have a web page she does have more work shown on Facebook and Instagram.
As I was leaving the venue I was tempted to collect some of the wonderful Autumn fallen maple trees from in front of the building. A couple came along and asked me how I picked the ones I was collecting. I explained that I was a textile artist and these would provide me with art materials for work over the coming months. I explained some of my processes and they were quite amazed. I often think, because I am immersed so much in the world of natural processes that everyone knows about the various processes I use and it is always a surprise to find how little people do know or understand how I collect and process my art works.
Where Have all the Sheep Gone?
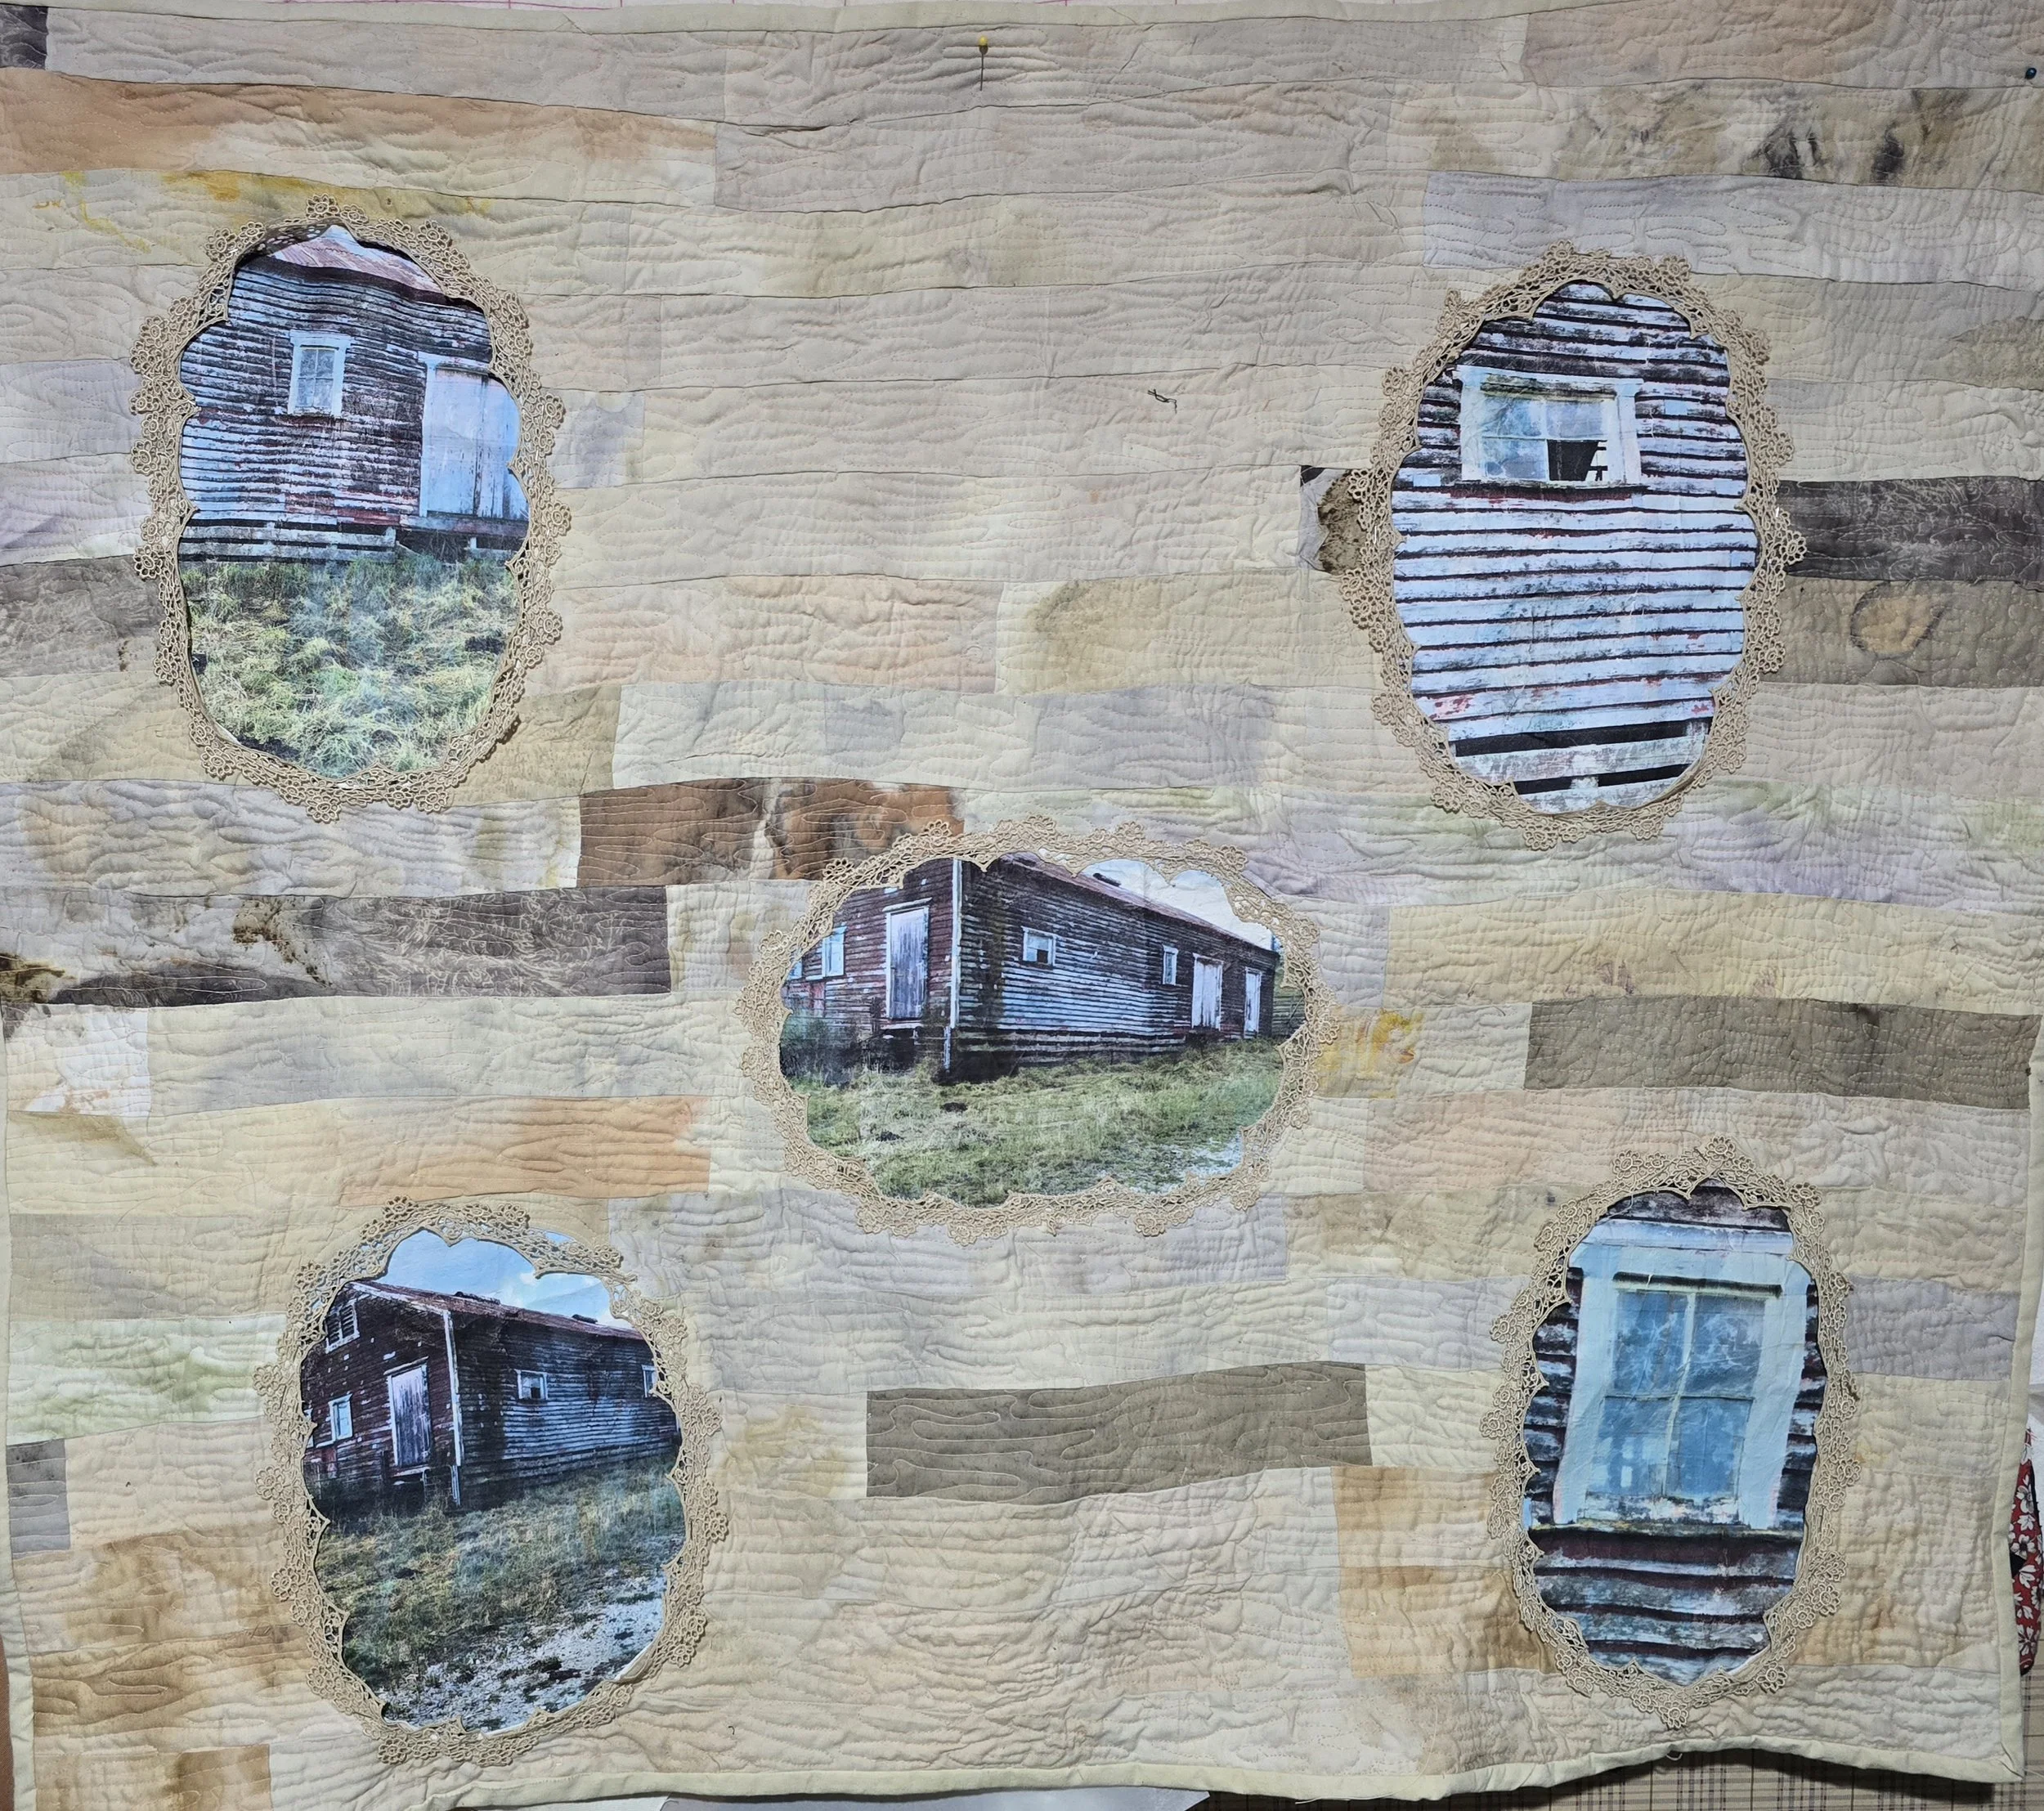
A comment on changing lifestyle patterns in New Zealand and the decimated sheep numbers that are still around. There are many old and unused woolsheds around the country - many falling into disrepair. This local woolshed was part of my practice of documenting disused farm buildings. When I was working on the zero waste stitching project and made the zero waste book I had decided to make something on a larger scale and this wall quilt became that project. I took the left over eco dyed fabric (originally from the eco coat Sense of Identity) and cut them into 2.5 inch strips. I randomly joined these and then took the woolshed photos which I had printed onto foil butter papers coated with Golden fibre paste and inserted them into the strip piecing. The quilting was random back and forth to try and replicate the sense of peeling paint. I added the antique lace surrounds as some of the photos had small gaps of nothing on some edges and the vintage lace seemed appropriate for the theme. It is not my best piece of work but it covers several issues for me as an artist.
Take Two Final Project for Lissa Hunter’s online Course
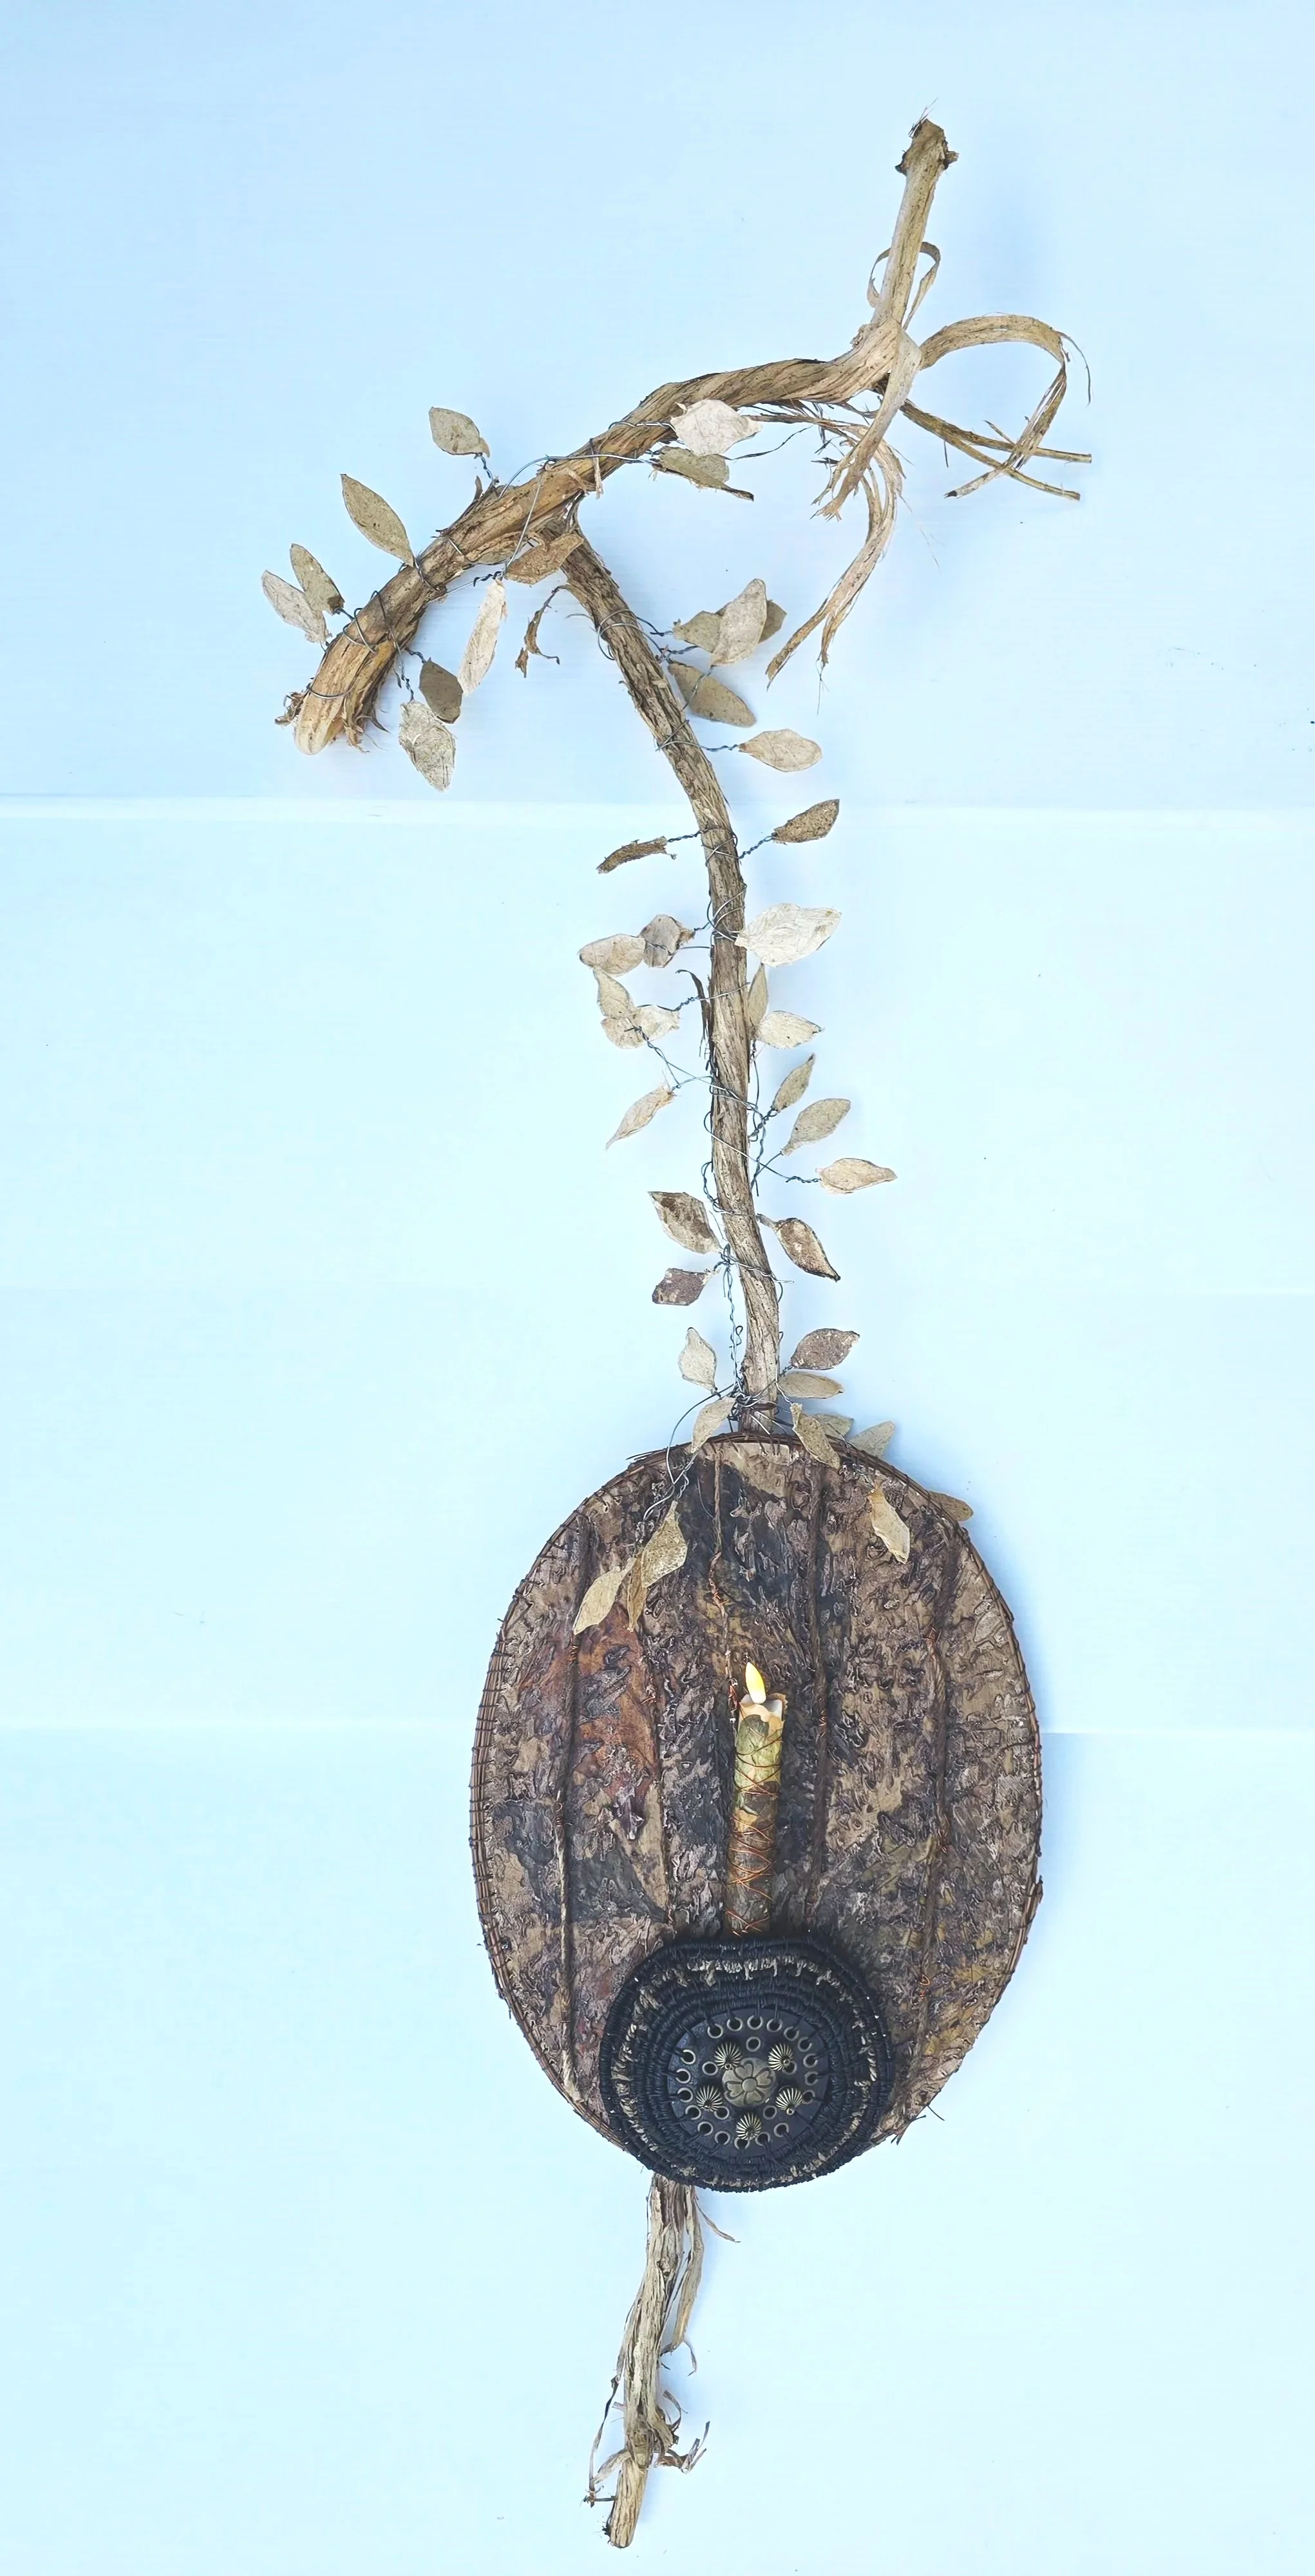
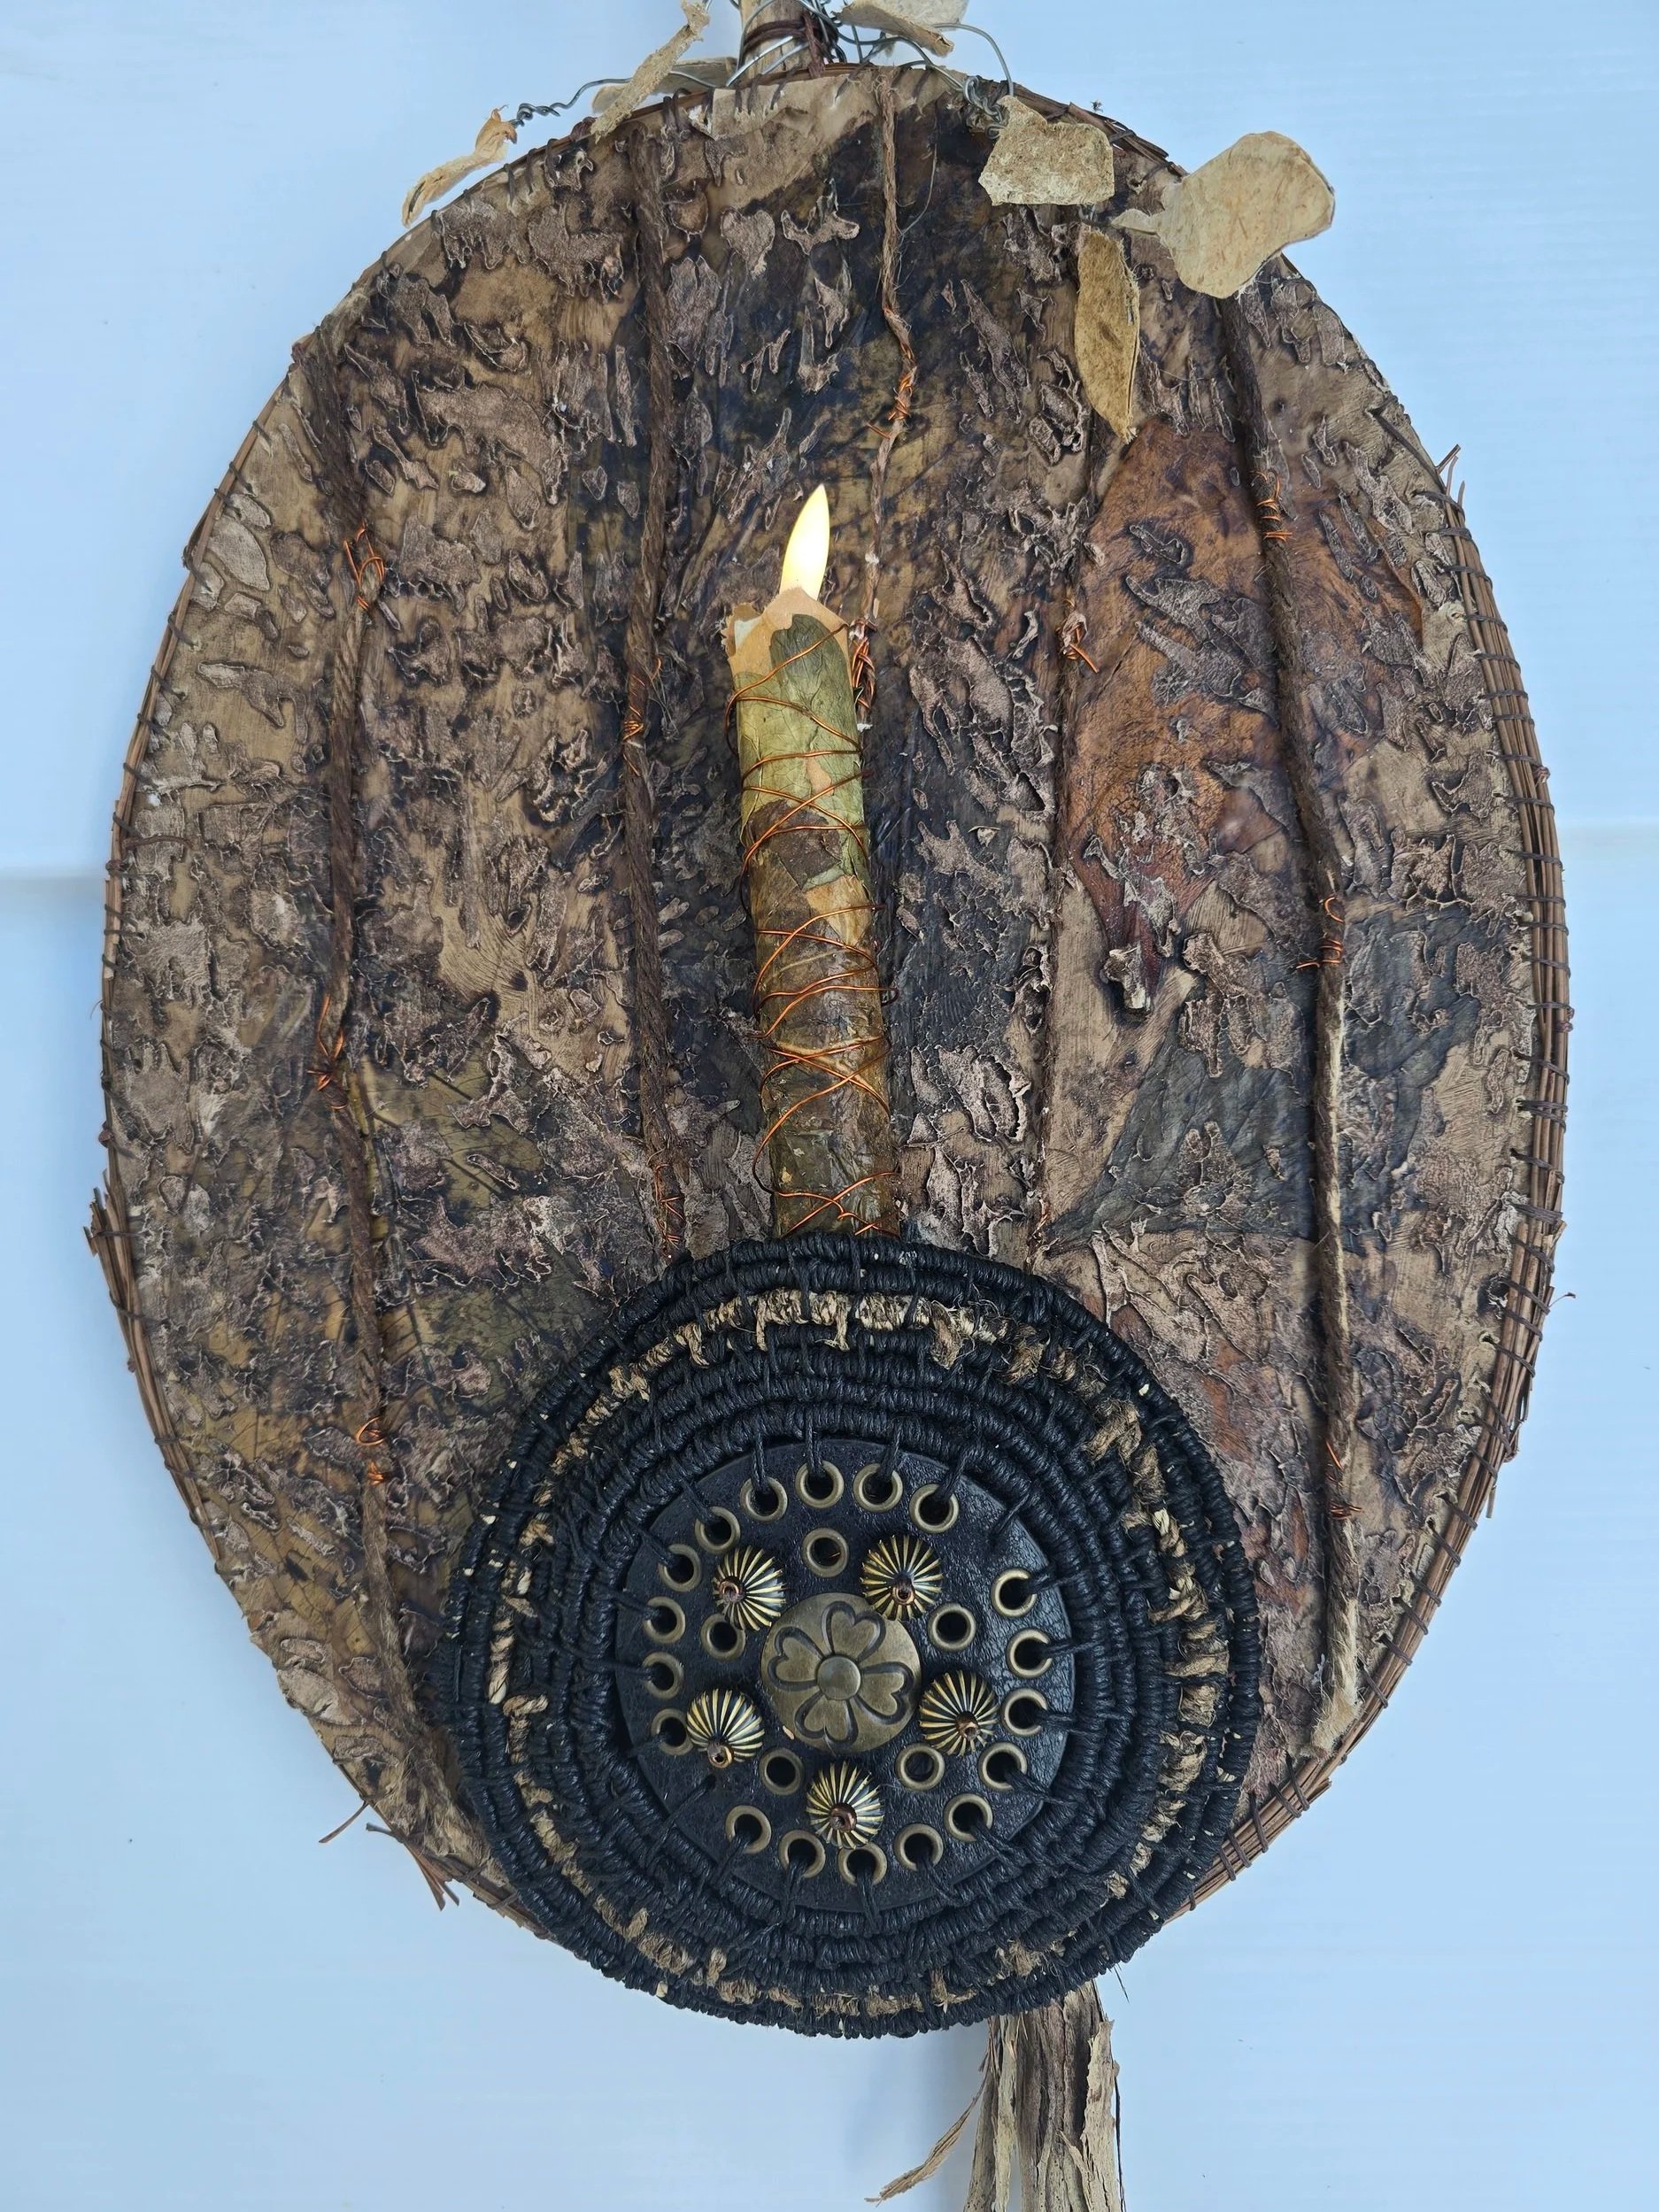
The Theme for this project was Let there be Light. This was originally a trial piece working with paper collage on a coiled place mat. I added teabags, some preserved leaves (preserved in a glycerine and water mix) and then used a white texture paste through a organic stencil. At that stage it looked terrible and I almost binned it. But then I decided to persevere and I painted it with some of my home made walnut ink. The change was dramatic. I continued to add the string with the copper twists and repainted with the ink. I was starting to get quite excited by this stage so I tidied up the edges by using pine needles around the perimeter. The black candle holder is part of an old belt that I coiled around and added beads in the middle. This was stitched on three quarter of the way round to that the battery operated candle could be inserted at the top.
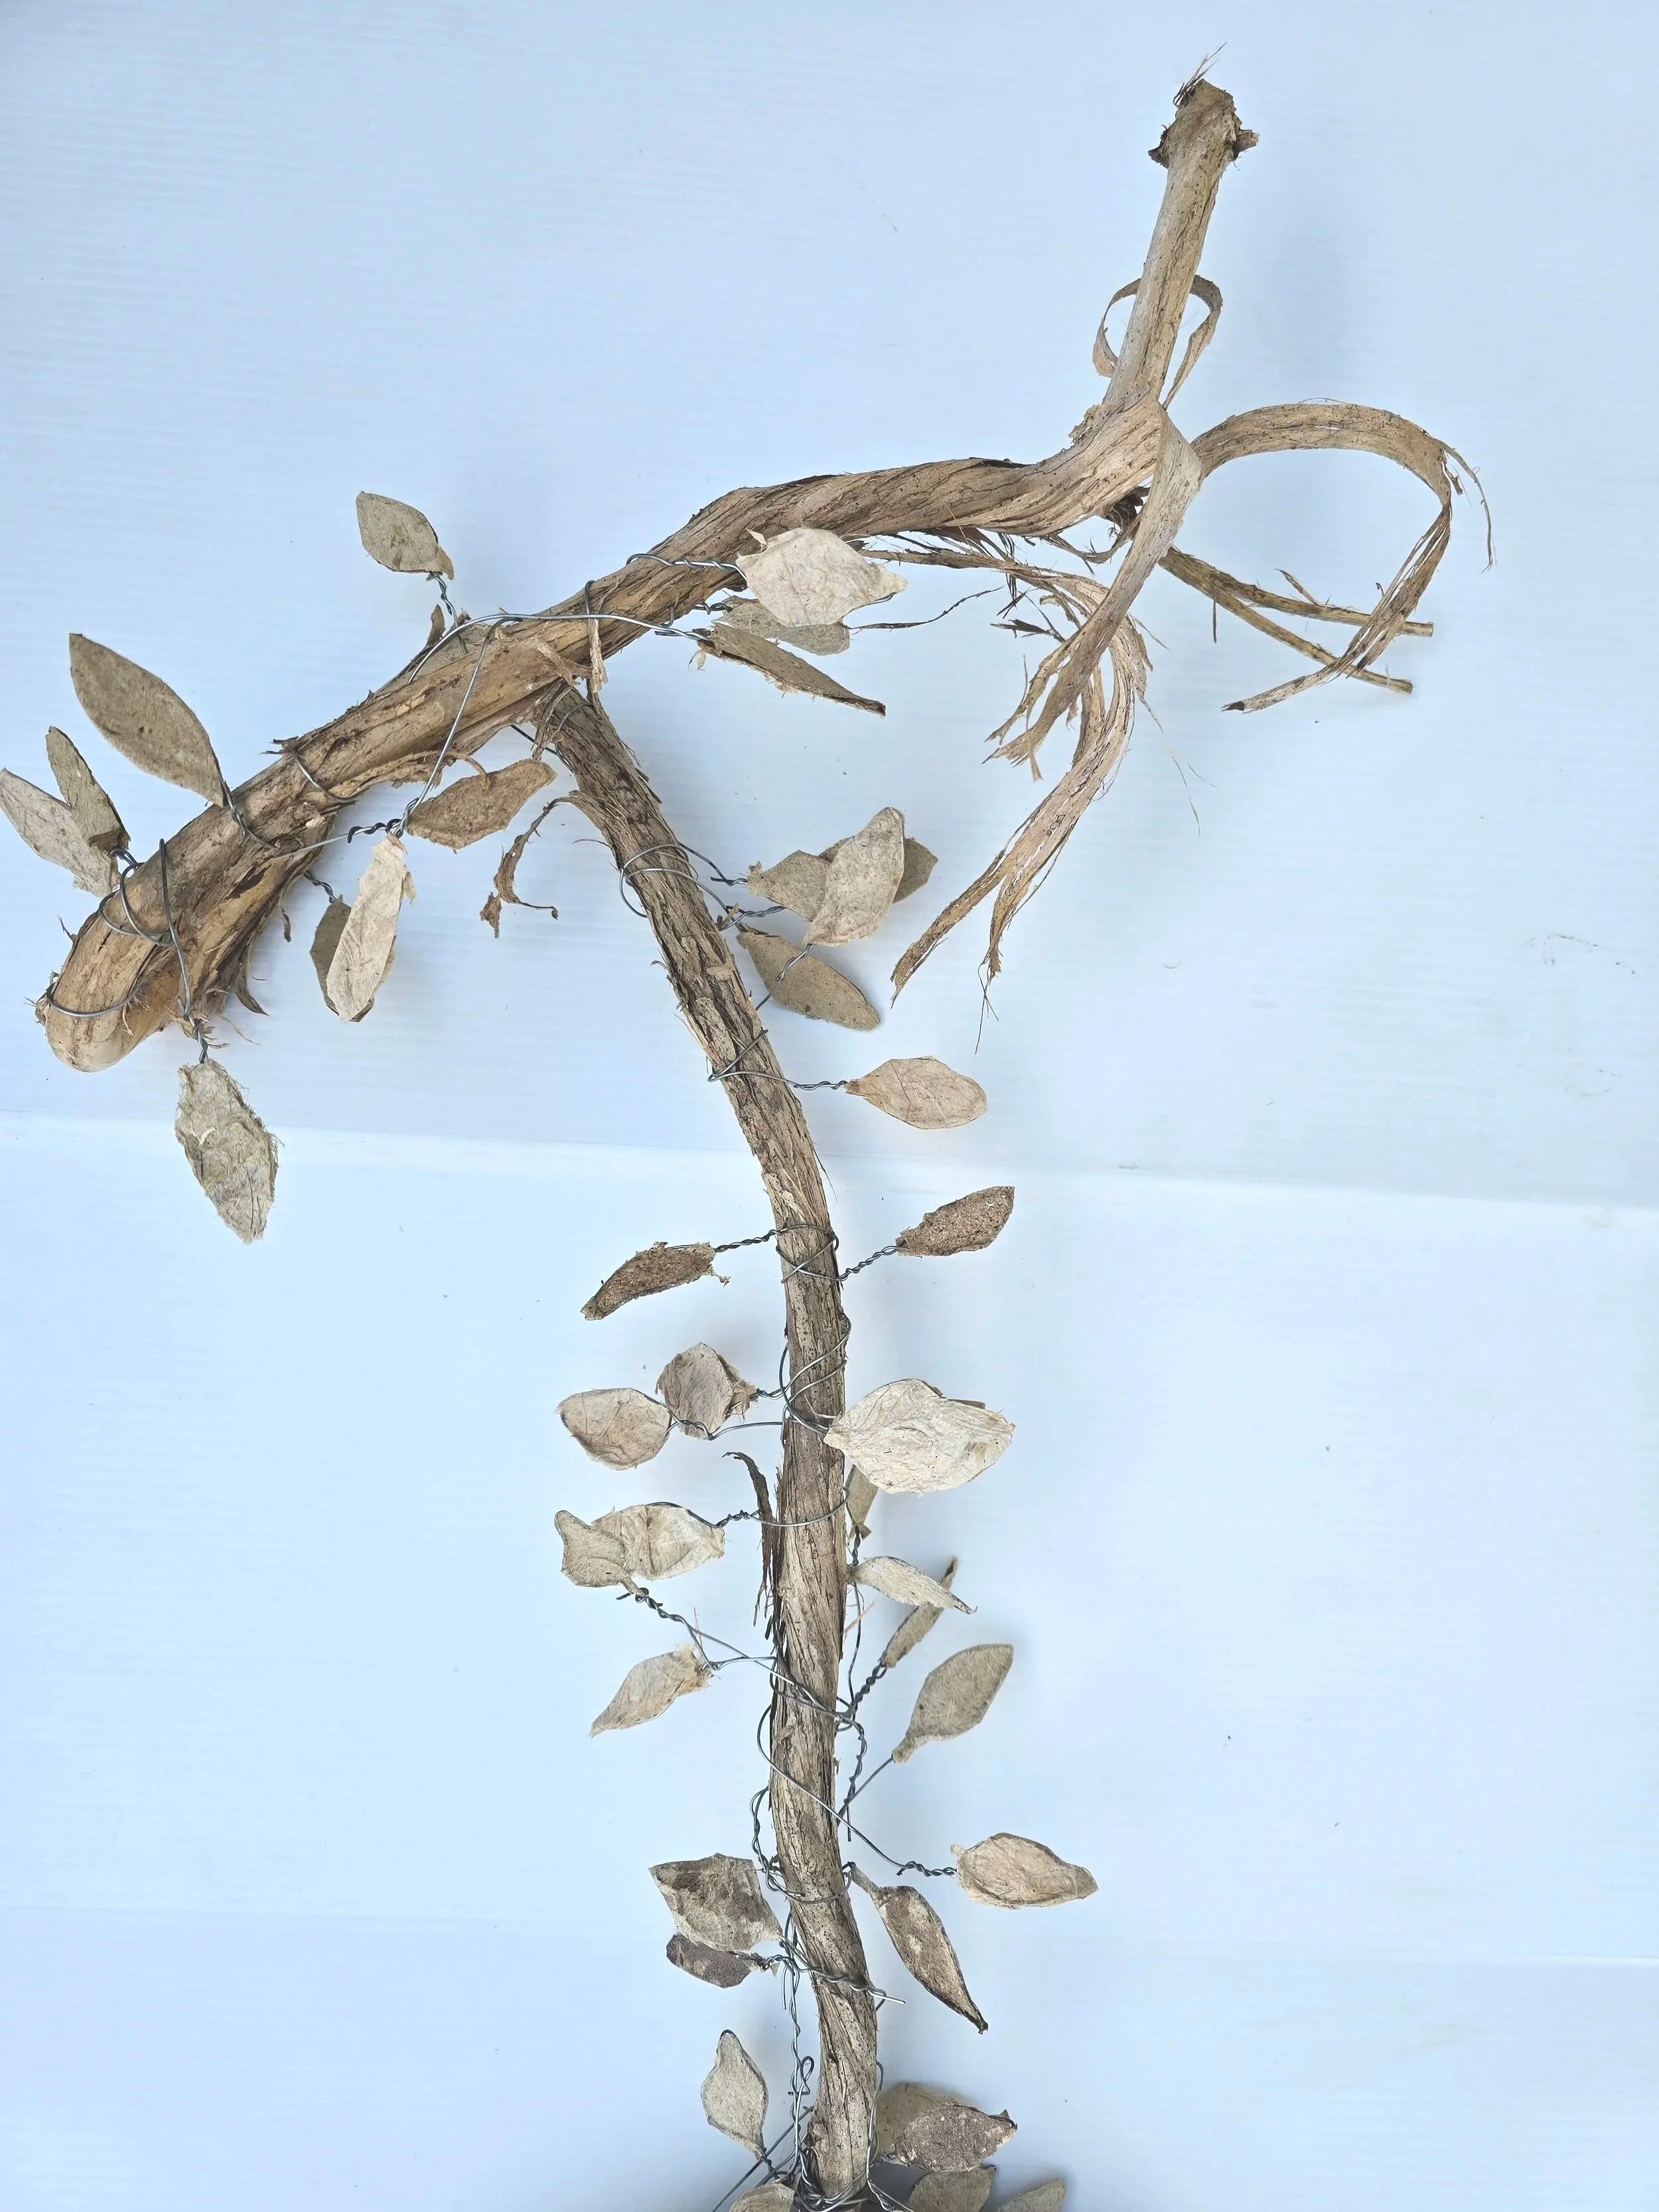
The shield piece was then attached to an old vine from a Japanese honeysuckle that I had sprayed in my garden some time back. The birds bring these seeds in and they become quite rampant so I often have to look at getting rid of them. If I can use their vines in my art work, that is a bonus. To integrate the pieces I created a number of soft wire skeletons with a leaf shape at the end. The leaves are made from hand made paper using corn husks as the base.. These were then coiled onto the vine at the top.
The candle was collaged in a similar way to the placemat and bound in thin copper wire. For safety a battery operated candle was used.
Junk Artist Journal
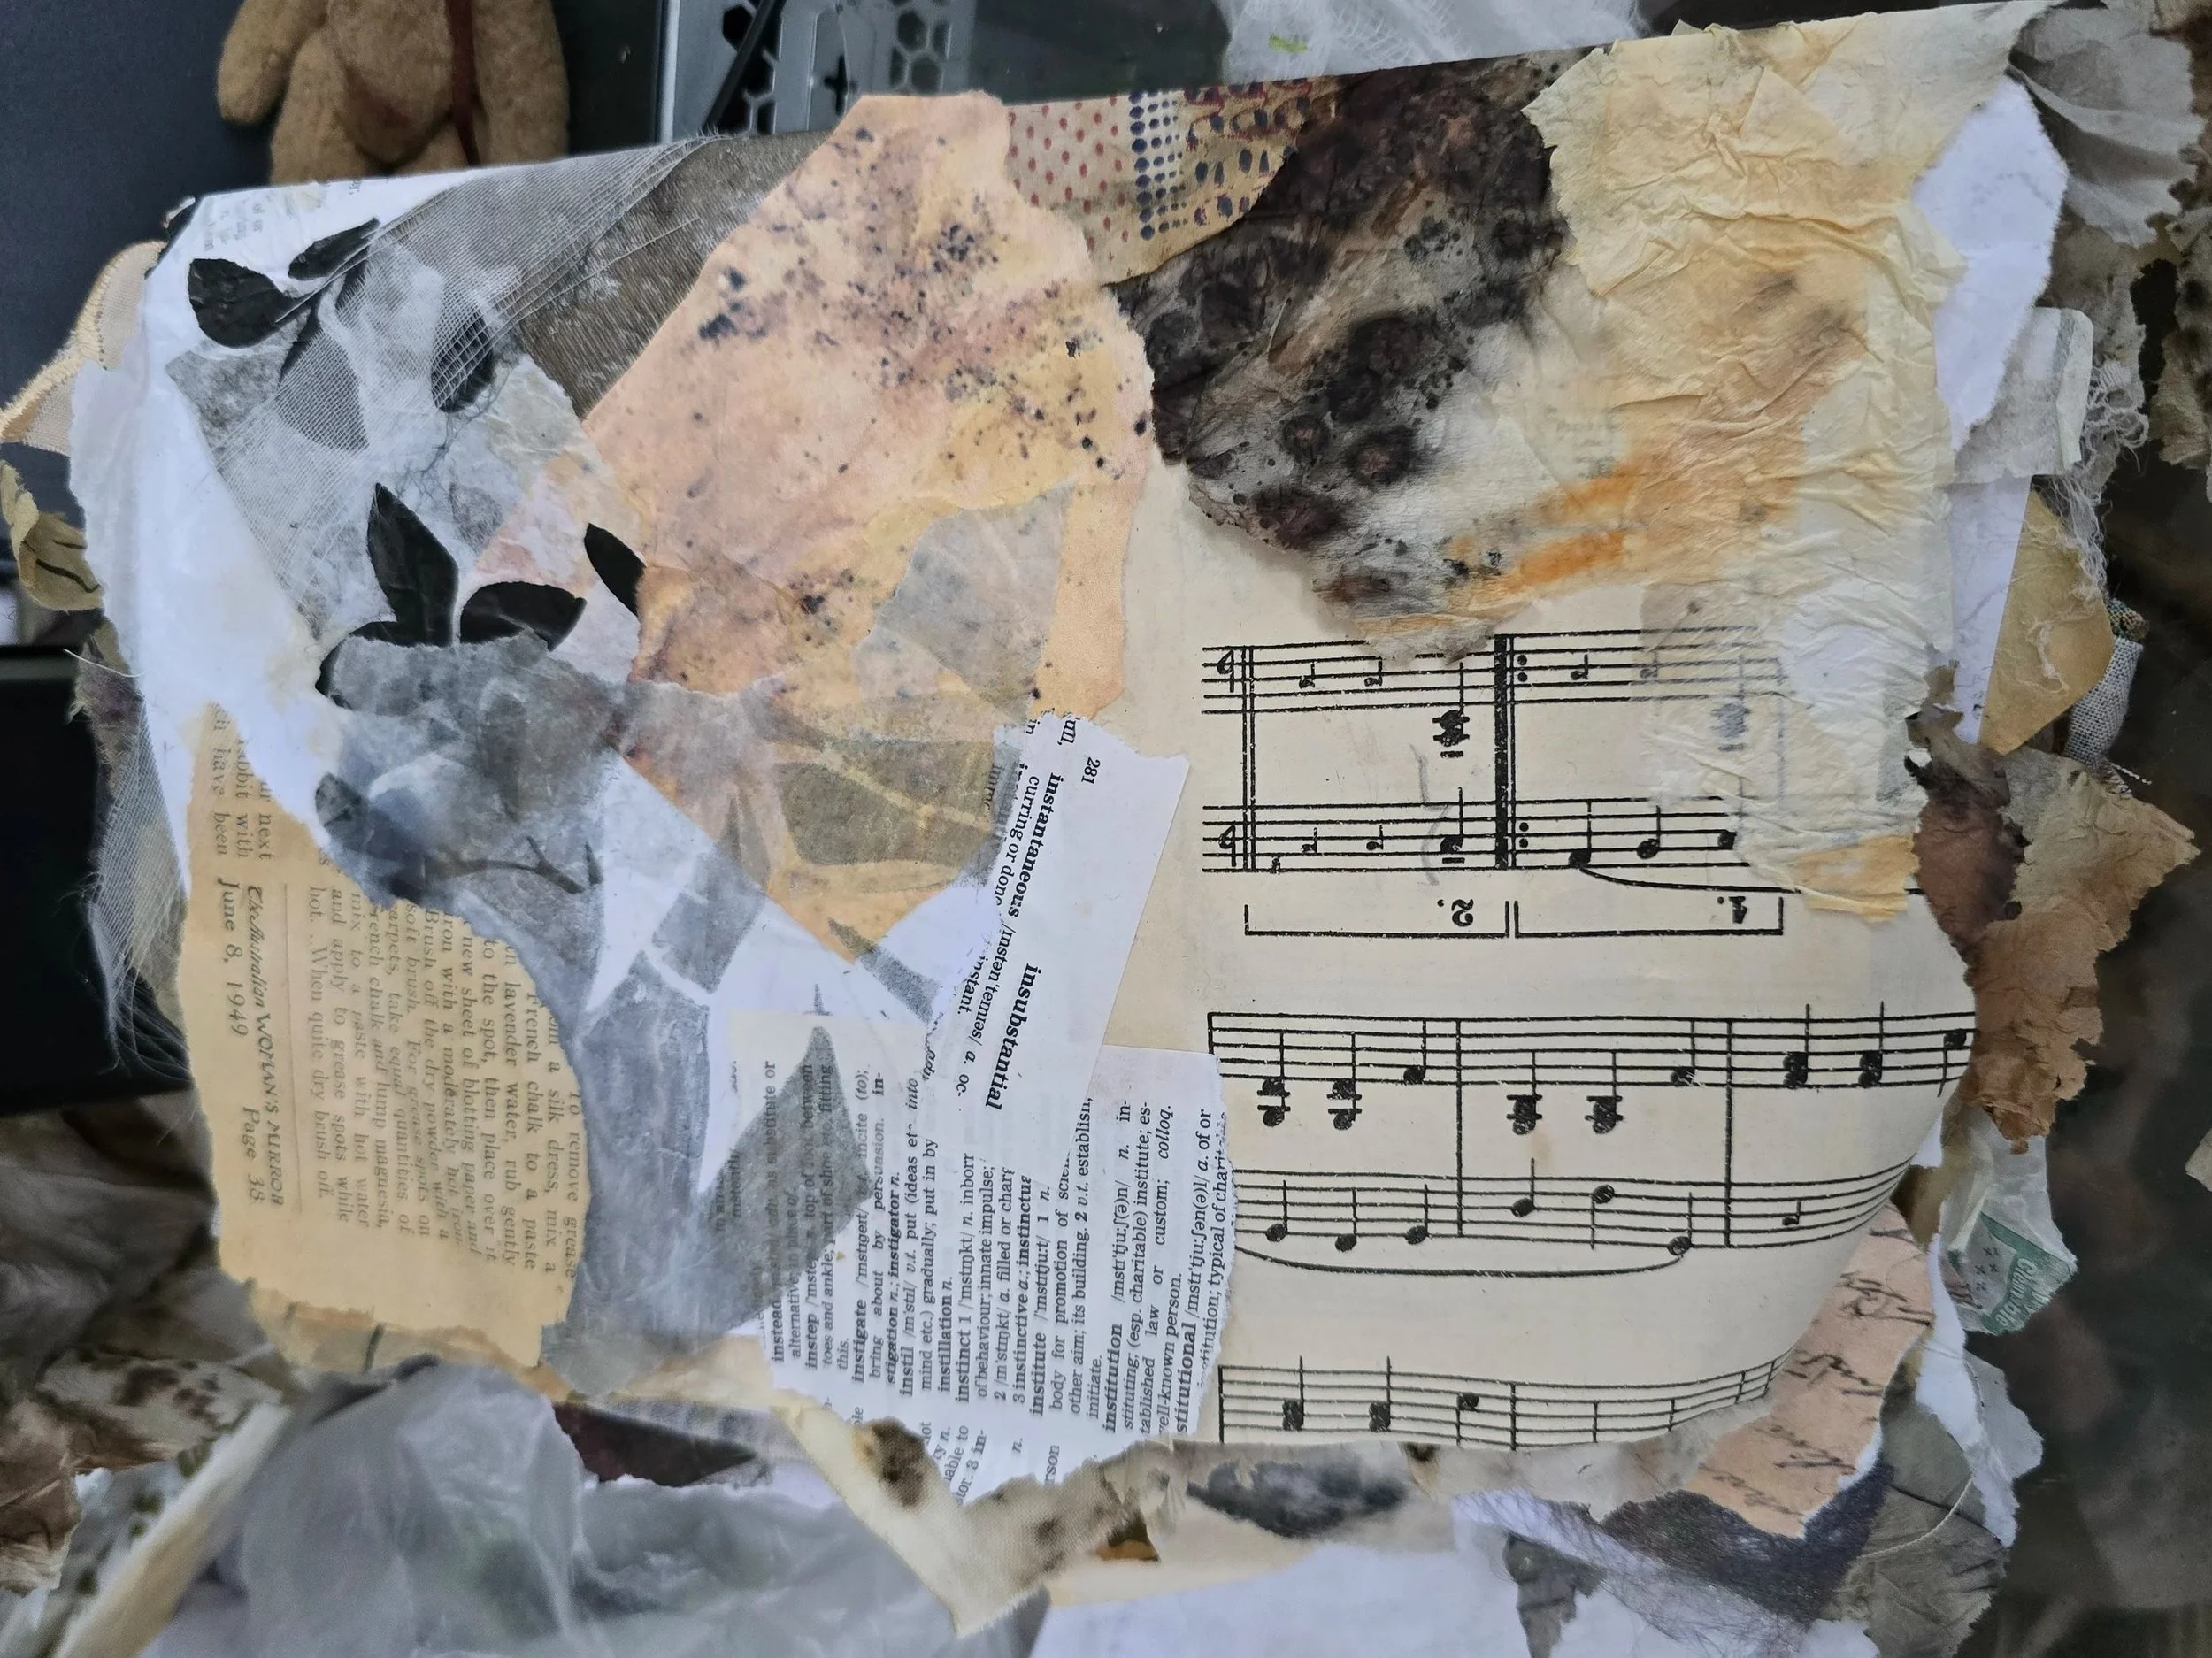
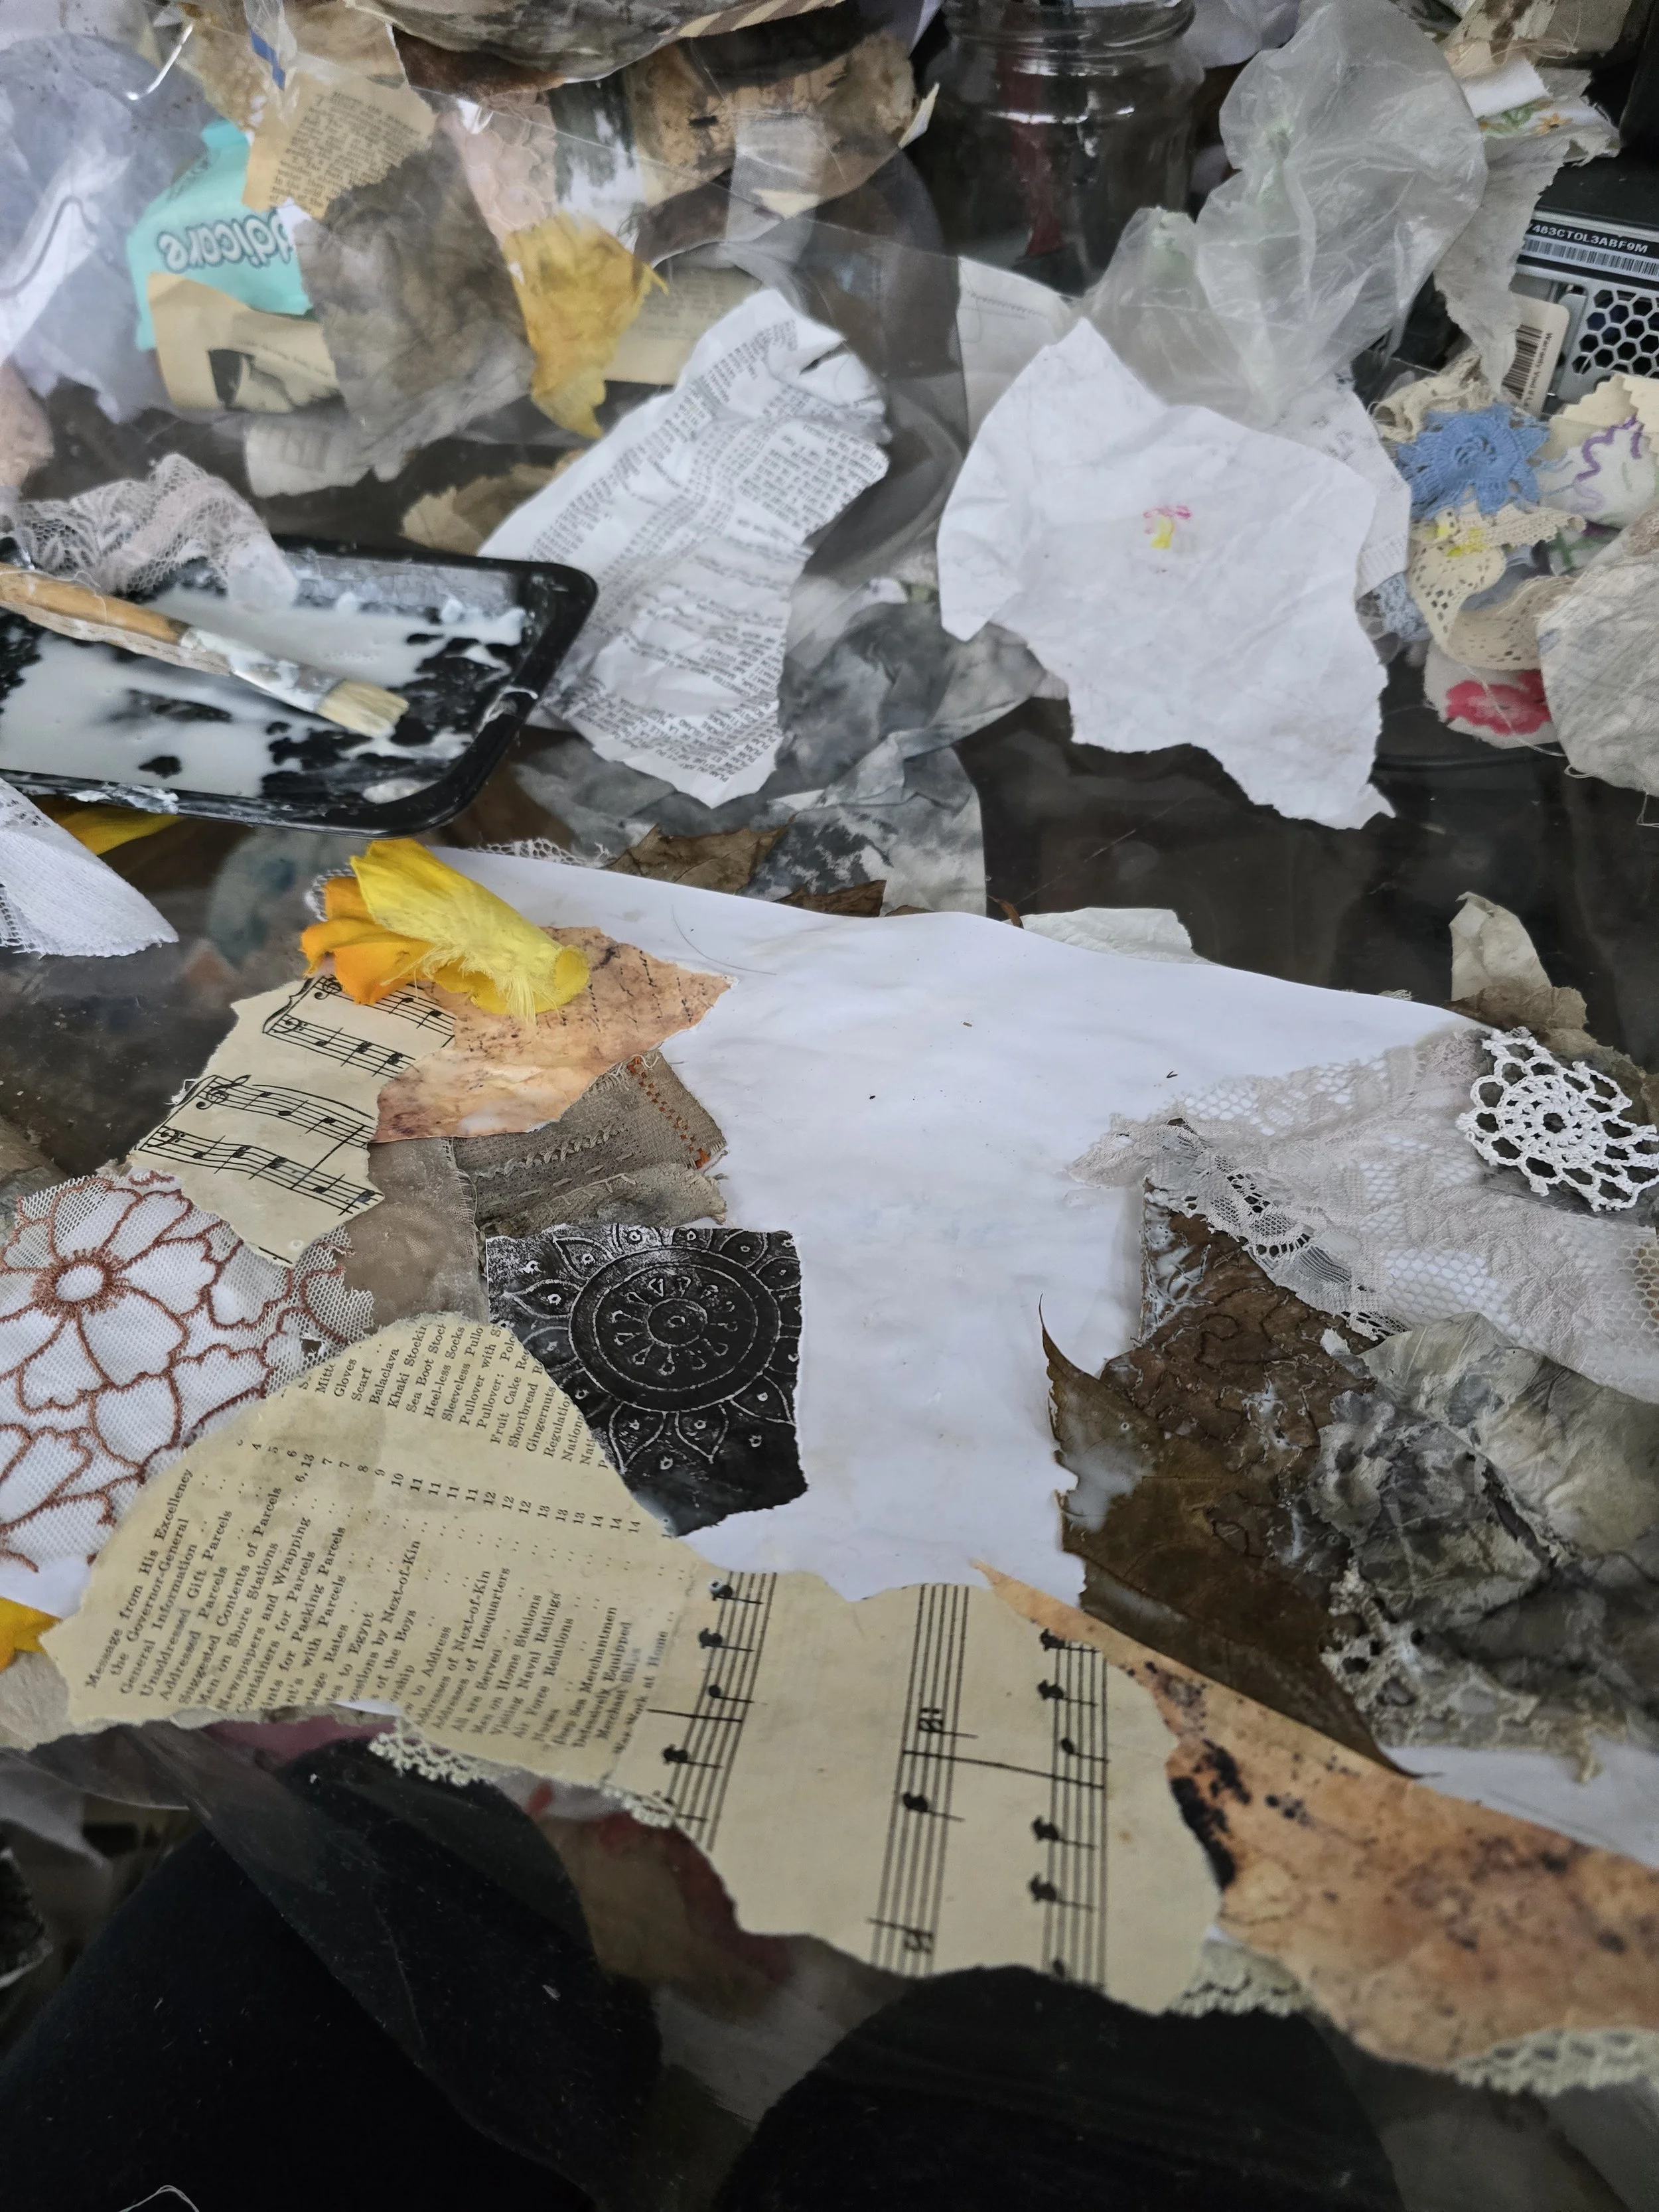
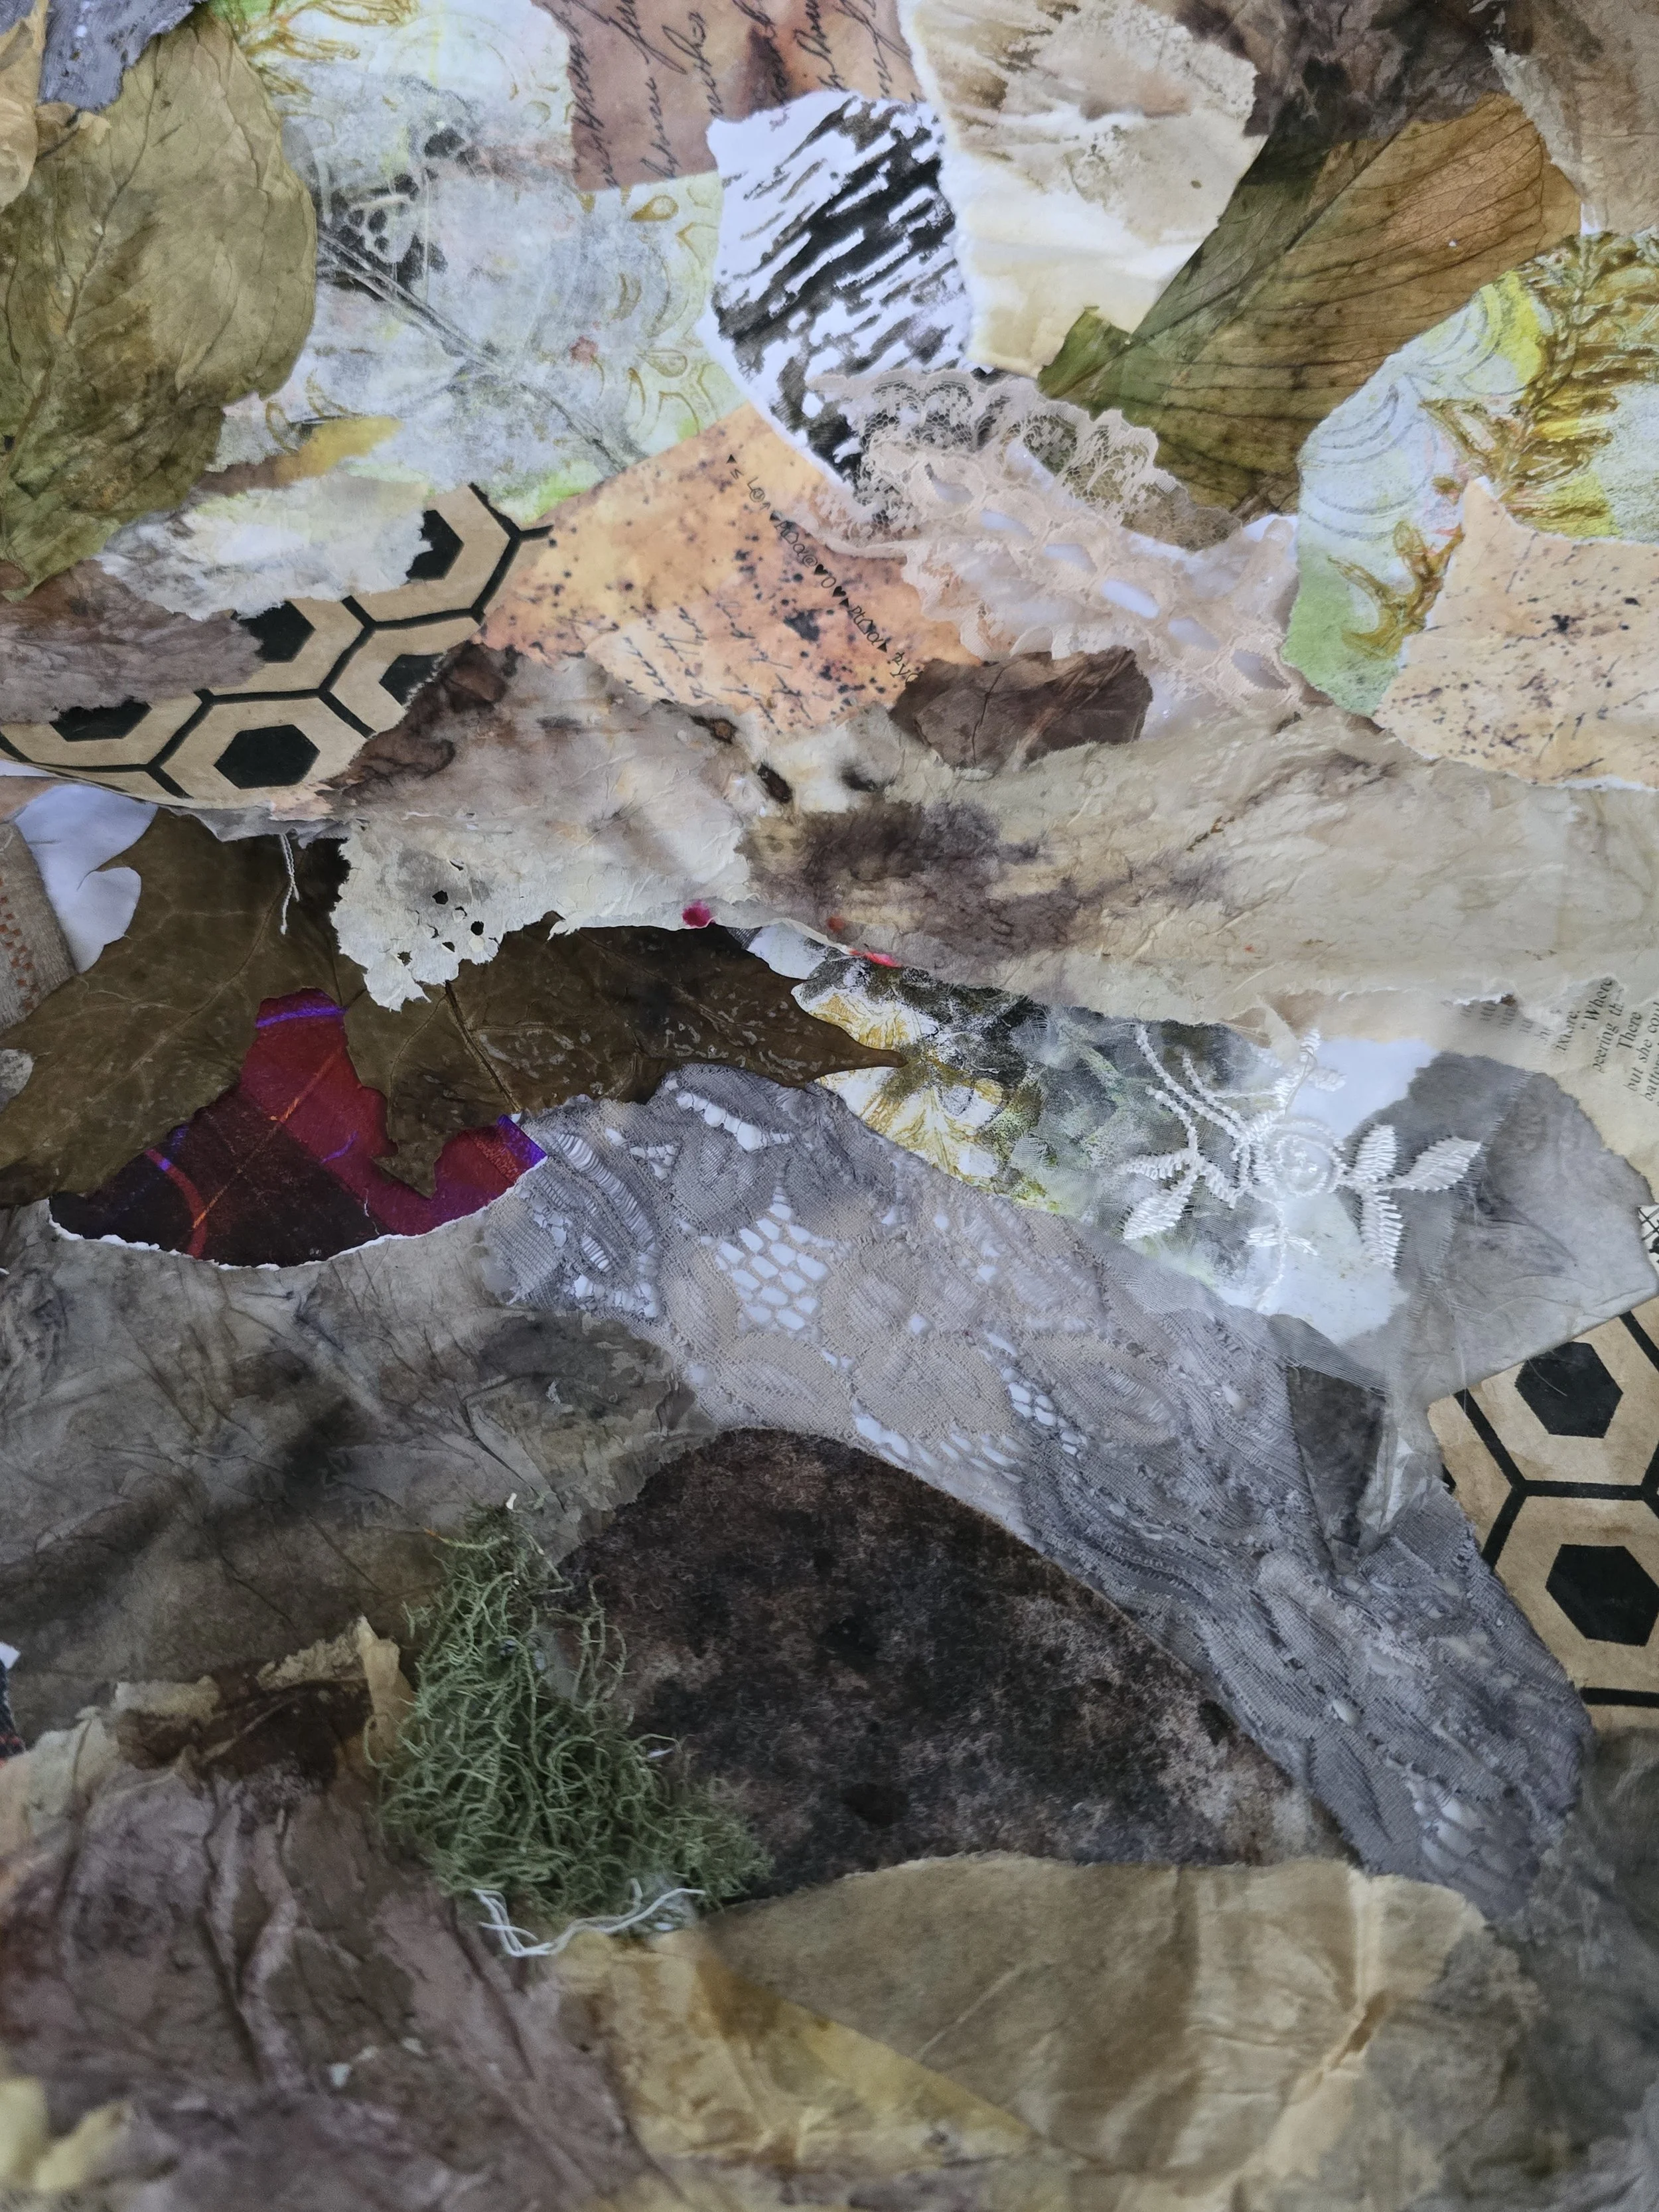
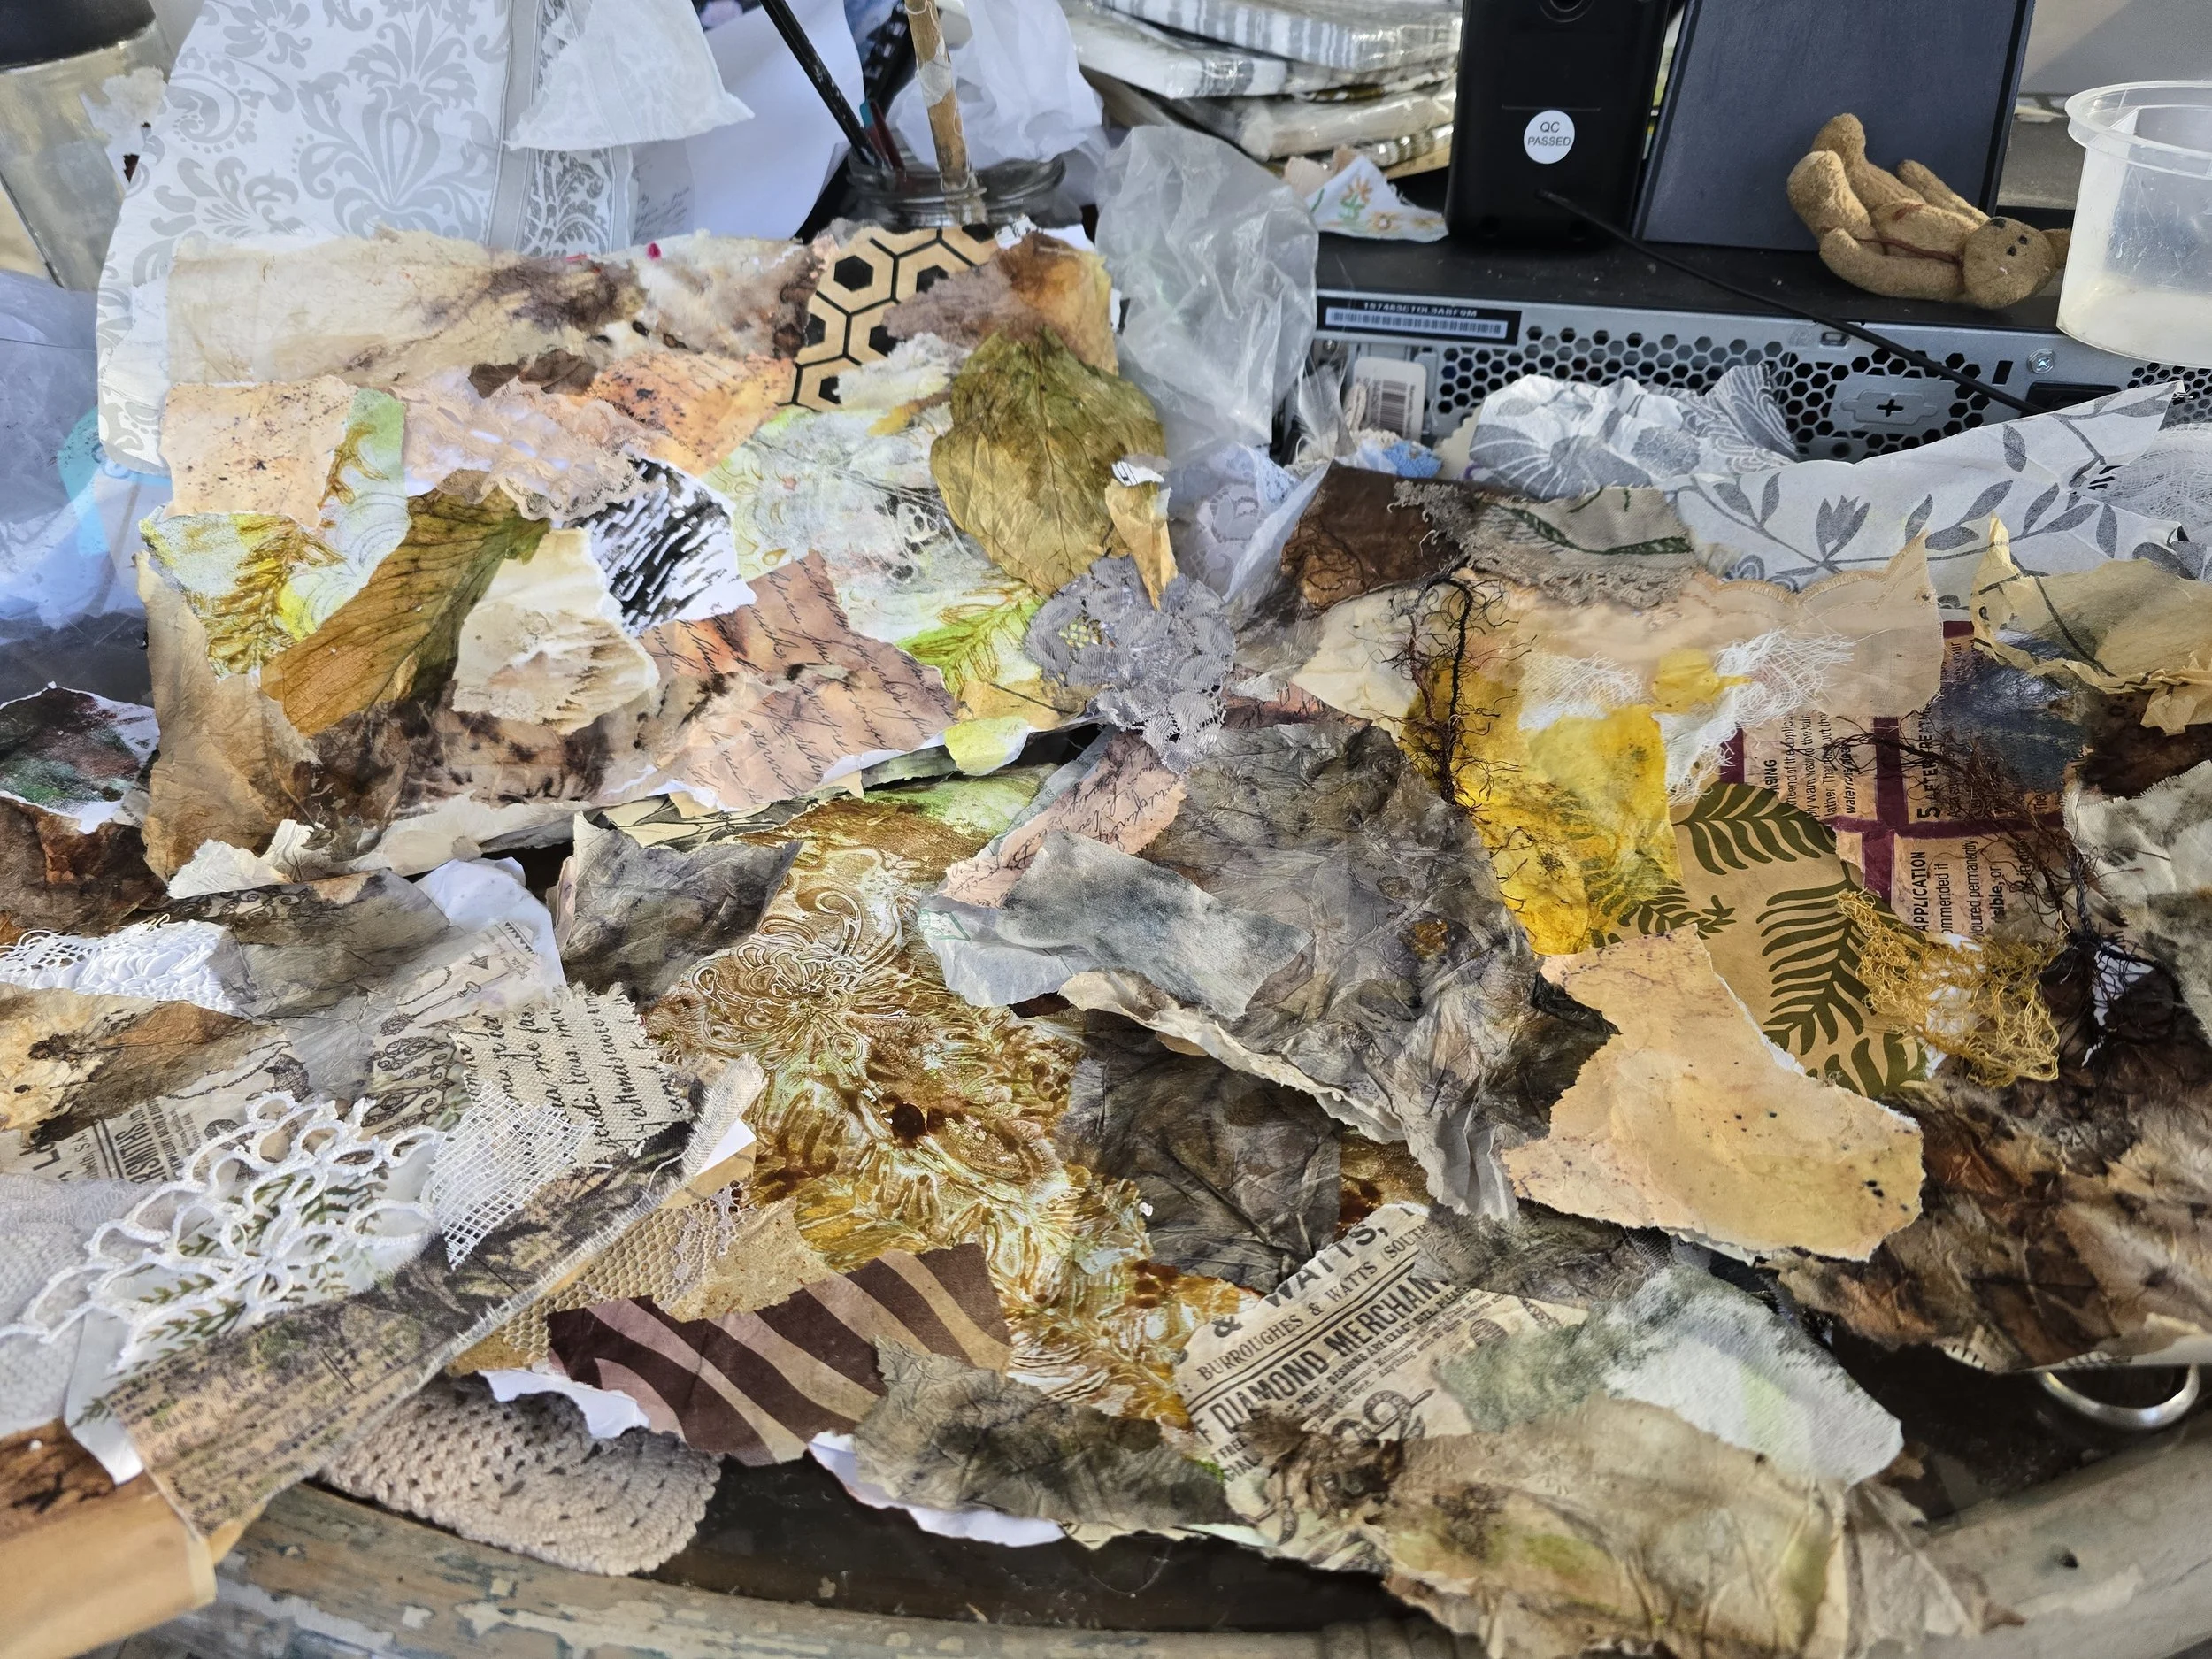
With my diploma course complete and Rob still not well - in and out of hospital from coughing up blood post a chest infection - it has been difficult to focus on a new project, so I decided to have a go at an artist junk journal with collaged and textured pages. I will use this to print out and put the quotes on creativity that we put together as a group. I am not thinking too much about the placement of papers at this stage. Just getting the base sheet covered. The detail and embellishment will come later. At the moment it all looks a bit of a mess, but I am sure order will eventually come out of the chaos
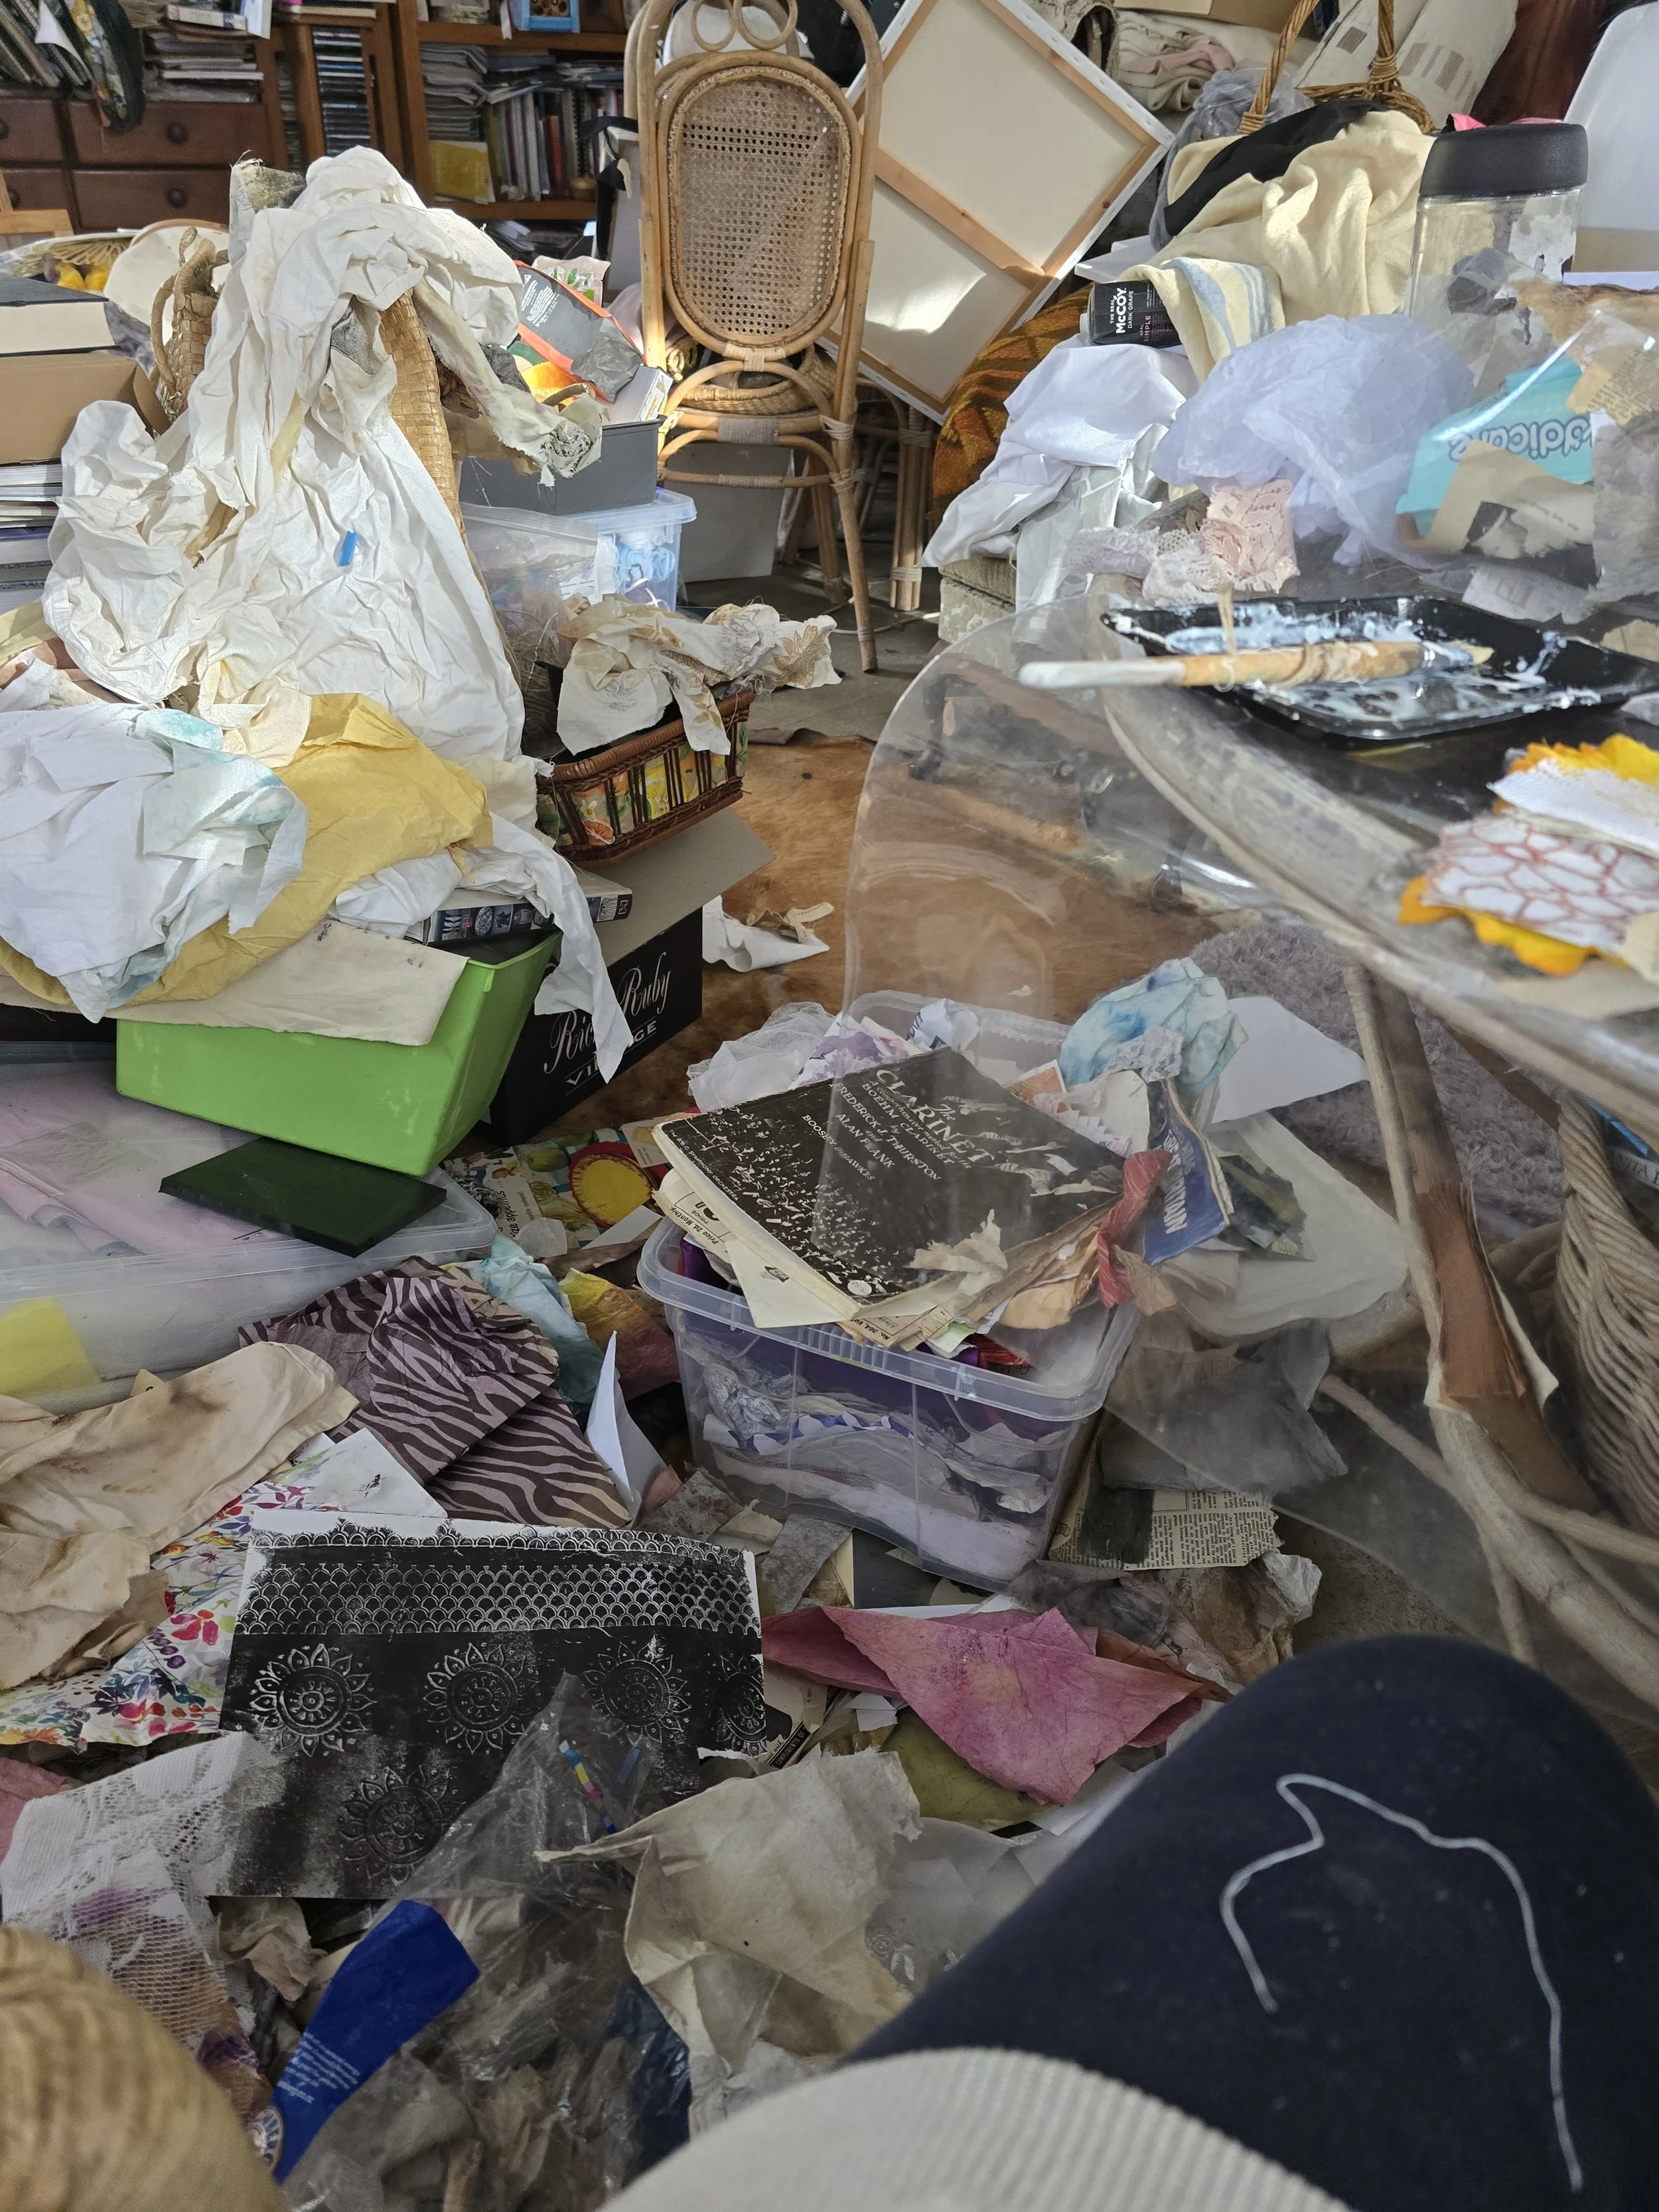
It is taking a lot longer and making a bigger mess in my studio than I had anticipated but I finally think I have the pages don so I can concentrate on the covers and adding the bits and pieces of stencilling and stamping I want to add to the inside. I decided to make 3 signatures of 3 A4 pages each, folded in half that makes 6 ages per signature. That means both sides of the papers need to be collaged so 8 A4 pages in total. I thought it would free up my artistic style and would be something I could stop and start at will. I have been working on the pages for that last 4 days on and off. My studio looks more like a bomb site at the moment as I have so many bits and pieces saved over the years toward having a go at something like this. I found the paper towel iron blanket prints from eco dying are a wonderful addition to the collage materials. Now things are drying and maybe I will get to work on the covers etc on Monday. I have to work tomorrow so nothing much will get done then. Below are some progress photos and a shot of the mess in the studio
Working with Negative Space - Cheesecloth sculptures
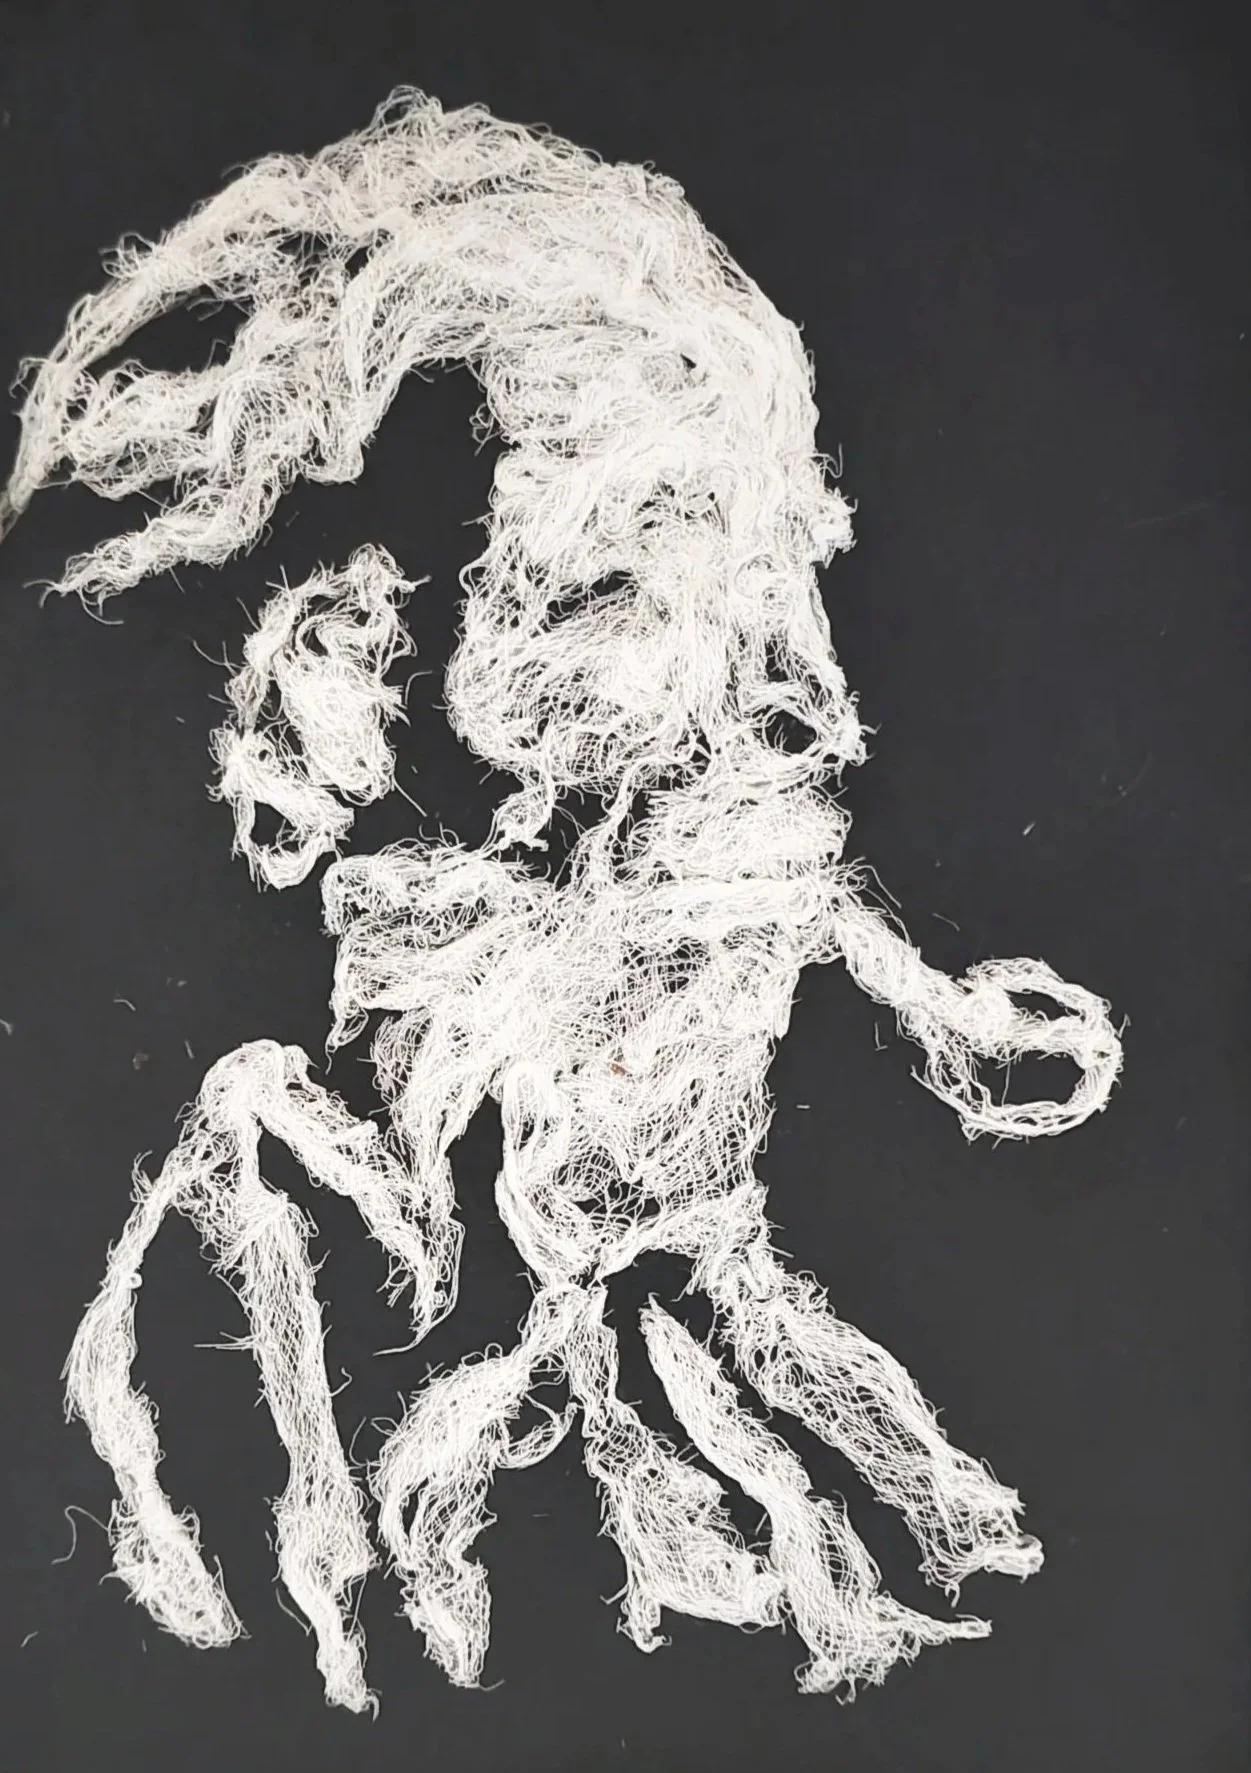
Man with a Pipe
It’s been a while since I played around with cheesecloth sculptures following a course with Mary Pal from Canada. My husband is back in hospital so doing something like this that I can work at and then leave and come back to has been helpful. The cheesecloth is worked with diluted pva on a heavy plastic sheet , using a black and white image under the sheet to guide the structure. Once the forming is finished - only a little bit of cheesecloth is added at a time - the structure is left to cure (dry). It is then carefully lifted off the plastic sheet and stitched onto black felt (in this case). Working back to front with the darker pieces being the lighter pieces in the structure can be quite challenging.
Making Zen 2026
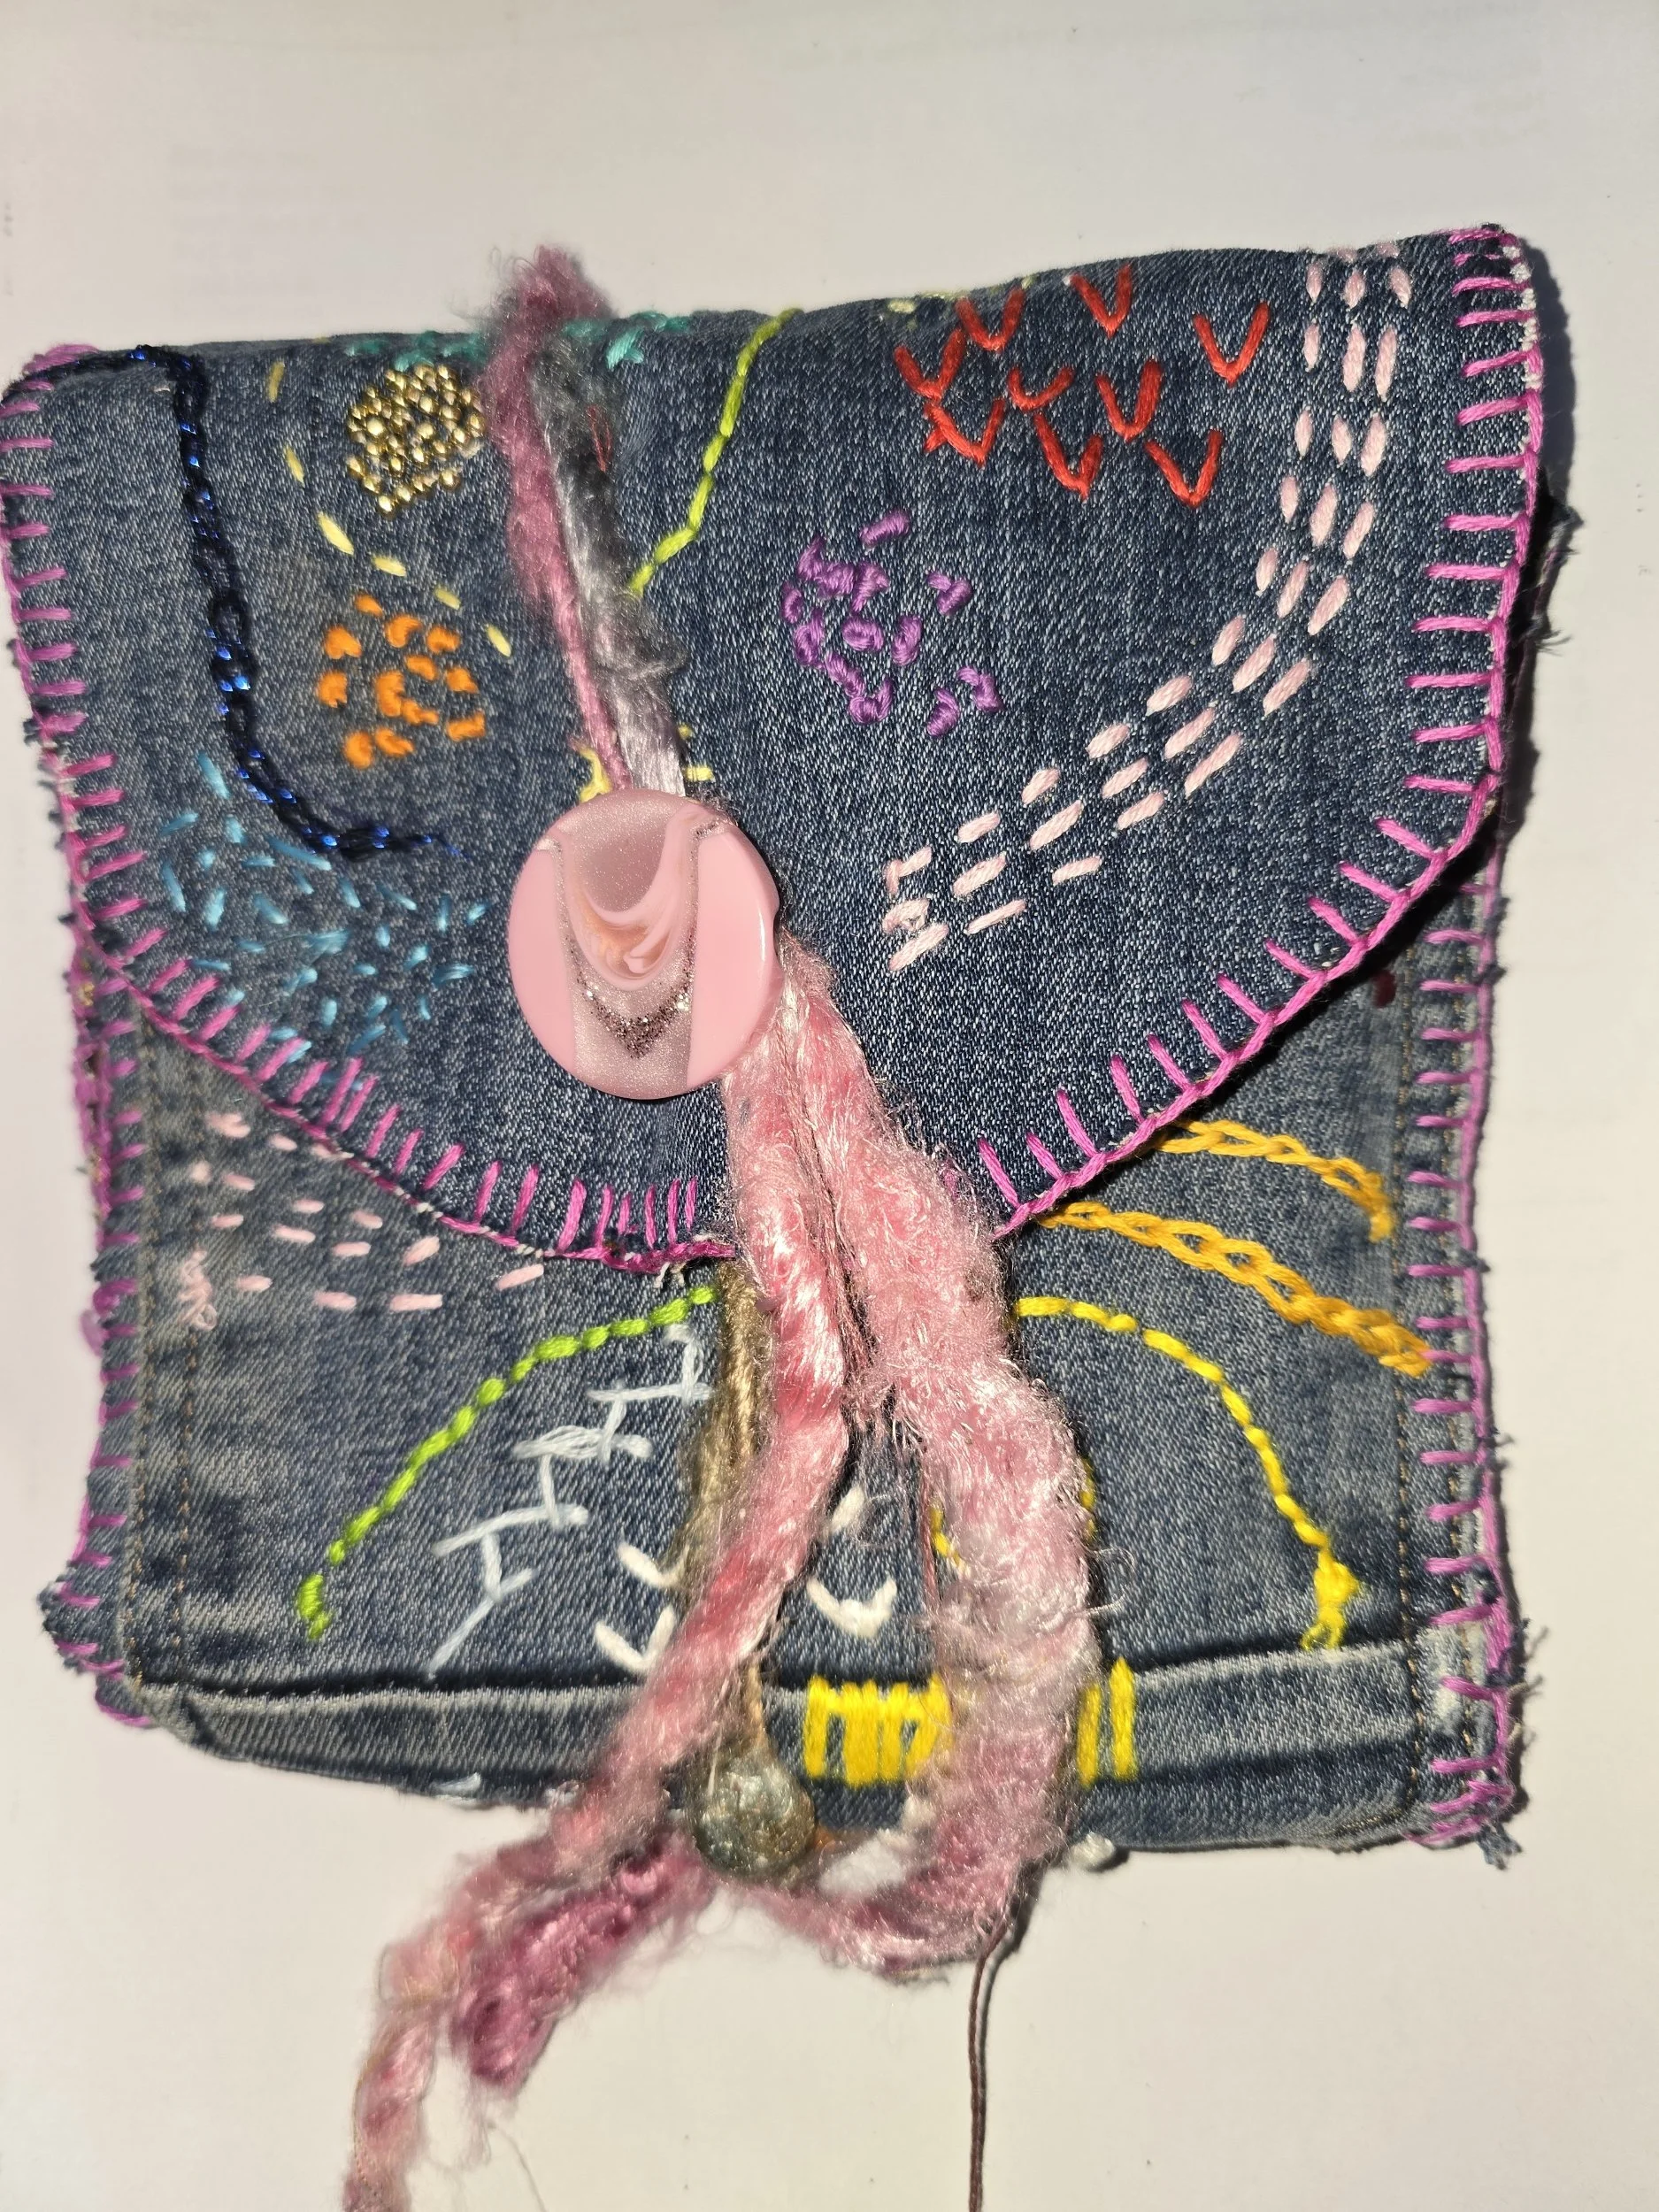
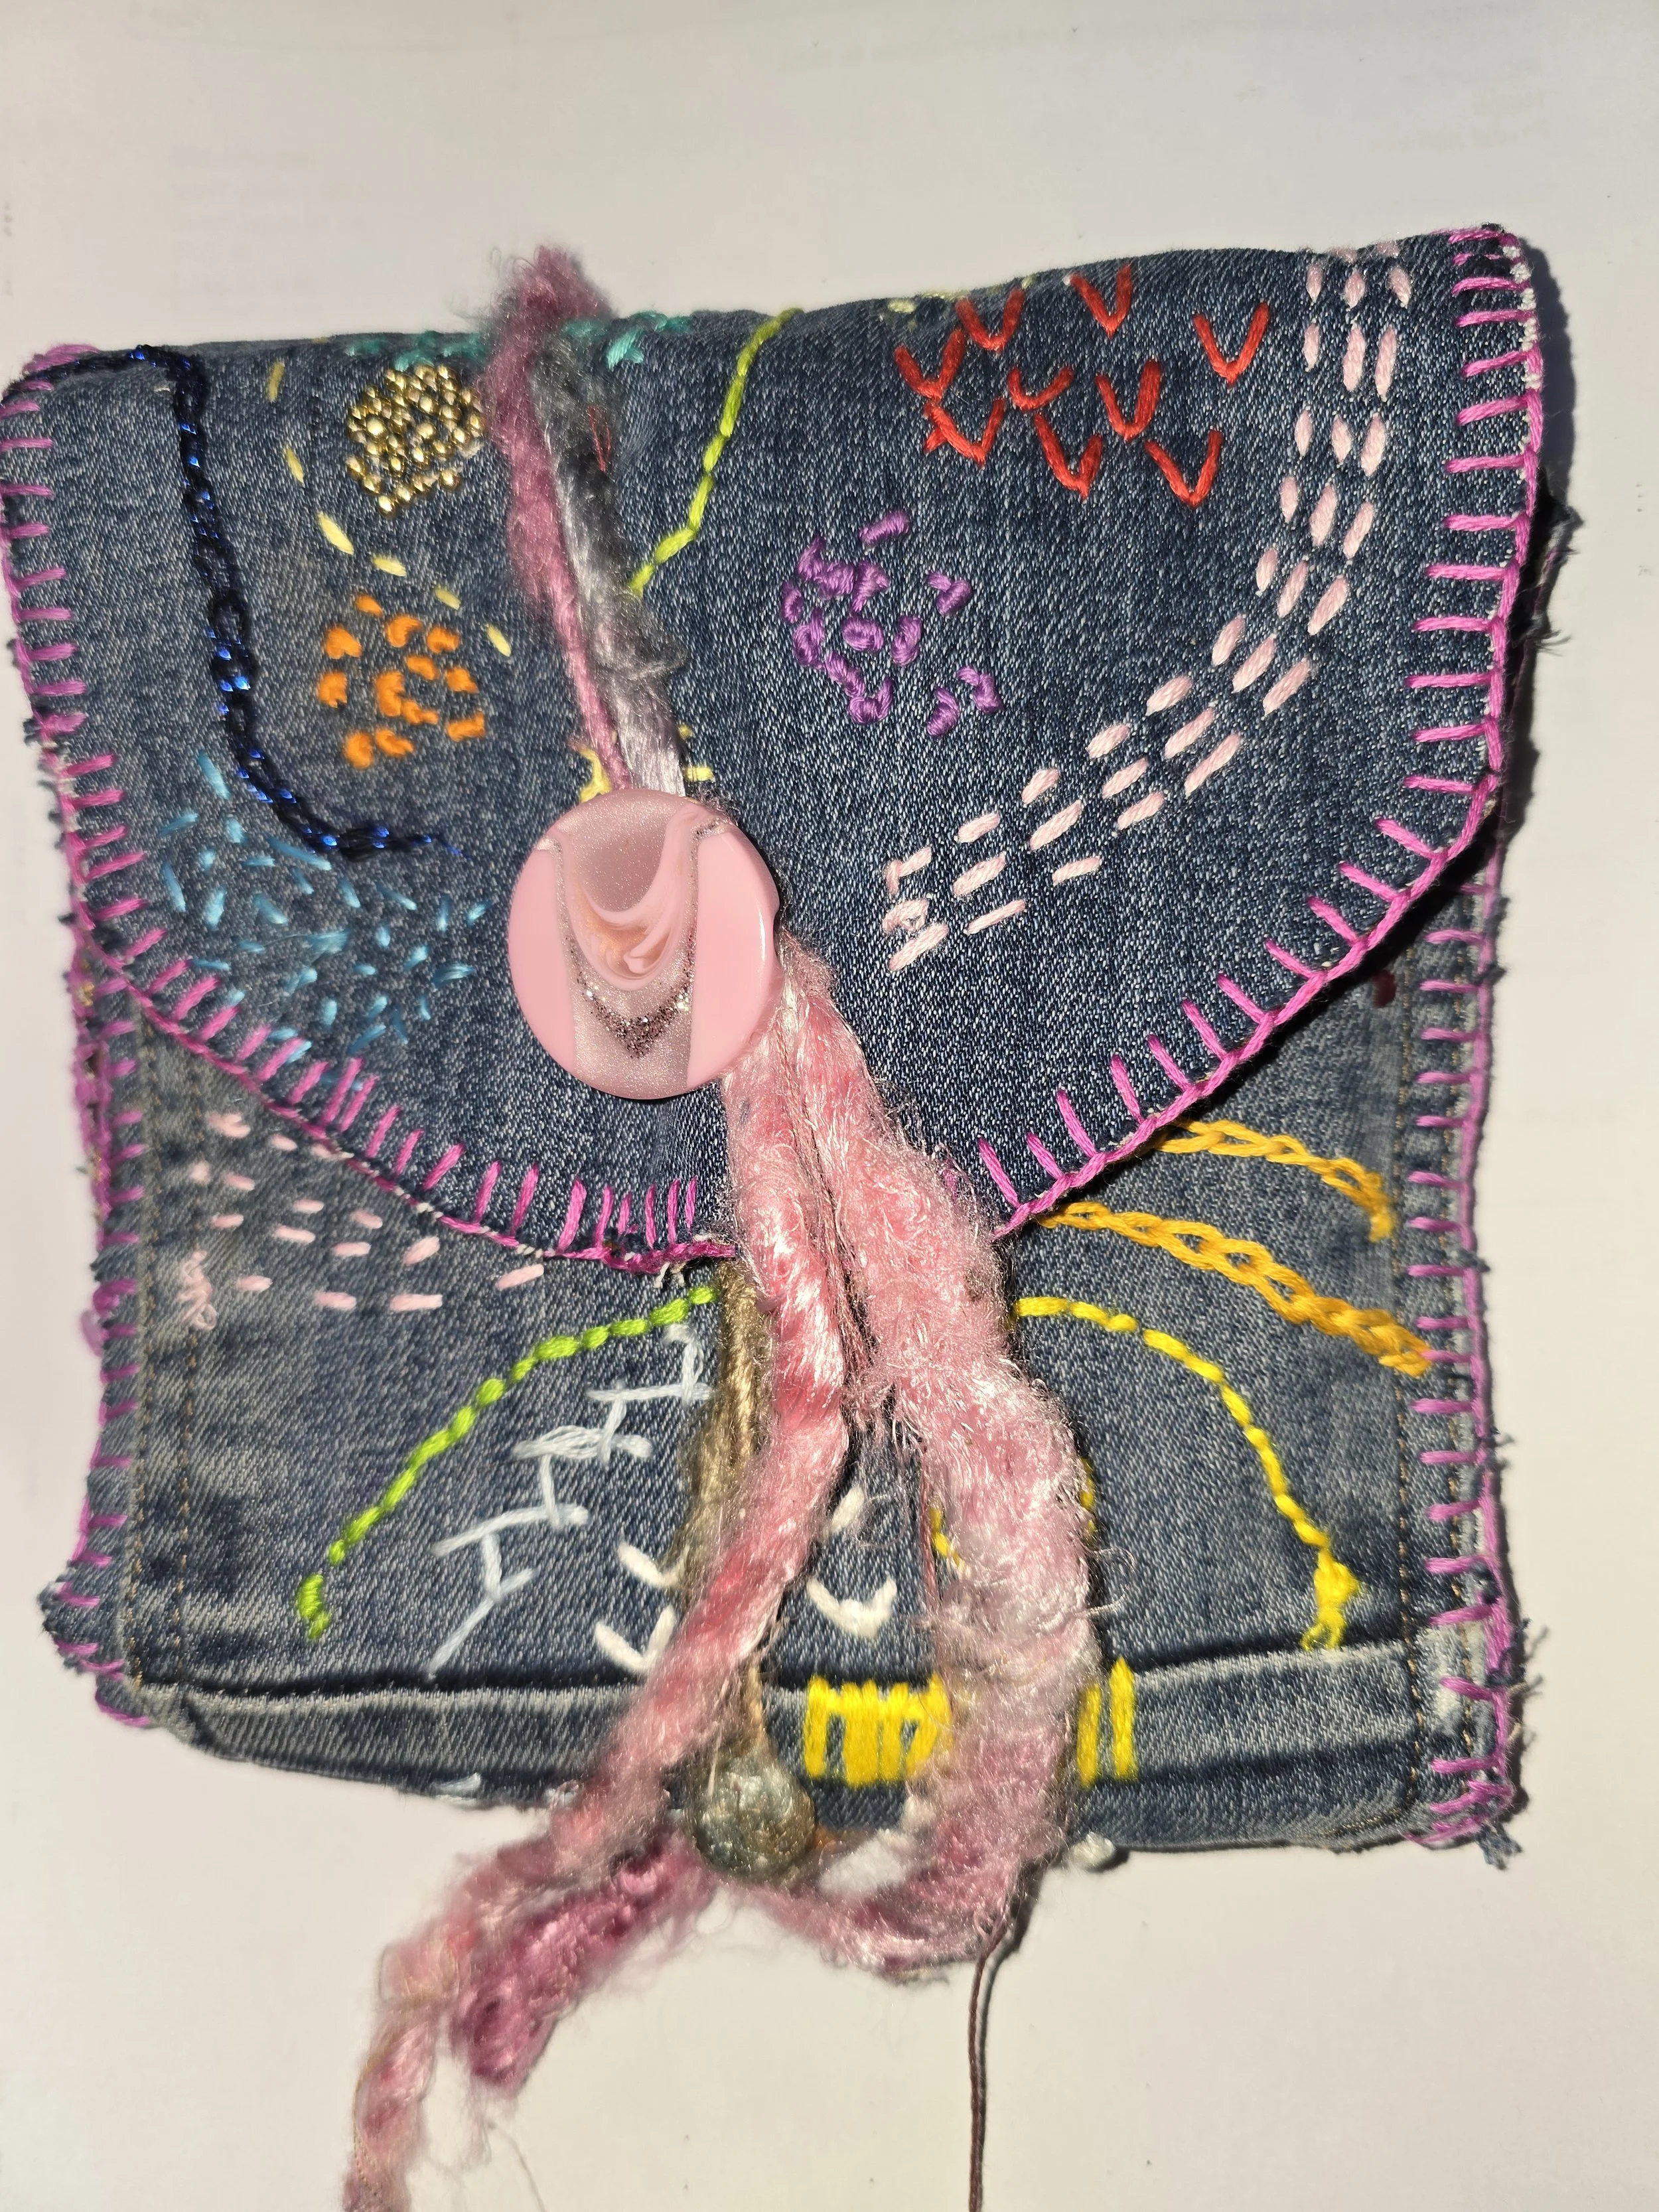
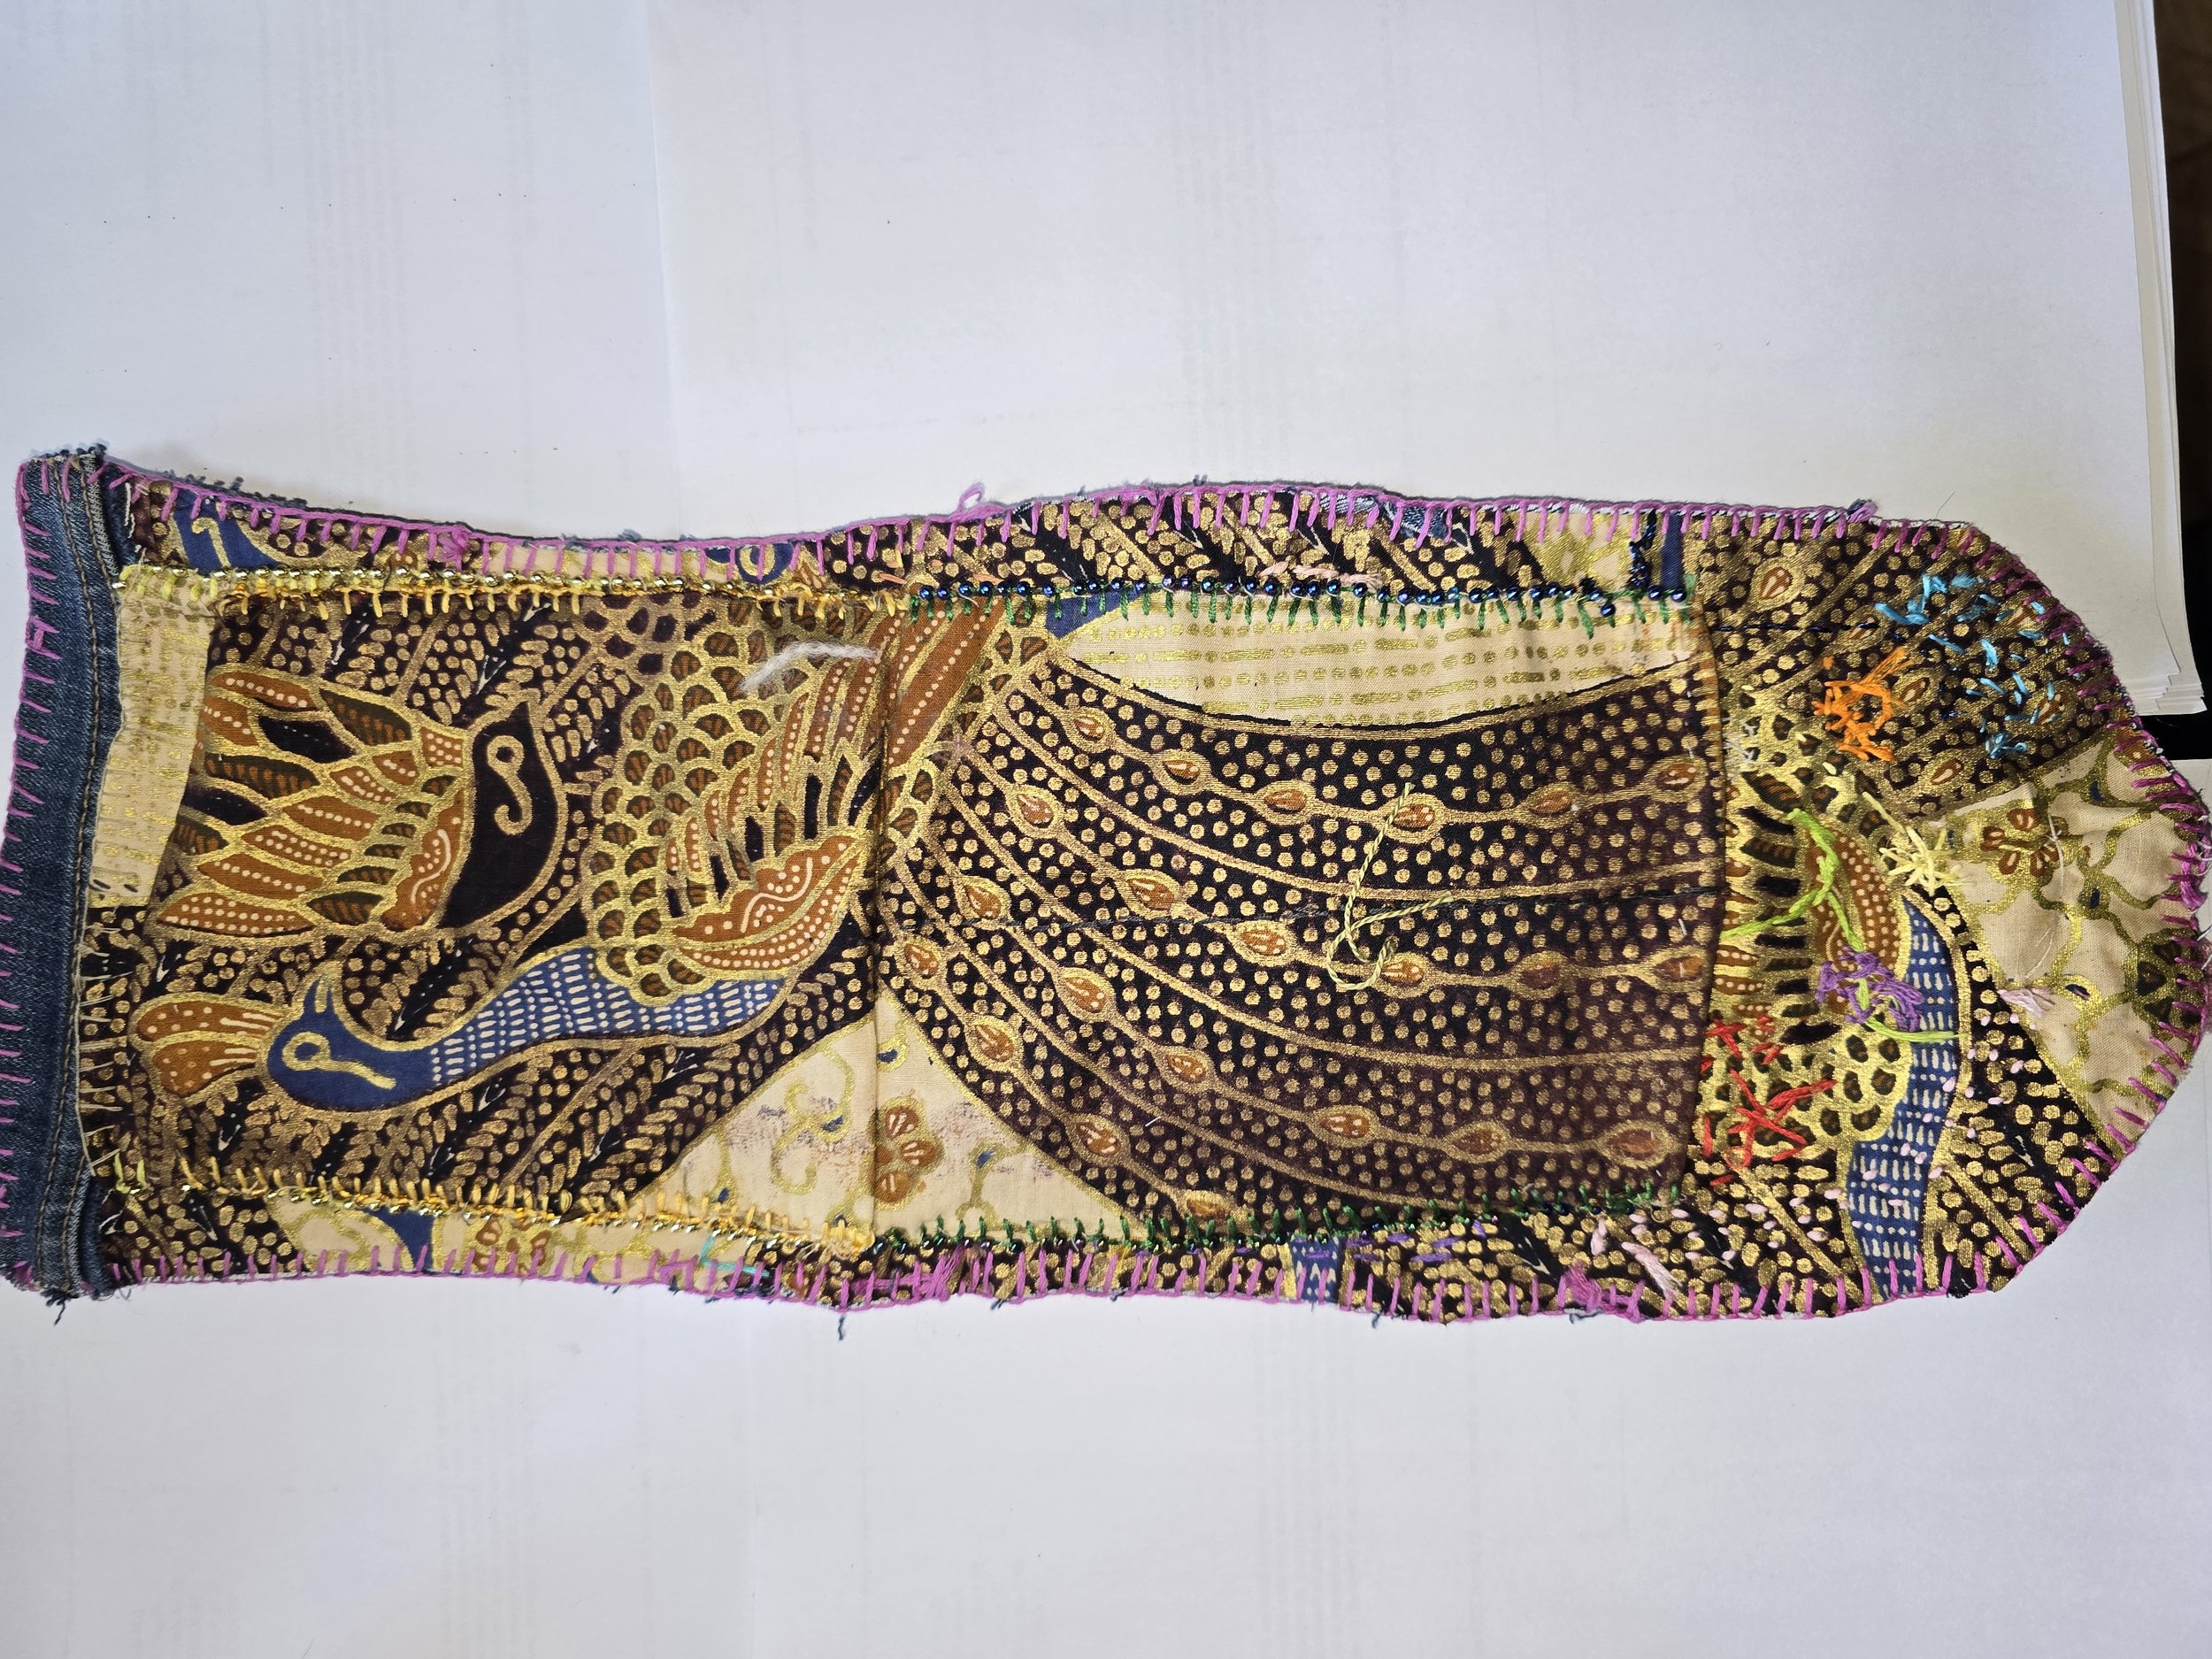
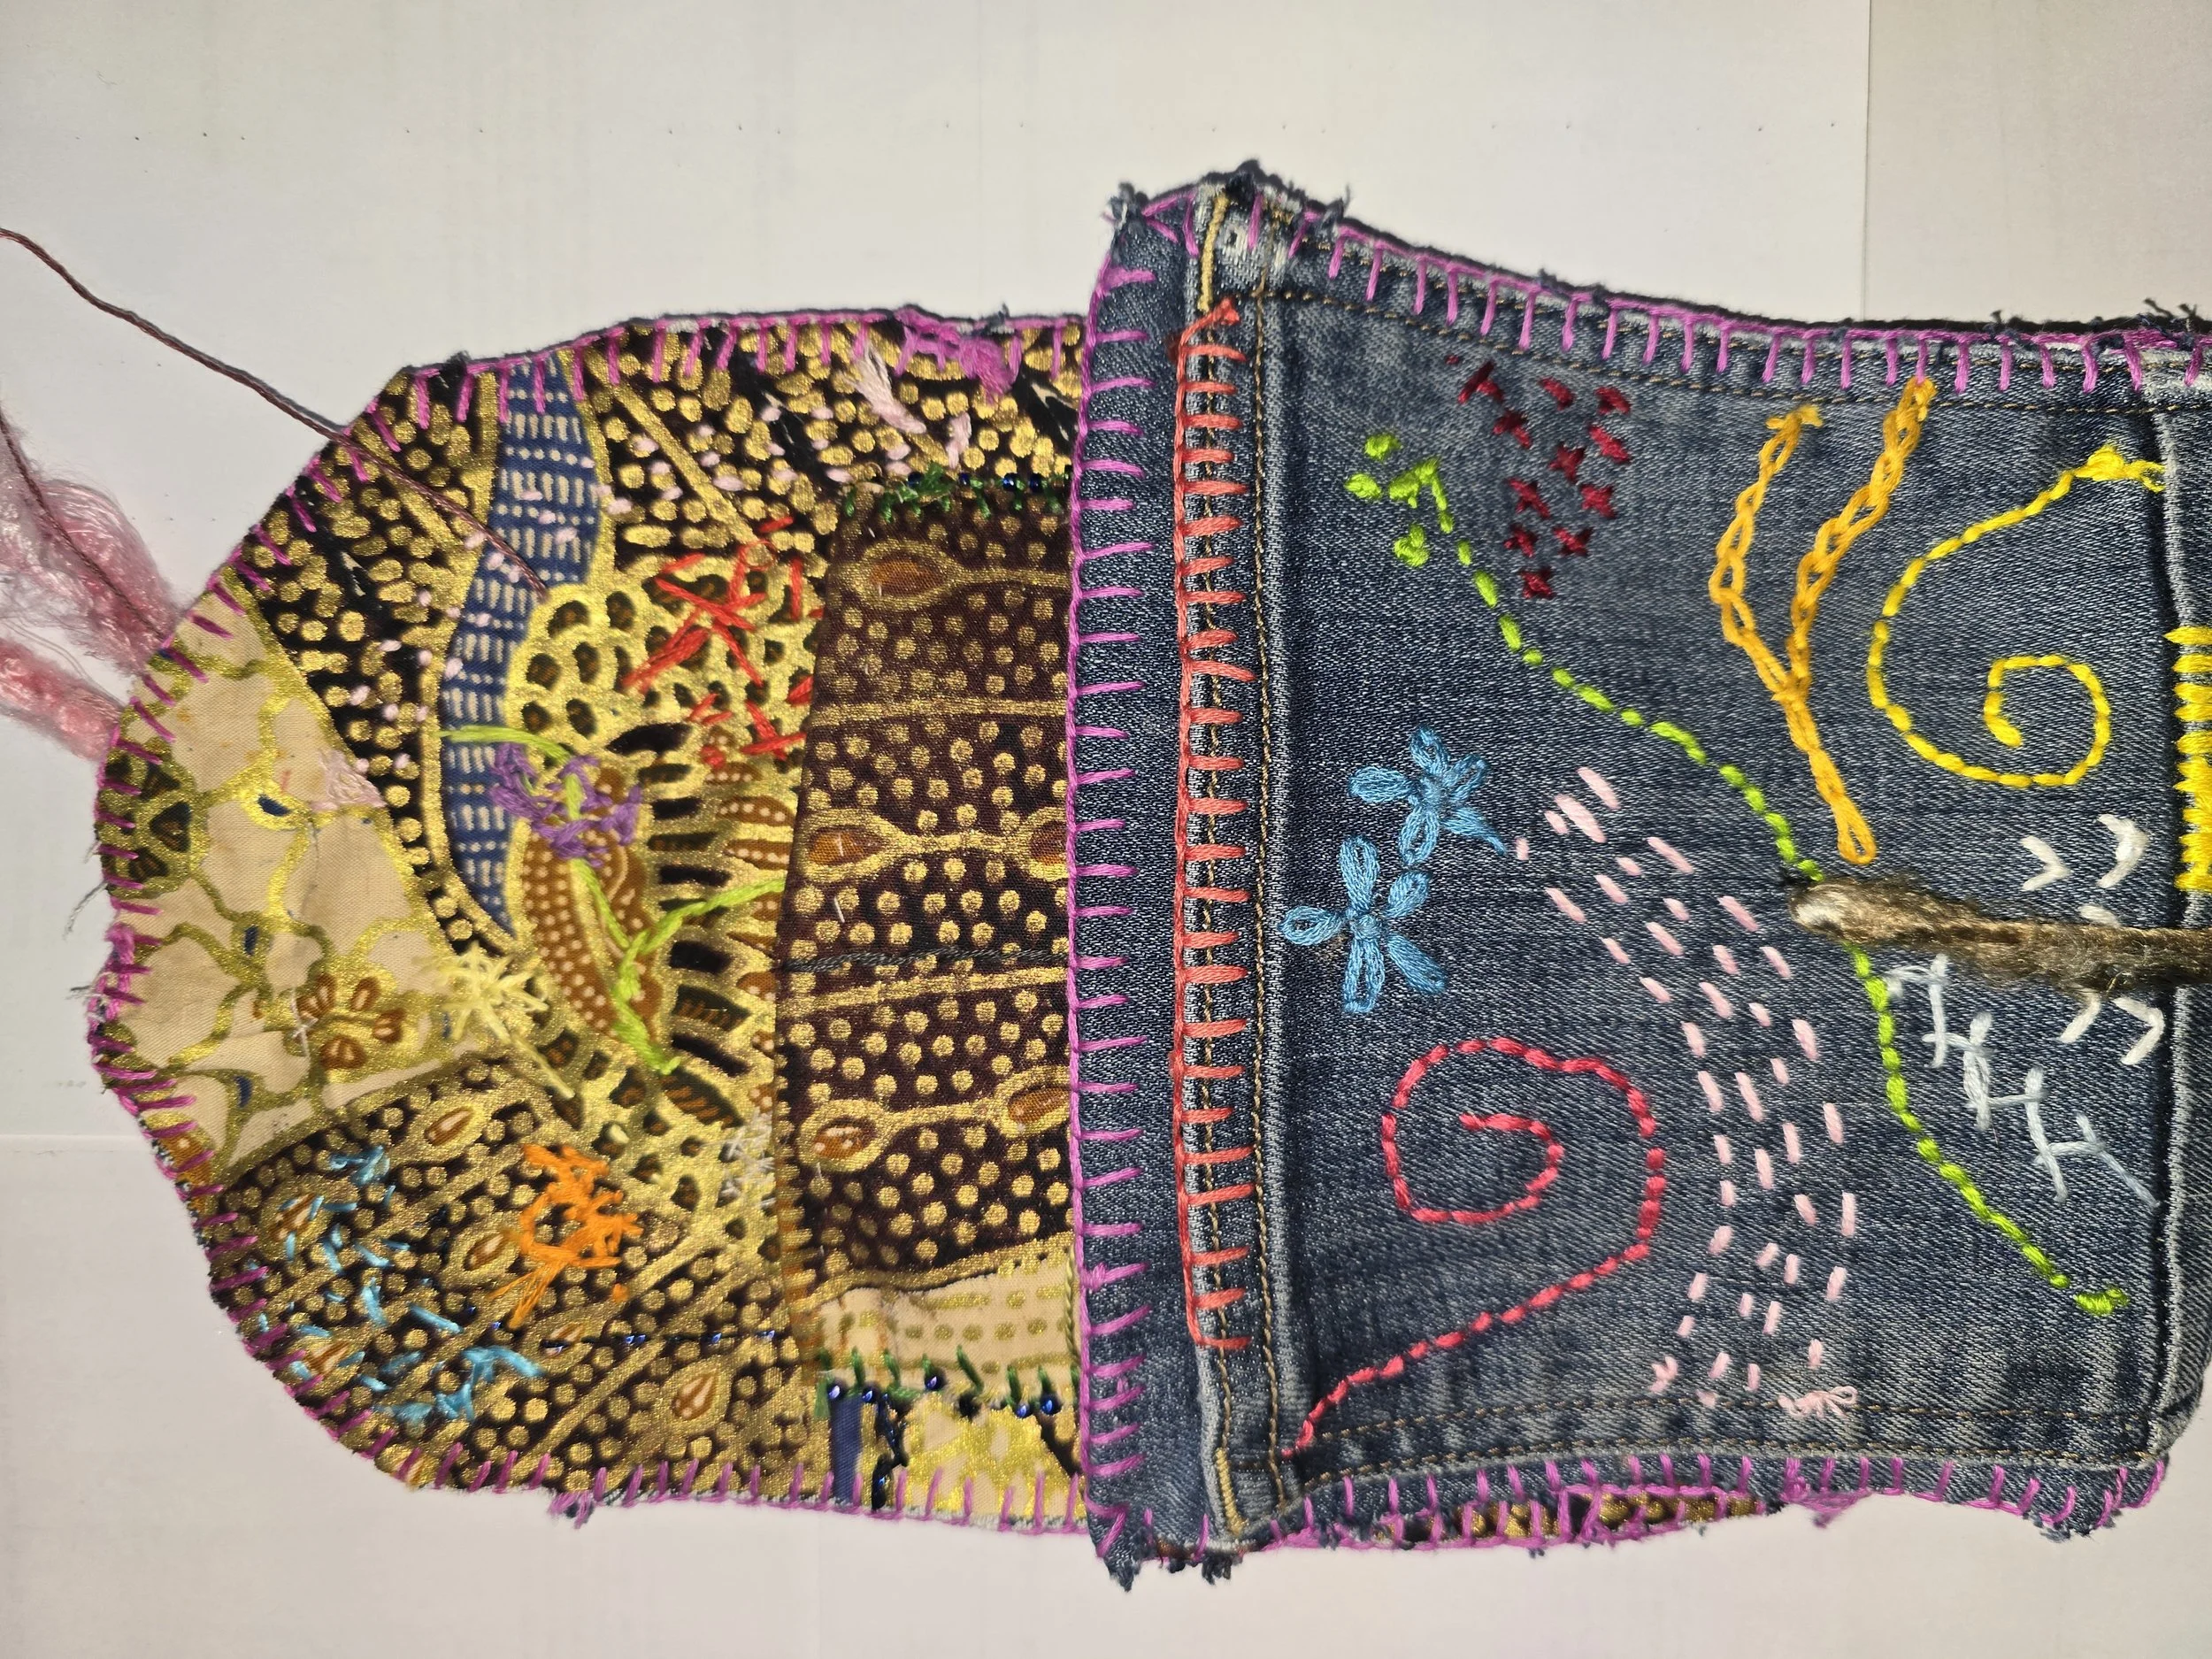
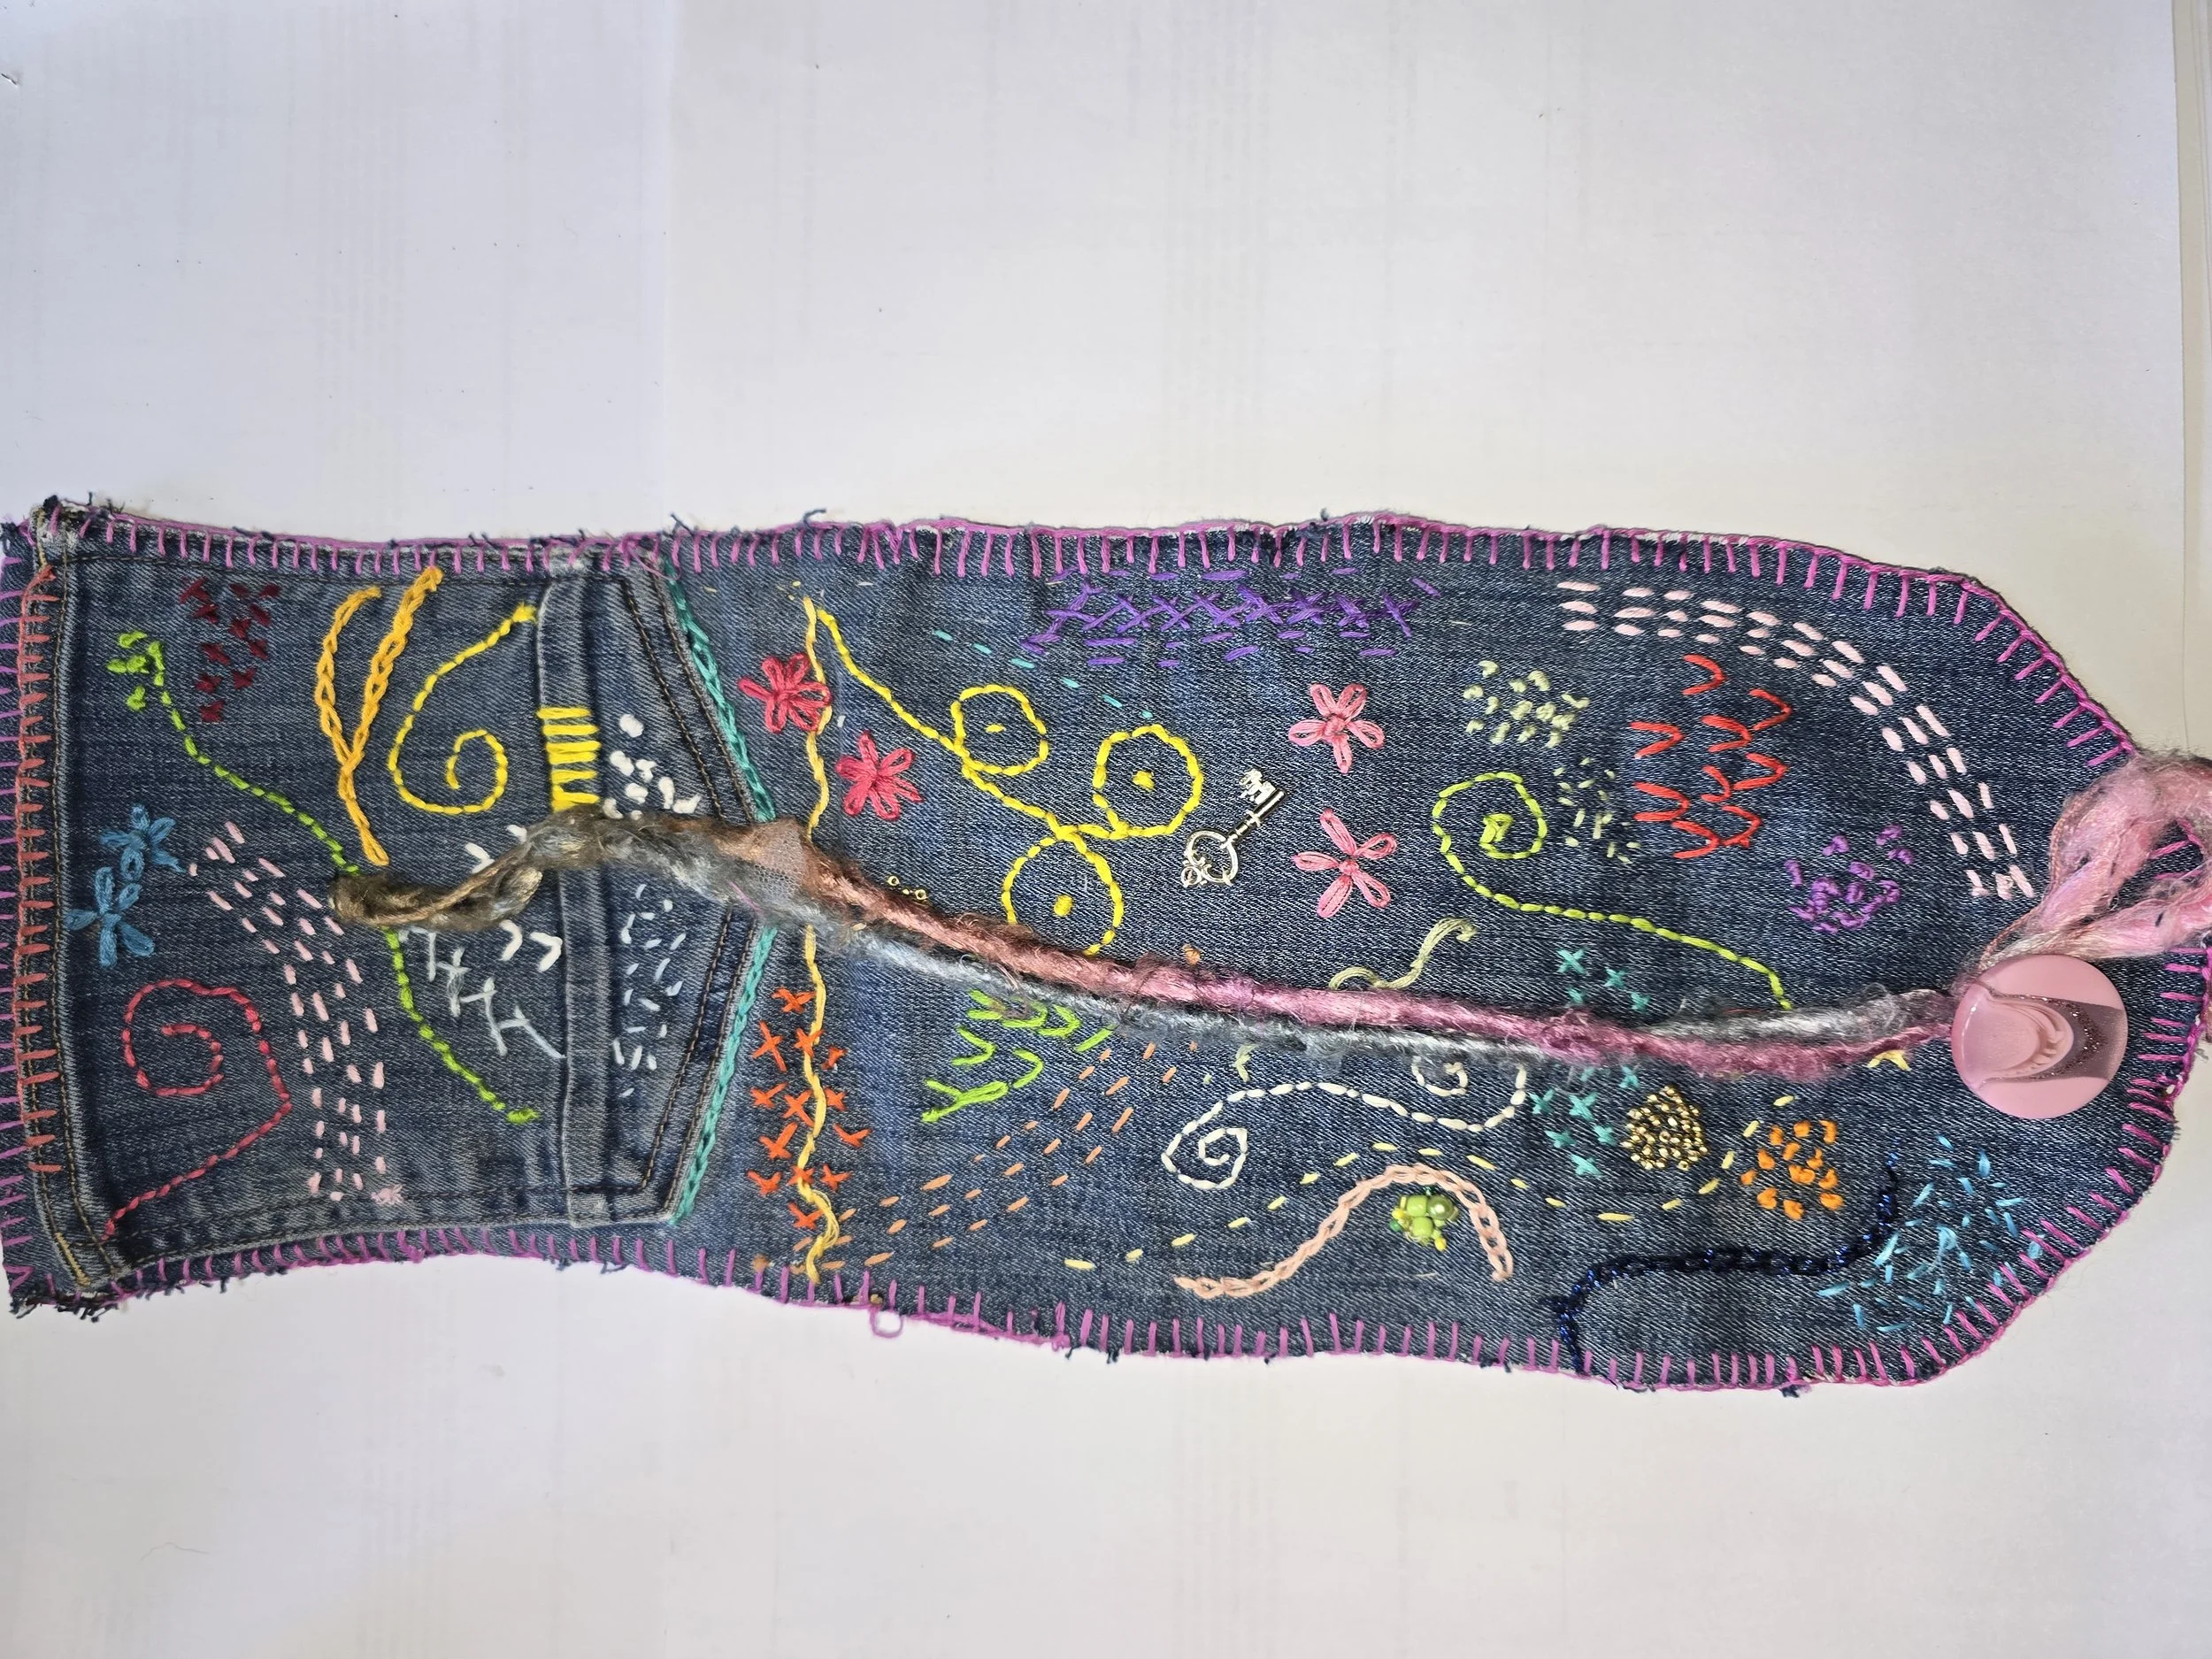
This last week has seen the free online workshops for Making Zen 2026. This programme - a marketing programme of sorts, offers several short tutorials (about 30 minutes each) by art and craft makers over the five days. It is a bit of a marathon and I find I need to choose the tutorials. Alot of my art practice focuses on recycled/reused/foraged materials so the example above is one of the items I created. It is made from an old pair of jeans with embroidery embellishment. Inside the roll there are three pockets for tucking project/tools in. I couldn’t follow the process of the tutor so I just made up my own pocket structure.
In the middle photo below you can see that I have used the jean pocket to create an additional external piece for the pouch. Unfortunately, the top of the pocket is slightly wider than the cut out denim substrate, so it introduces and interesting bulge to the project. Nevertheless, it was a calming and relaxing way to work while sitting with my husband.
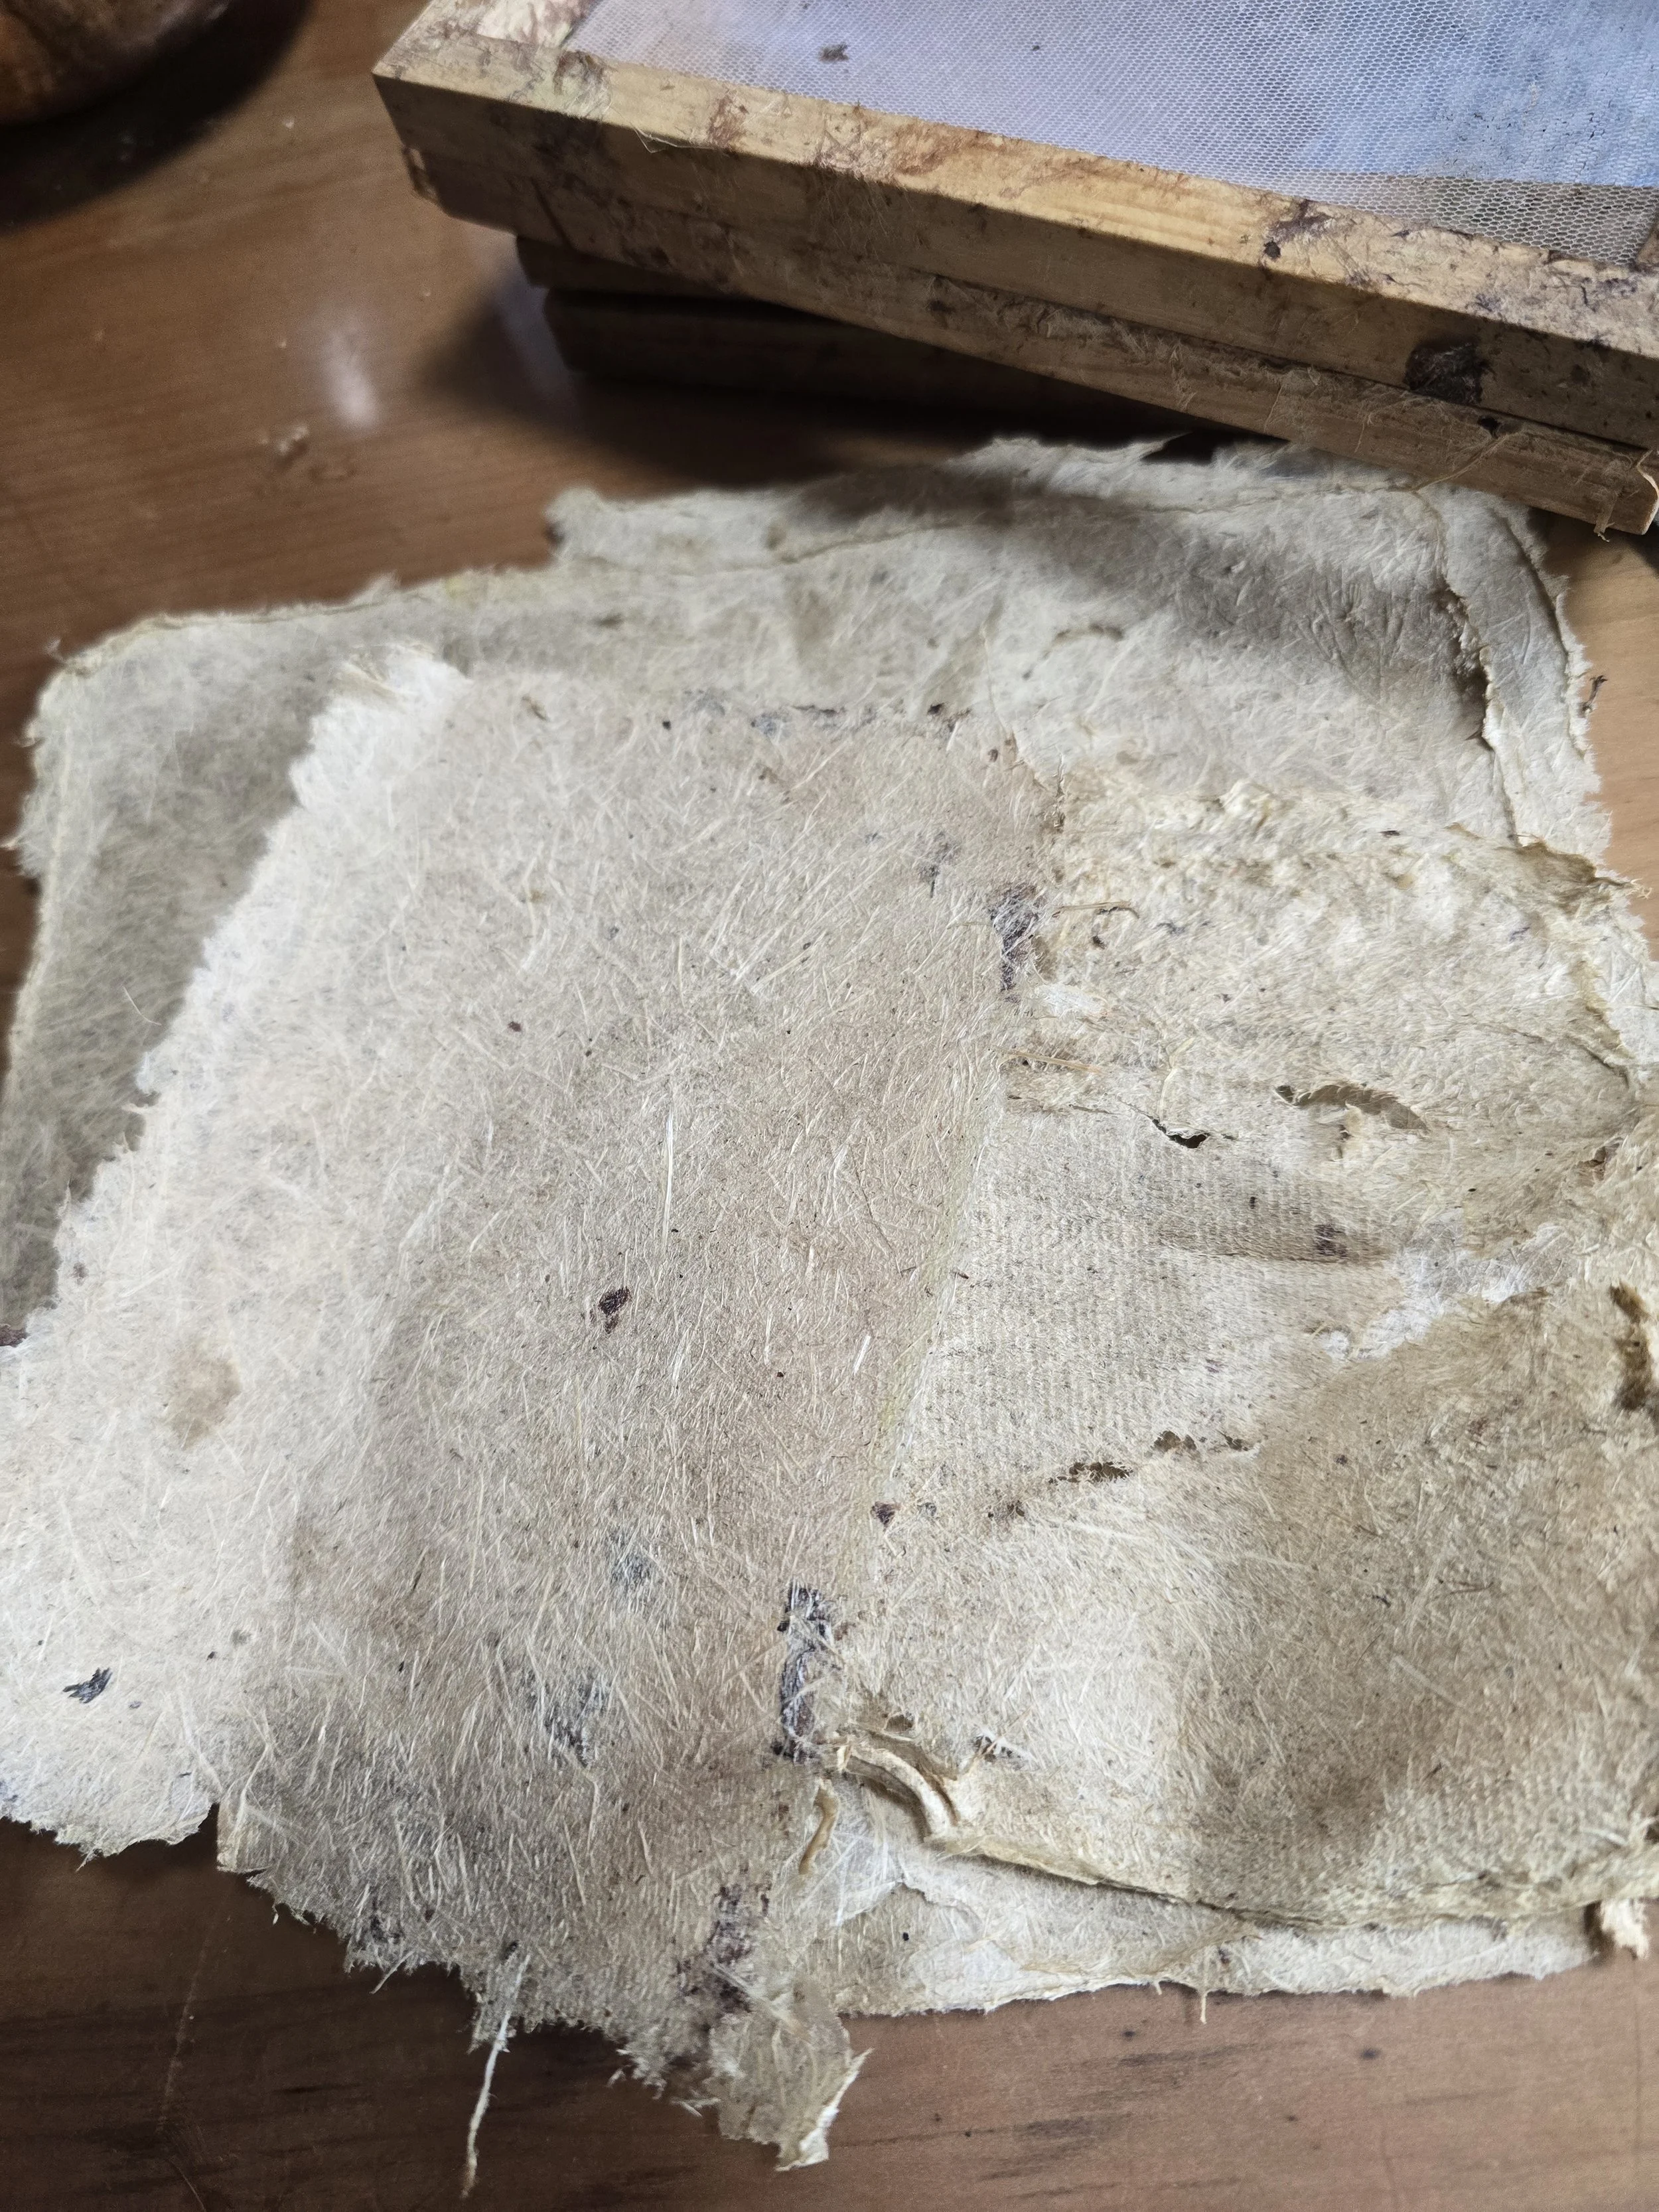
Handmade Paper with Sweet Corn Husks
The husks from sweet corn make lovely textured hand made paper. From a waste material that is usually thrown away this can be an added bonus.
I loved the way the fibres are so visible in the paper. I was wanting this paper to make Paper covered wire leaves so I only made smallish sheets.
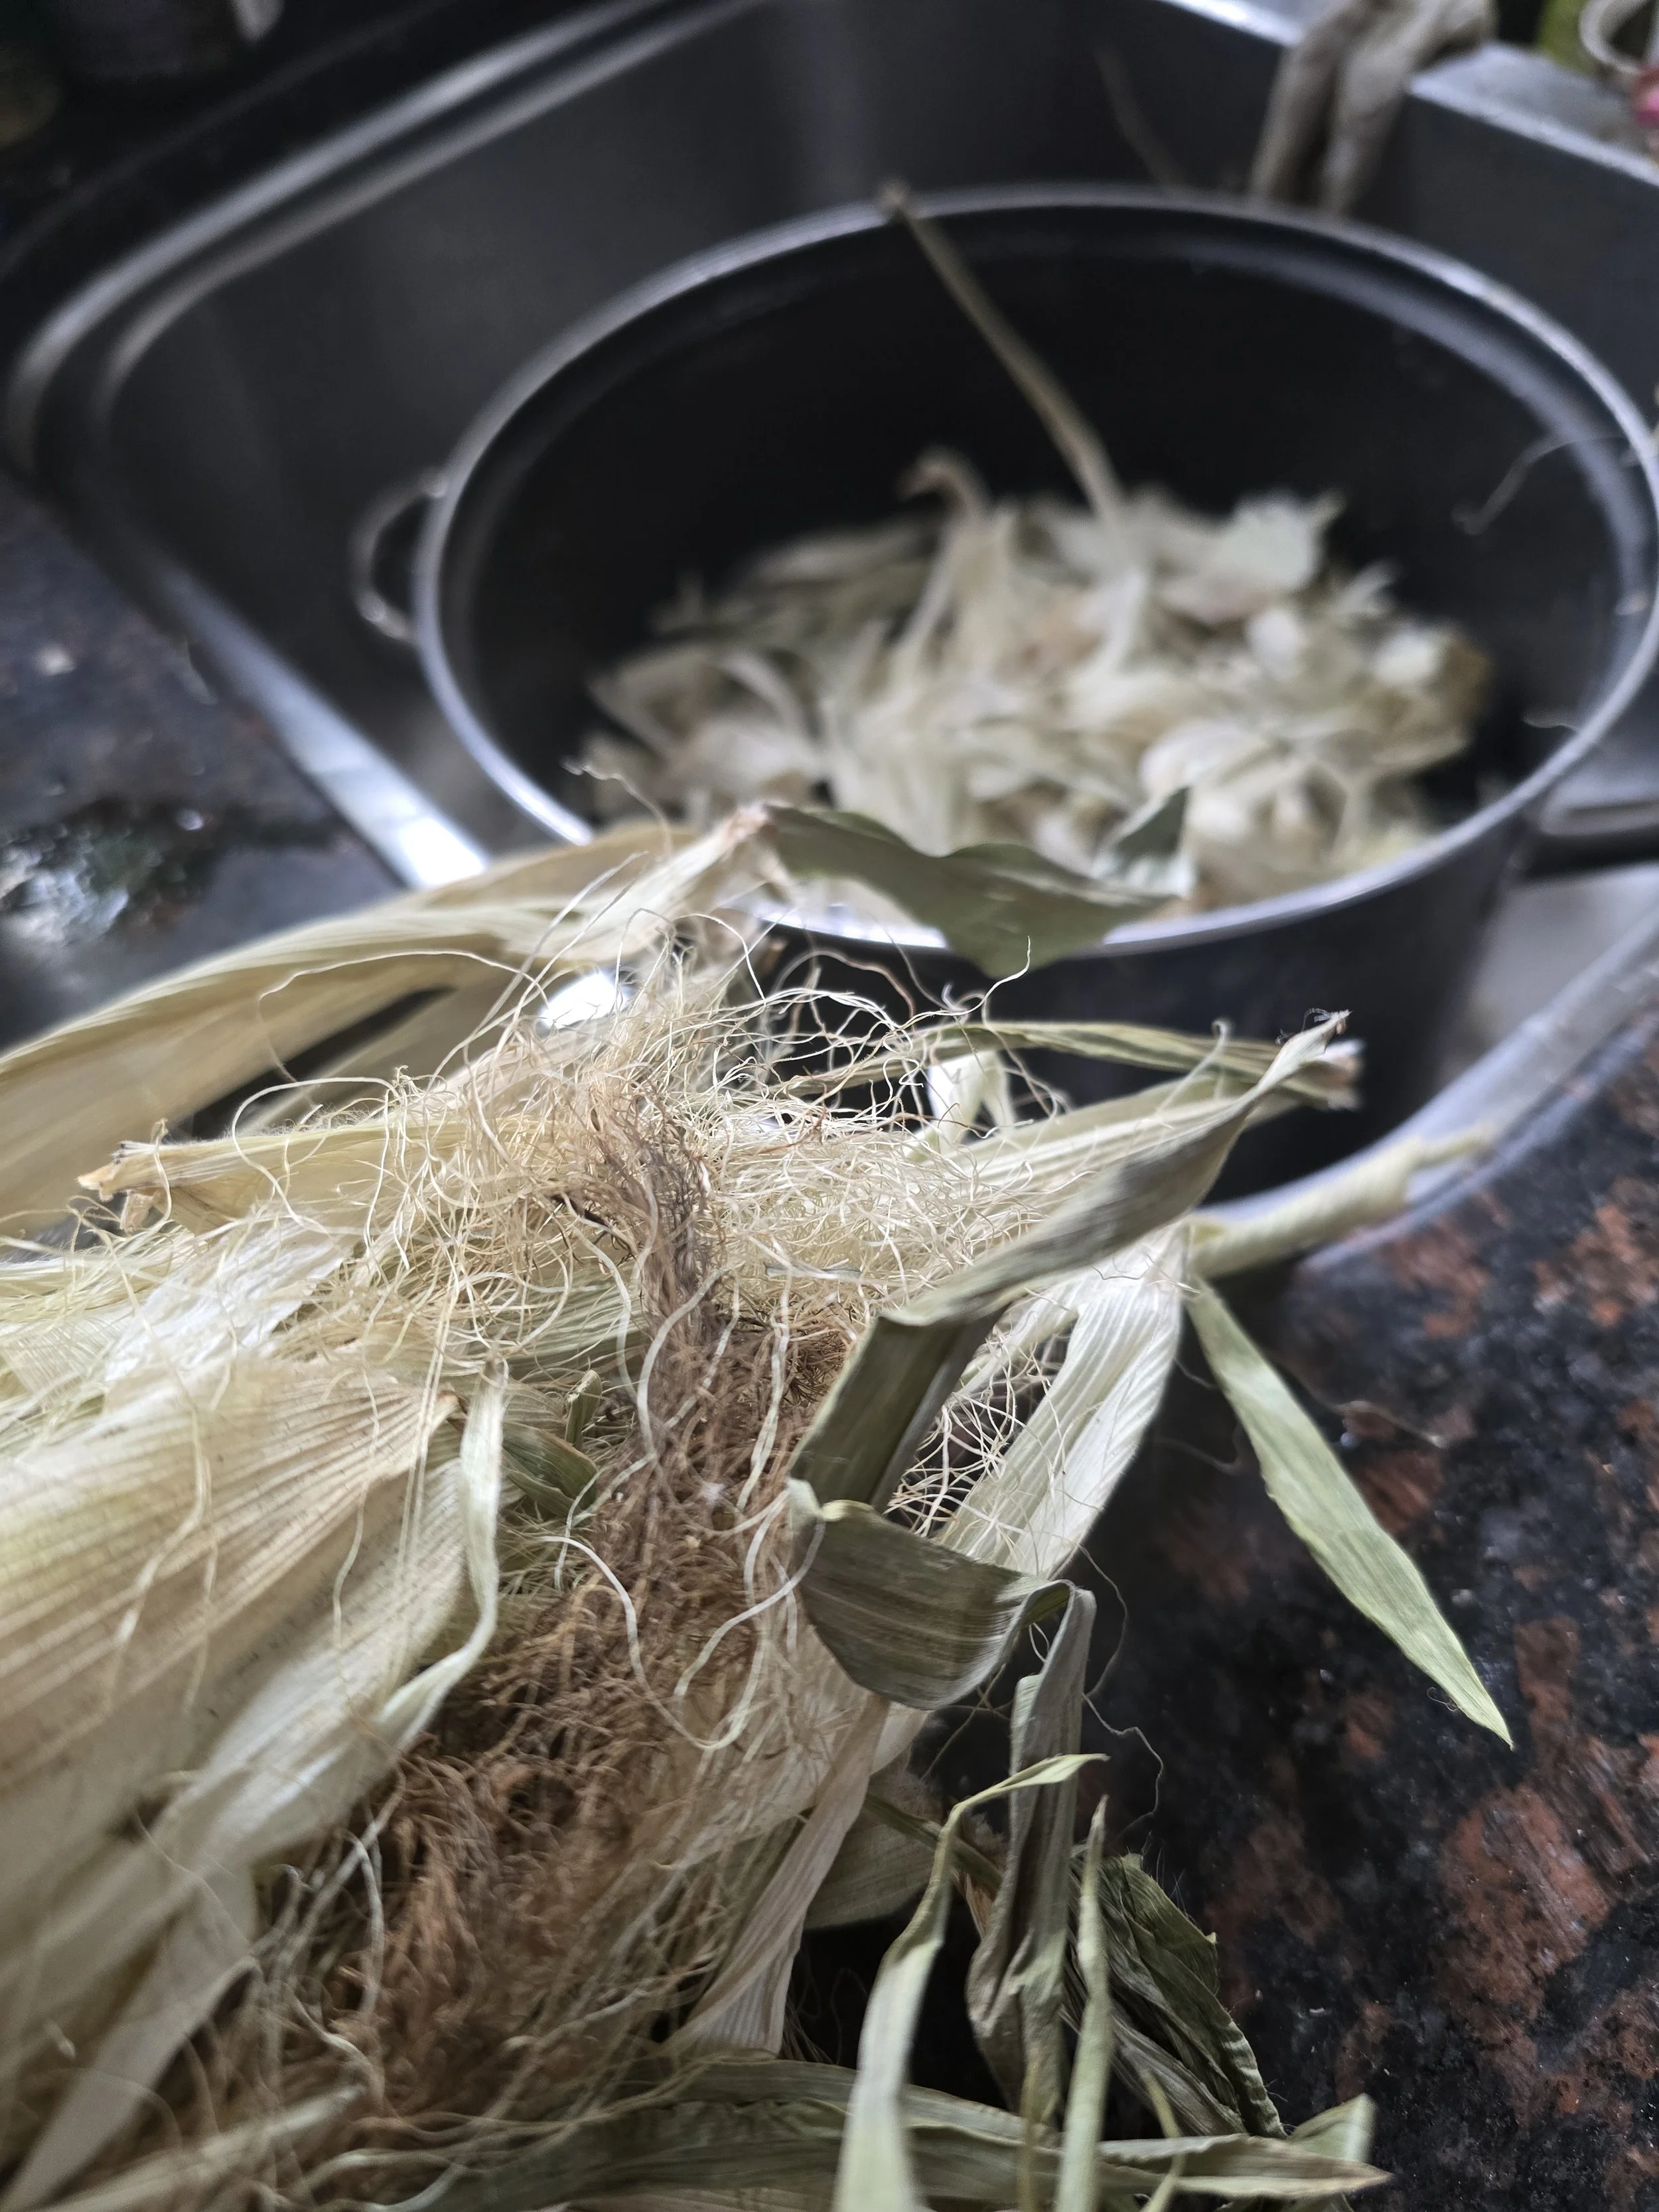
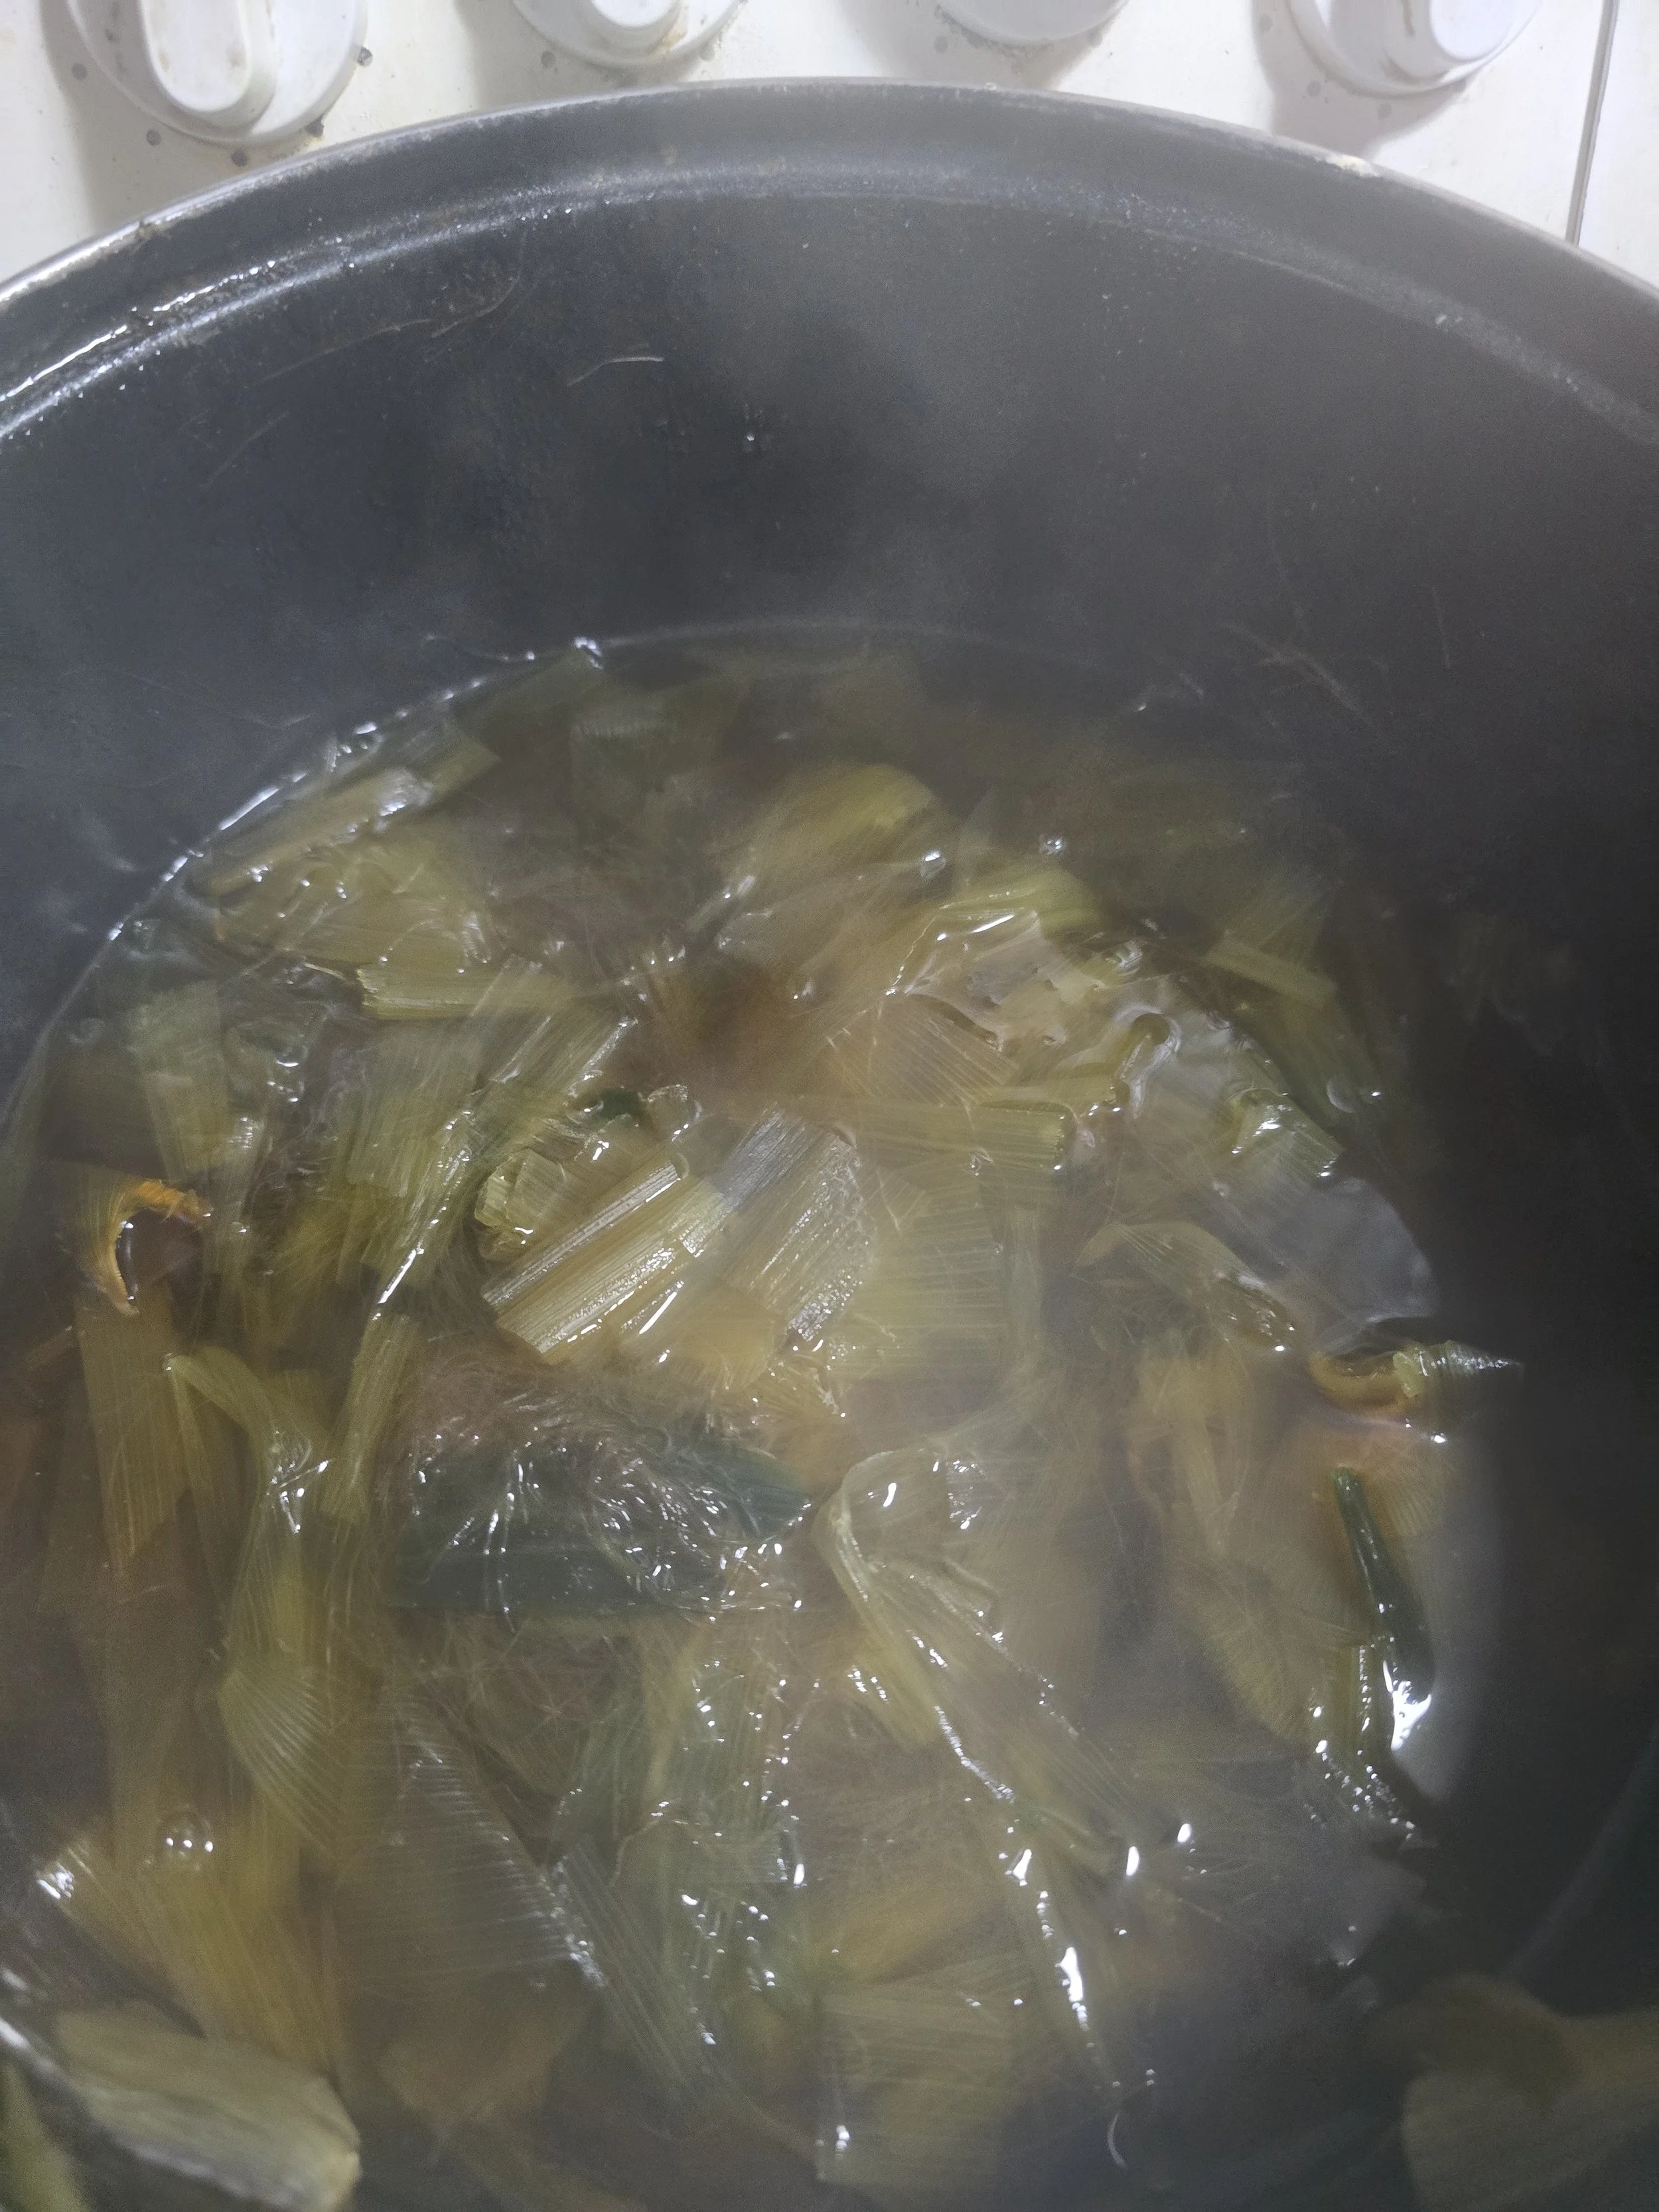
The process is pretty much the same for all handmade paper. Cut the husks into about 2 inch sections and boil with a small amount of caustic soda for about and hour and a half. Then using my craft dedicated blender, I wizzed the mix to a consistent fluid. I transferred this into a basin with some extra water and them scooped out the fibres on a papermaking screen.
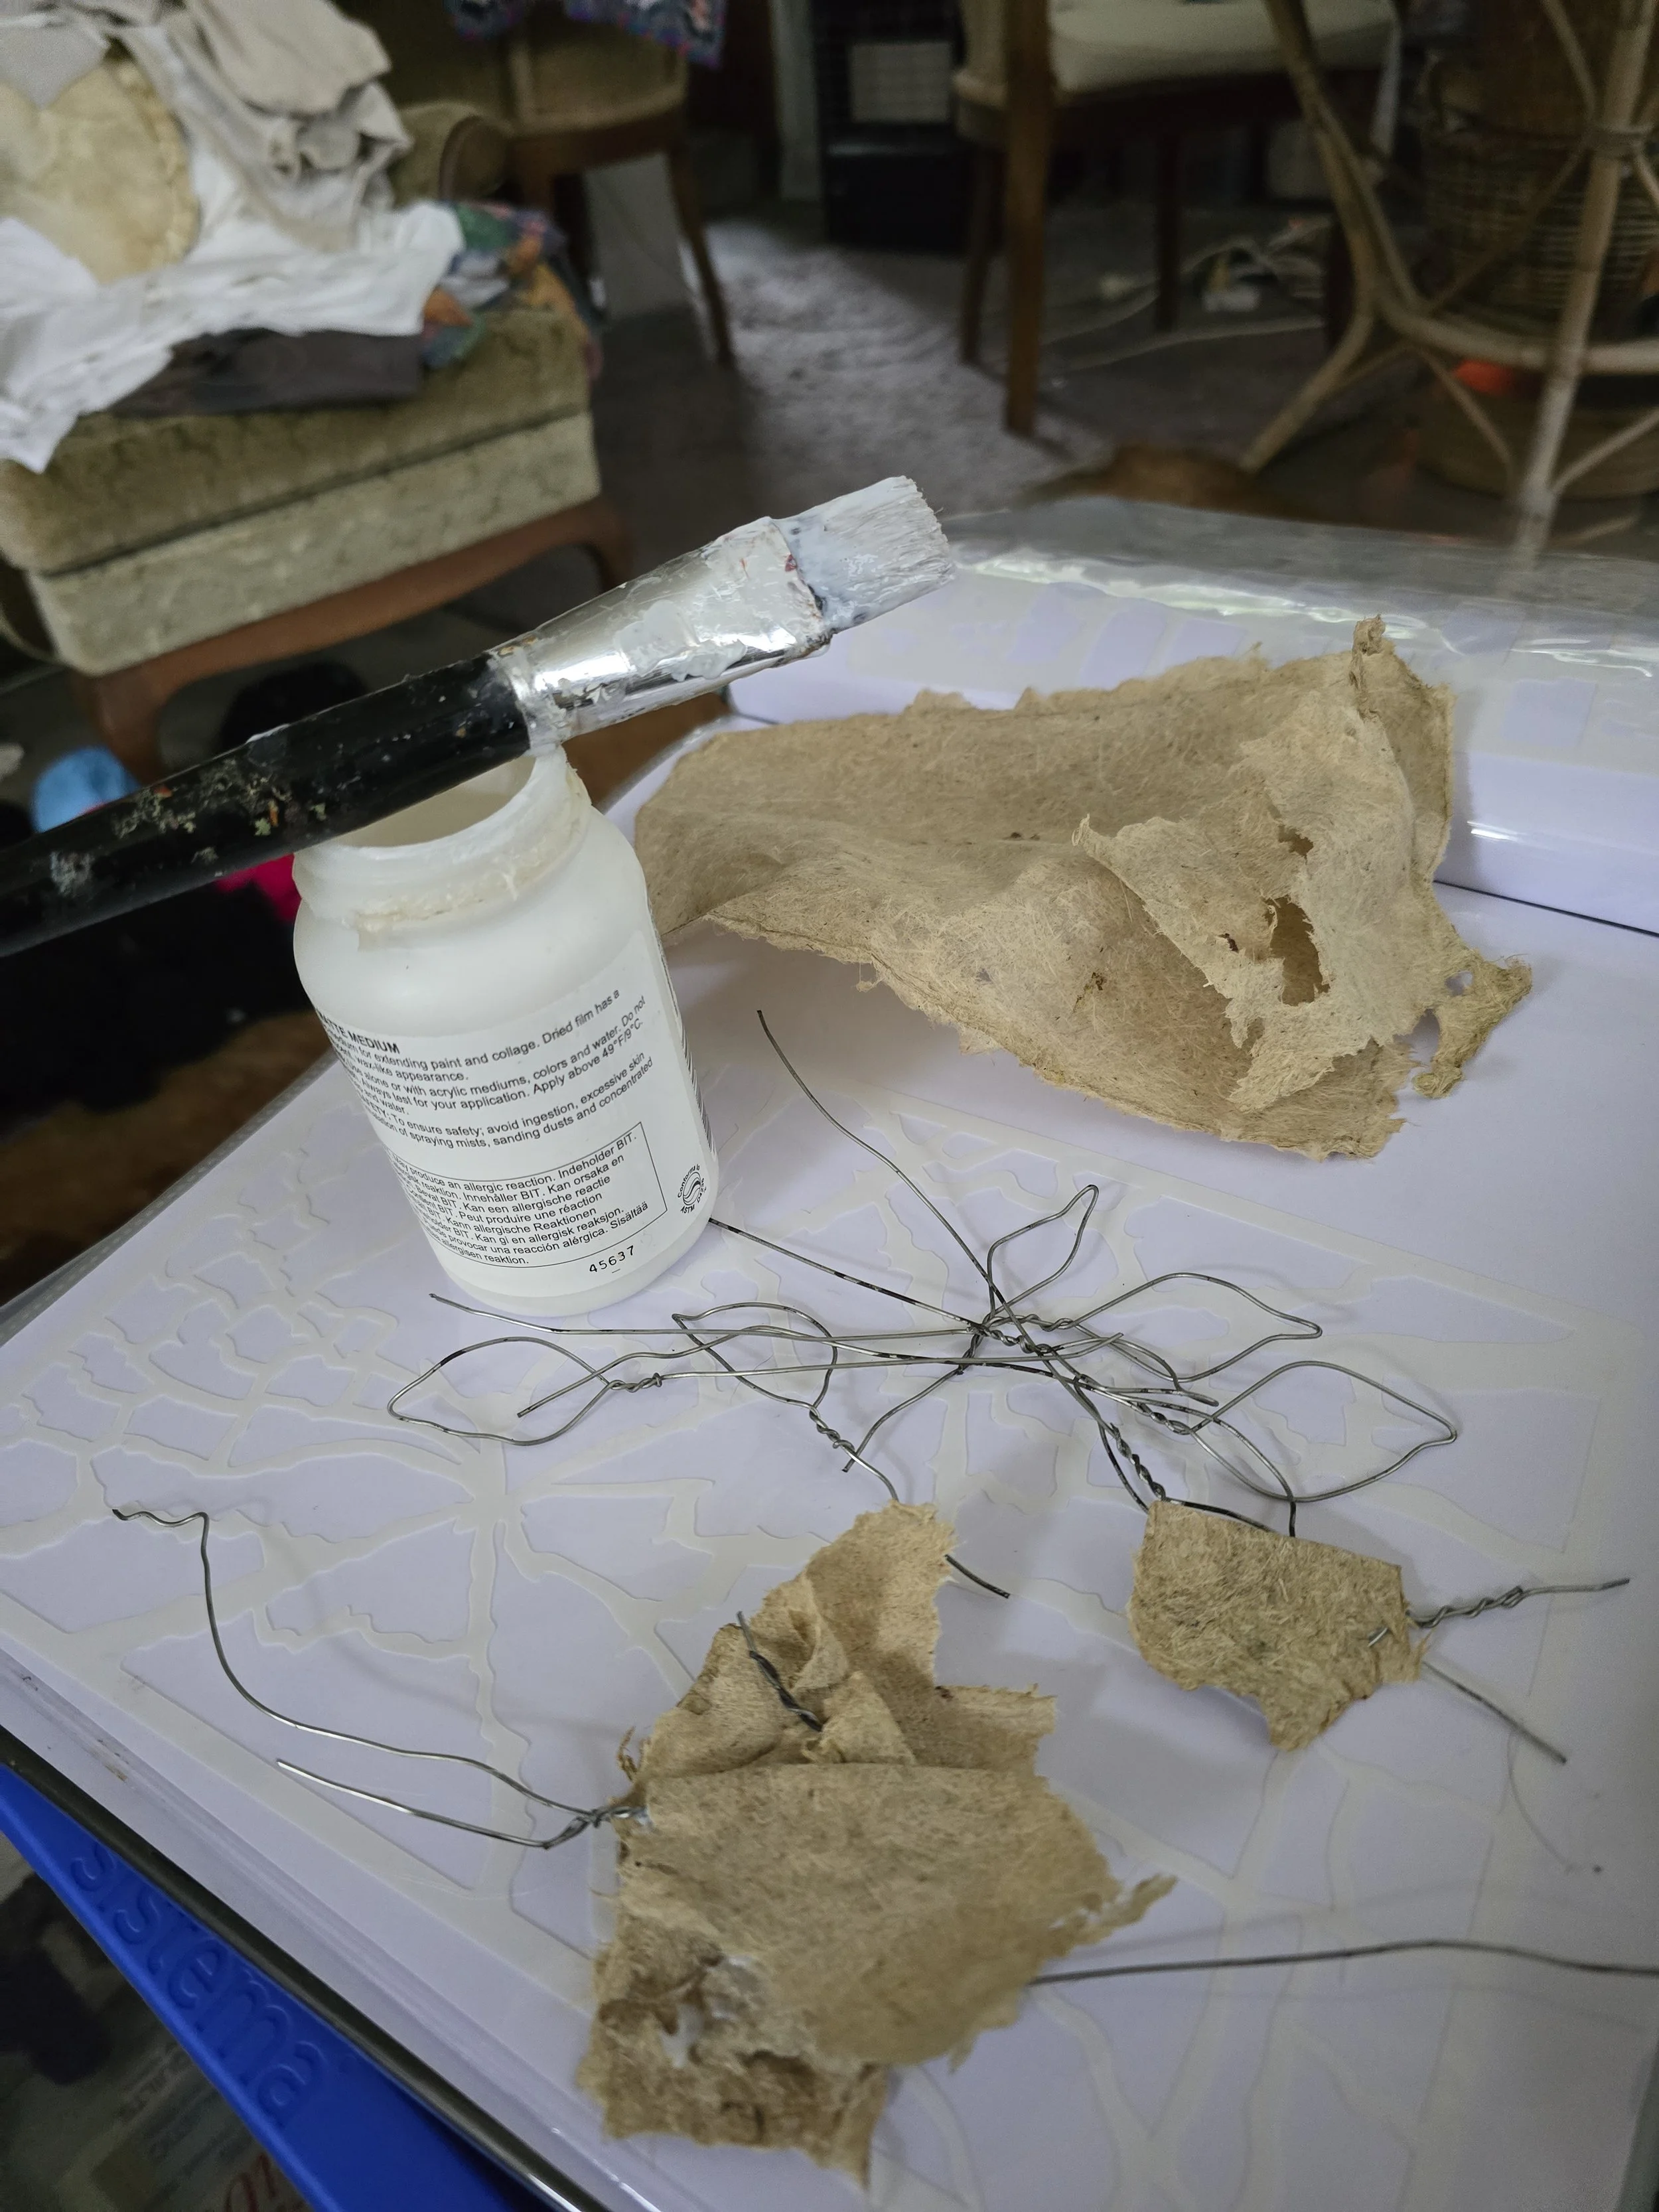
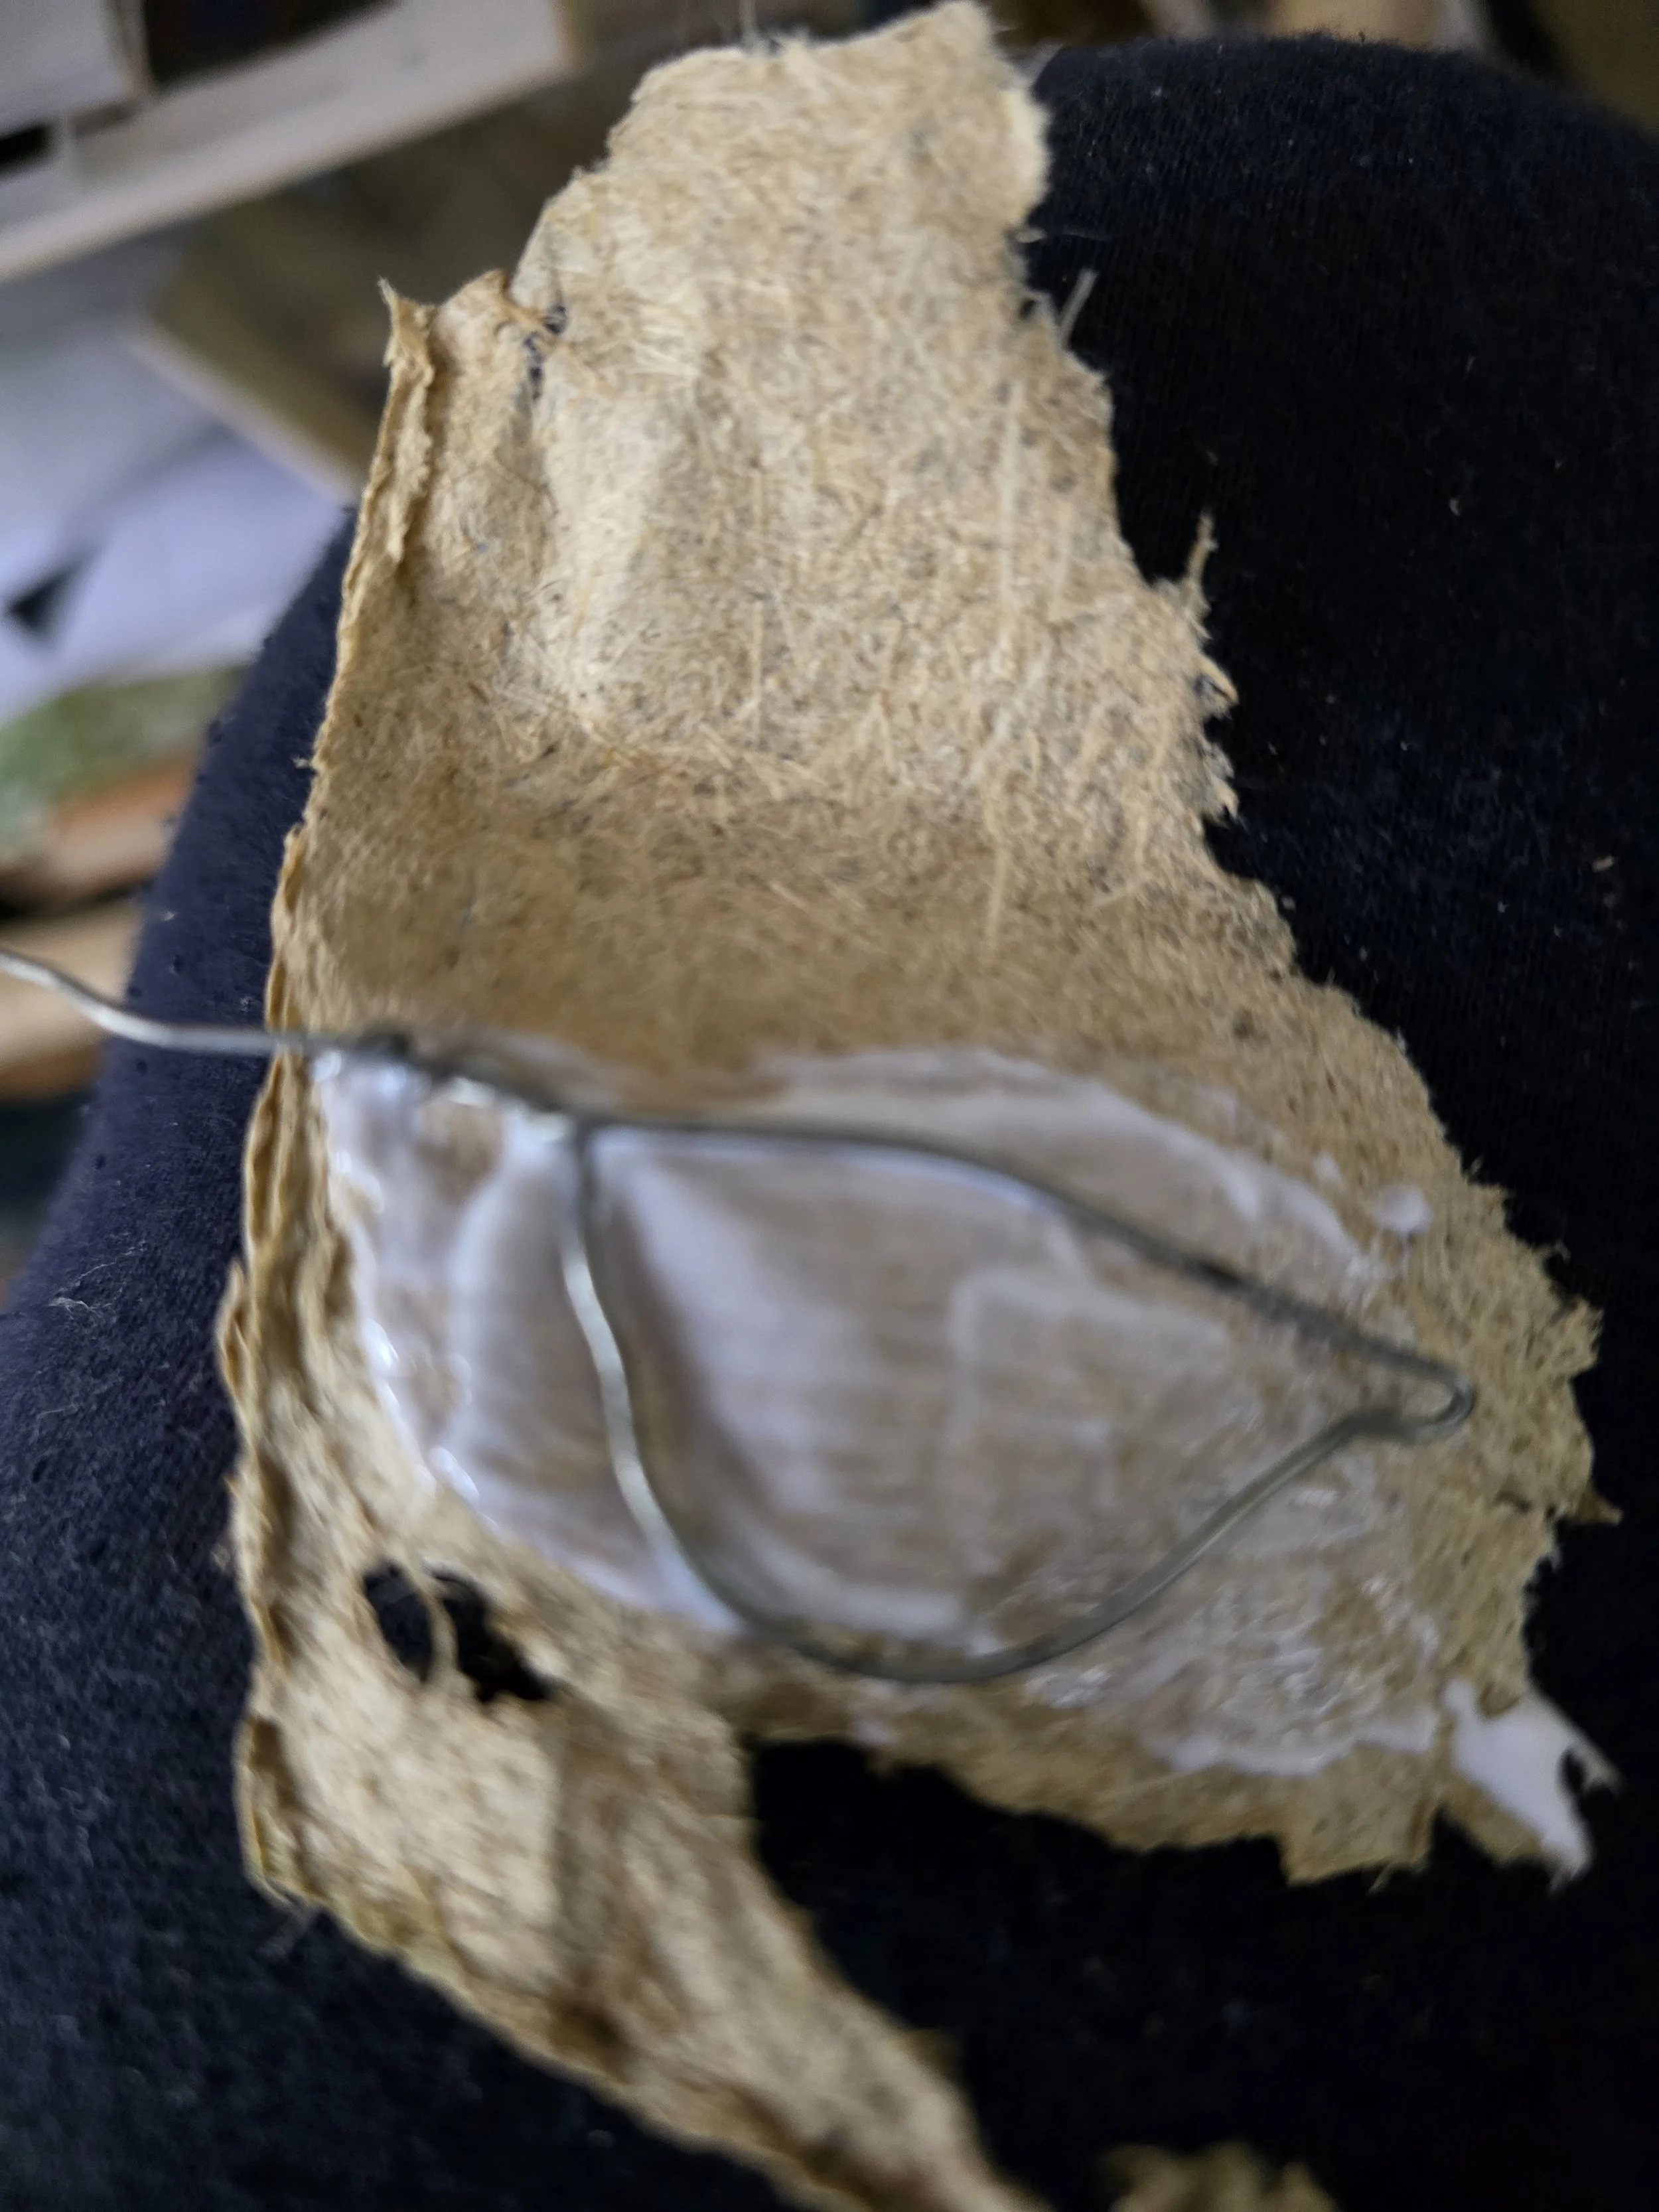
Once the paper was full dried, I used gel medium to adhere small pieces of the paper on either side of the leaf skeletons I had made by twisting wire into a leaf shape. When the medium was dry I then trimmed the leaf close to the wire.
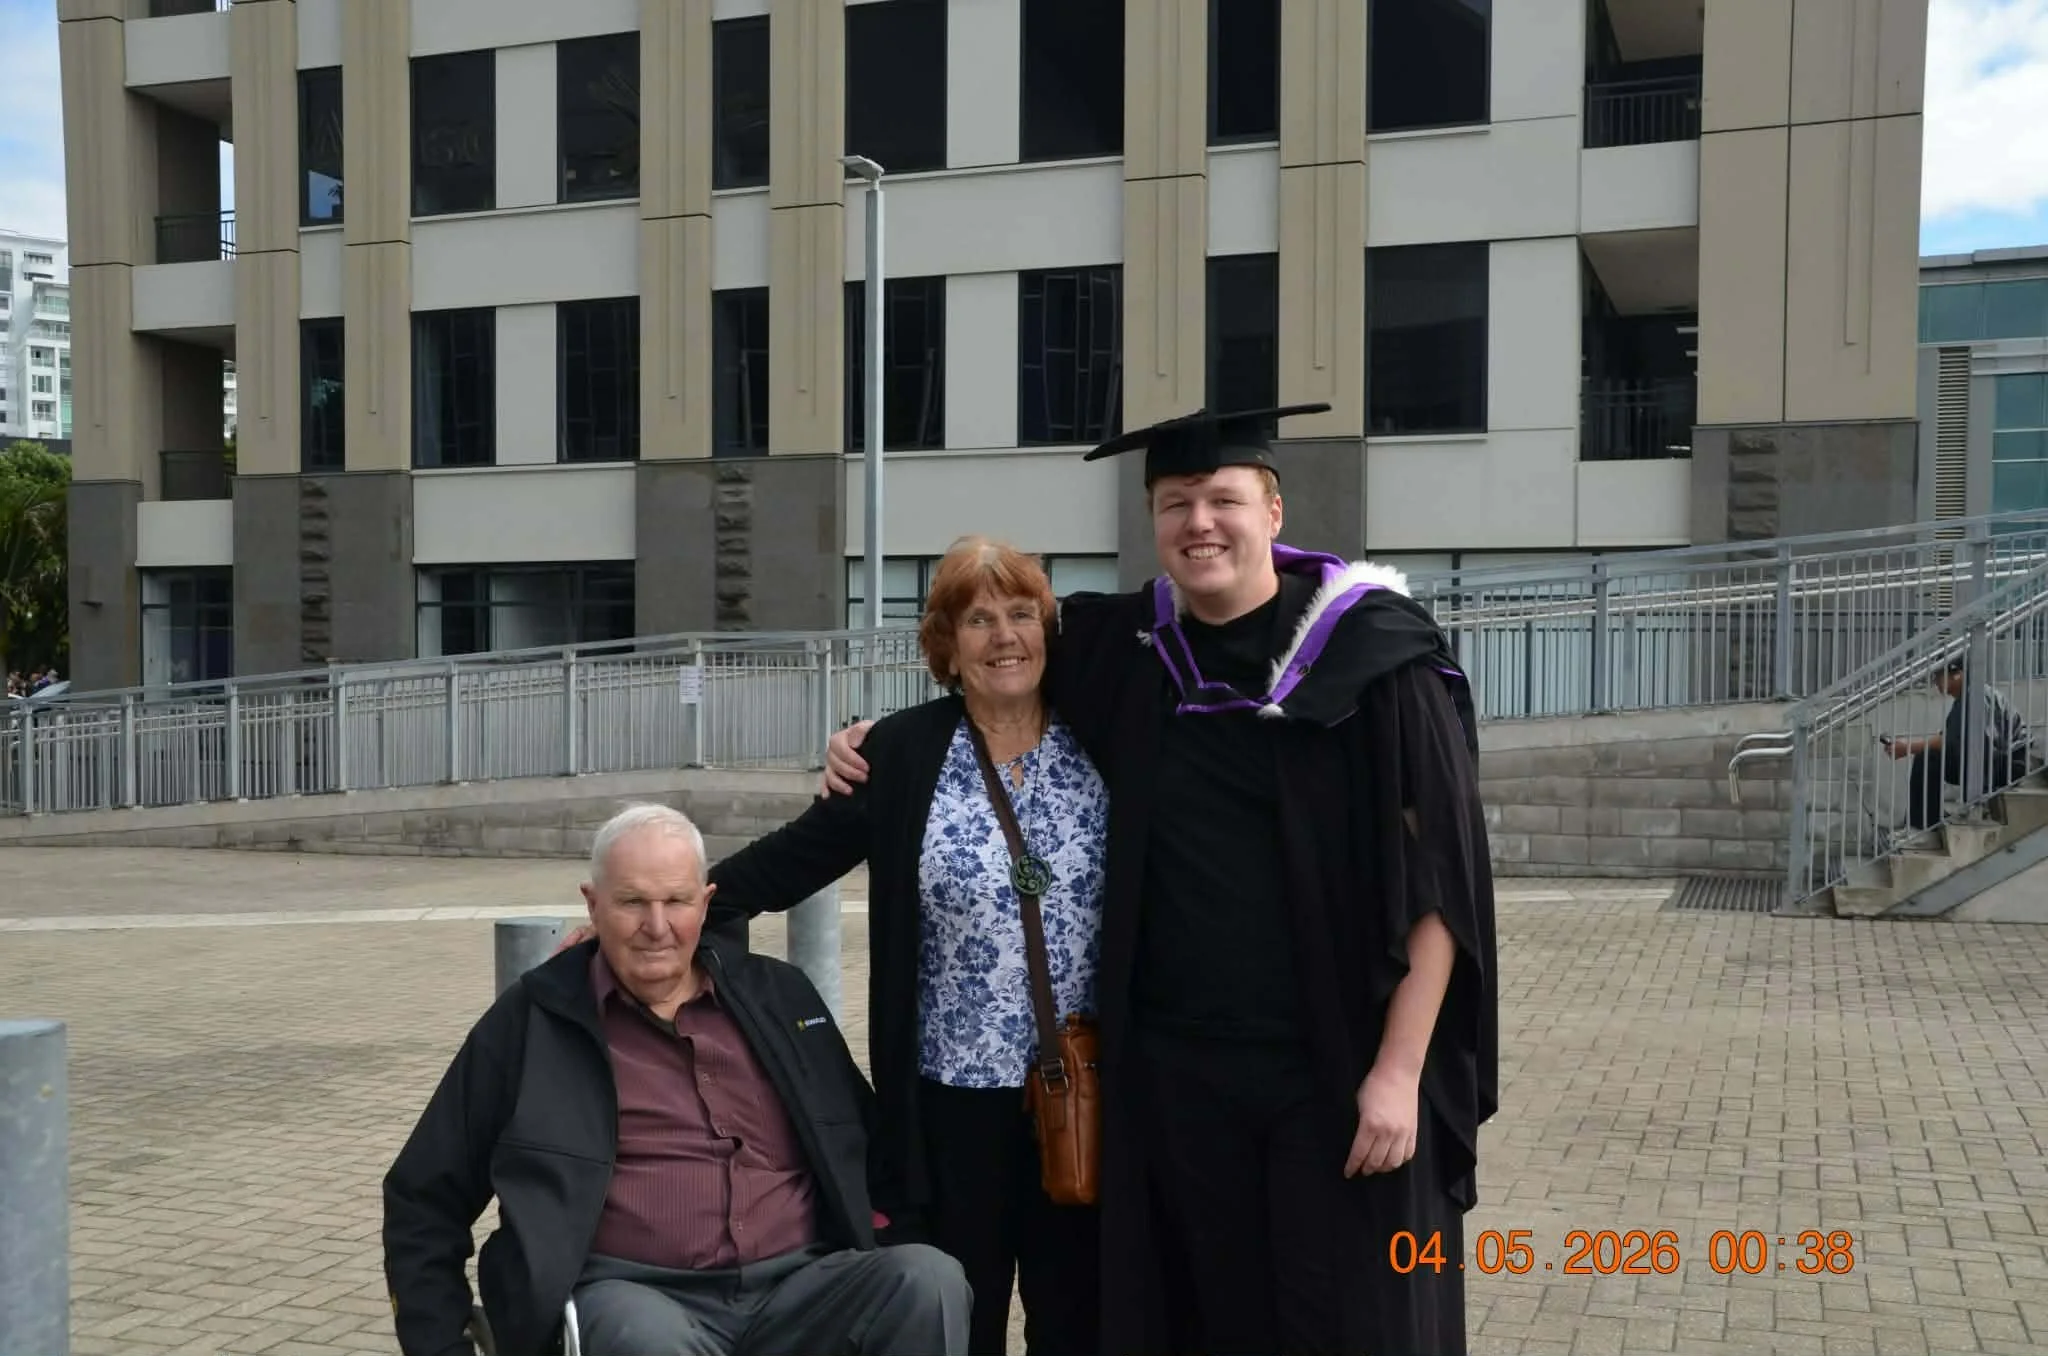
Batchelor of Electrical Engineering Second Class honours
It was a very proud day. After 4 years of study at Aukland university, our grandson, Regan, was capped as a bachelor of electrical and computer engineering with second class honours. We travelled up for the ceremony. I did convince Rob that he needed to take the wheelchair as he would not be able to walk from the carpark to the Spark arena where the ceremony was being held
Regan is now working for Mercury energy and trying to purchase his first home.
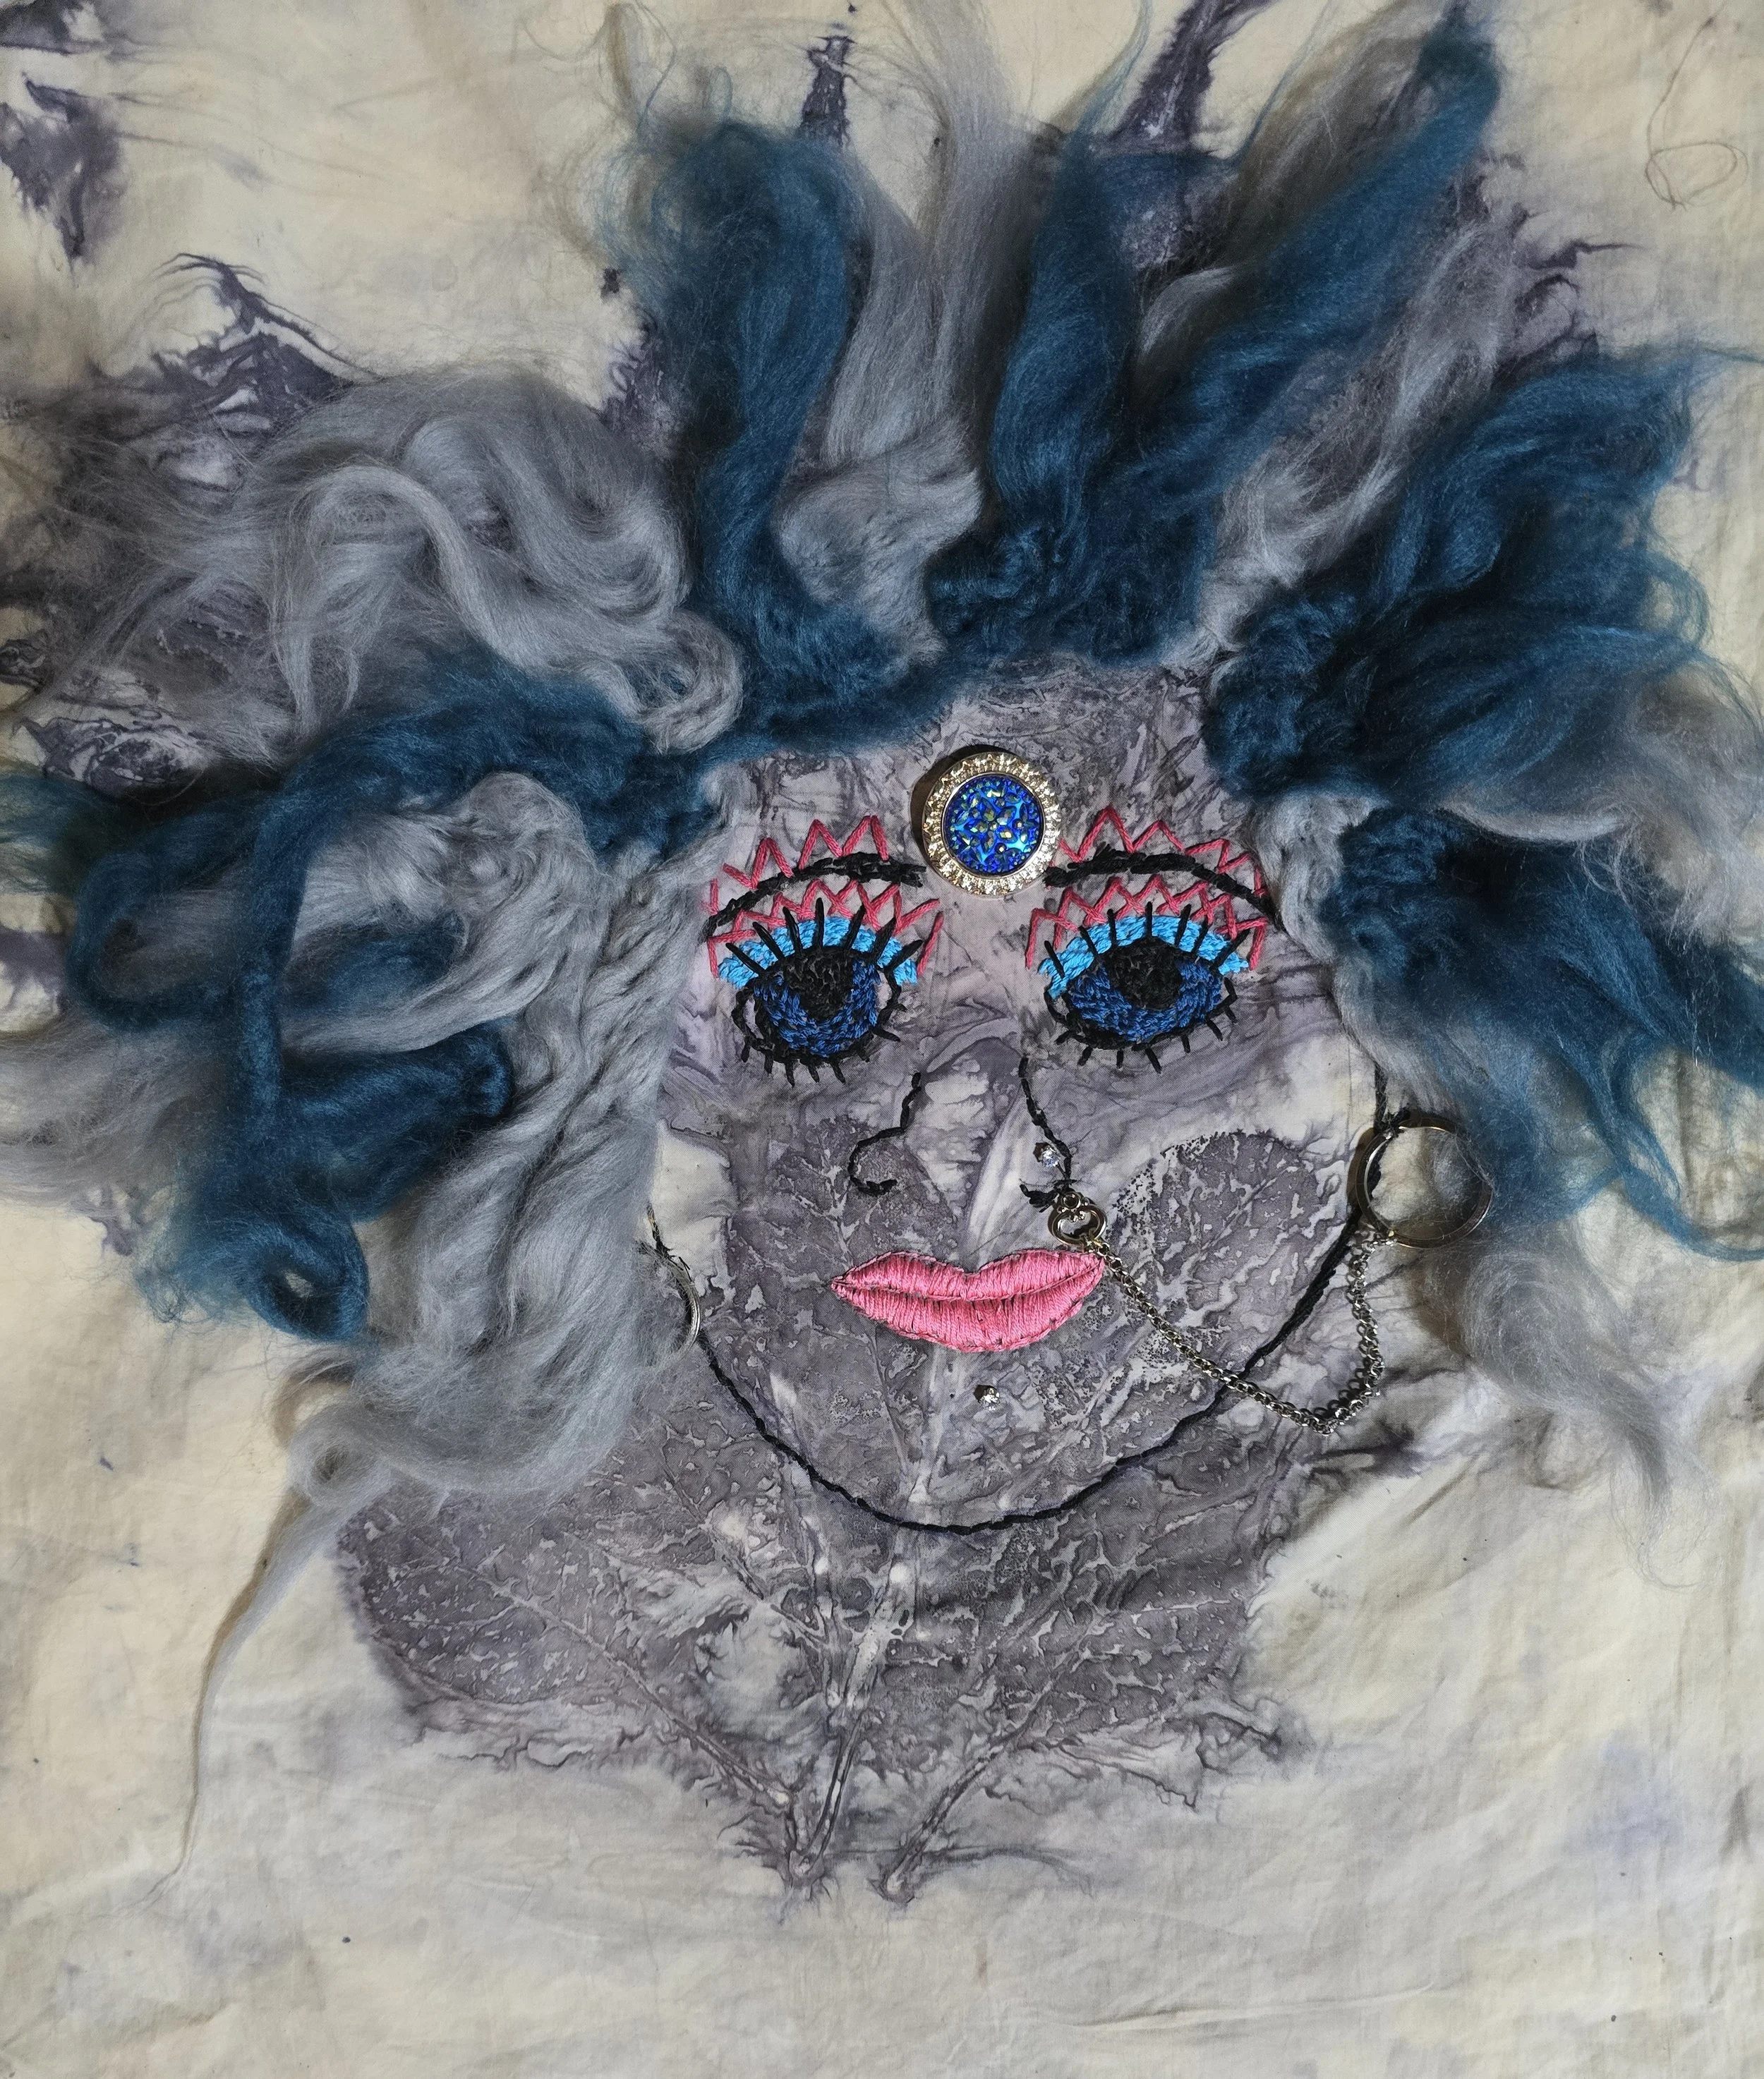
The Girl With the Tattoo Face or It’s All About Identity
Most of my eco dying has used a tradition potassium aluminium mordant on cotton with the use of Ferrous Sulphate as a modifier but ferrous sulphate itself can be used as a mordant to create prints that will have a bluish grey tone. If using white cotton, the substrate will be stained ecru.
In my exuberance to create these prints I overlooked a basic concept. To get clear leaf prints the bundle that is being steamed must not be too wet. I dipped my cotton sheeting into a weak solution of ferrous sulphate and hand wrung the fabric, laid it out on the table with a plastic drop sheet to prevent transfer of the prints , rolled the bundle and steamed for an hour and a half.
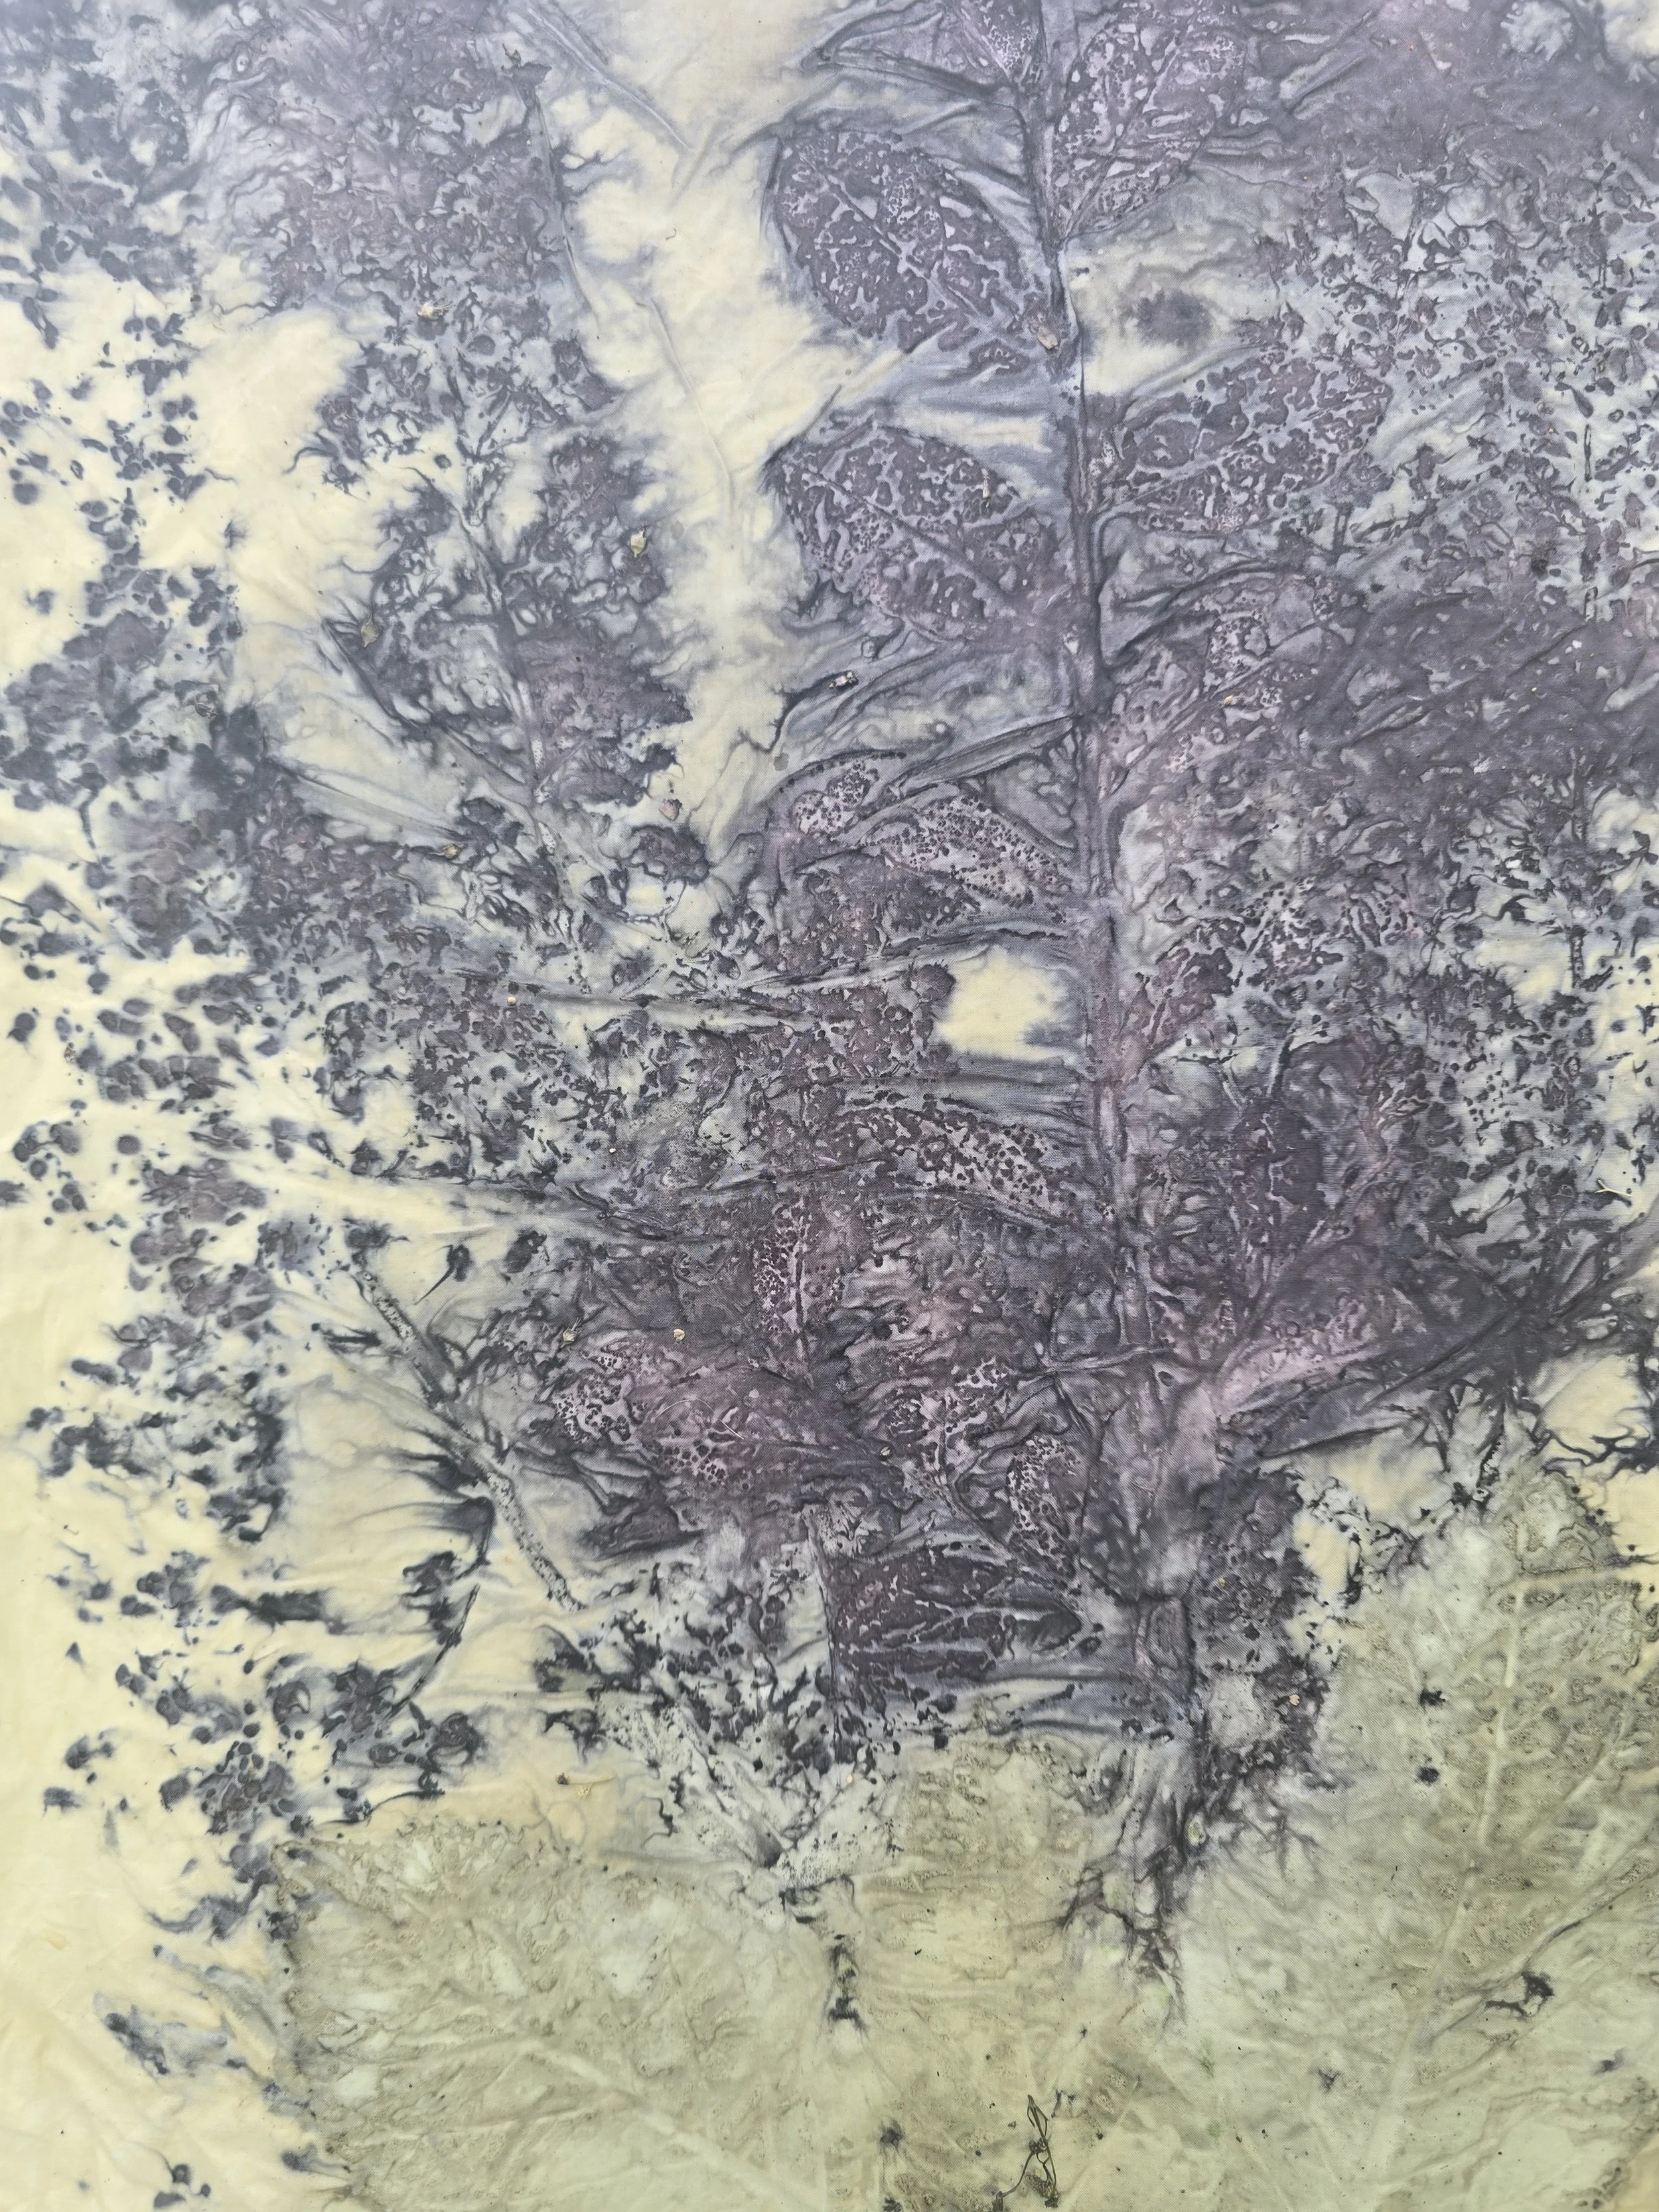
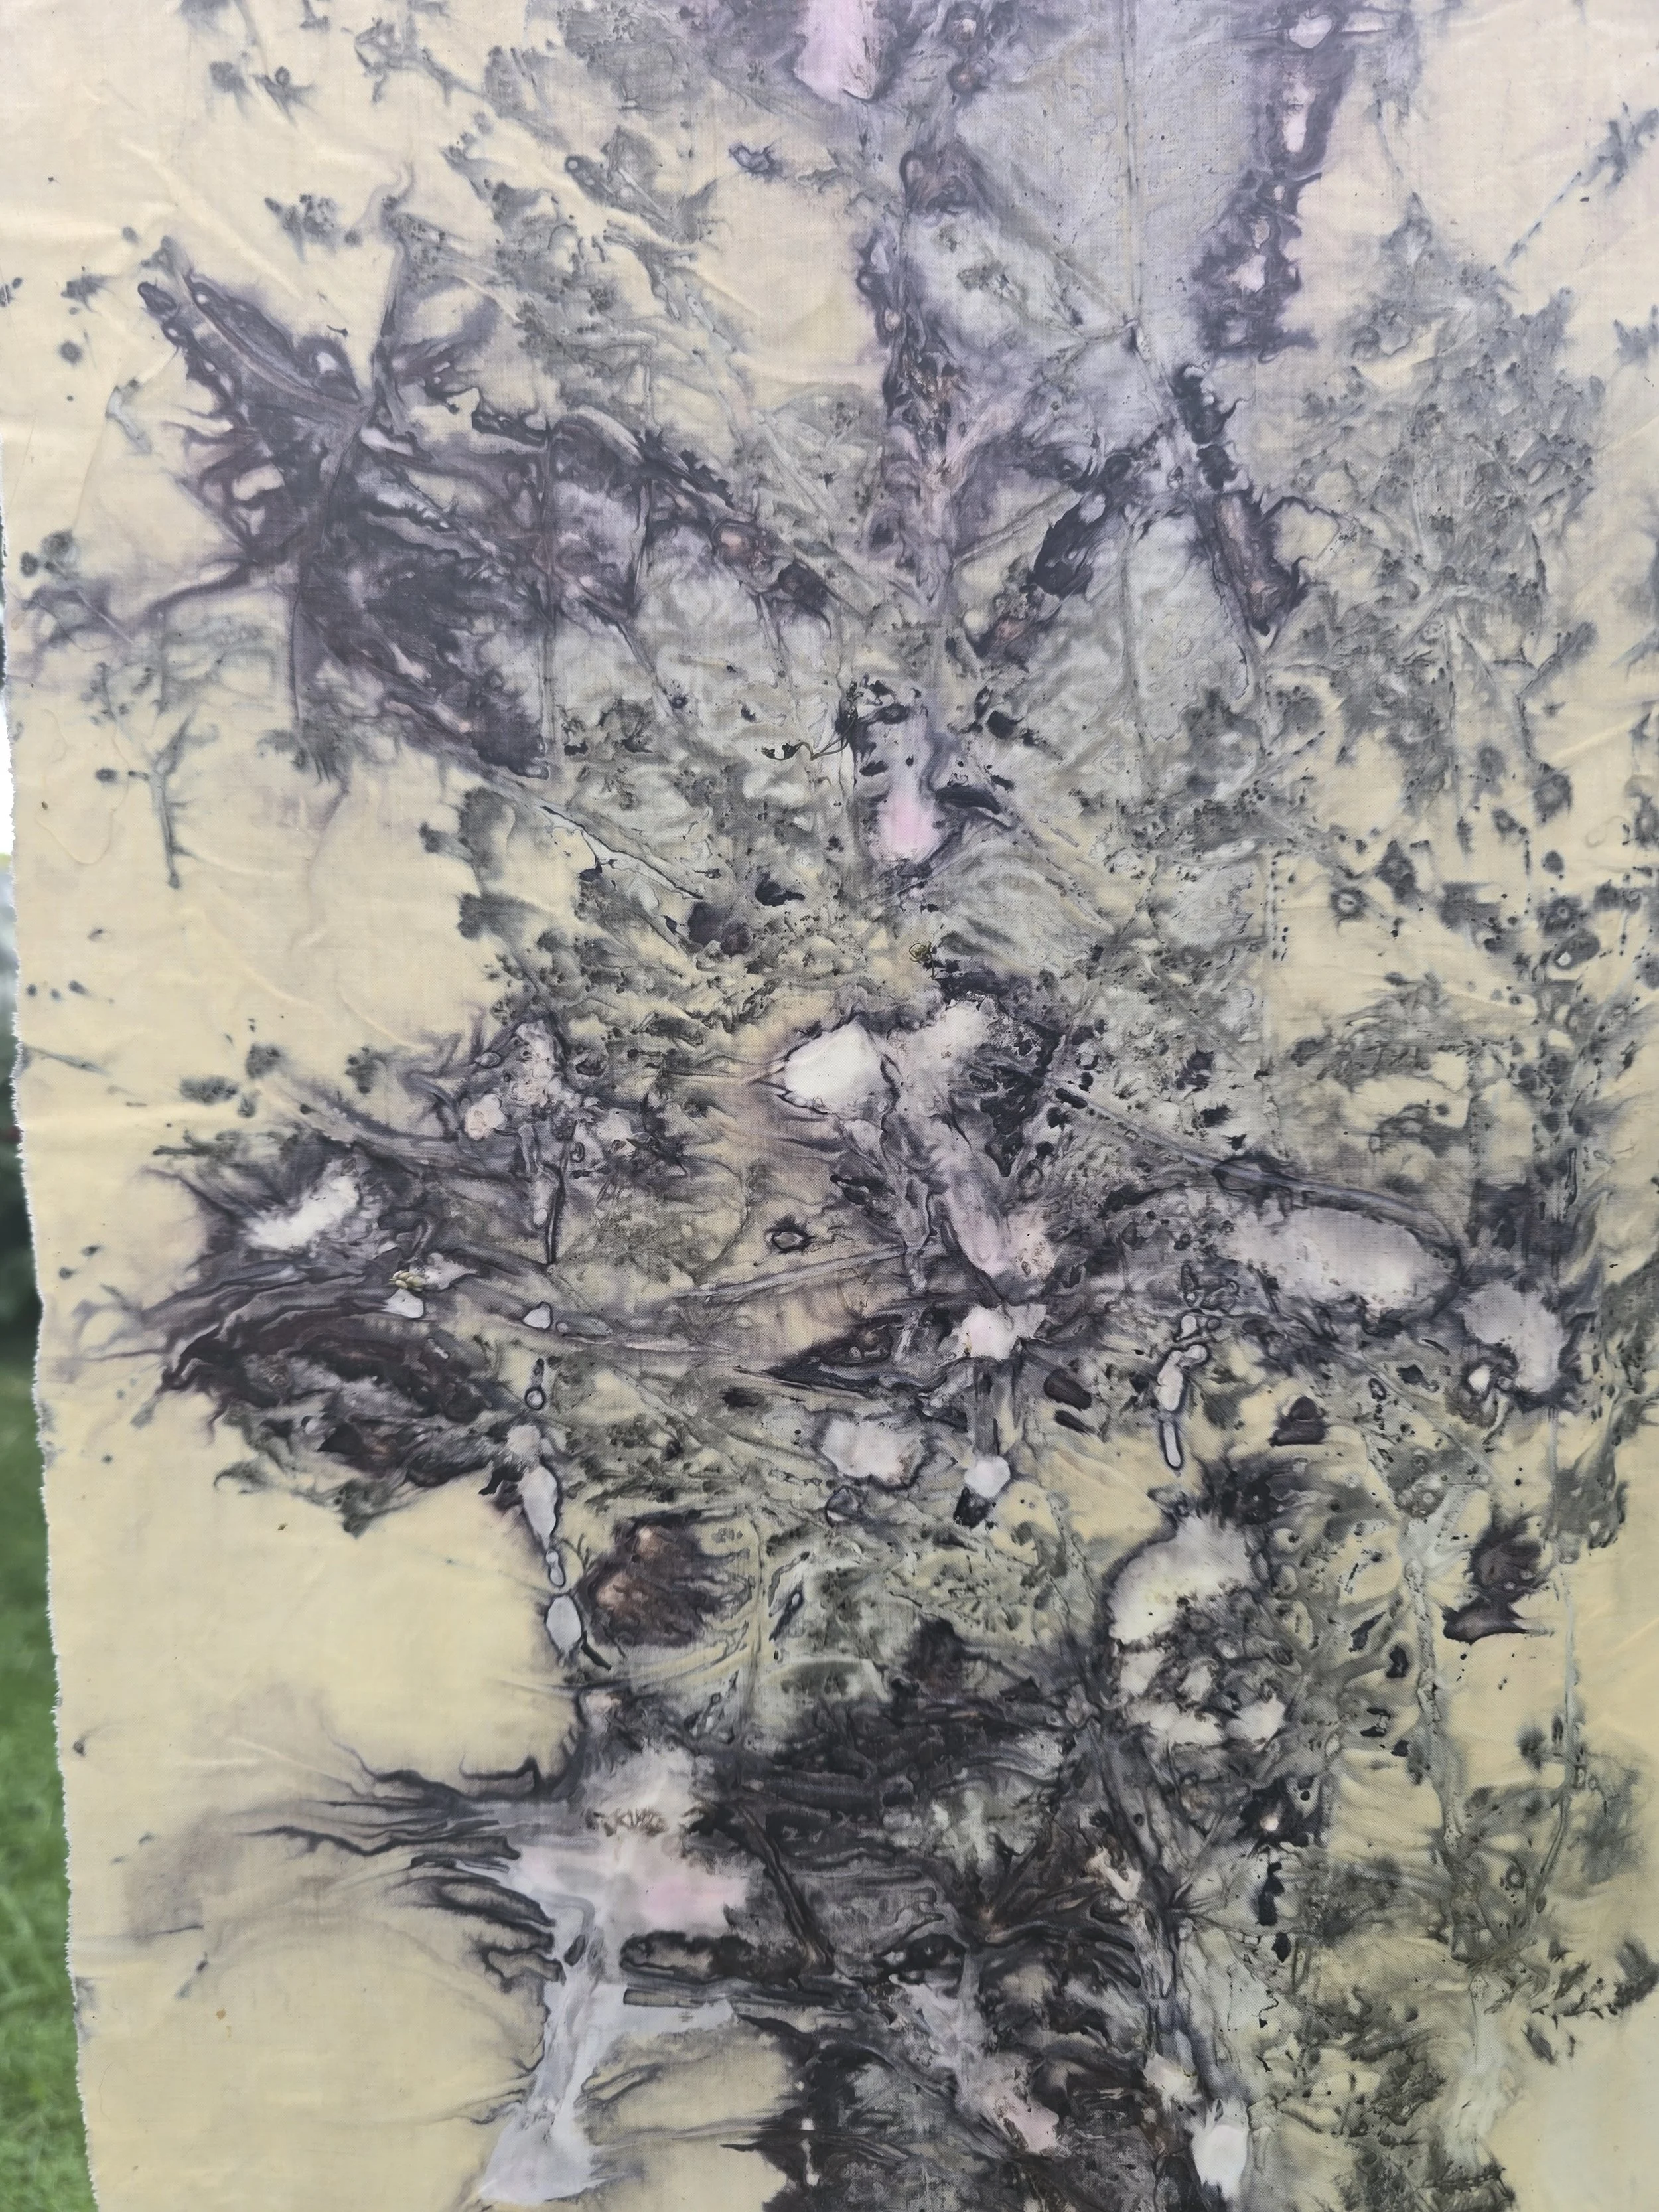
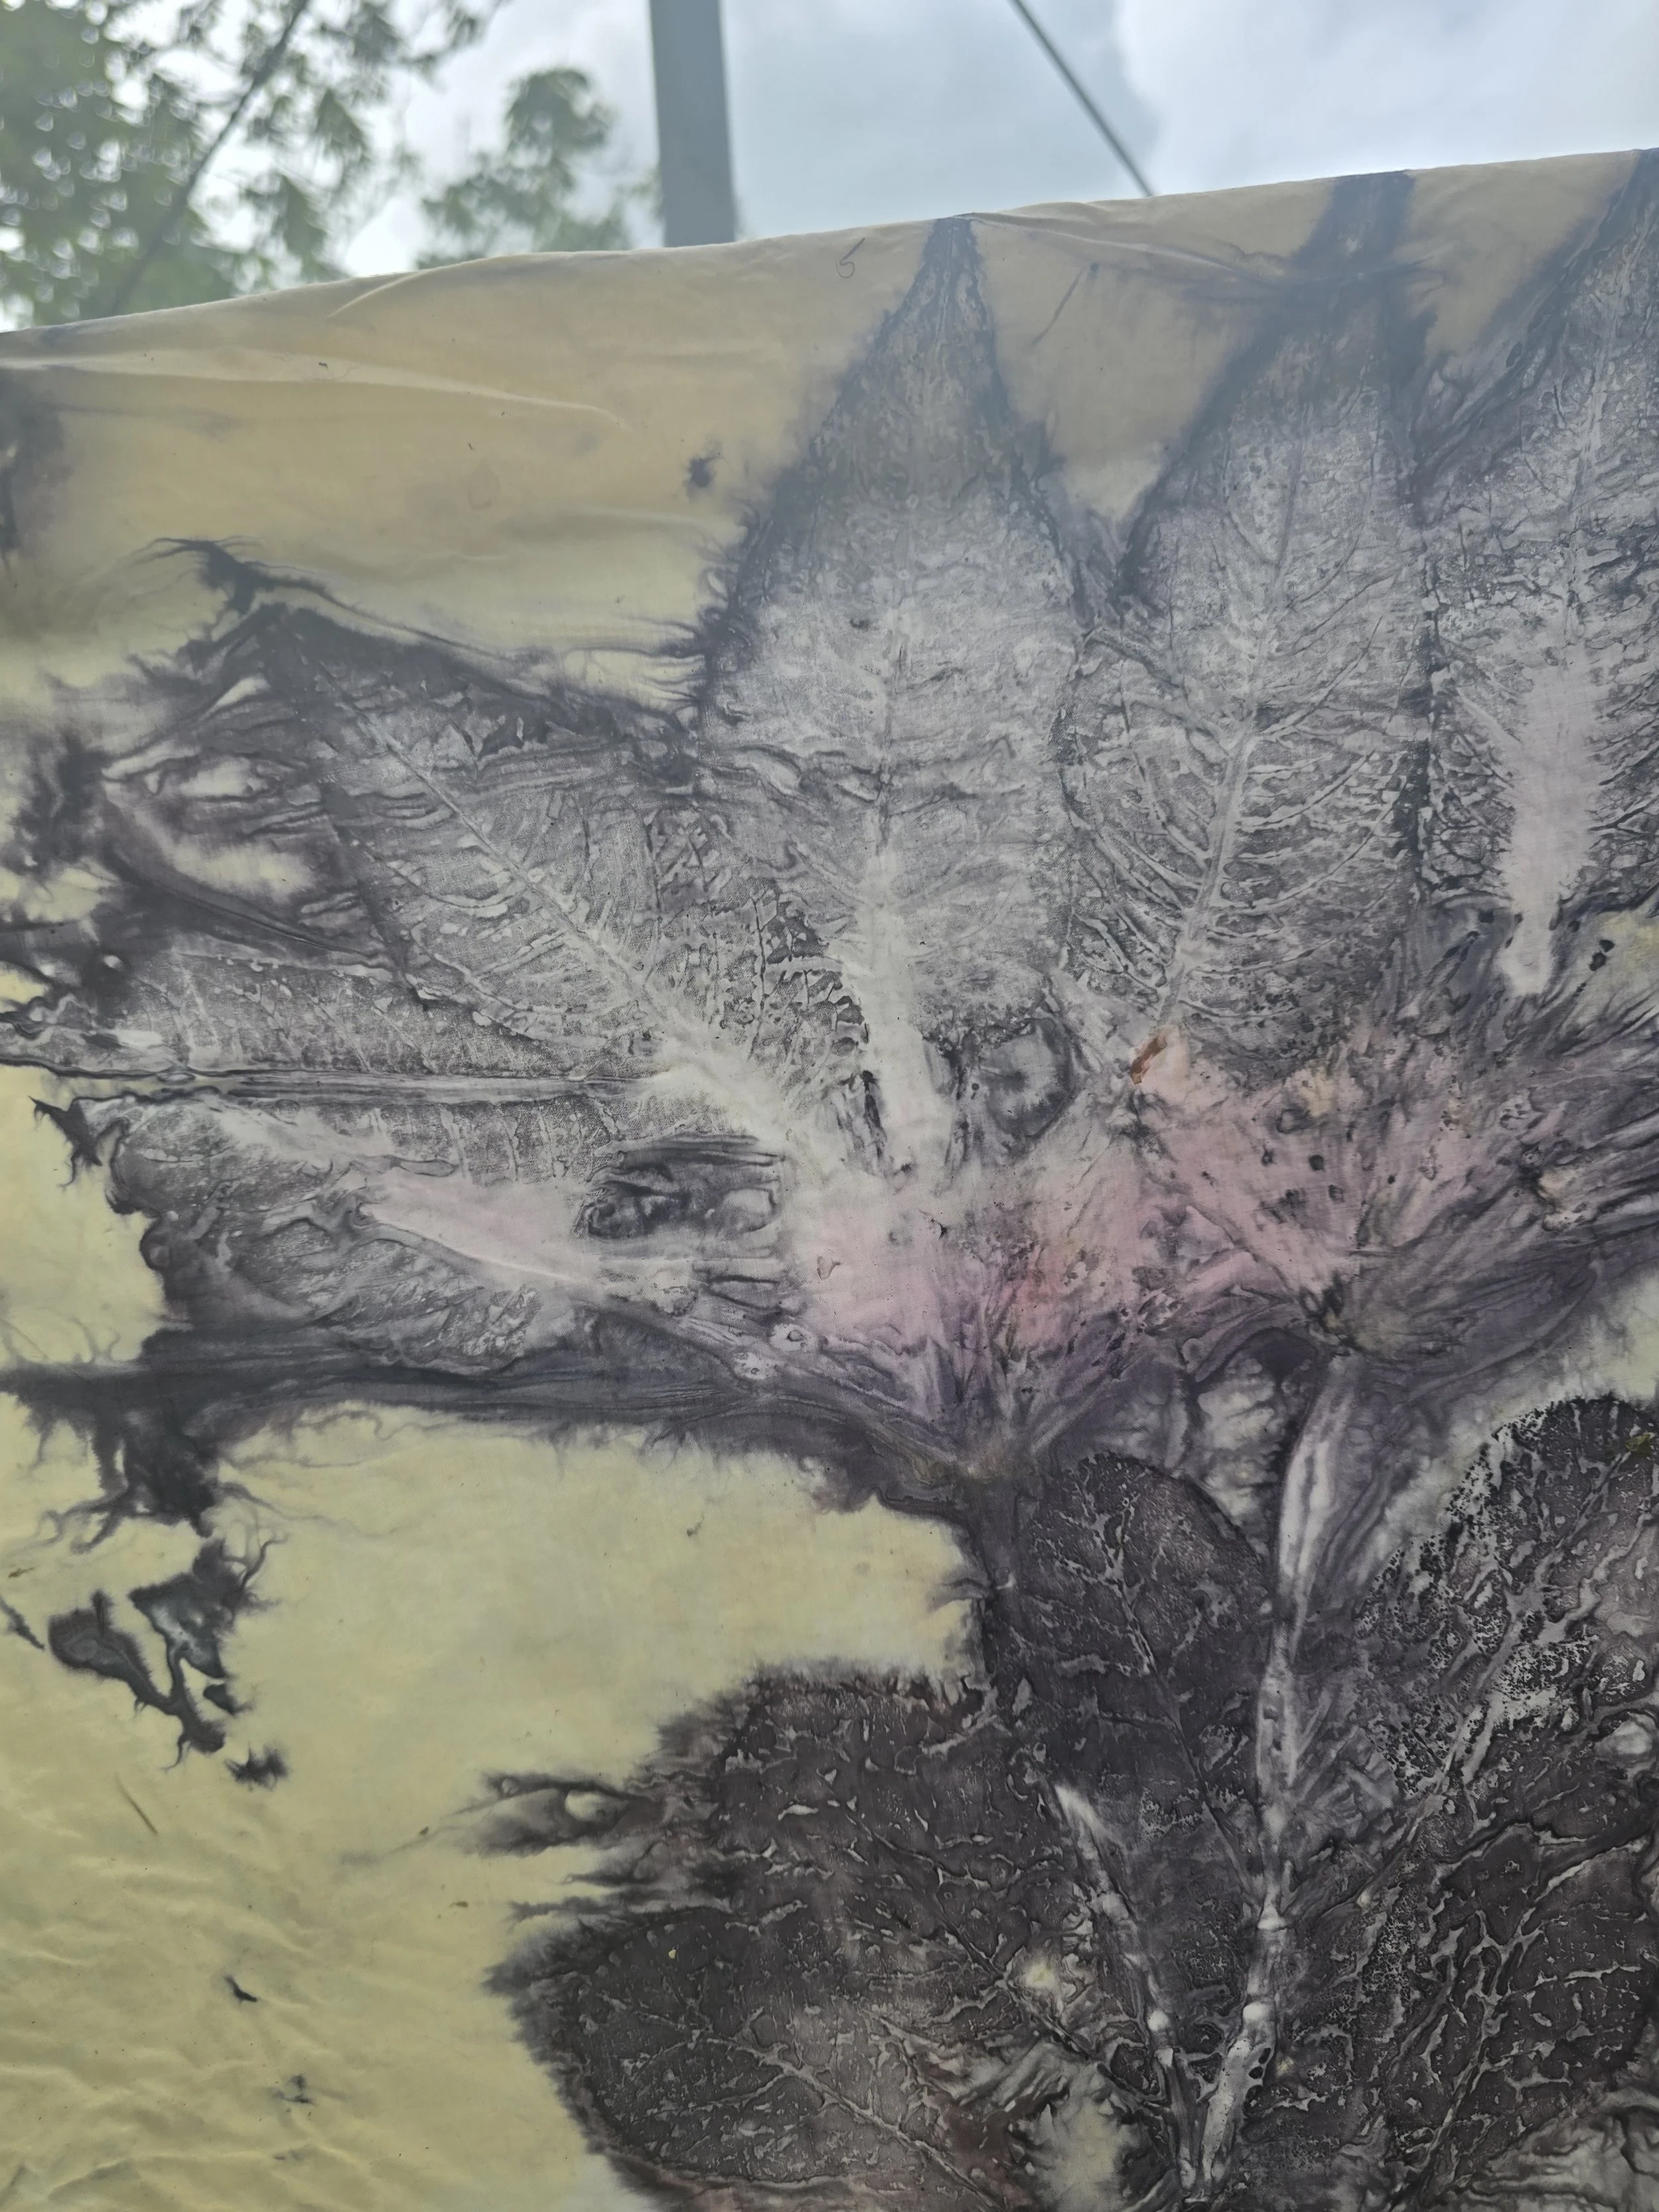
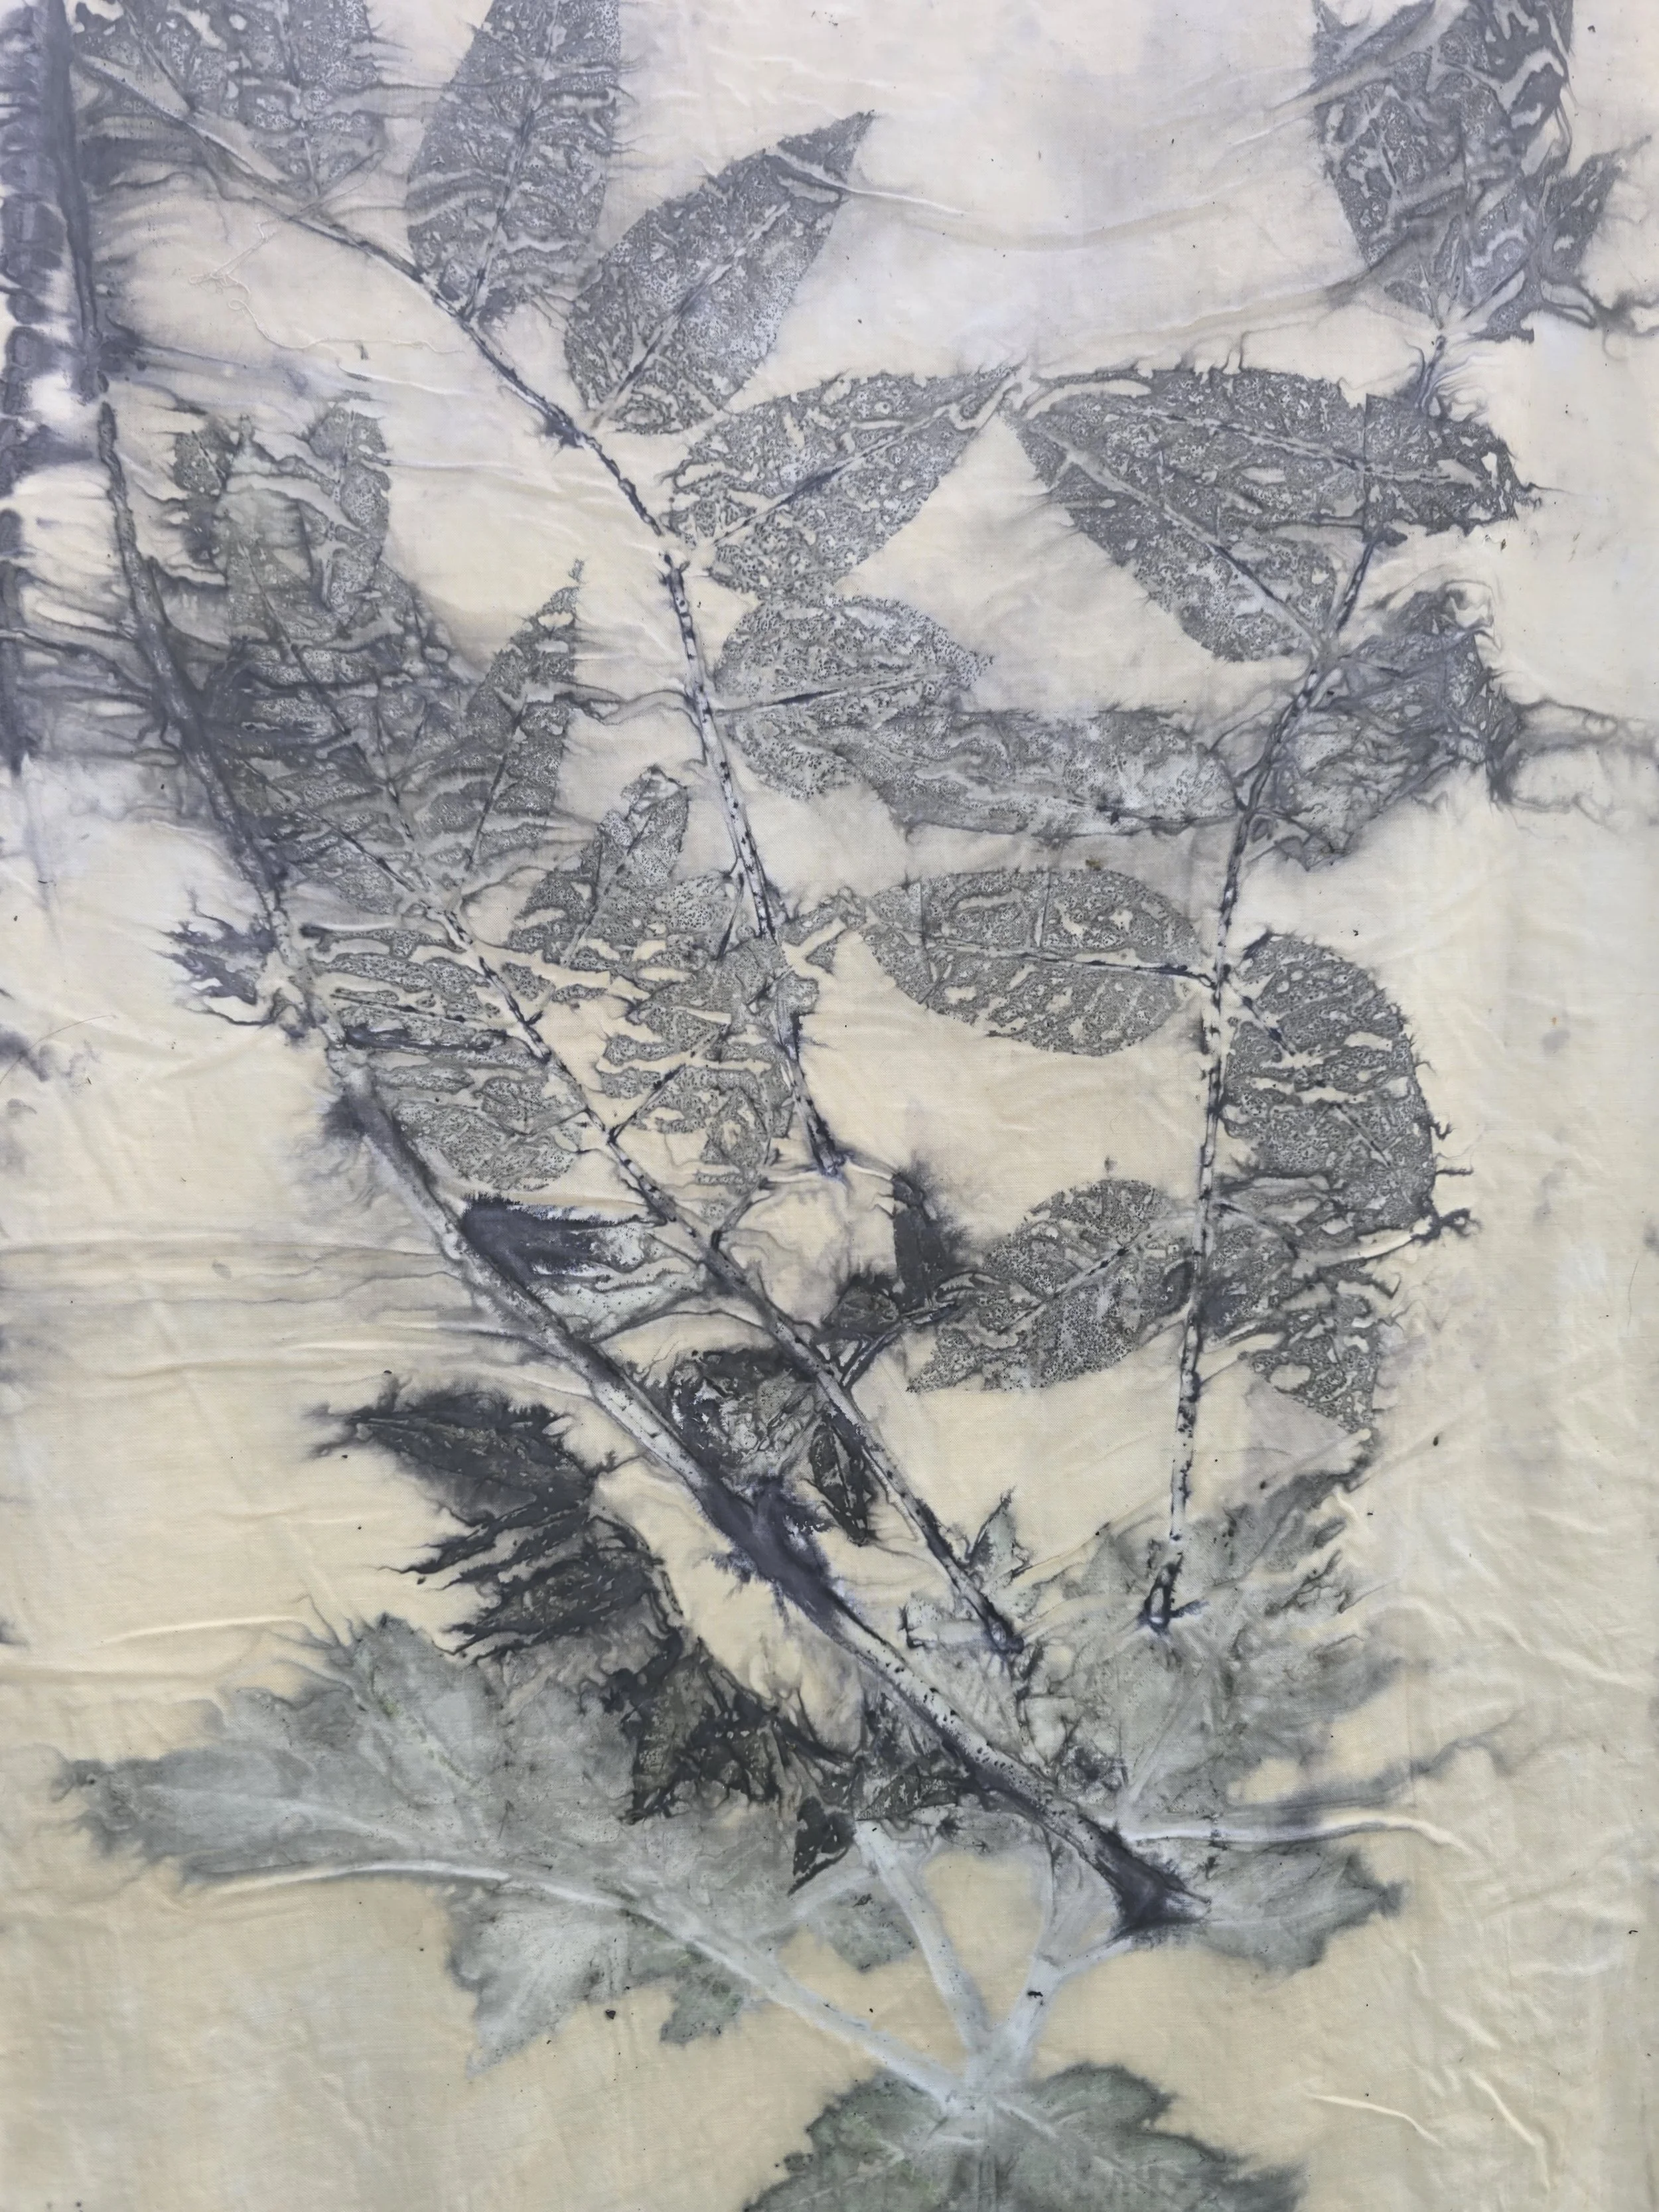
Even though some of the pieces were too wet they created wonderful textural pieces. One piece was obviously drier than the rest, or maybe it sat on the top layer in the steamer so did not get as much moisture. The image of the foliage is much more precise on that one. One piece ended up looking like it had eyes looking out at me and it was this piece I decided to take to the next xtep.
I had been browsing through a book by Jean Draper, a UK based textile artist and she had a few pages dedicated to replicating a tattoo face so I decided to take one piece and use the printing as a basis for the tattoo. I have titled this piece a Sense of Identity.
Coiling is a Slow Meditative Process
Take Two Art offered an online course with Lissa Hunter. Lissa is a well known coiling artist in the States who has taken coiling way past the basic process of making a basket into an altered art form. She is the producer of the 100 spoons exhibition shown above. In addition to that she has promoted the changing of the coiled surface by applying various surface techniques including collaged papers, paint and looping.
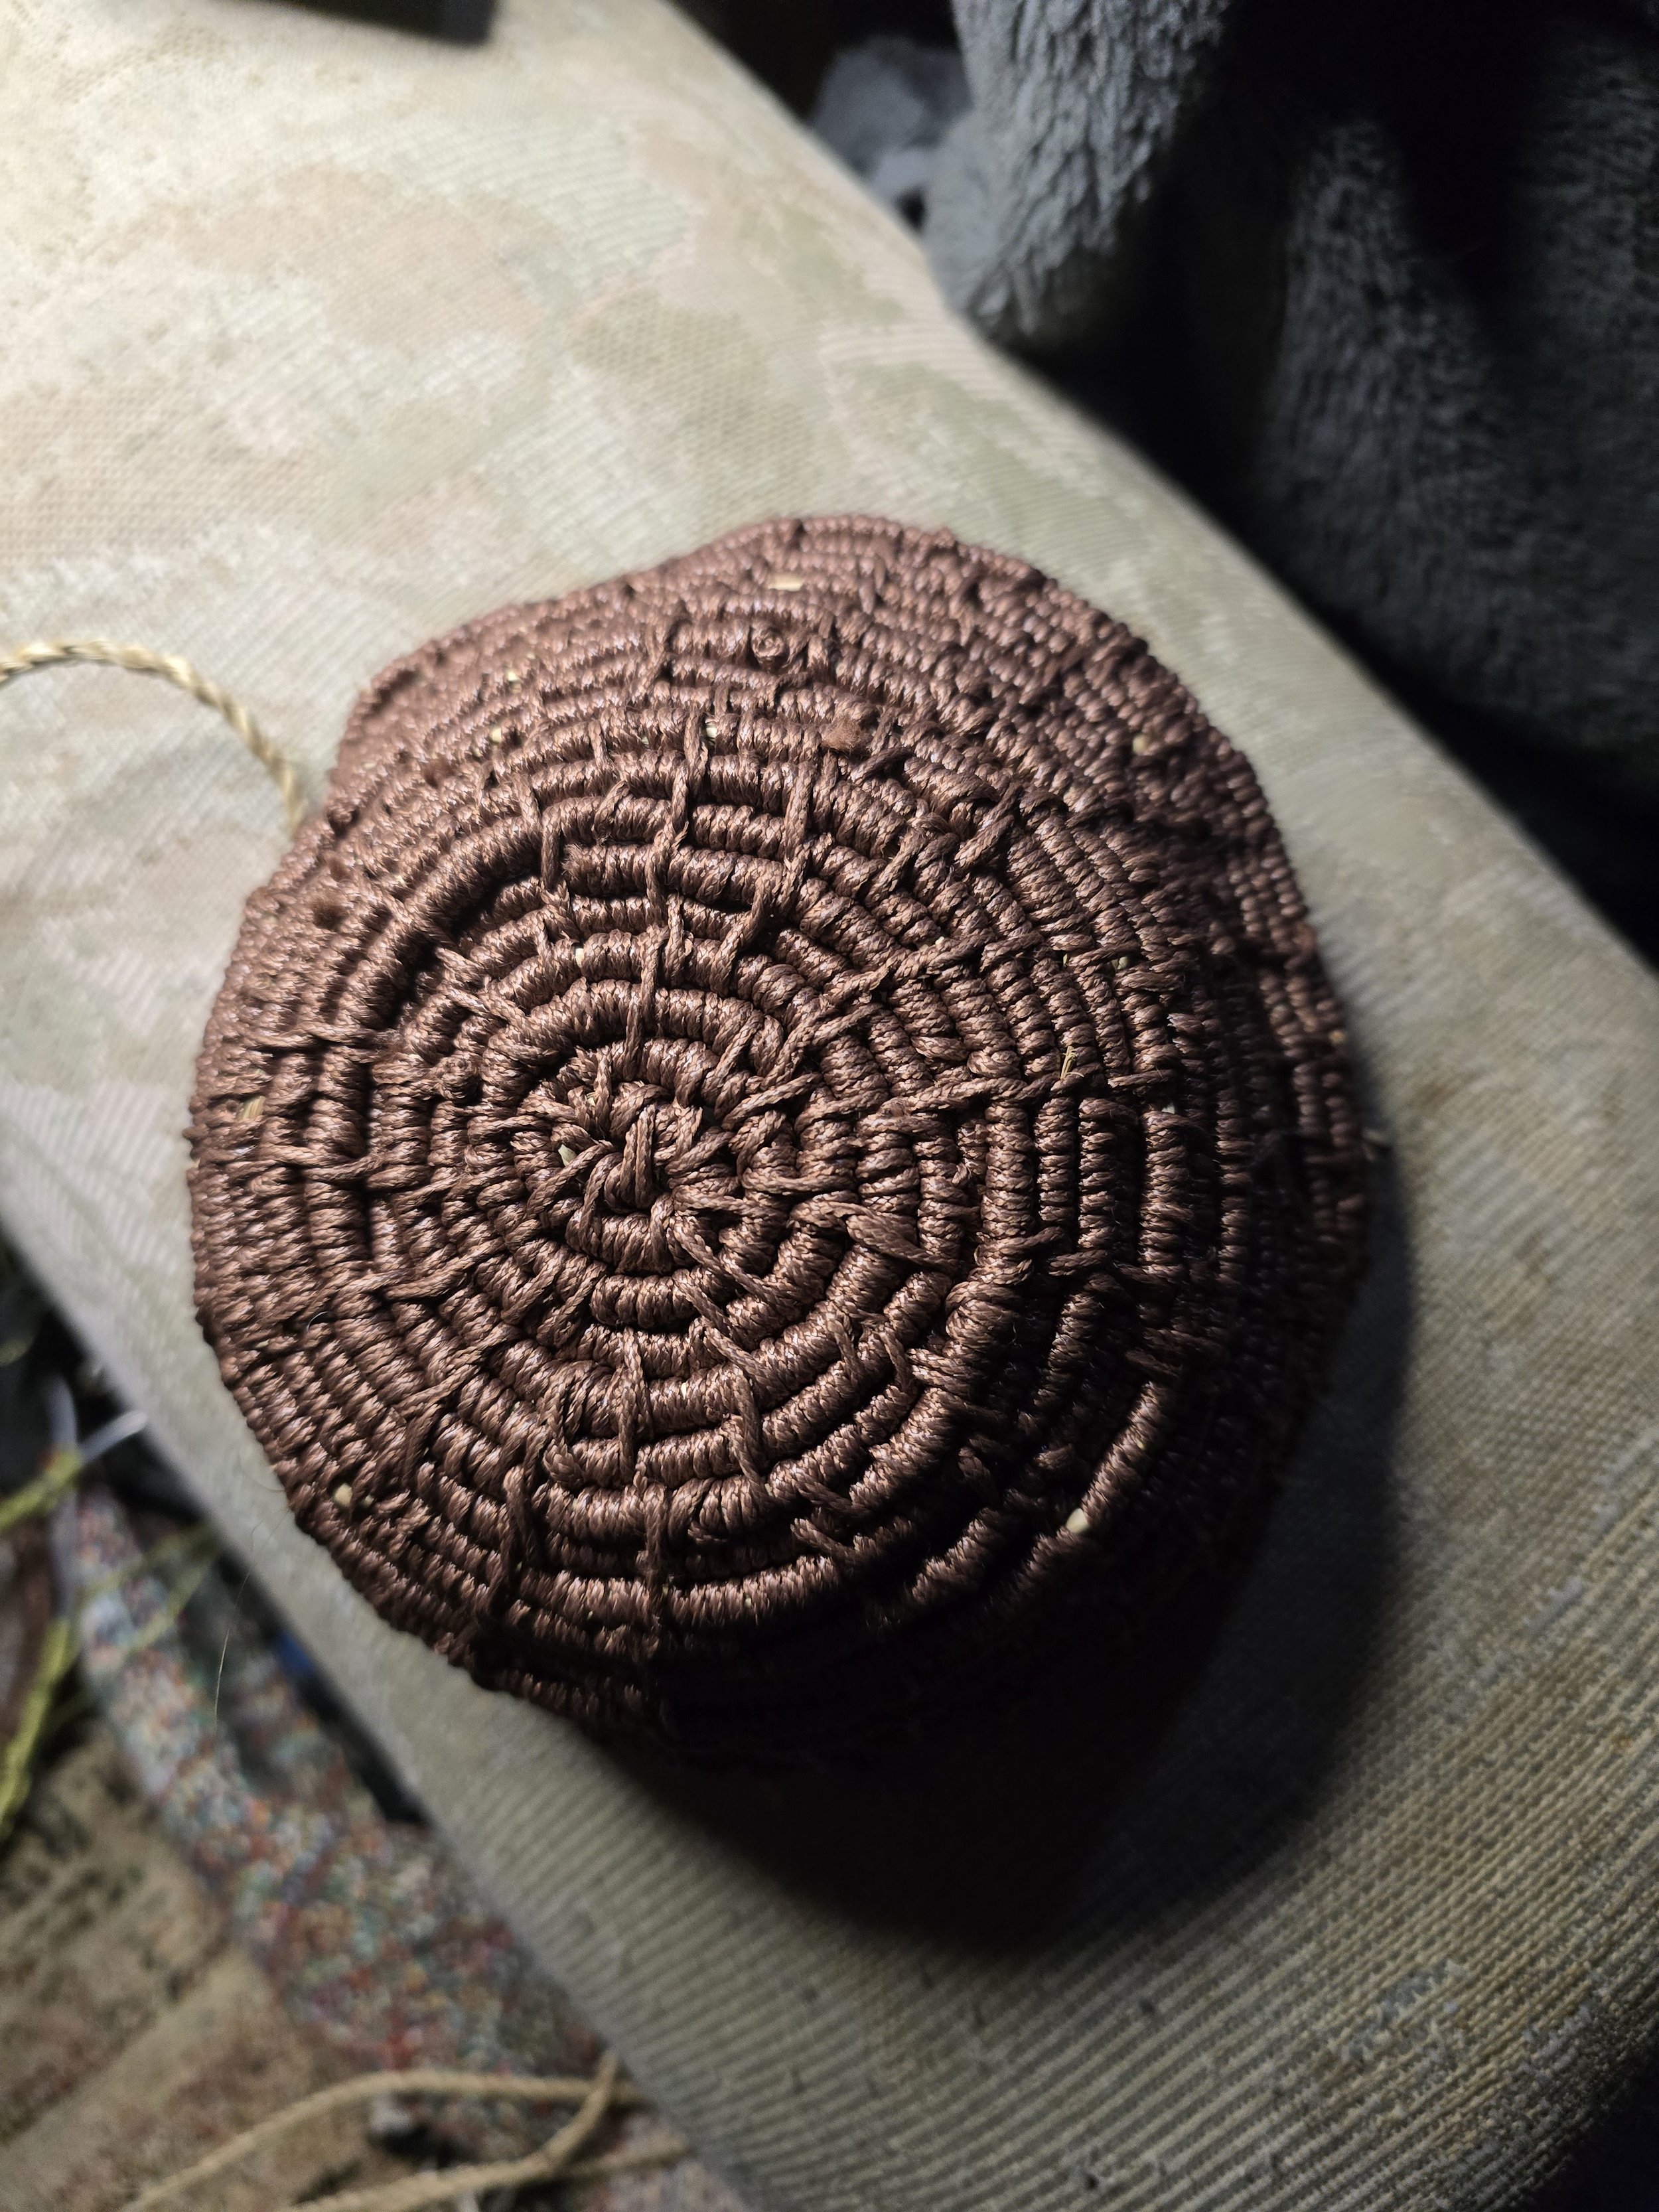
The process is slow and meticulous. Akin to weaving it anchors the maker in the present as the winding of the inner coil proceeds slowly to extend its form to a 3 D item.
I used a seagrass core which was probably a bit thin and a bit soft but the result was still OK. To shape the coil place the wound core slightly outside the previous row. To go straight have the coil exactly on top of the previous row and to move inward (like the neck of a bottle), place the coil slightly to the inside of the core. It will take several rows of coil to alter the shape as this needs to be done in a gradual manner. I found about 8-10 coils of the polyester waxed thread I was using around the seagrass and then I need to stich into the previous row. I tried to keep my stich downs neat and in line but there was some variances as I shaped the form.
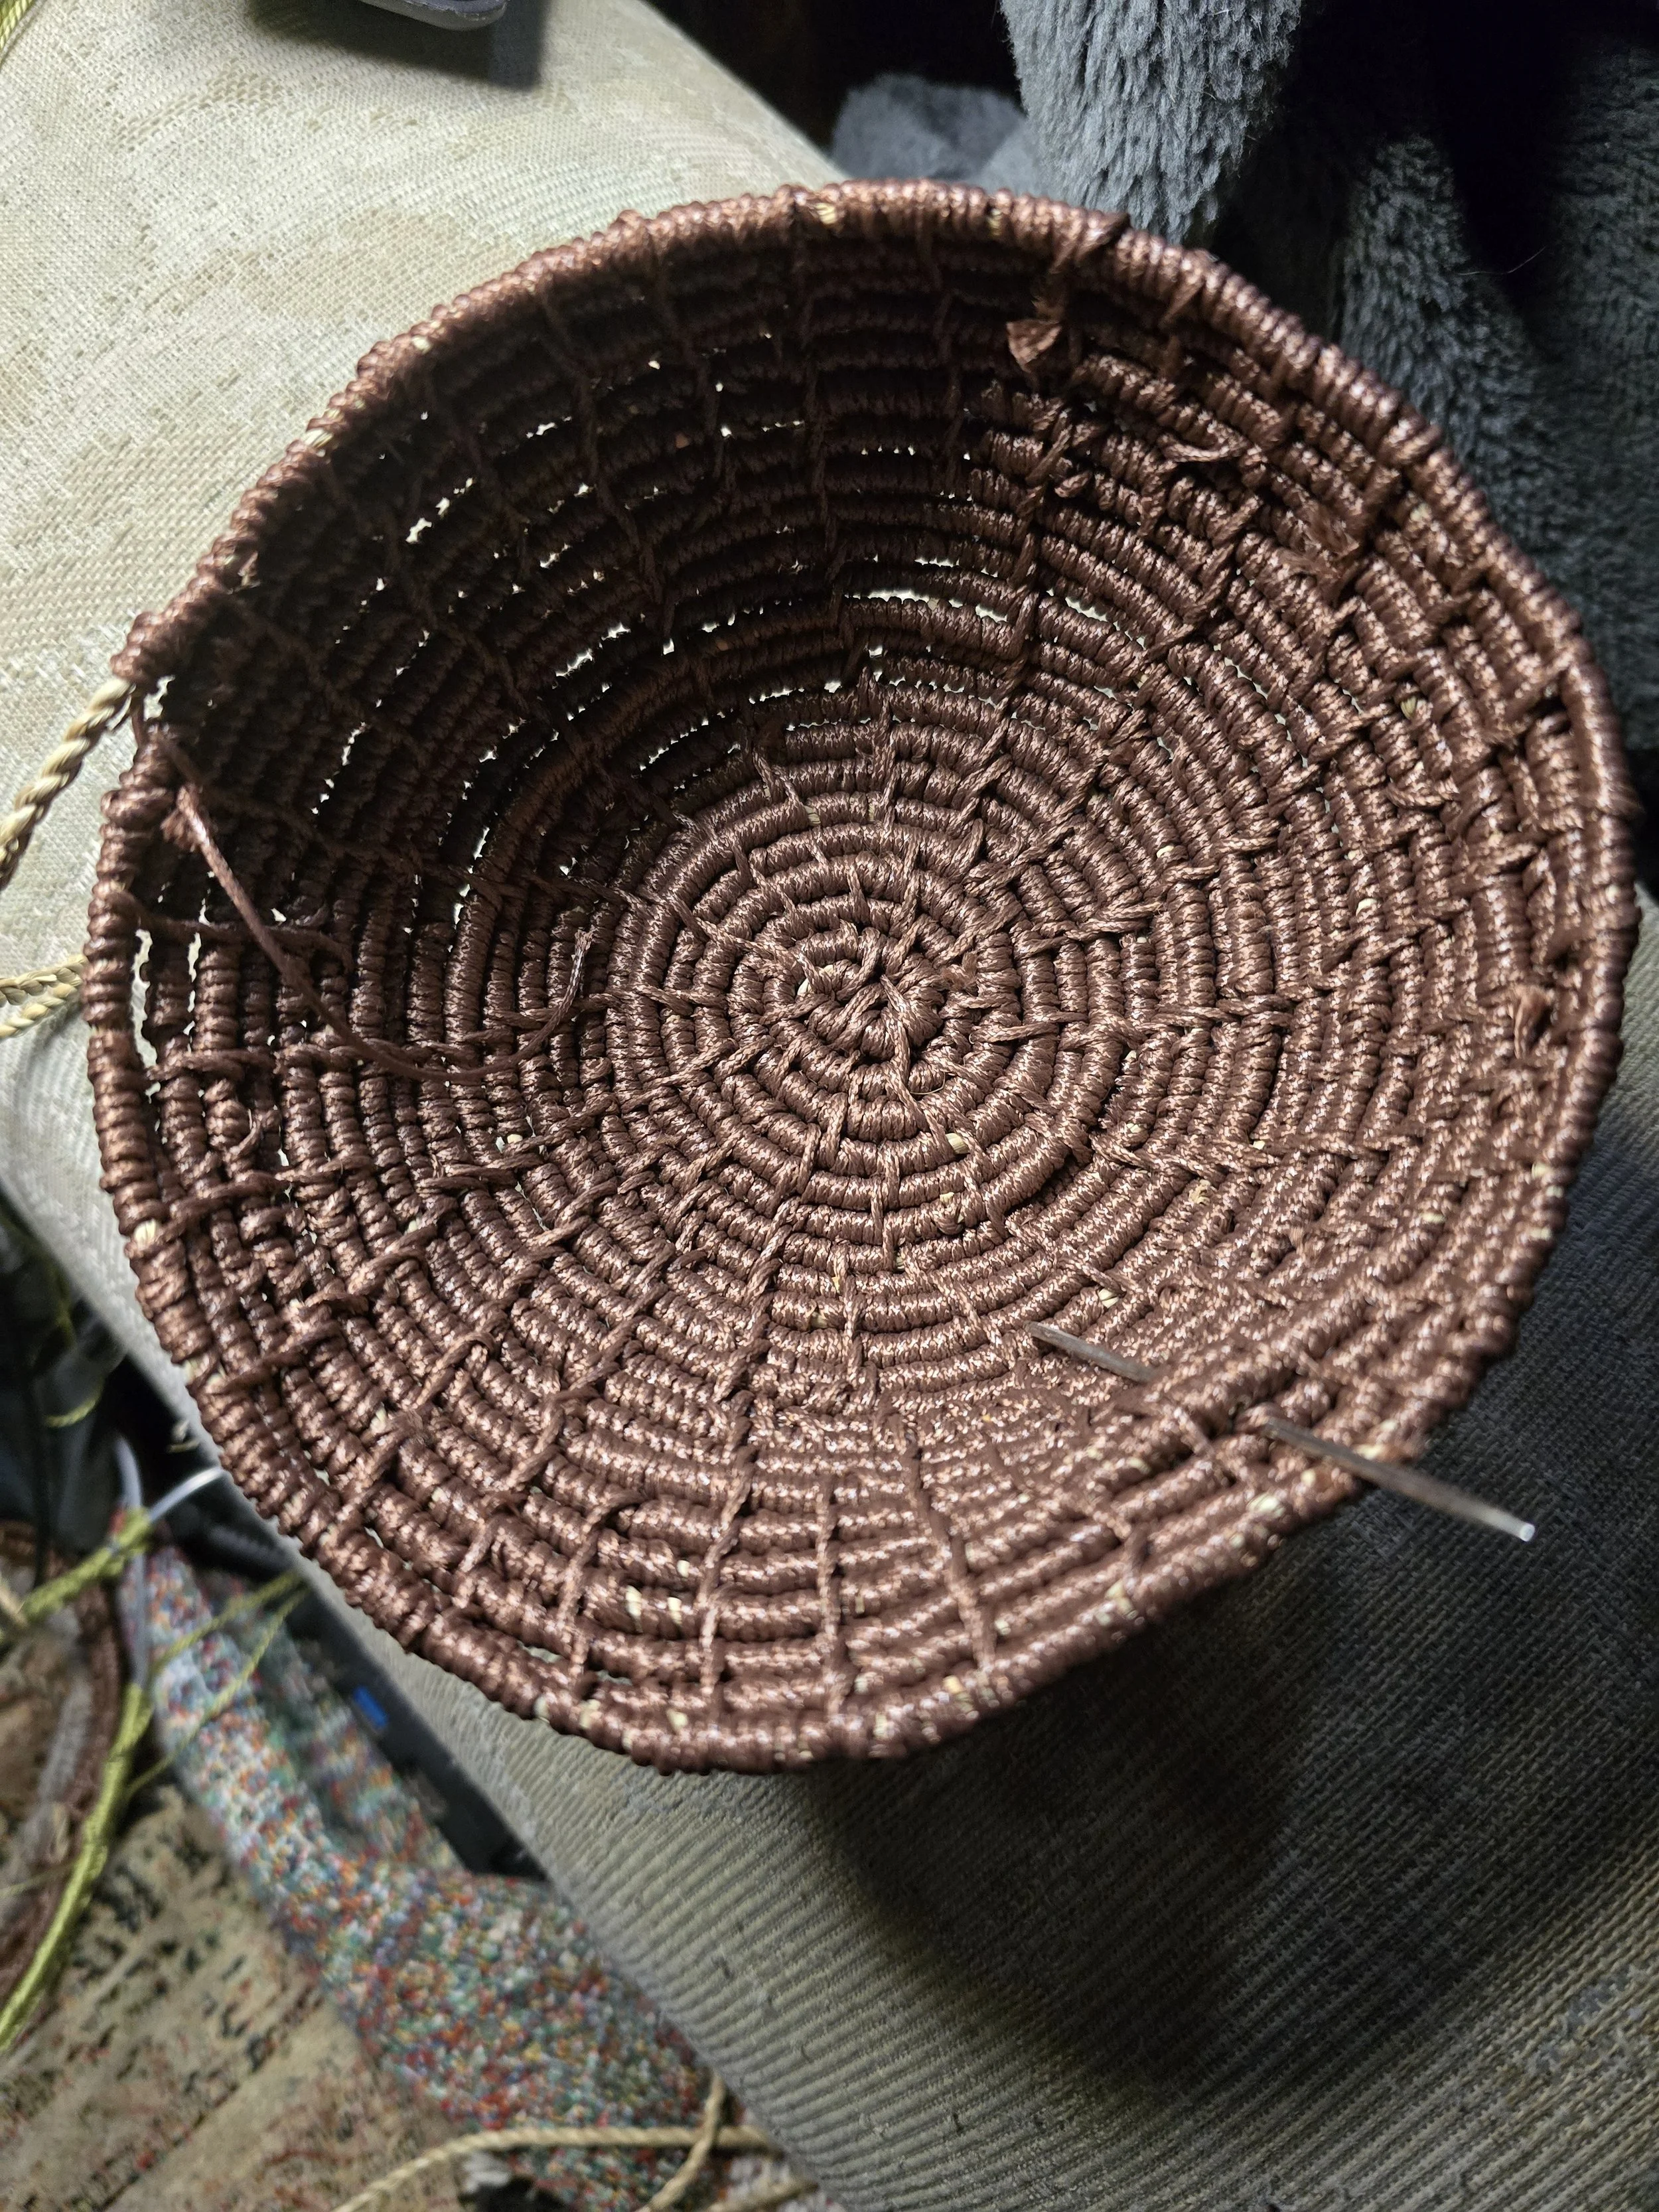
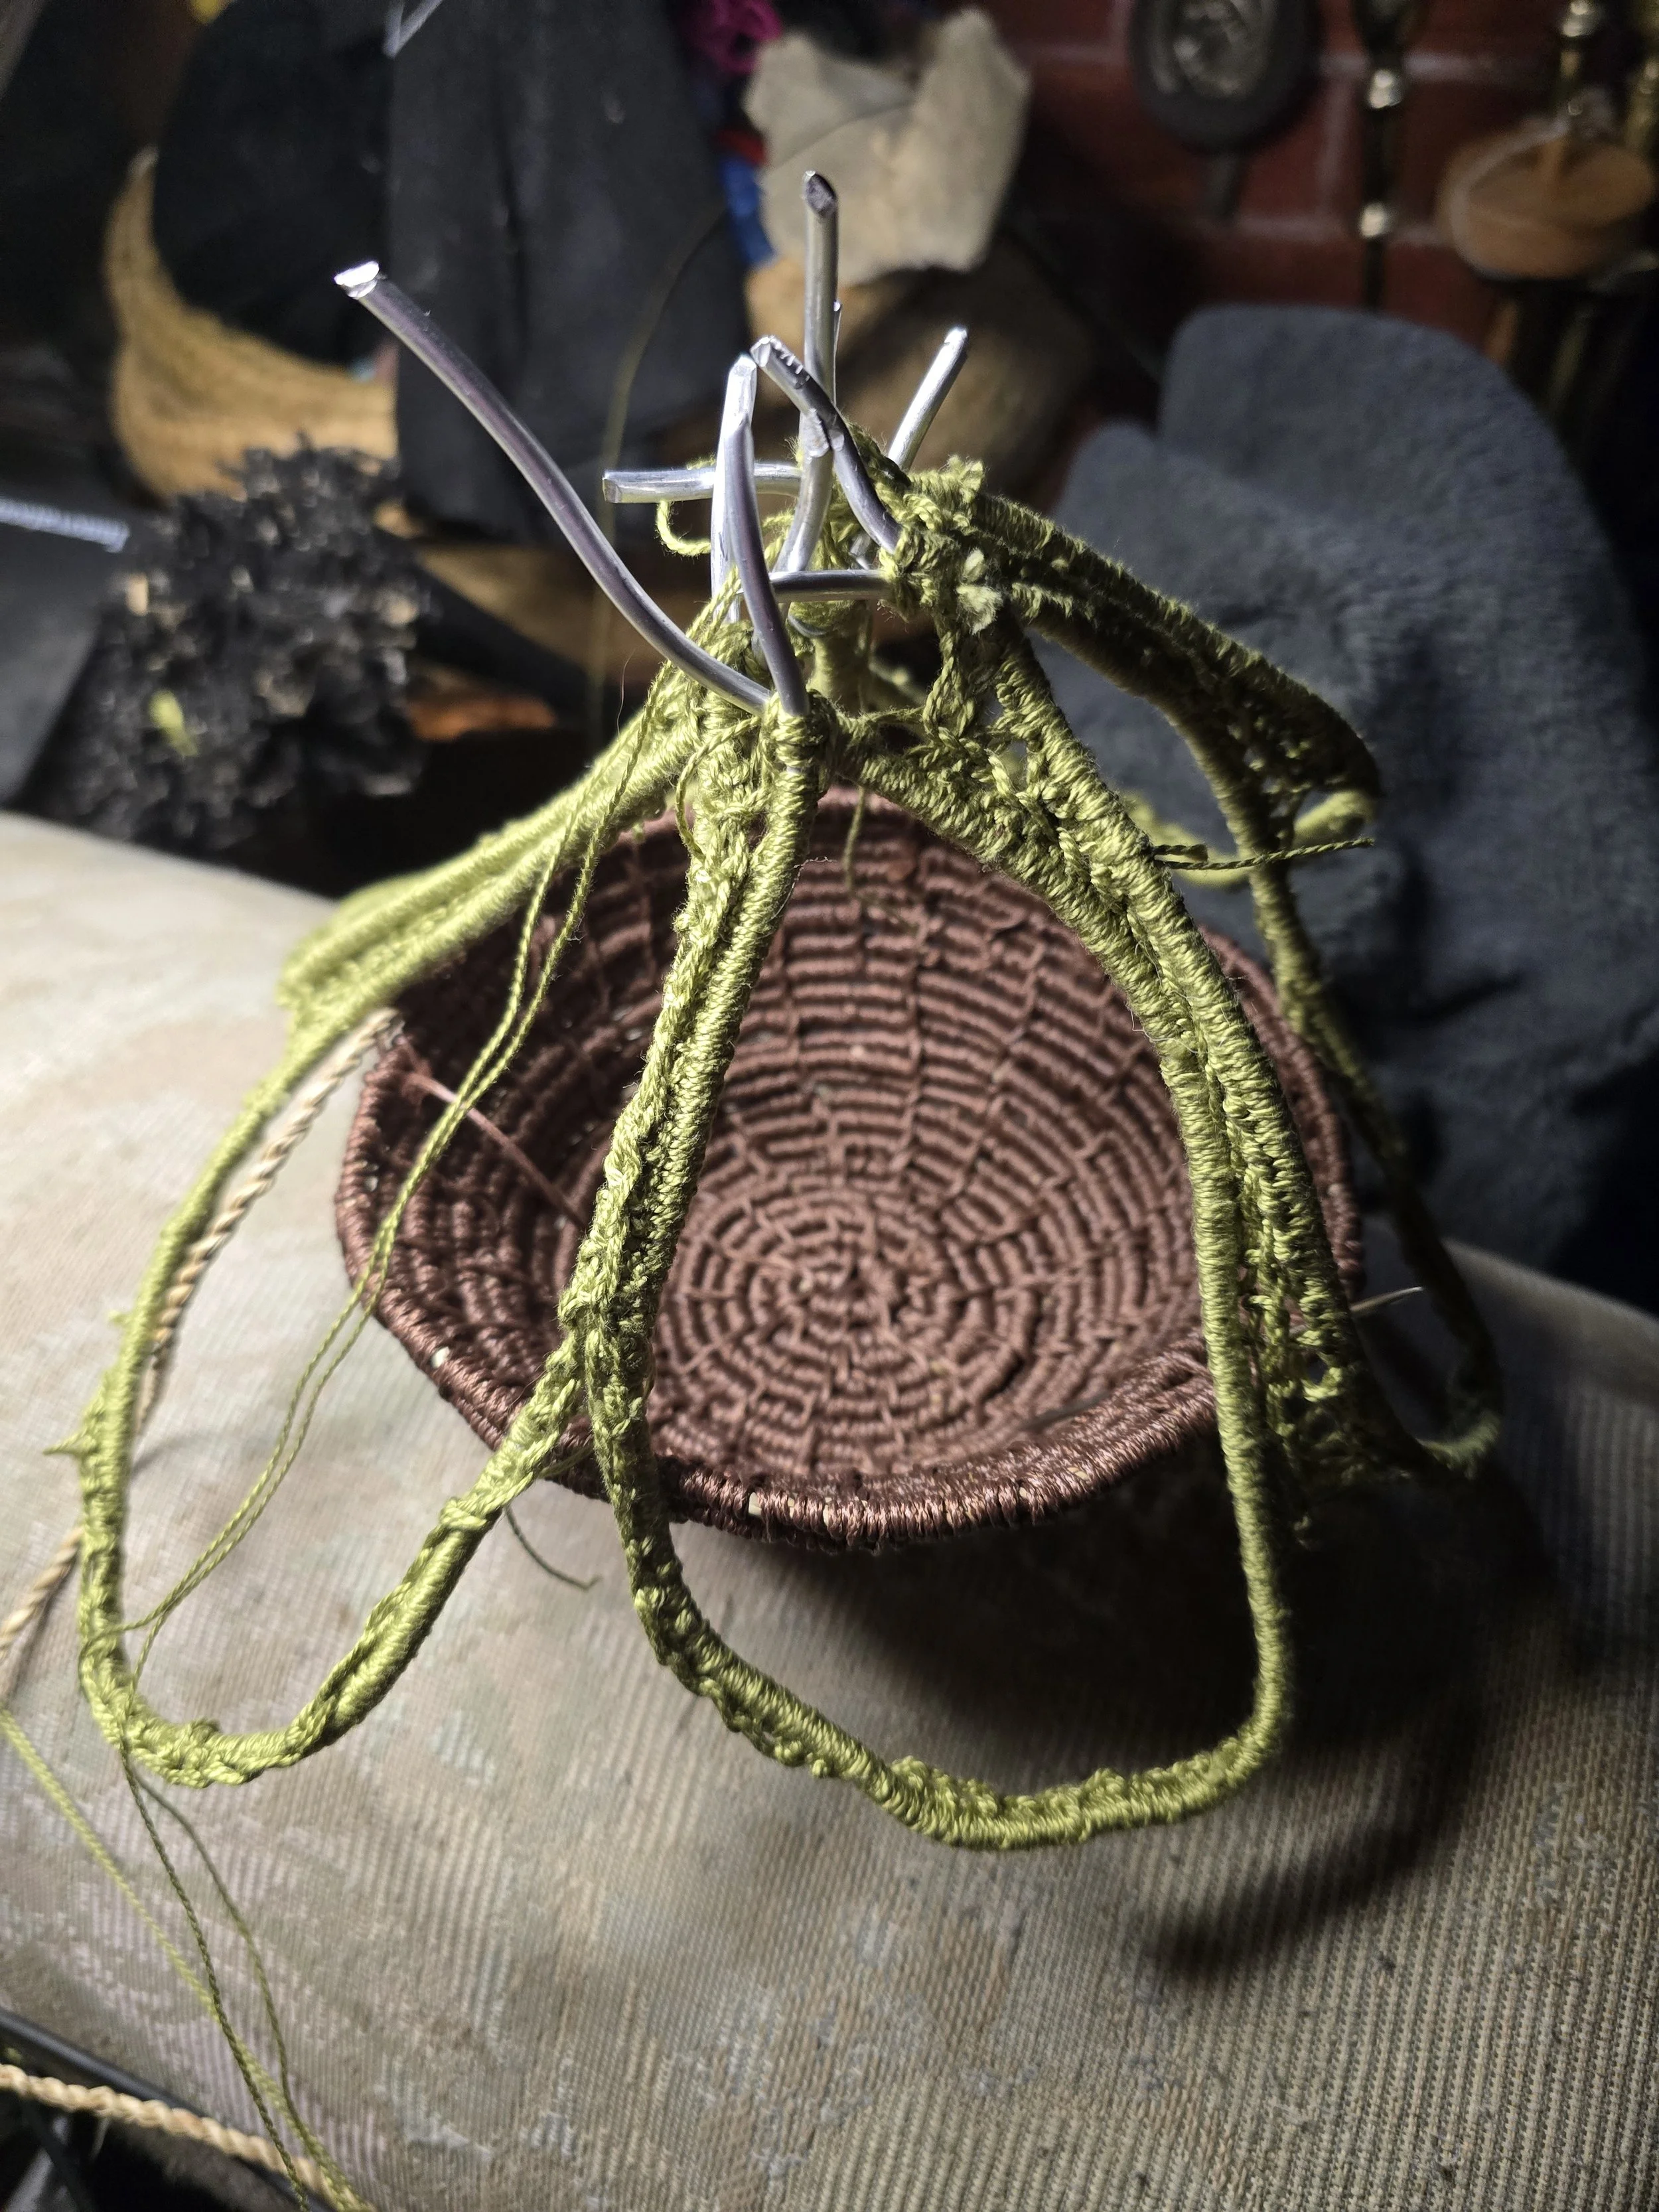
This form will be the bottom of a reliquary that will have a lift off top.

What is my current Textile Focus
My interest in textile art is wide and varied. My focus at the moment is on completing panels for my scholarship project Parallels in Maori and Celtic customs and art. I am currently working on a Tromp L’oeil piece that represents the Winter solstice coming through a gap in the hills that was important to both cultures in mapping their seasonal world. the centre piece is hand embroidered and now I am trying to complete the effect of adding small pieces fabrics to create the effect I am looking for